These days I find I am not a lover of commercialism at Christmas. Plastic served me well when little people had wish lists including Barbie and Action Man. For me, handmade and thoughtful often wins the day and I’ve determined that my present buying this year will include beautiful pieces made by the many wonderful artisans I follow on Instagram. And in addition I shall be using my love for a day spent crafting in order to create a few home made presents for friends and loved ones myself. And so today I thought I’d share with you three quick and very easy DIY projects you may just like to recreate yourselves in time for Christmas…
DIY Projects – Shabby Chic Notice Board
First up is a delightful DIY notice board which happily lives over at Belle’s my beautiful Shepherds Hut. This favourite faded rose print had been in my previous sitting room for many years. Sadly it didn’t make the move to our new home in one piece and for several weeks I considered replacing the broken glass.

Instead, one day last summer I decided a DIY shabby chic notice board would serve me well at Belle’s. I love to keep all those beautiful interior postcards you pick up along the way; they often look like a painting themselves en masse. This broken picture looked to me perfect for this new role.
This really is the easiest of DIY projects ever. I simply measured the width of the frame, added on another couple of centimeters to that calculation and cut four lengths of brown string. I pushed in drawing pins at equal points either end of the frame and wrapped the excess string around each pin. Then I added tiny blue pegs from here along each piece of string.


And that was it….too easy. A simple DIY project which could be achieved with a great many variations depending on what’s hanging around your home or garage maybe. Here’s the notice board on Belle’s wall displaying my selection of beautiful cards. What do you think?

DIY Projects – Decoupage Sign
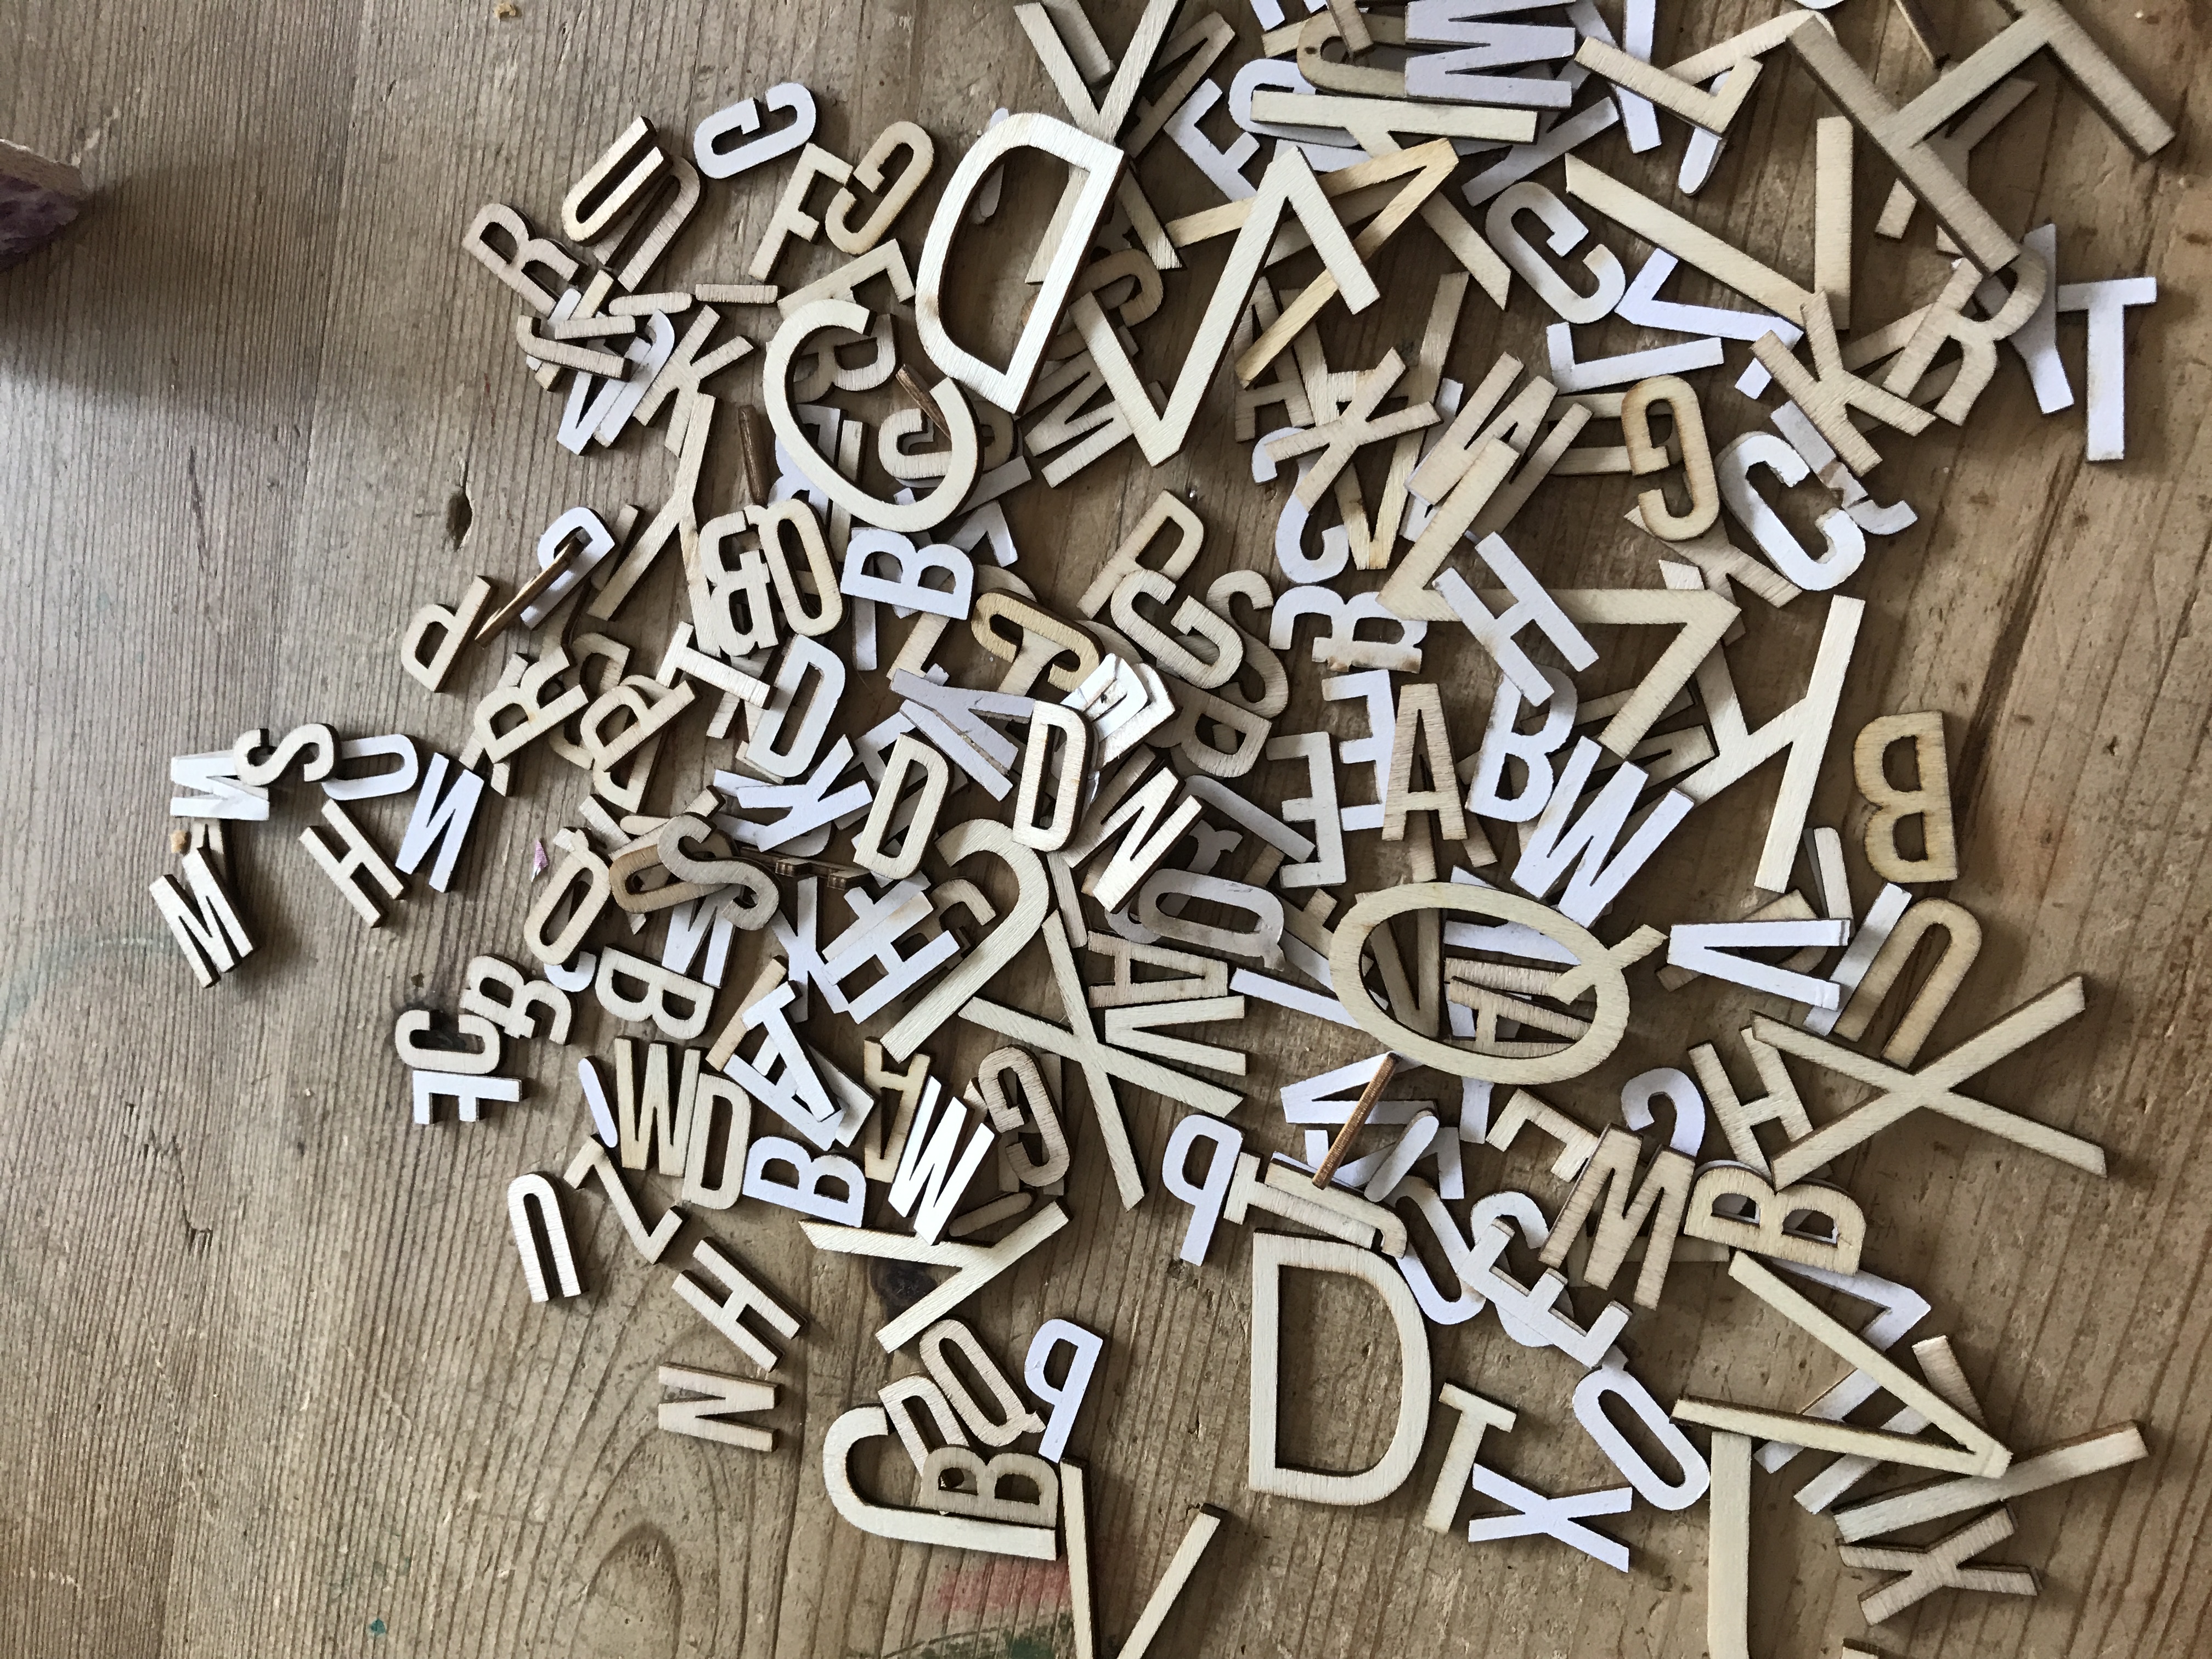
This second of our DIY projects requires drying time and therefore takes a little longer. Not that long though; it could be made today and placed in its new home tomorrow. Again you’ll probably have many of these bits in your craft stash or shed to make this sign. I’m a crafting nerd so I have way too many wooden letters. You’ll need some too, try here for a pretty good selection.

For the wood I used a cut off piece of tongue and groove left over from this project. You will also need PVA glue, a glue ‘spreader’ and pretty napkins. Be sure to separate your napkin design from its second and perhaps third layer of backing tissue depending on the type you are using. You want the piece of napkin you decoupage with, to be as thin as can be.


Next cover one side of your wood with PVA glue. Decide on your napkin layout and place your thin napkins over the wood in your chosen positions. I’ve used two designs and placed one roughly over a third of the piece of wood and the other over two thirds. No measuring went on here. You will recall I’m all about the quick win. Don’t worry if your delicate napkin tears, it all adds to the shabby chic character. Trim any excess napkin along the edges and then apply one thin coat of PVA glue over the napkin side to offer a little protection. Repeat these steps on the other side of the wood.

Patience now as the project drys, I left mine over night, then take your dry board and using a sander or block and sandpaper, distress to a finish you like. I paid particular attention to the edges and corners and did little else.
Then its out with the wax, apply a thin coat with a lint free cloth, wait for it to dry and everso lightly buff, buff and buff some more.

By now you will probably have decided who this sign is for and what slogan you’d like on it. Select your letters, this one is a gift to myself and will one day live in a window area with a seasonal flower or two along side. Work out your spacing, stick the letters in place and wait till dry (this is the last wait I promise)…


And with any luck you now have something that looks a lot like this…

Or maybe you won’t since the variations for these DIY projects are endless. Perhaps you’ll choose a different type of wood; maybe your sign will be longer or shorter. You could use different coloured napkins or tissue paper. I’ve often wondered how the sign would look with a one colour background and perhaps tonal vintage buttons to make up the words. Maybe an inspirational quote would suit your lucky recipient. Will you add string or a ribbon for hanging or perhaps holes for screws. Maybe your beautiful sign will simply prop itself against a wall or mirror and become a flexible decoration moving from room to room. Endless choices.
Whichever you choose, this inexpensive, quick and pretty DIY project is a real winner in my book and I hope you’re feeling inspired to give it or maybe one of these variations a go. And finally for today…
DIY Projects – Pom Garland
Because there is nothing better or easier than a pom-pom for a pretty DIY. Take a look around, we’ve gone a little pom-pom crazy. On cushions, bags, clothing and in home decor, there is a pom-pom to suit all. Colourful or neutral, big or small, single or in a group, there is a creation out there to suit everyone. I made this garland last autumn whilst sitting in front of the TV drama Victoria and I’ve used it everywhere in my home decor since.


And because I know you know how to make it already I’m not going to tell you. If however you are unsure of the steps there are lots of tutorials on Pinterest and probably on YouTube too. I will offer a couple of useful tips however. First, make sure the length of wool you use to tie each pom-pom securely is long enough to attach to whatever you are making. And second don’t cut the cardboard rings away until you have securely tied off your pom-pom. Of course I didn’t make that rookie mistake.
For my garland you’ll see I’ve equally spaced out each pom-pom along a length of crocheted wool in the same colour.

Again, limitless possibilities for colour, style and purpose for this DIY project. Little Miss was infact the lucky recipient of a bright pink pom-pom for her car keys. No more misplacing those for now.
As each week goes by I am so happy to learn many of you are enjoying my blog and I am ever grateful to have you join in with this journey. I receive encouraging words in person, through Instagram, via email and of course here on the blog and I want to say a huge, heartfelt thank you to you all for taking the time to pass on your comments. I love reading them and my family enjoy hearing me squeal with delight each time I see a new one. Recently I learned Google rates blogs which are interactive more favourably and makes those blogs more visable to others, so please keep your comments coming.
I do hope you’ve enjoyed these quick and easy DIY projects. If you try any yourself, let me know how you get on and if you are on Instagram, be sure to tag whitewoodandlinen in your photo. Have a wonderful week whatever you are doing and I’ll be here again next Thursday with a brand new post x
Please do share your latest DIY projects in the comments box below, I’d love to hear or even see some!




Too kind, too kind… I think I may have been with you when I bought that picture all those years ago!x
Yet another fab post Mrs M , especially love the notice board ! Clever you as always xx
Aww thank you sweetheart, glad you liked it!x
Such amazing way to add a touch of brightness to the home !
When a friend as arty and crafty as you says I’m talented, that is a big compliment, thank you Sara x
Such a talented lady !…how you fit it all in I’ll never know!….I now need some wooden letters!!
Ha Ha Olivia, I’m sure it’ll make it to your room at some stage!x
Thank you Christine, glad you enjoyed the read and it’s inspired you to make your own x
Another amazing blog! Such clever ideas there Helen, especially the DIY decoupage sign. Thats a really lovely sign you made there and I’d love to make one myself with my house name on it. It would look great above the door in the porch.
Looking forward to reading your next instalment! xx
Goodness you are SO clever! Still itching to get my hands on the pom pom garland!! Another brilliant post xx