In my last In Real Life newsletter I asked if any of you had a particular craft idea you’d like me to address and I had several replies with different requests. Today I am looking at one suggestion from a dear reader who asked what she could do with gifted music sheets. Goodness, my mind was all awhirl with endless possibilities. I have a couple of music sheets of my own which until now had sat waiting for their moment and of course I have my trusty mouldy book Mr M saved from a skip for me way back when. Recently the book was used to make a few paper star decorations for Ruth @cucumberwoodcandles to pop in her festive candle gift box. They looked super tied together with a teeny red bauble. This week I have four more ways to use old book paper or vintage music sheets which are all simple, effective and if you wish them to be, suitably festive. So when you’re ready, follow me and we’ll begin with homemade 3D paper star decorations…
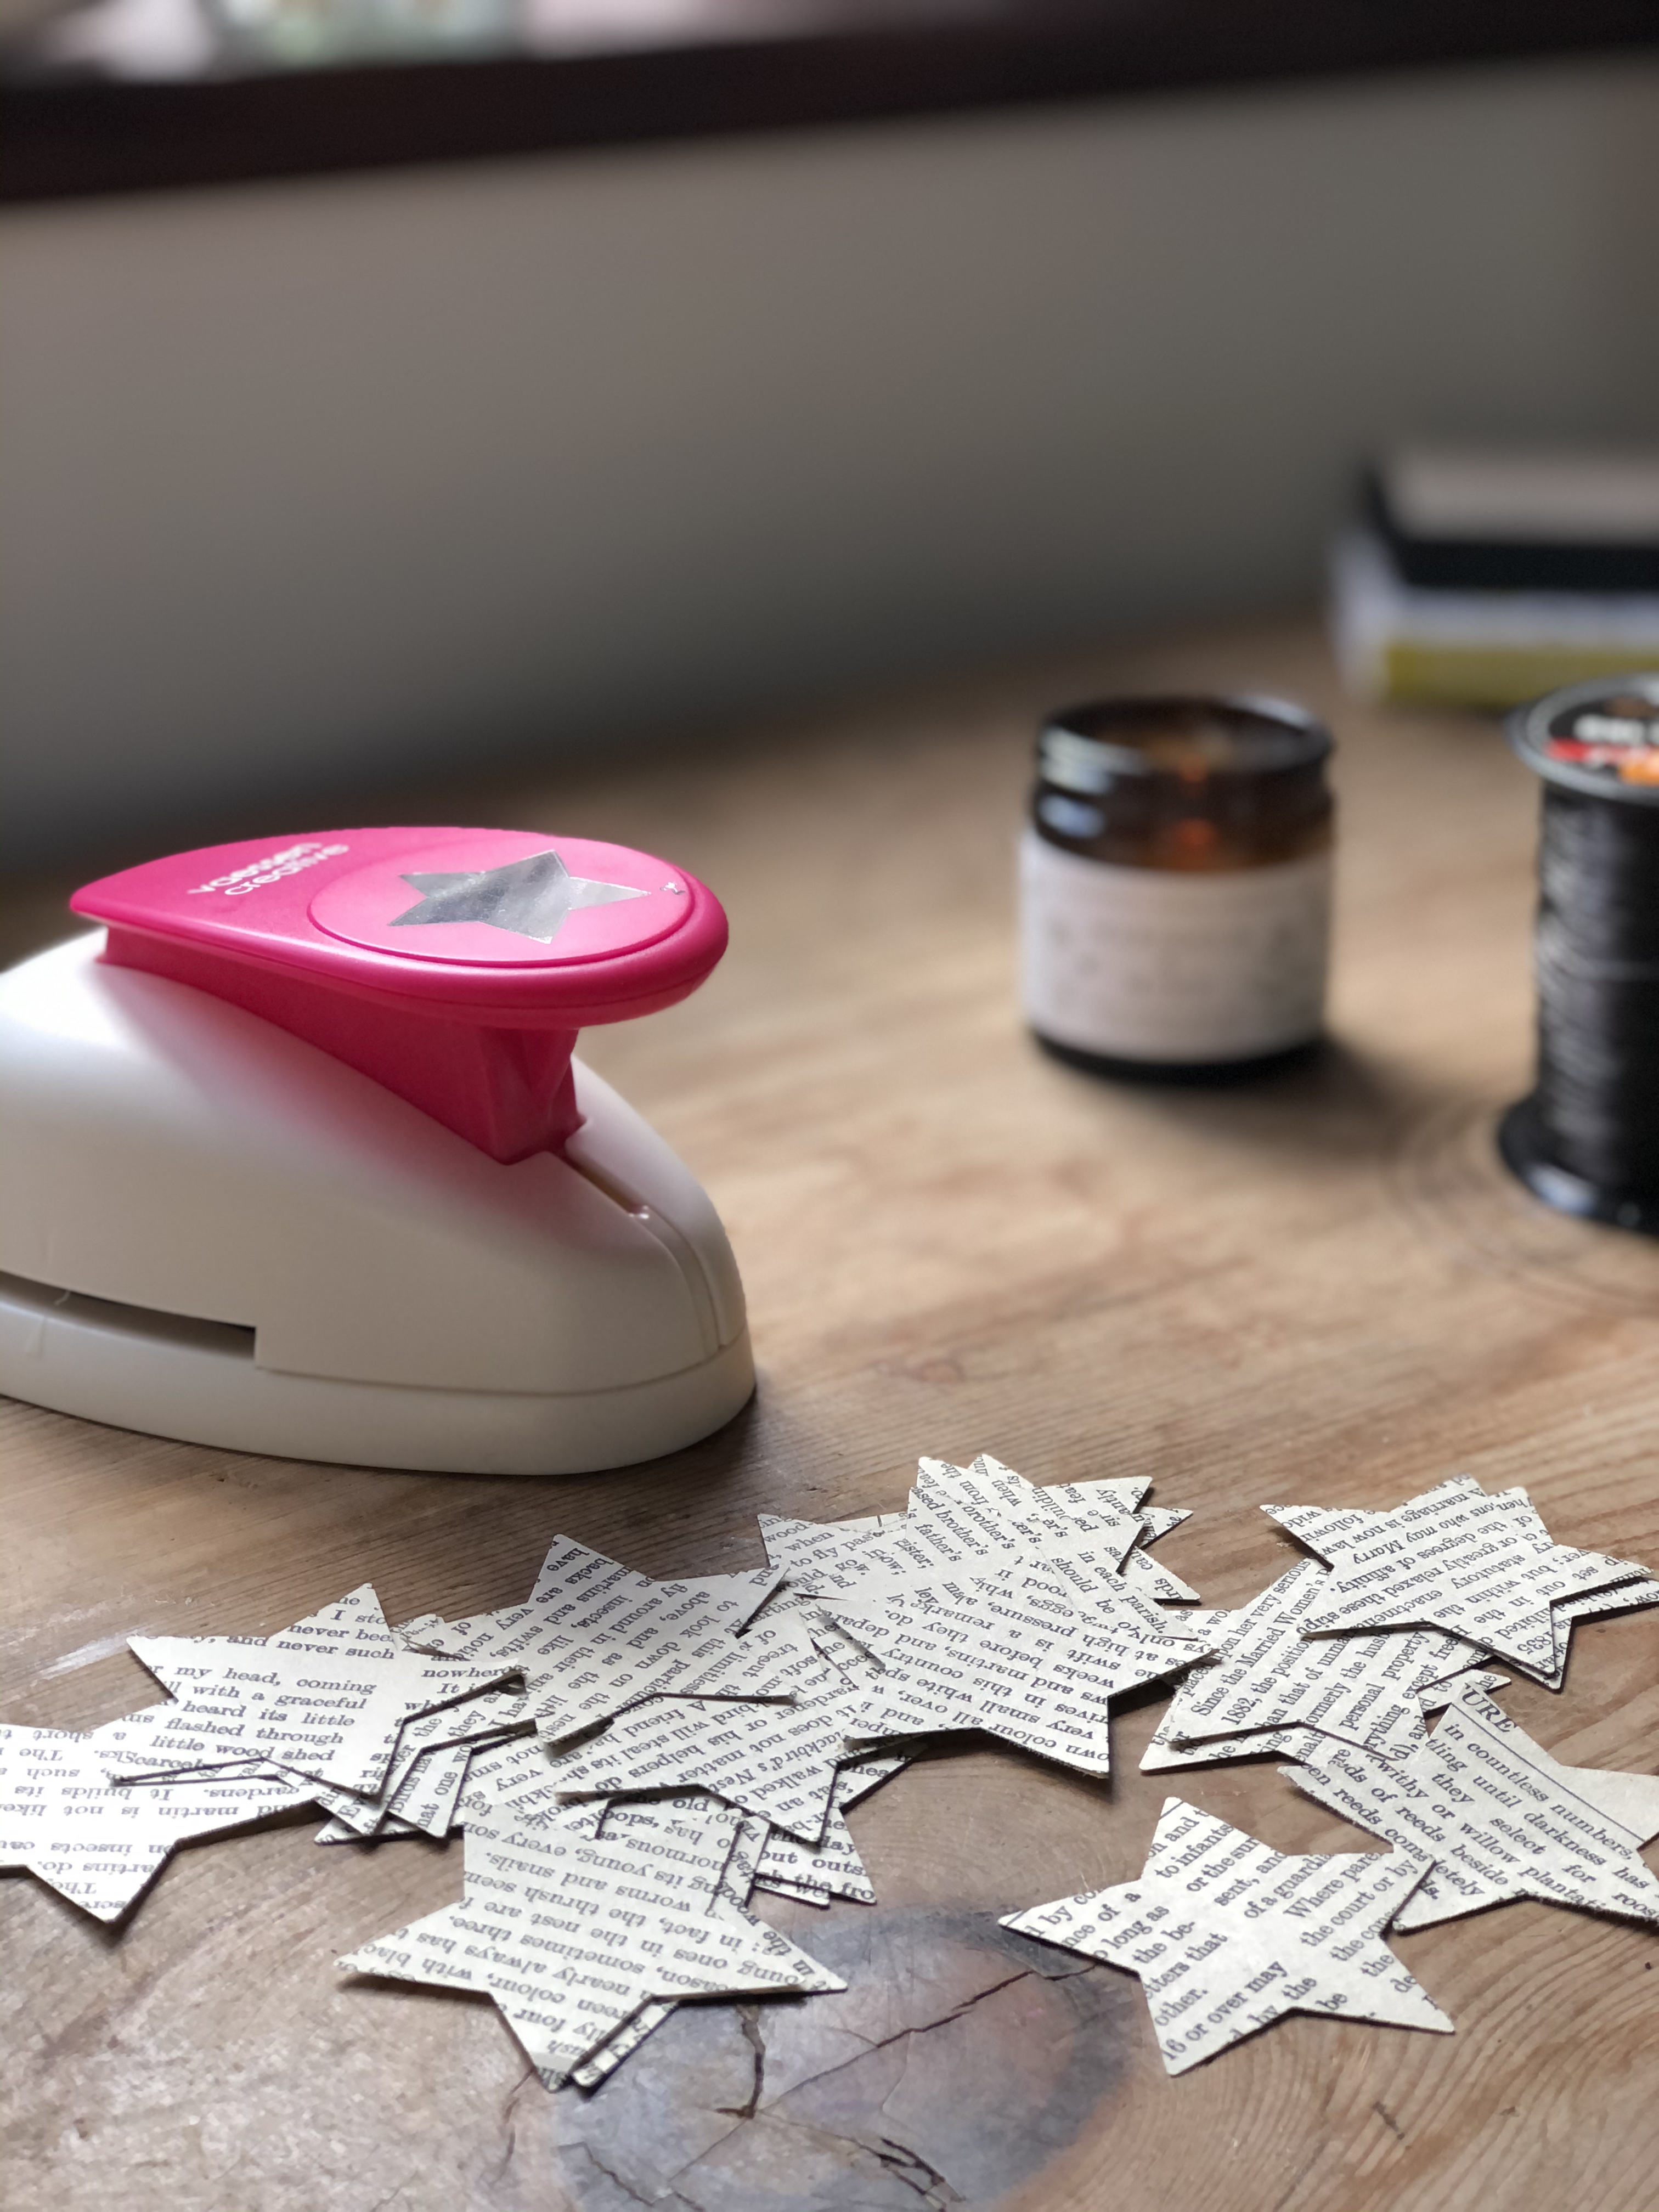
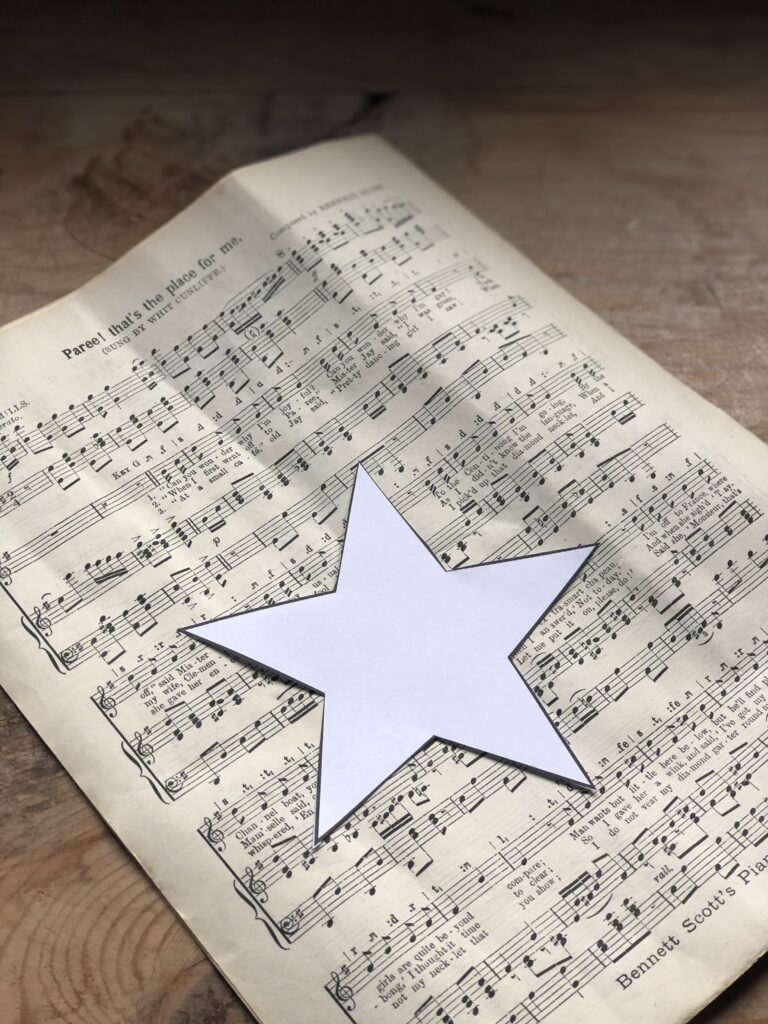
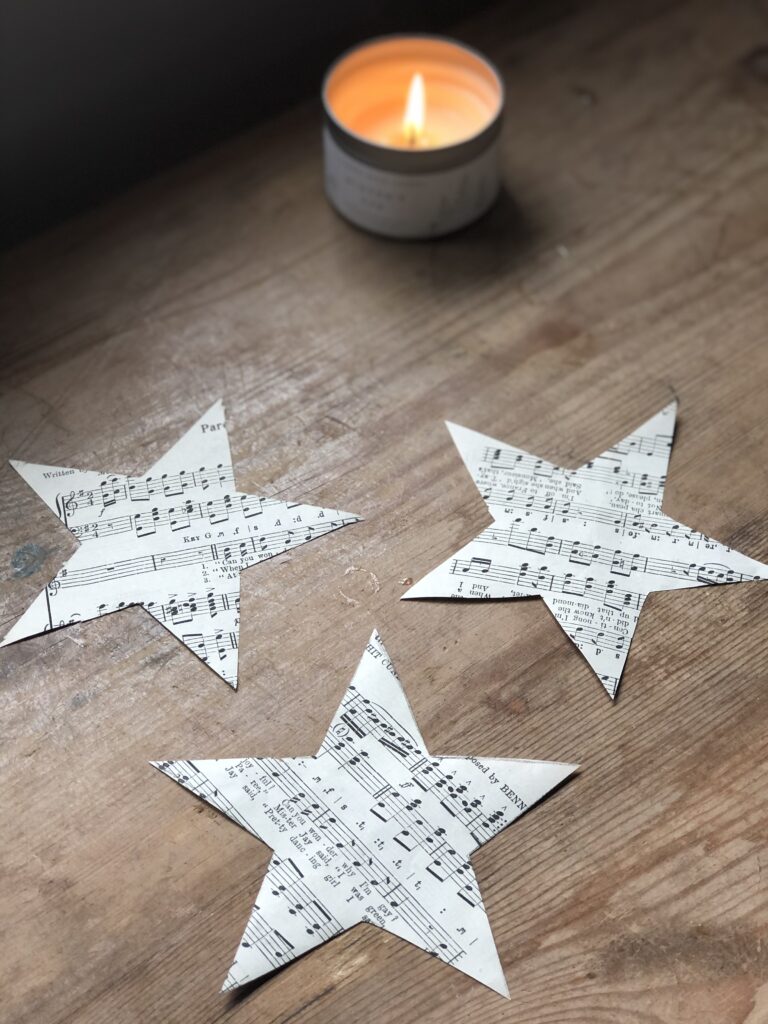
These paper star decorations are insanely easy to make. I made both large and small versions leaving some plain and glitzing up a few others. For the smaller of the two 3D paper stars, I used this star punch which is two inches in size and set to creating my constellation.
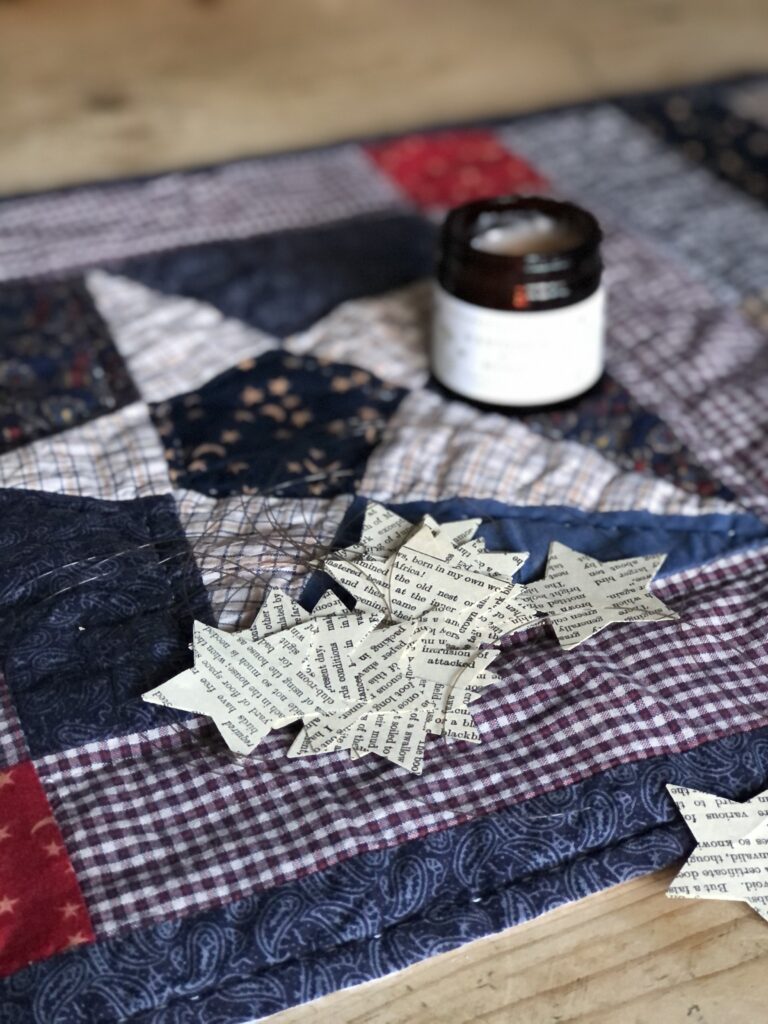
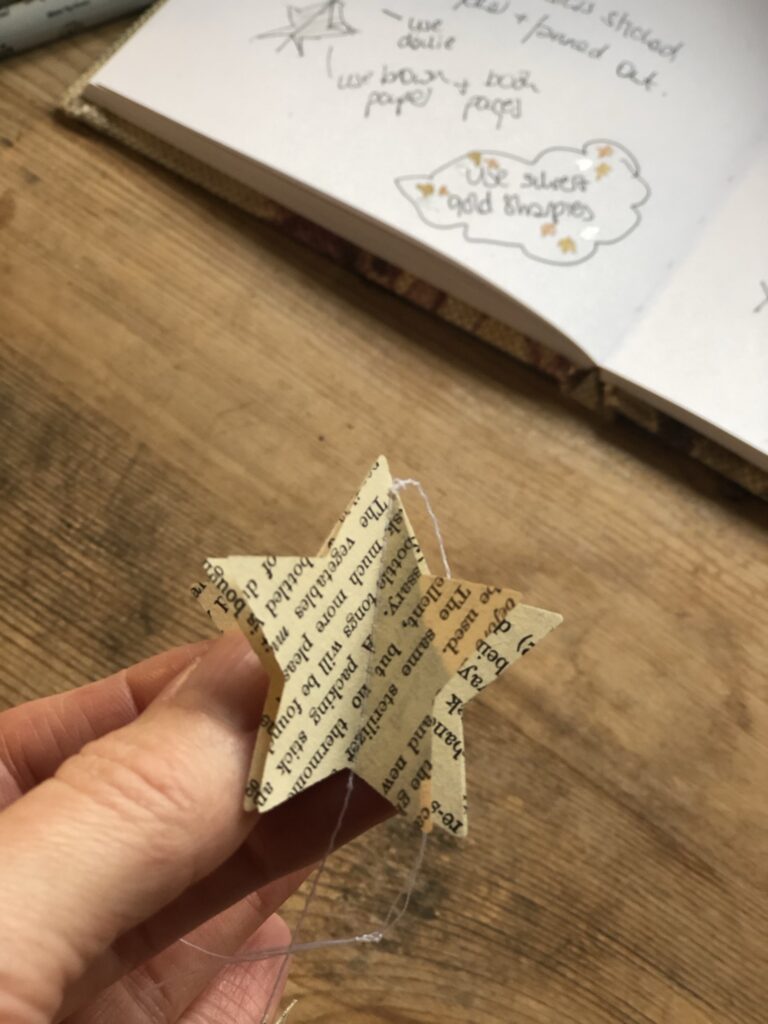
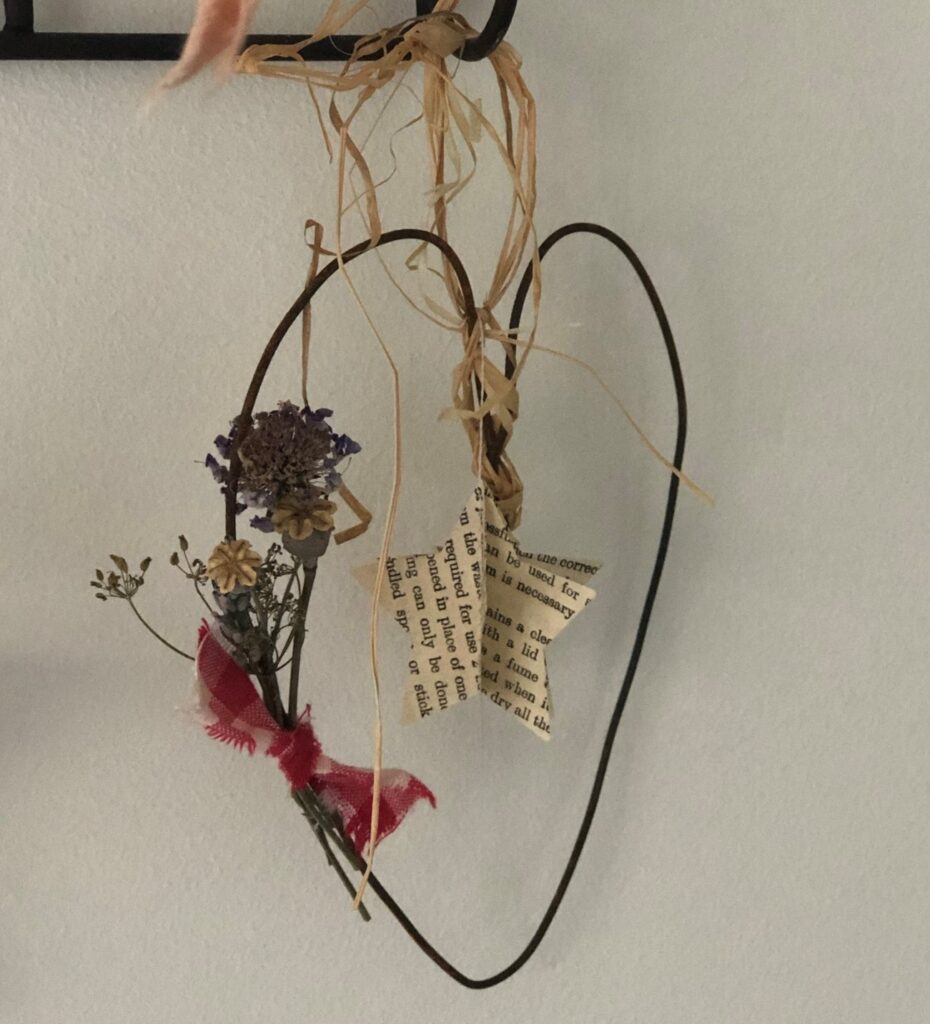
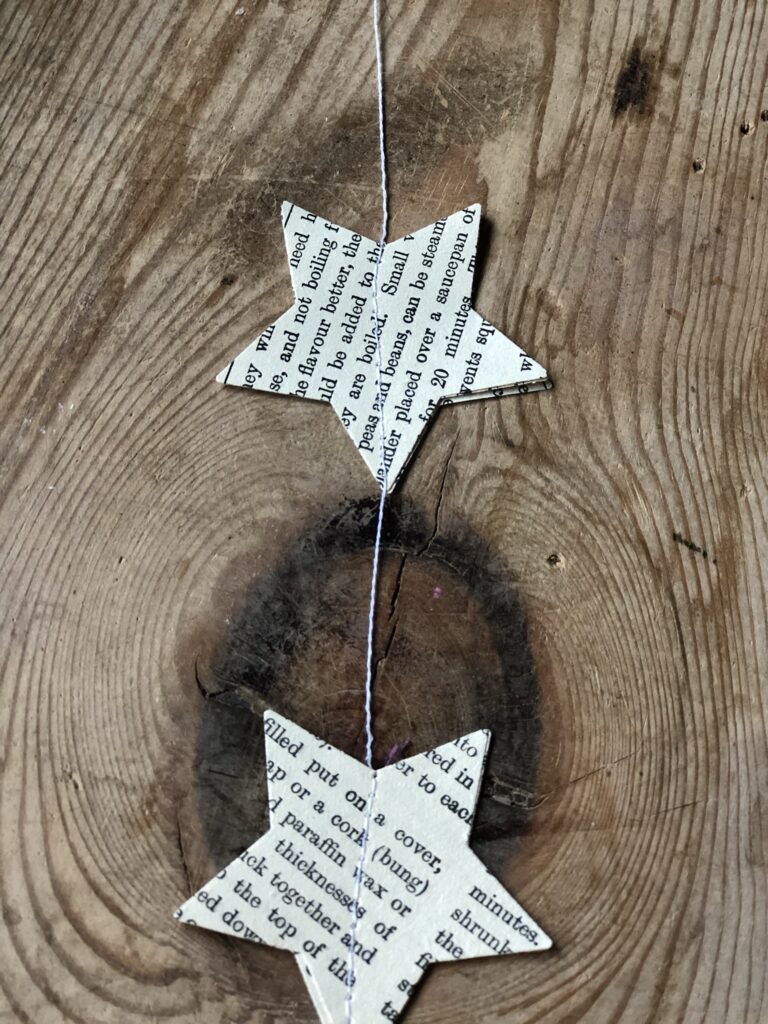
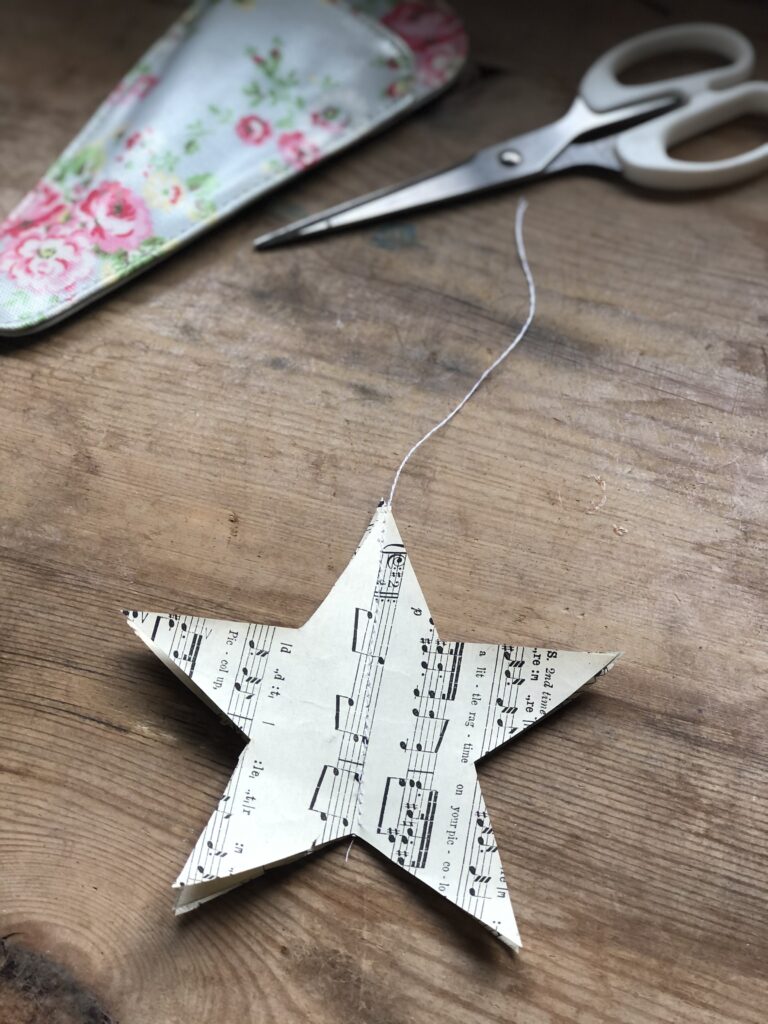
Each 3D paper star requires three flat stars to form its shape which are placed on top of one another. You then simply machine stitch through the centre of the little pile. It’s easier to begin your stitching at what will be the base of the paper star decoration and work through to the top point of the star. And remember to have a healthy length of cotton running out of either end for hanging and attaching dingle dangles if your decorations are to have them. You see in this photo below I went slightly off piste and this paper star was destined for the bin however it really doesn’t notice when they are hanging on masse, so be kind to yourself.
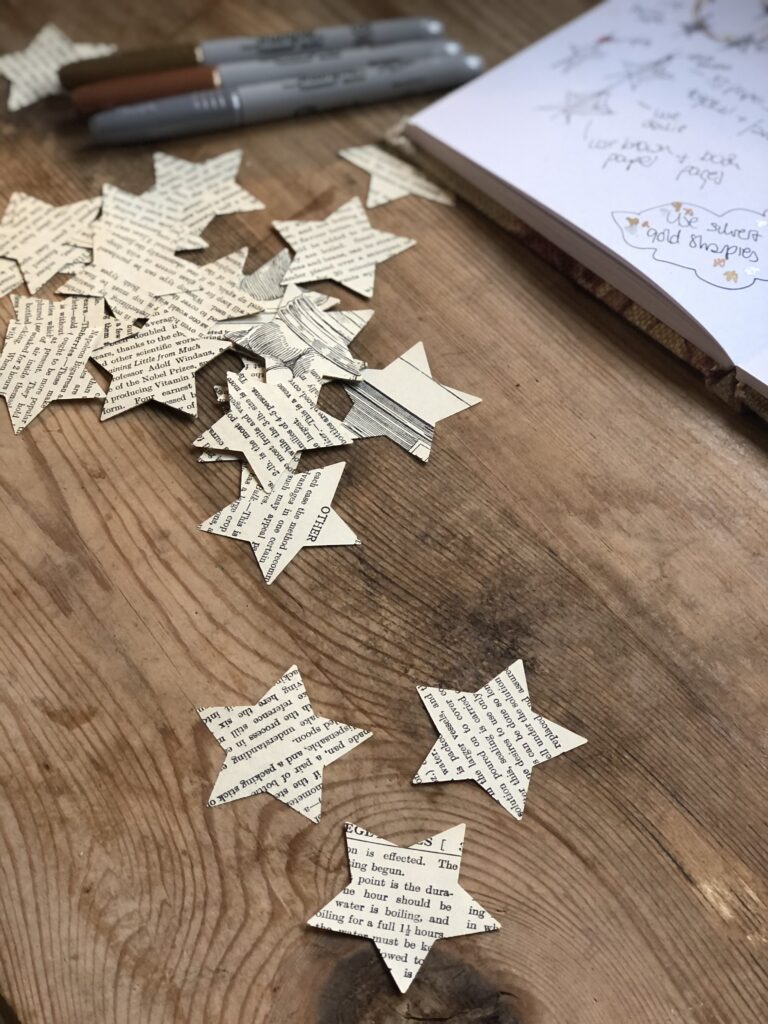
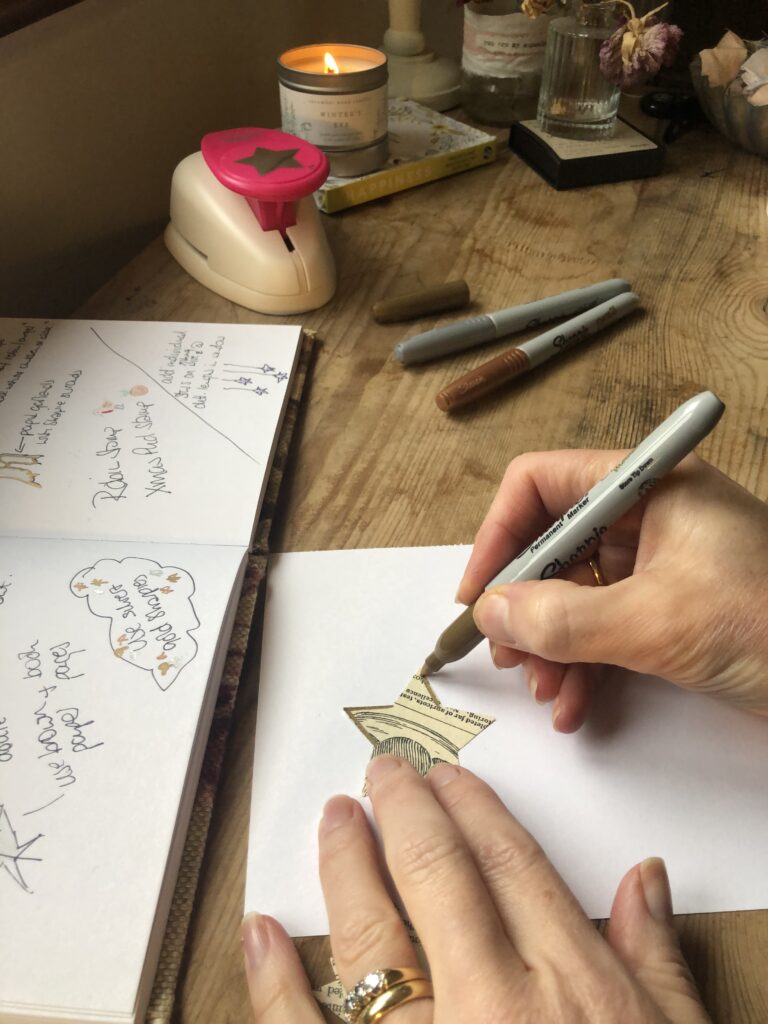
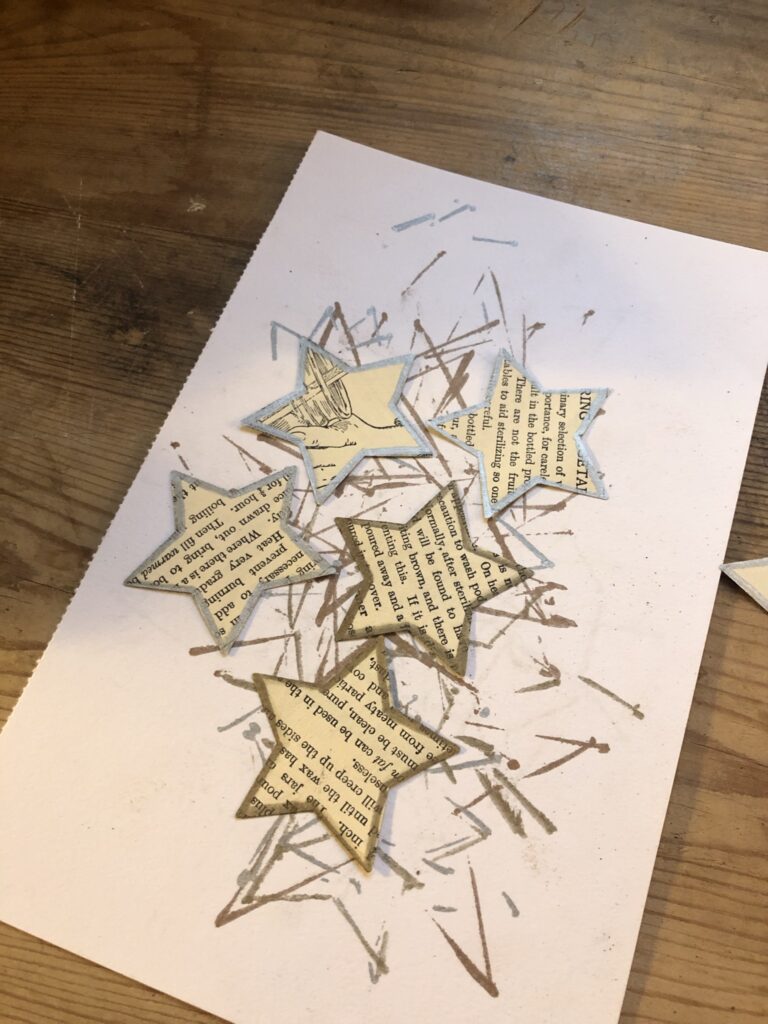
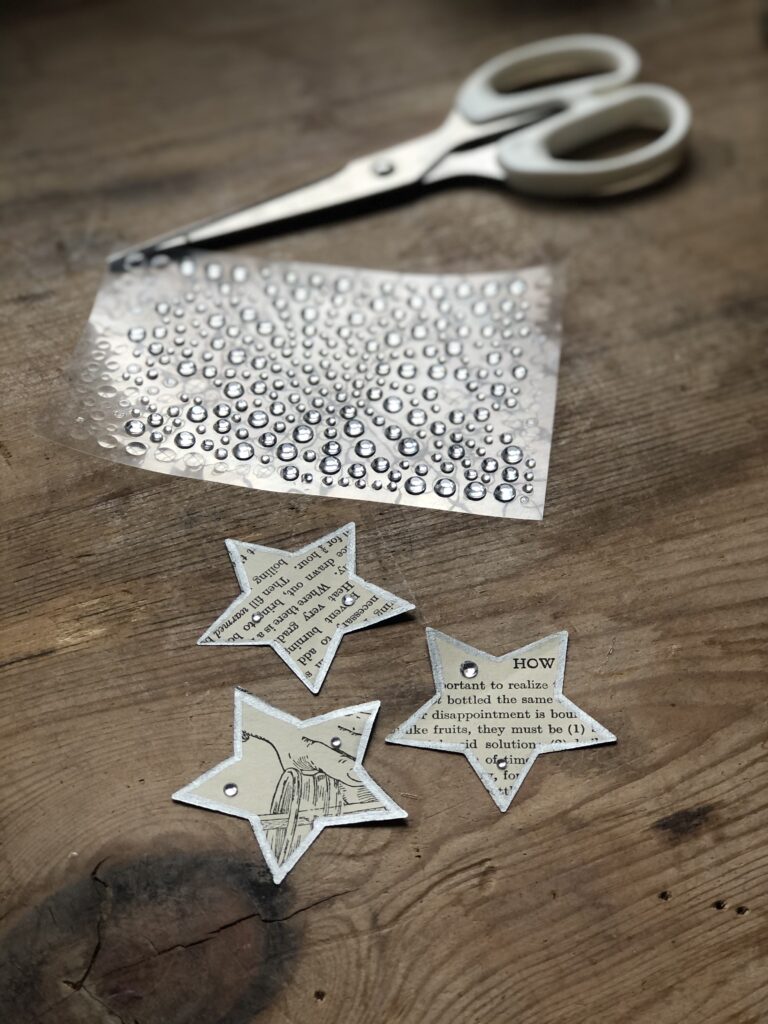
If you are thinking unadorned is not your bag, a quick scoot around the edges with a festive Sharpie and a scattering of little gem stones looks pretty and catches the light later when the 3D paper star decorations are doing their thing. You could use glitter glue or similar if you like glitter. You know about me and glitter.
Remember though, less is often more when your star is a part of a whole…
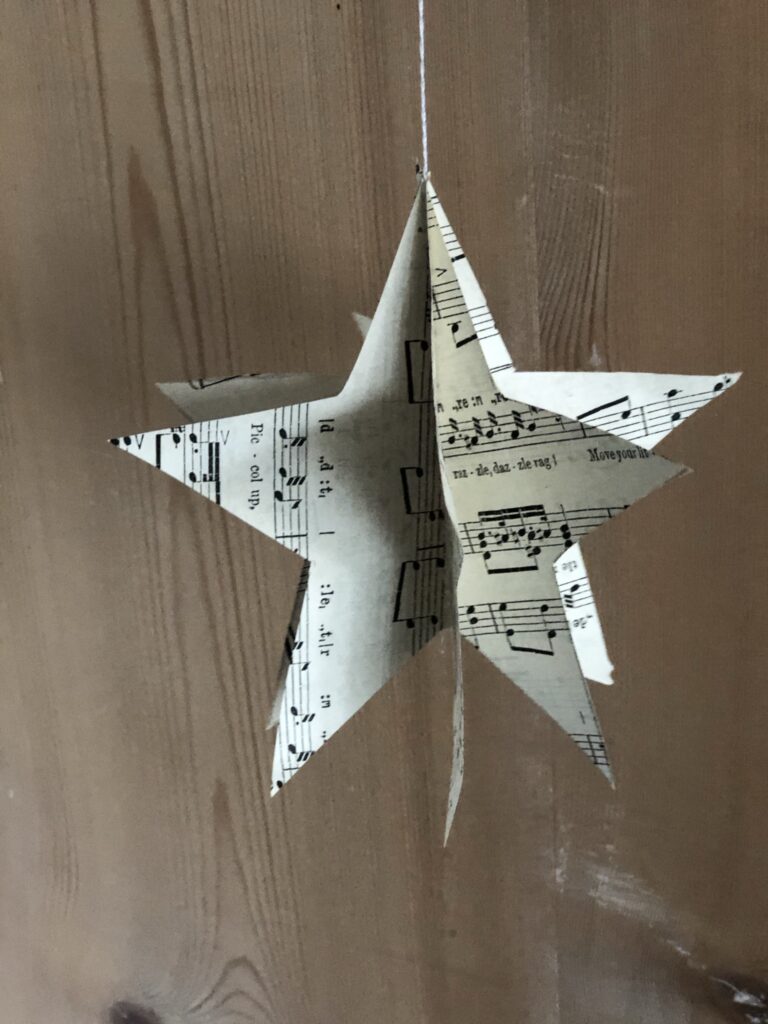
For my second craft I used the same size paper stars and again, three in each decoration, I kept the machine running until I had a length of 3D stars making a pretty garland. You can see a full tutorial using a machine to stitch a garland here if you like. There was a similar size gap in between each paper star of a couple of centimetres and I kept on going until my little pile had run dry. Then I simply folded out all the parts of each 3D paper star to offer dimension.
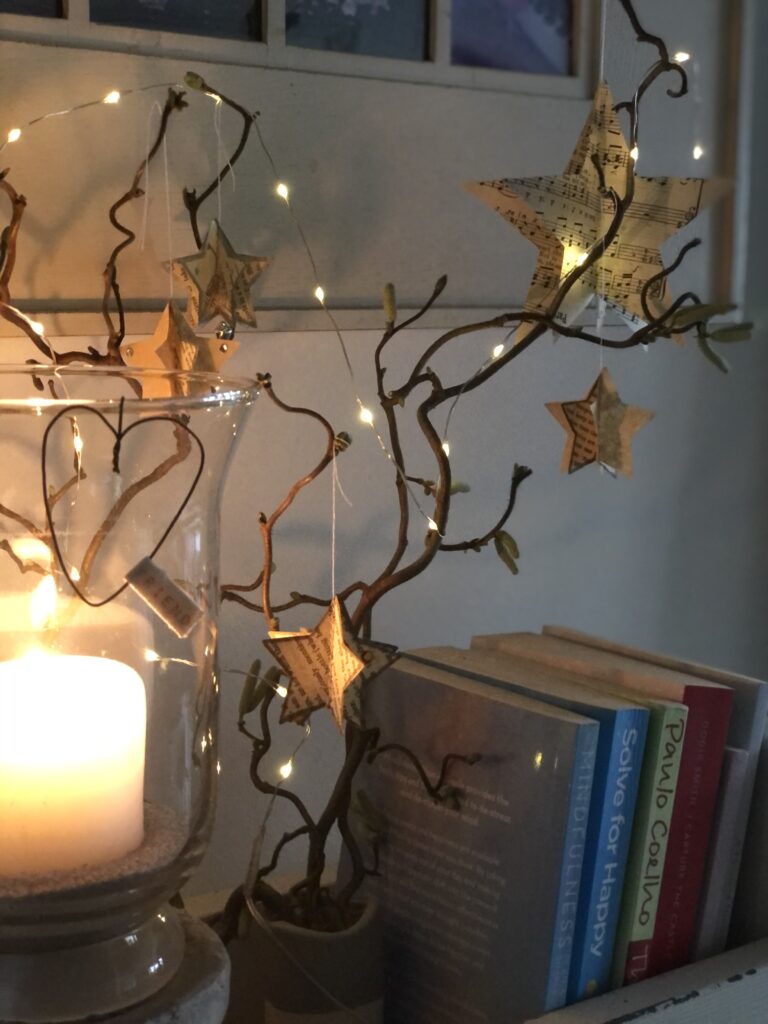
Up until now I had used only my old book and decided to up my game with my sheet music and a larger star template (approximately four and a half inches) which I downloaded from Pinterest for my third paper star craft. Using exactly the same process I made this larger 3D paper star decoration which I left simply dressed with only the musical notes themselves. It might look beautiful with a crystal drop at its base. I’ll be making more.
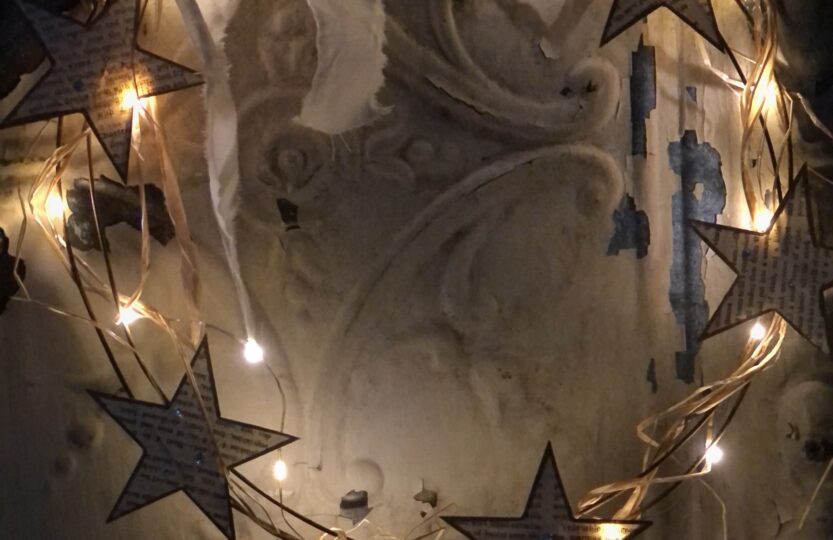
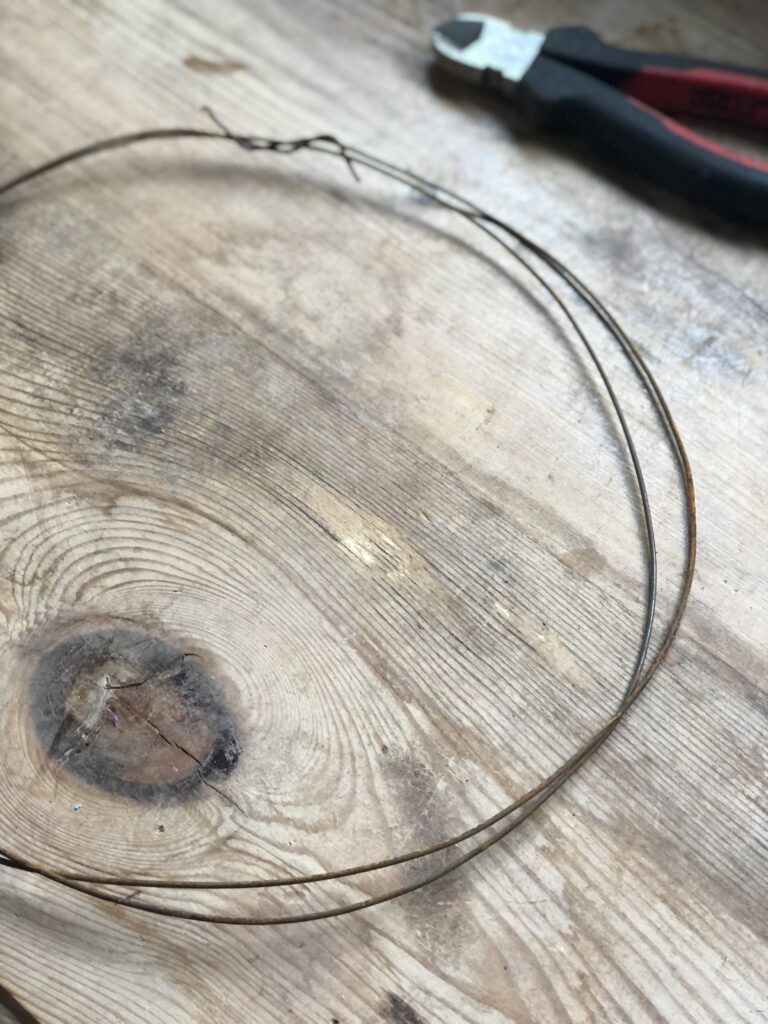
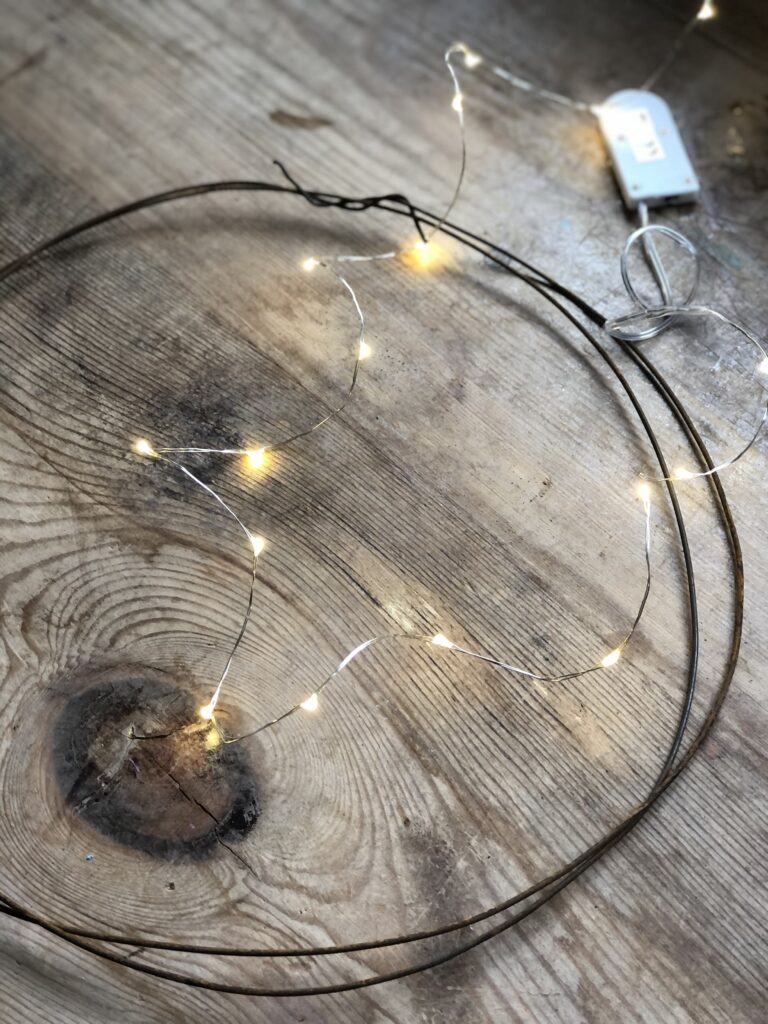
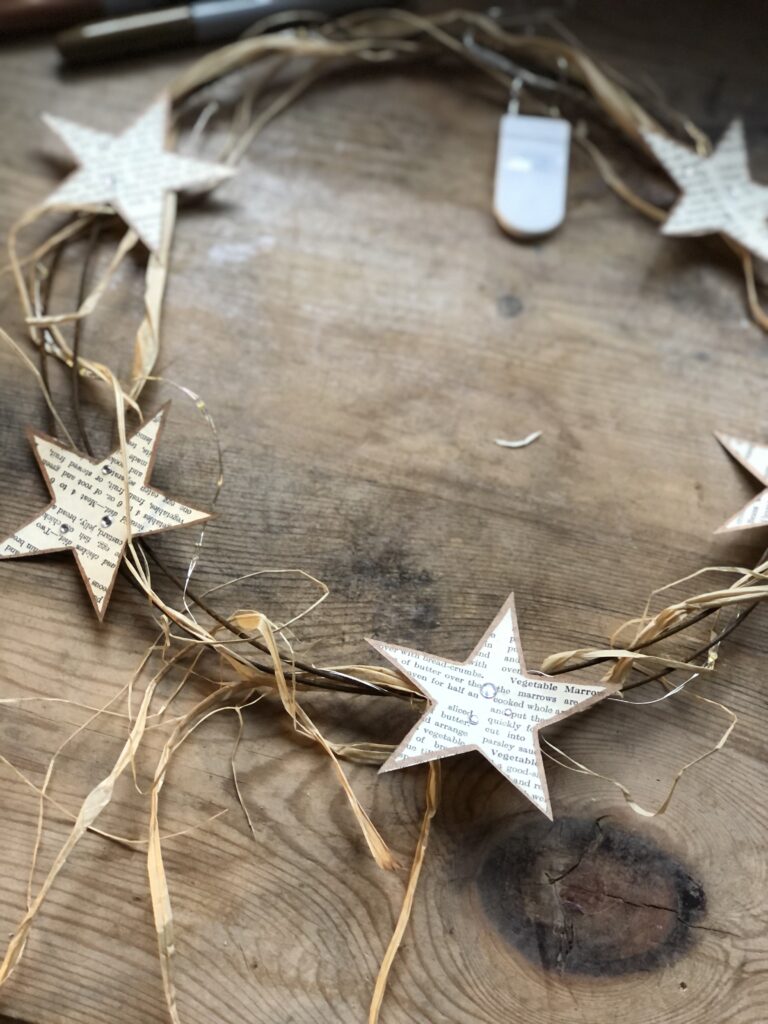
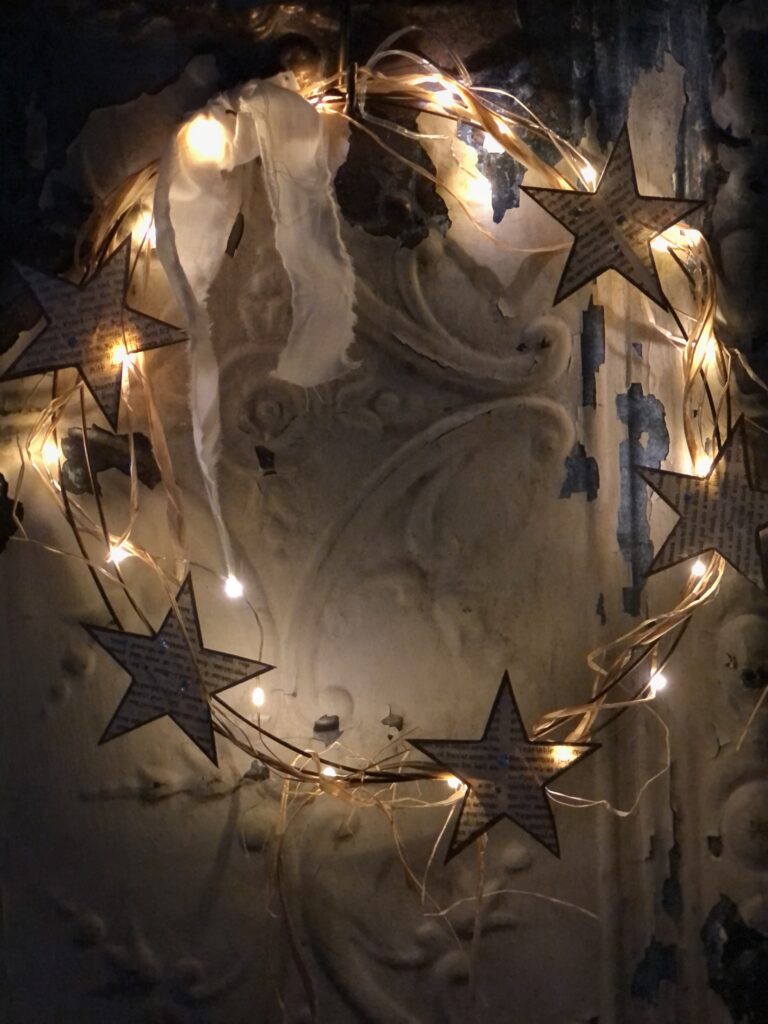
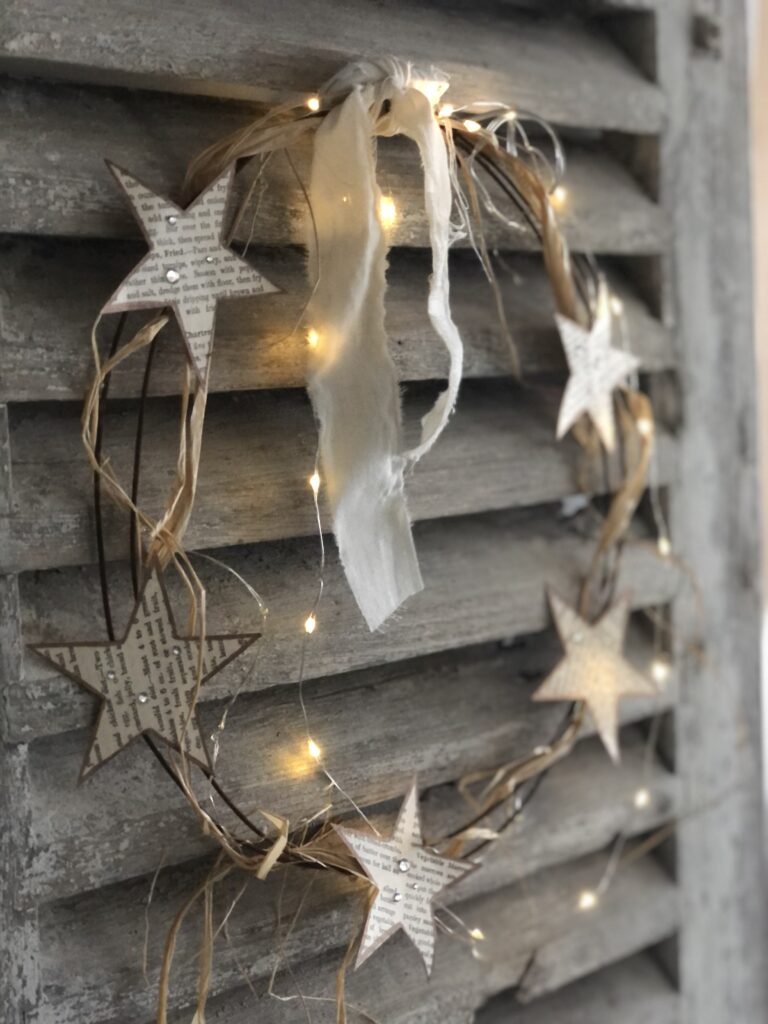
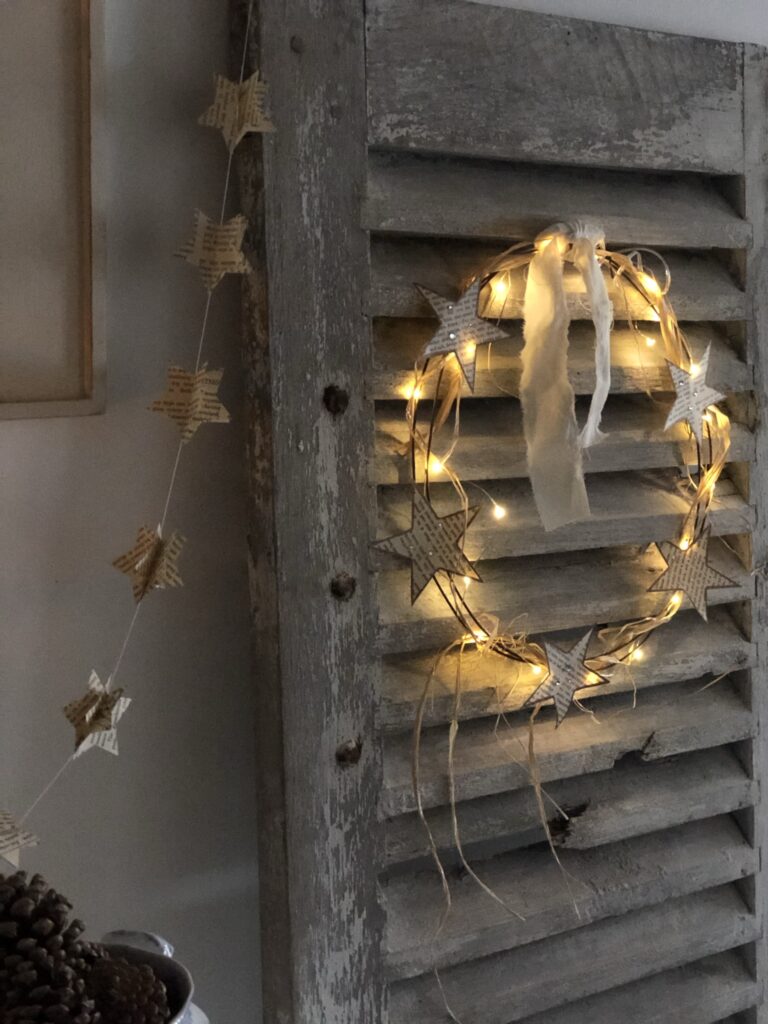
Recently, Mr M found this extremely rusty only to be used when wearing disposable gloves wire in his shed and offered it to me since he had no need for it. One look at this wire and I felt craft number four coming on and my final one for today, a rusty wire star wreath. A little pre-Christmas decor for the home. I created a generous circle with a longish length and added a set of these must have fairy lights twirling through the wire as I went.
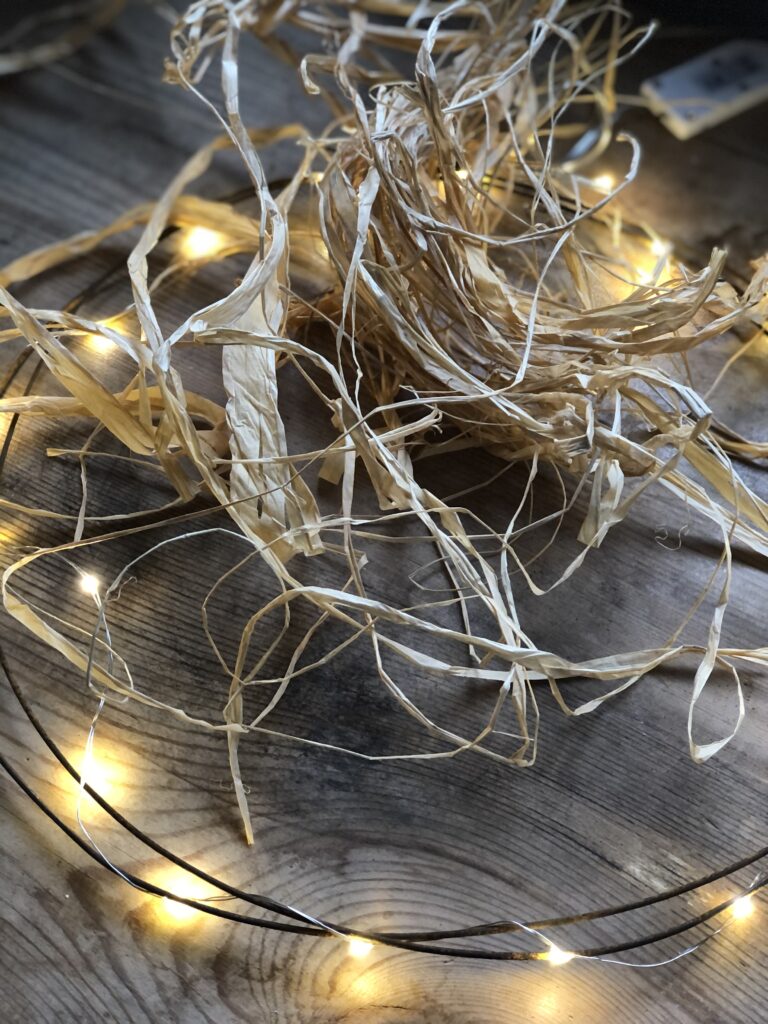
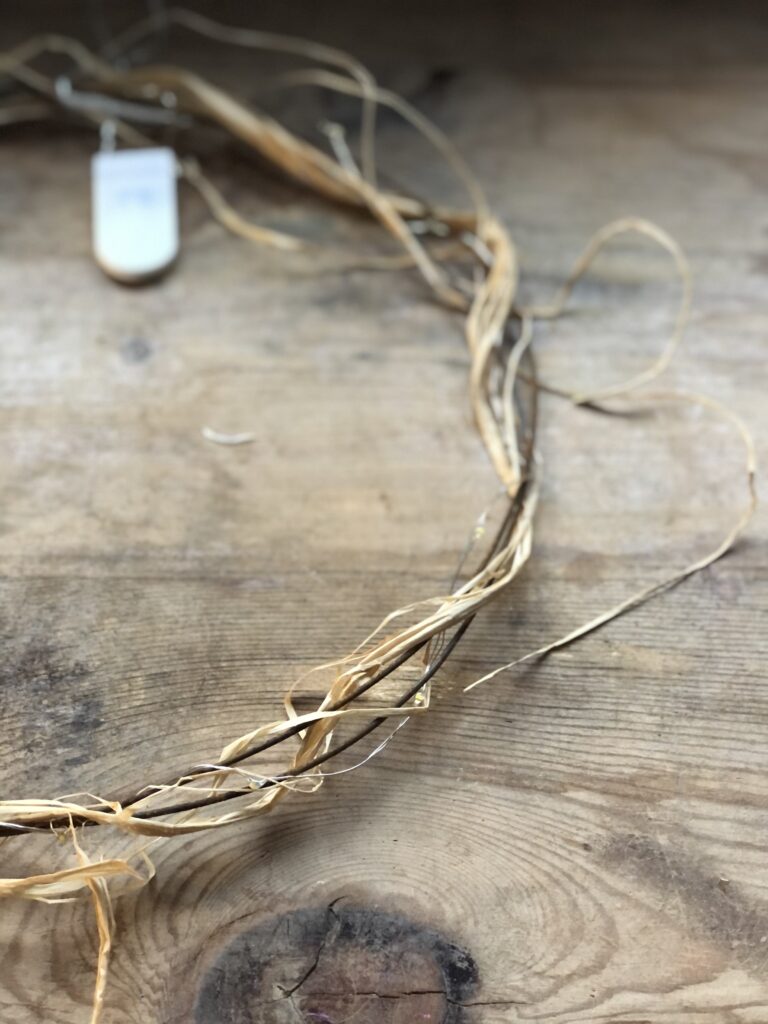
In the back of a cupboard was a small handful of raffia paper, squirrelled away from some gift wrapping which I wound around the rusty wire too.
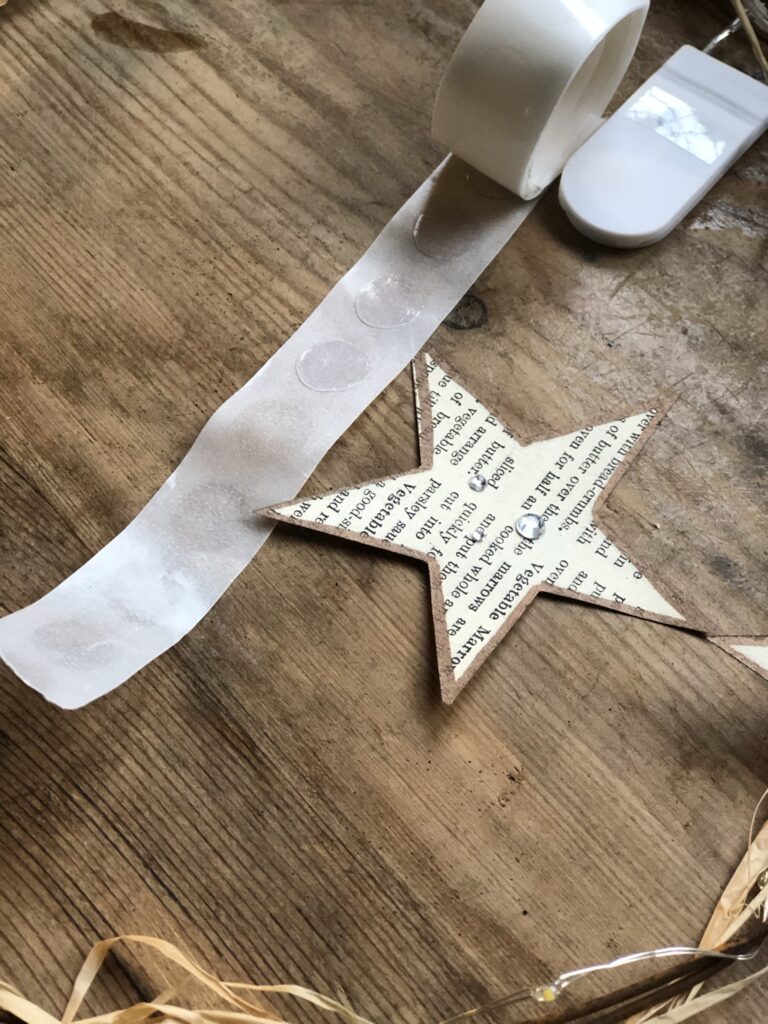
I blinged up five flat paper stars with my gold Sharpie and a gemstone or two and using glue dots, I stuck each paper star randomly around the rusty wire wreath.
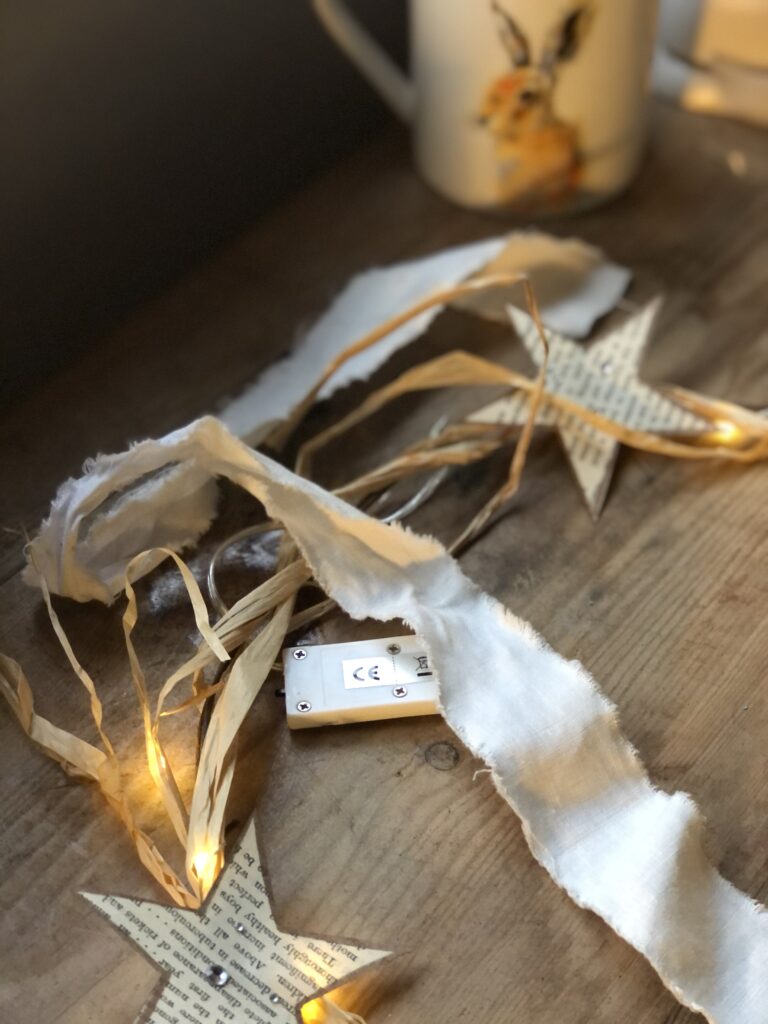
A recycled strip of rag ribbon was loosely wrapped around the light switch to hide the plastic and help with hanging et voila…
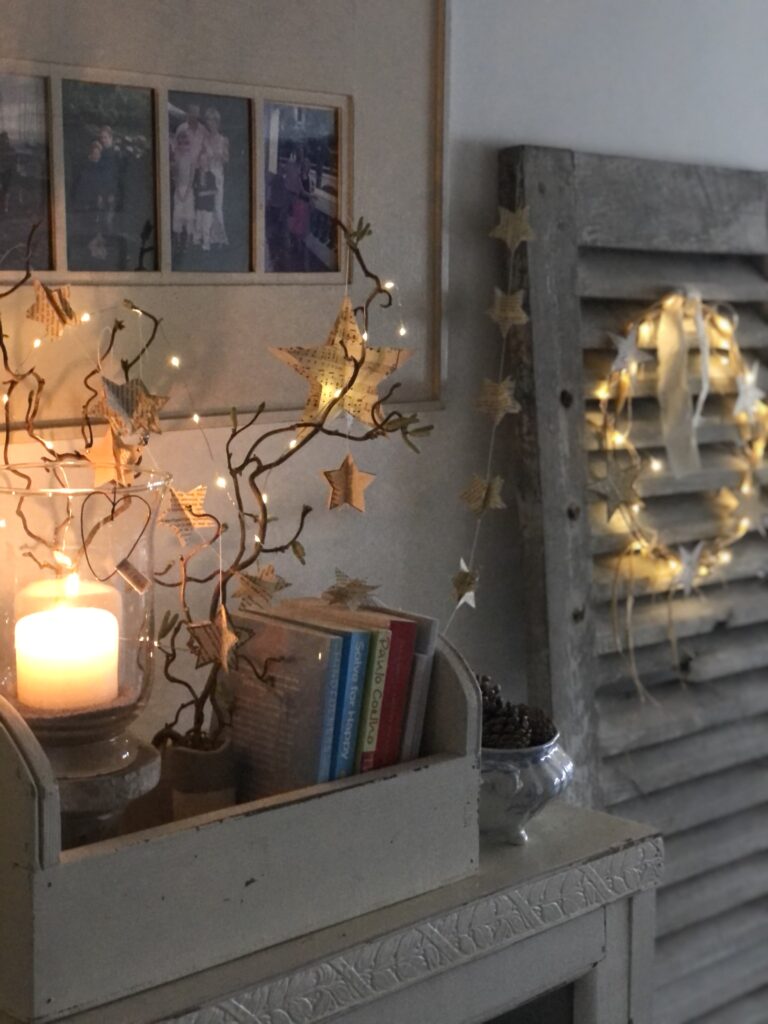
The process was repeated for a second rusty wire wreath since I liked the first so much and my shutters are now dressed and ready for their pre-Christmas party. I only wish I had remembered to use my music sheets since that was indeed the object of the exercise. Never mind, our secret.
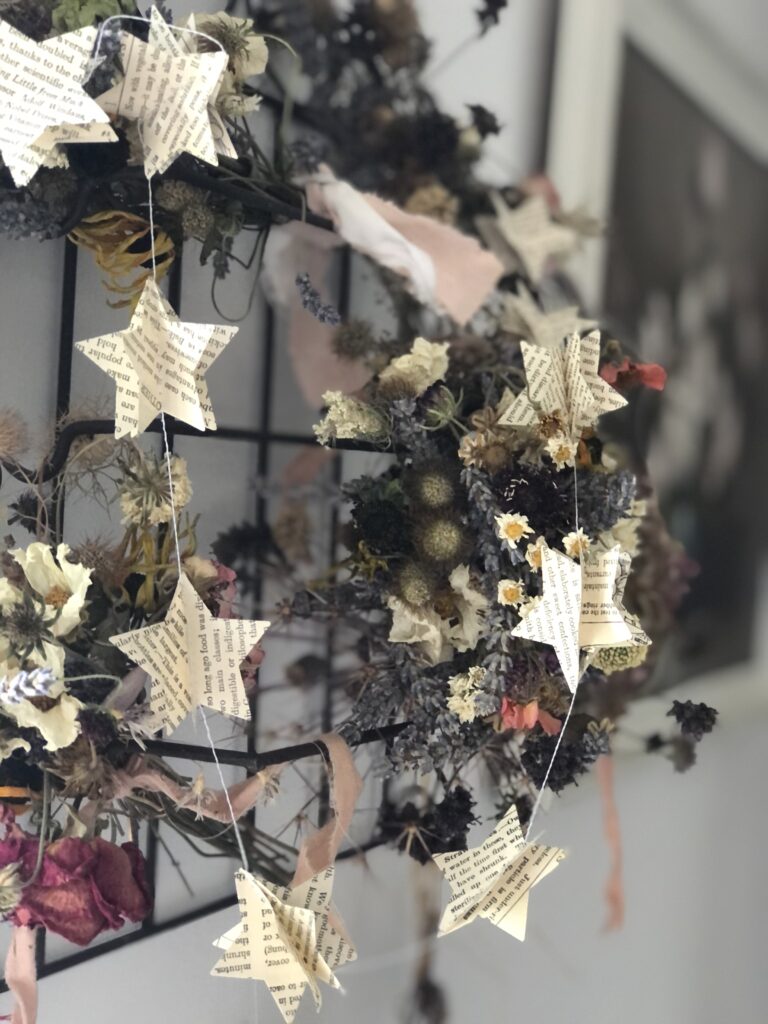
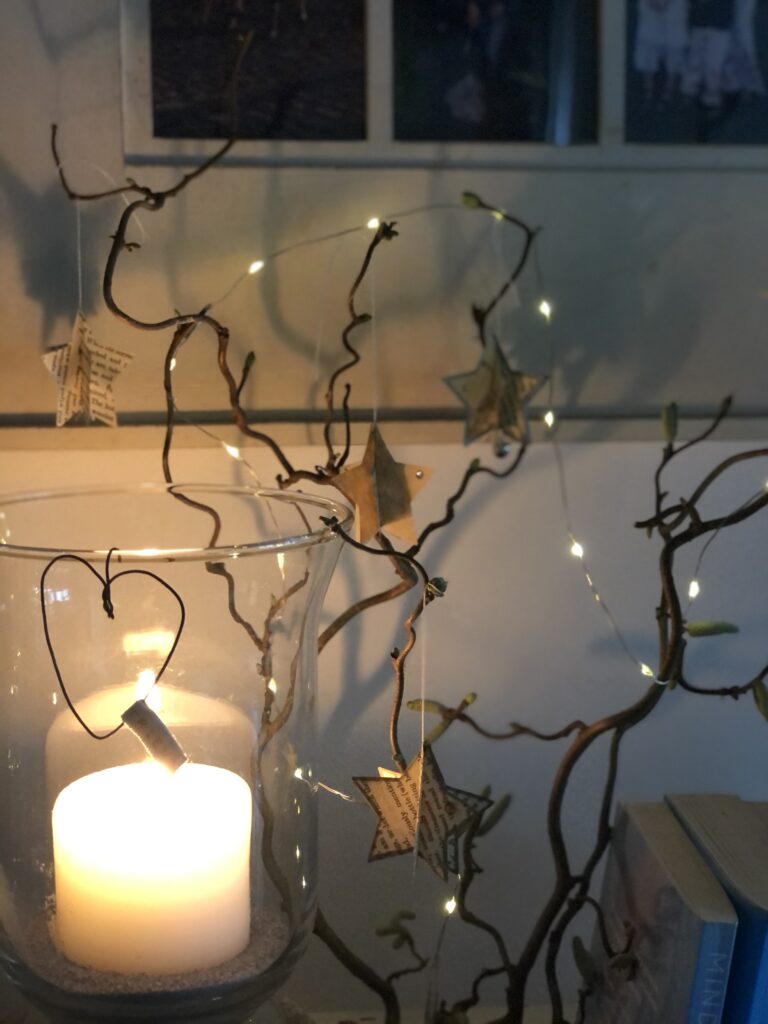
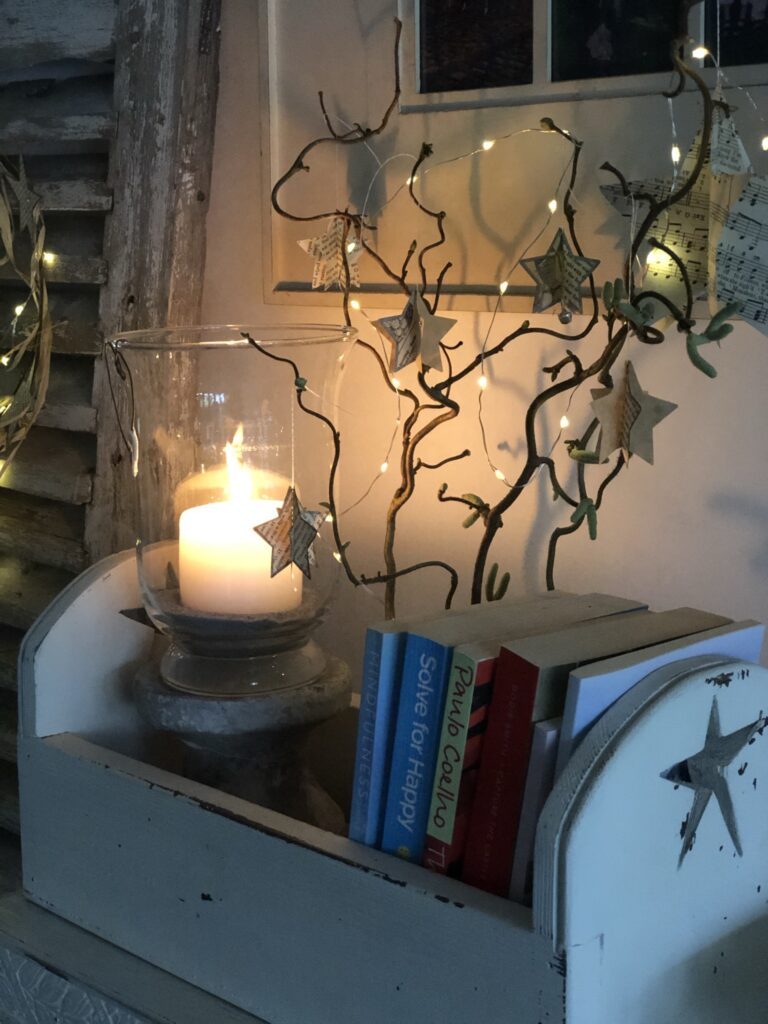
And finally, I snipped at Belle’s twisted hazel tree and gathered together the single 3D paper star decorations, the larger music sheet paper star decoration and my 3D paper star garland together with another set of trusty fairy lights and enjoyed some play time for a while.
So, whether bling is your thing or the plain and simple look is more for you, you will be limited here only by your imagination. You could stitch (or stick) a string of 3D or single paper stars to hang vertically at a window or sit horizontally along a bookshelf. You could wrap a garland of paper stars around plain fairy lights to brighten up a dark corner or you might try your hand at bio degradable table confetti – the perfect gift to pop inside a Christmas card for a friend or loved one. And if you don’t have your very own music sheets or mouldy book waiting for their creative moment, choose a festive paper to work for you.
Next week is the turn of my In Real Life monthly newsletter available only to subscribers, so if you aren’t one yet and you’d like to know a little more about what’s been going on behind the scenes at Whitewood and Linen and read of a few recommendations you might not be able to live without, you can subscribe in the box below. Until then…x





You are so welcome Ruth and thank you for your lovely message. The stars are so versatile and I think they offer a nice build up to Christmas for decorating in the home and in the grey months following. Have a happy week ahead lovely!x
So lovely, thanks so much for the inspiration Helen, your stars are perfect!
Thank you Alison for the suggestion! I so enjoyed making all these star crafts and had my music playing and a gorgeous candle glowing, very festive indeed. I’d love to see what you make if you are happy to share! Happy crafting x
Did you notice the star punch is highlighted to take you to Amazon to purchase one Alison? They have a variety of sizes too to choose from x
I’ll be on the lookout for a star punch too.x
Thank you so much for this Helen. I’m going to enjoy cutting out these stars by the fire tonight.
Thank you so much Wendy, I’m so pleased you enjoyed the blog today!x
Sooo very pretty!!!🥰🥰🥰 Thank you!@
Ahh and thank you for your kind message dear Jo, I hope you are well. Every one needs stars in their world at the moment don’t they? I wonder what beauty you will make with yours, much love to you!x
Oh yes you must have a star cutter for the process Eunice. I grew very bored one year snipping away and pondered the need for one; never looked back. It’ll be out year after year since there will never be enough time for the great many star crafts out there, enjoy crafting your very own garland and thank you for your lovely message!x
Thank you Helen for another lovely cozy craft, yes I definitely see some of these in my future! 🌟🌟🌟🌟🌟Xxx
I love these stars, especially the Garland! The realisation that there is actually a star punch is brilliant news as in the past I have spent hours cutting out stars with scissors. Thank you so much Helen. x
Ahh bless you Mel, thank you for your lovely message. The wreath is so effective isn’t it? There are several sizes of that cutter, one slightly bigger and more like the template size so have a good look, much love and I look forward to one day sitting at Virginia’s or Belle’s cutting out and creating together!x
Oh I love these, especially the wreath, which is 😍😍😍! But they are all such good ideas! And needless to say, I’ll definitely be buying that star cutter! xxx
I’m so pleased you love the stars darling, we all need a little starlight at the moment and this is my contribution. Love you xx
Oh I simply LOVE THIS! Twinkly joy on a Thursday morning, how gorgeous is that wreath?! Loving the 3D stars and what a perfect time for them too!! Looking forward to In Real Life next week that always makes me chuckle! A fabulous post as always xxxxxx