“You’ve got a drip” he said, so naturally I turned to the mirror to check “no, a paint drip, on your Lazy Susan” he said gesturing at today’s up-cycle. I know he only tries to help. As I’ve mentioned before, he is a perfectionist, I am not. He preps, I don’t. Besides I like the distressed look. It covers up imperfections which of course wouldn’t be there if only I did what Mr M says you should do right at the start of upcycling projects. I think that is maybe why I have so much masking tape in my craft cupboard; I mean does anyone use that stuff?
Recently I took a trip to our local charity shop seeking a tall thin vase which of course is rather silly since rarely do I find what I seek at a charity shop. More often I find items I cannot possibly live without and quite often they all manage to find their way back home with me. This recent trip was as I describe and this Lazy Susan was amongst my haul. Of course I managed to convince myself it was just what I needed. Well for £2 wouldn’t you? This is probably one of my favourite upcycling projects.

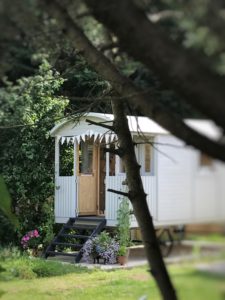
Our current garage is a storage cum dumping area. When we renovate and build however it will become my craft studio. I am extremely fortunate to have Belle of course and she is my sanctuary. I couldn’t possibly paint and distress in my Shepherds Hut could I? So a craft studio is a must in which I shall make creative mess; the type of mess which is absolutely acceptable. And that is where this little beauty comes in…
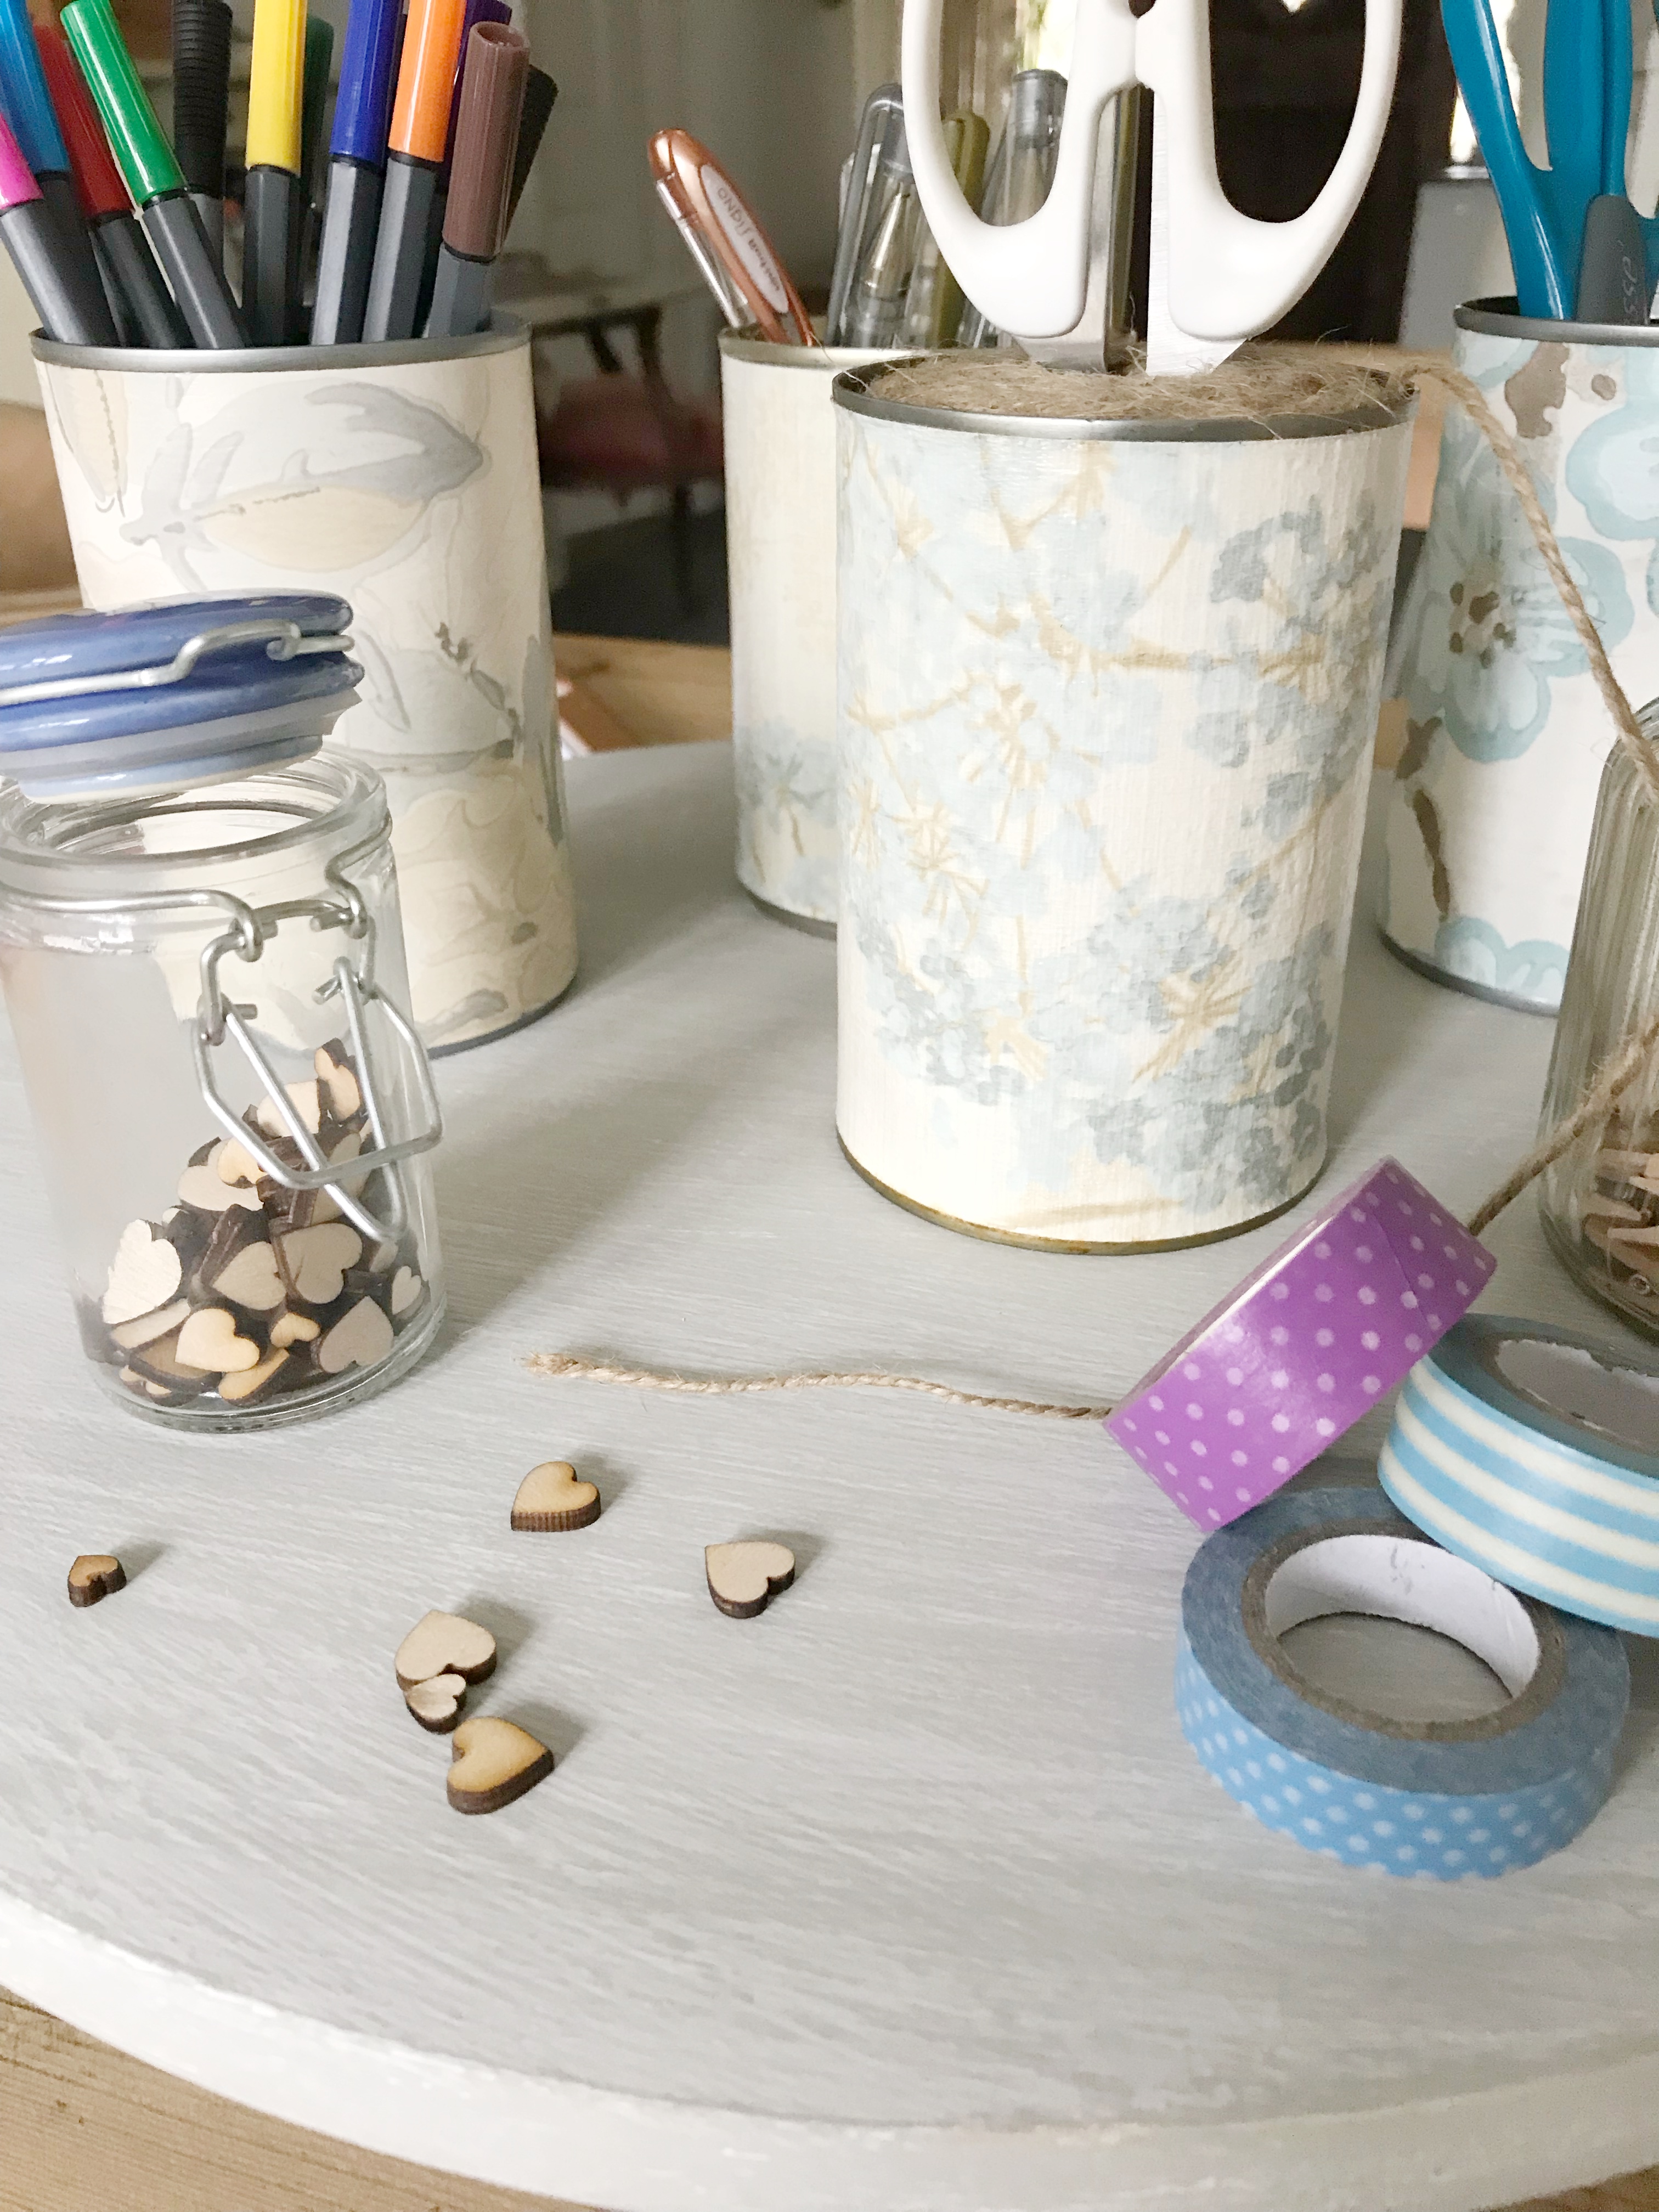
You join me after the Lazy Susan has been washed, primed and painted in two coats of Farrrow and Ball’s Hardwick White (left over from this project). Then in a change of painting style for me, she has received a very diluted coat of this chalk paint for further signs of ageing.


Finally I’ve distressed and waxed, the technique is here if you would like to know more and she’s just about ready for her moment.


Before the Lazy Susan moment though, I thought you may like to know a little about these four containers. Created from old baked bean tins, they are wrapped in wallpaper samples and topped off with a coat of craft glue to protect and seal. I made these a while back and they’ve more than earned their keep as decorative storage in the home and more recently at Belle’s. Now that really was an easy and rewarding rain day project.


And now they are paired with my reinvented Lazy Susan which I shall refer to from now on as my Crafty Susan. A much kinder name I think. And for little more than a few pounds, I am extremely happy with this pretty and functional addition to my craft studio. Which I don’t have yet. I do believe it pays to be prepared though, don’t you?x


This blog is full of upcycling projects have a look around…





Ha Ha Little Miss, I guess we will see if your brother reads the blog regularly now wont we?!x
Thank you Sally, It’s very useful for us crafty ones! I do hope you will be reading next weeks post too… you may just recognise a few things!x
Thank you my lovely friend x
All as wonderfully creative and beautiful as ever. Xx
Helen,I just love it. Something I always wanted years ago !
“You’ve got a drip”….are you sure he wasn’t referring to ‘Master M’?!
Brilliant blog! I use so many of your storage tips but my cupboards look no where near as beautiful as yours! In fact I’ve never seen a cupboard look as beautiful as yours!!!xxx