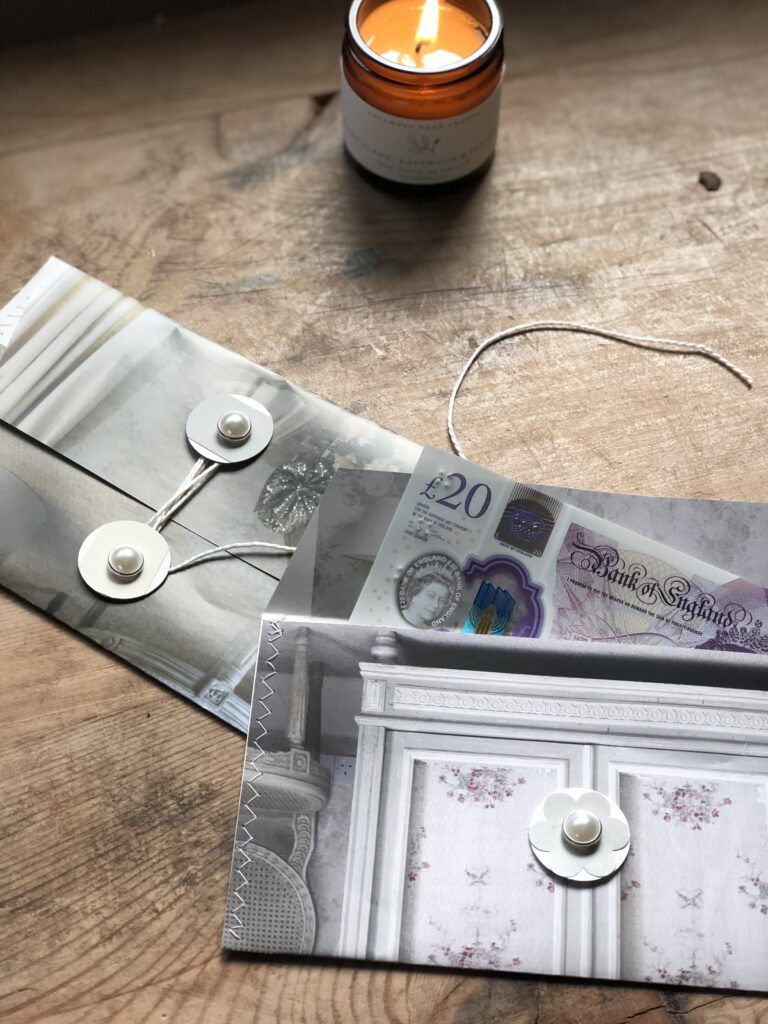
Do you find yourself gifting money or cheques for loved one’s birthdays and ‘that other time of year I dare not mention just yet’? Certainly, as the children in our family grow older, it becomes more difficult for me to buy them something they would like and they prefer choosing for themselves and I understand that. I would have no trouble gifting something I like, not the point though is it? Yet a cheque or cash in a card always feels a little like an impersonal cop out to me and these days I can even transfer the money directly to their accounts making the whole act of giving, almost a non-event. Money pouches seem to me an appropriate way to personalise cash, although the shop bought versions I’ve come across cater for the masses with the standard ‘for you’ emblazoned on the front. And always with the addition of glitter, generous quantities of glitter and you know of course about me and glitter. I thought between us we could do so much better. Do join me today as I create homemade money pouches, the Whitewood and Linen way…
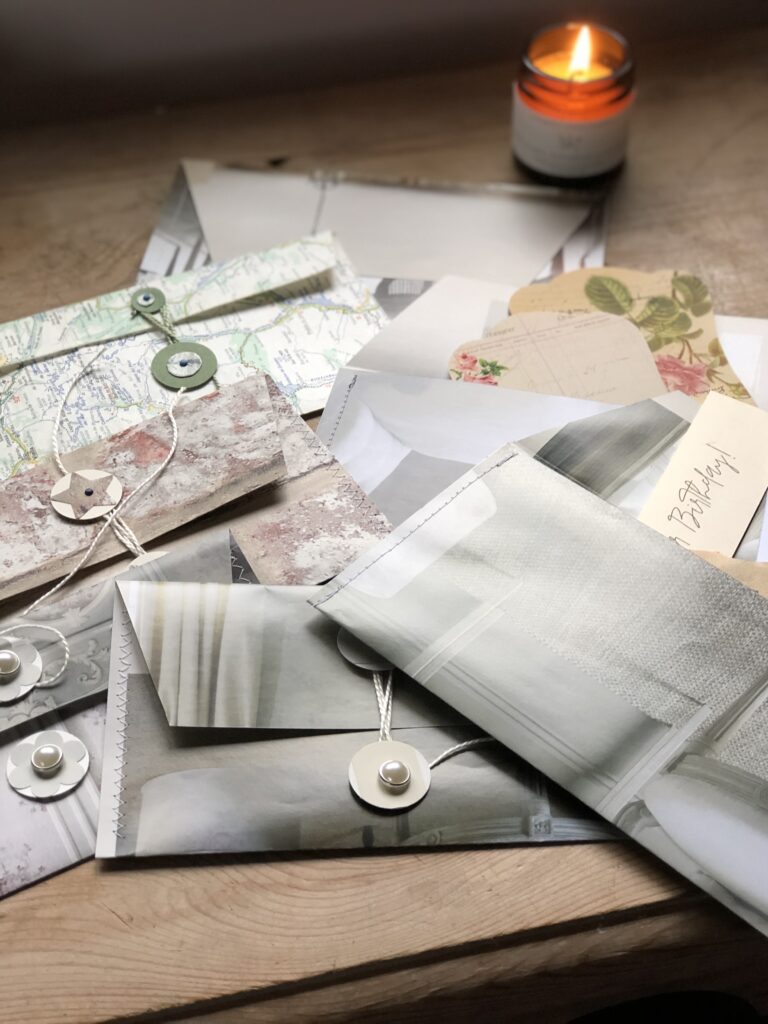
Yet again I type the words, inexpensive, treasures in your stash, zero waste and good for our world and our souls. And these homemade paper money pouches on my craft table are made of such stuff. And yet again, they are open to all manner of interpretation and they take only minutes to make.
You will need:
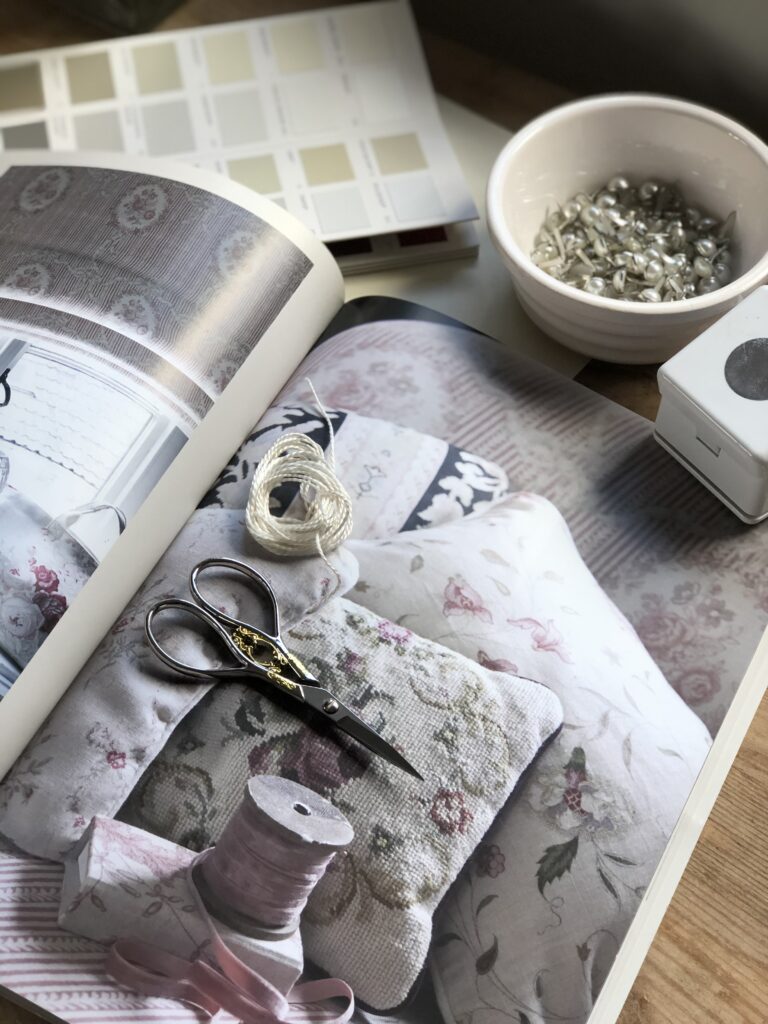
- A beautiful glossy interiors magazine – or wait to see my alternatives below
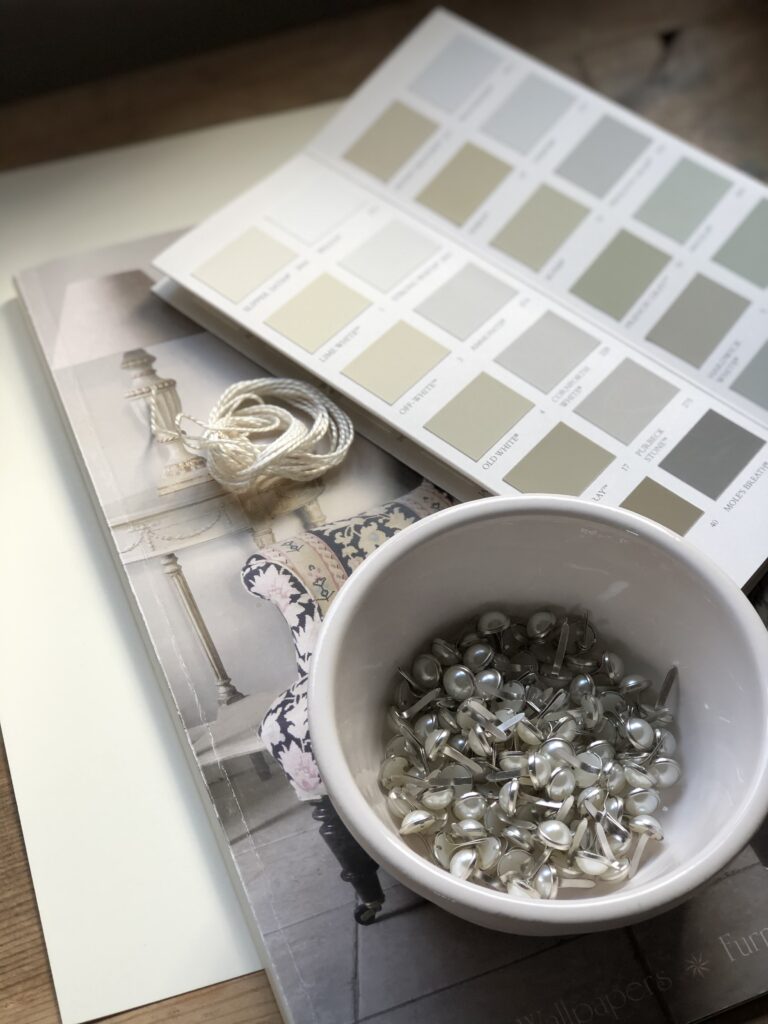
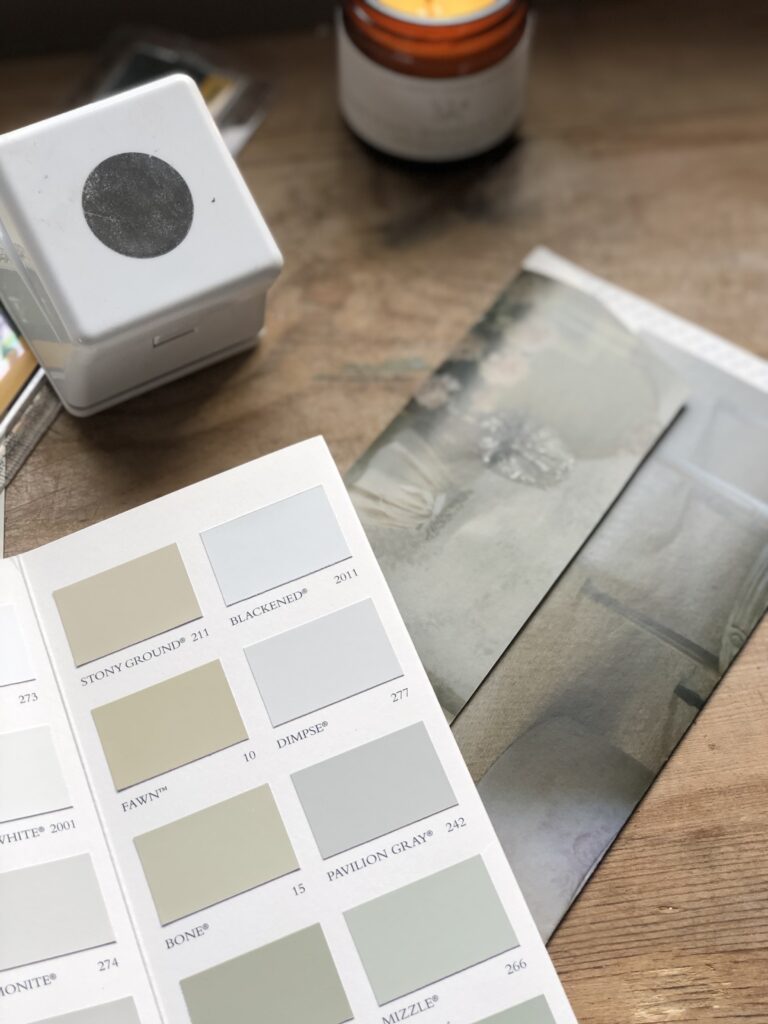
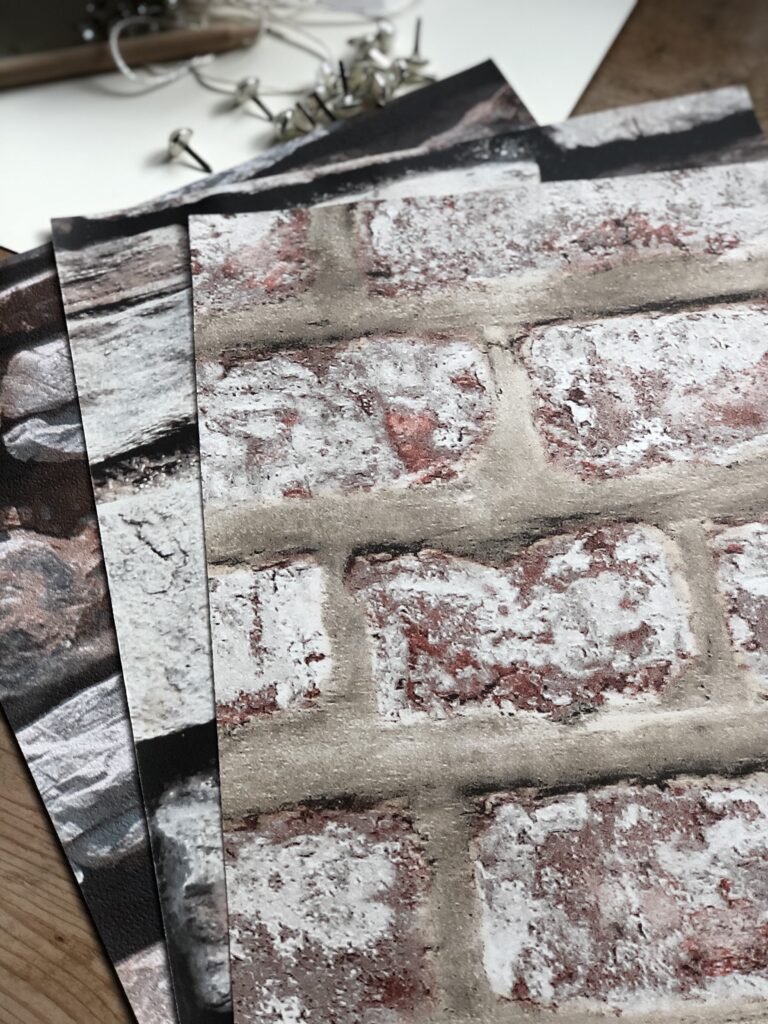
- A house paint sample chart – or pretty used tissue box cover, or complimentary coloured card
- Strong embroidery thread – or thin twine
- A circular hole punch – or small circle template
- Brads – referred to in our home as “you know, those pins that open up and hold papers together and look pretty”
- Your sewing machine… a machine is not compulsory, you could use craft glue or a glue stick instead
- Scalpel – or scissors
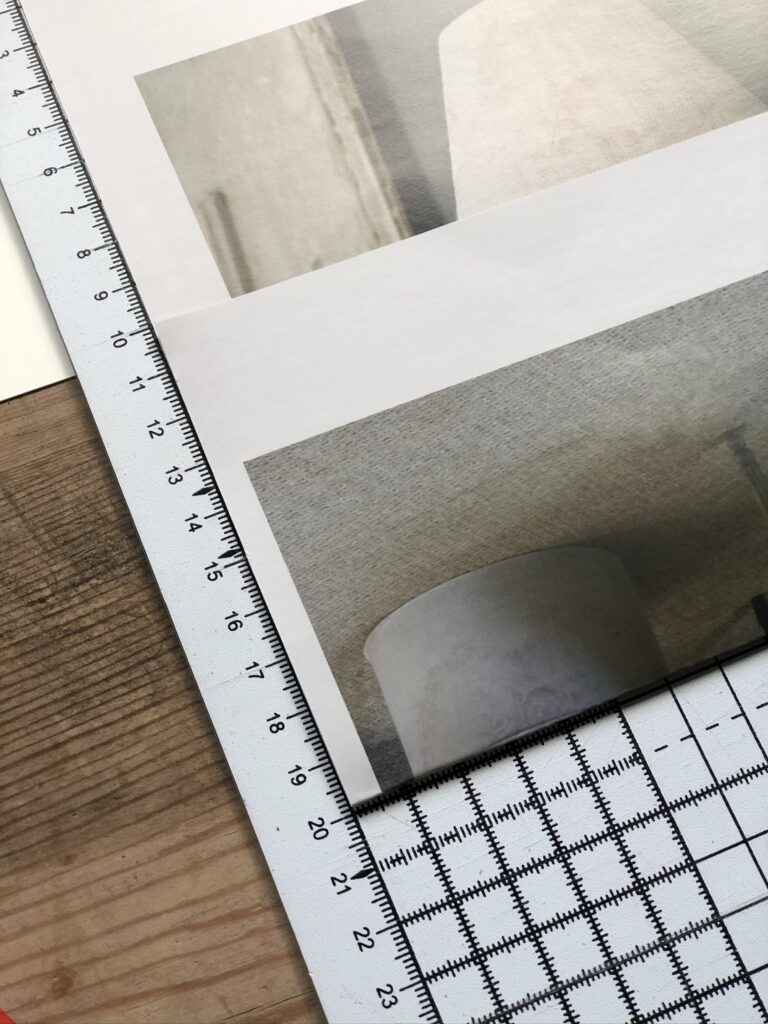
- Ruler – or straight edge
- Cutting mat – or alternative table top protection
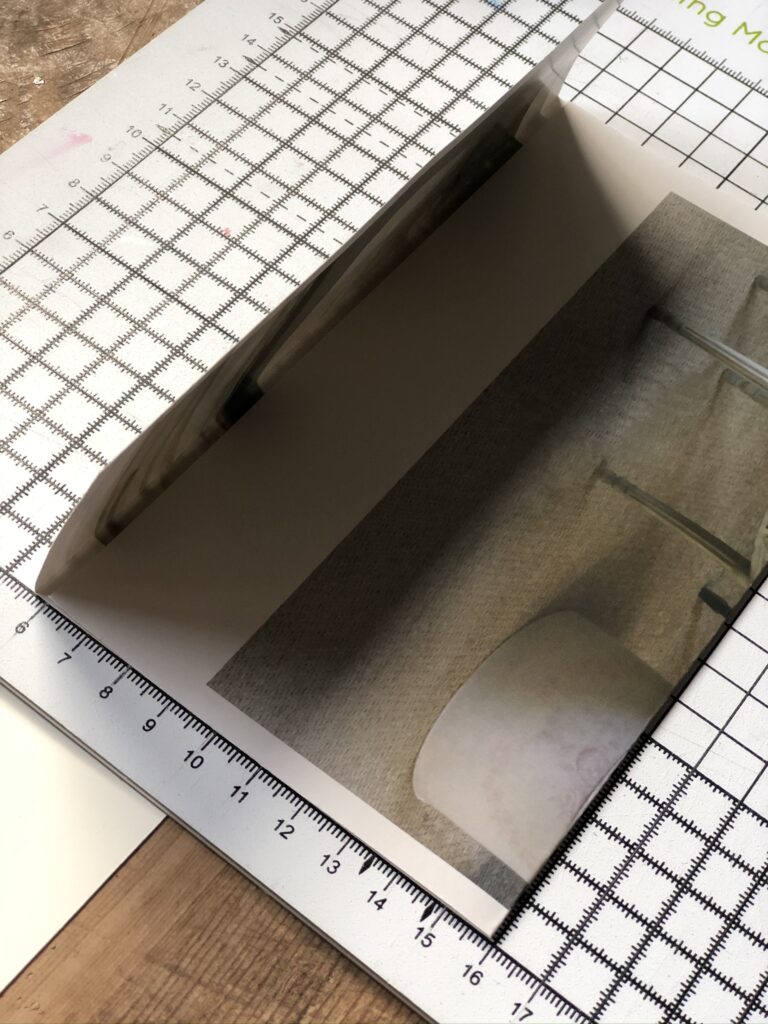
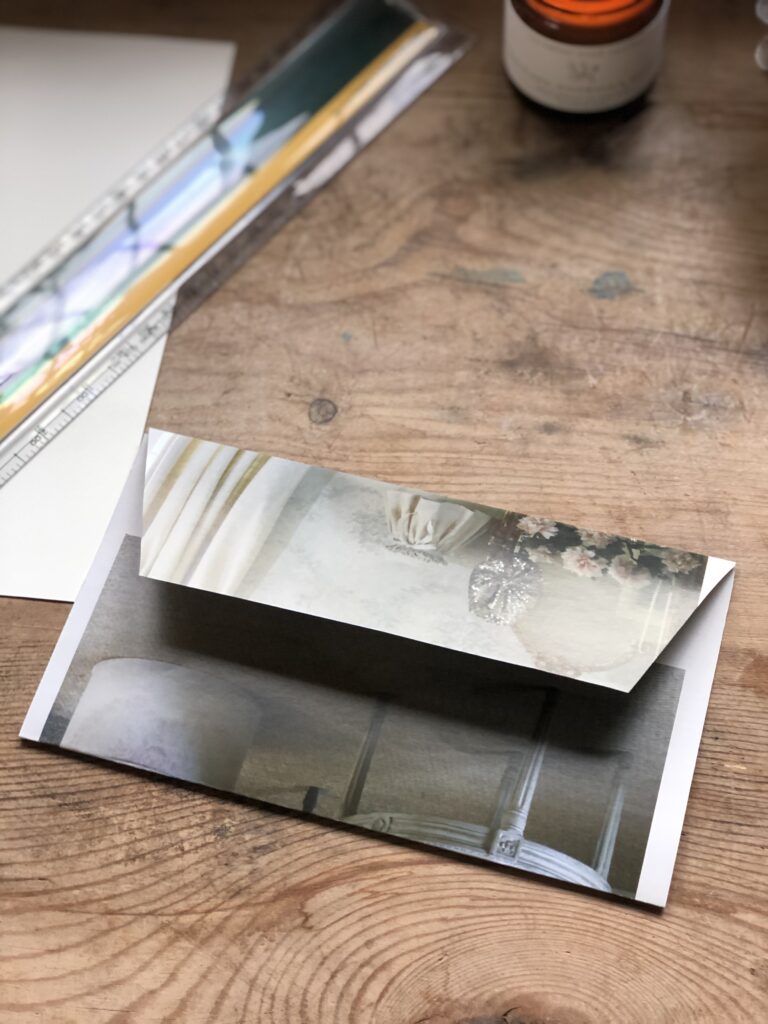
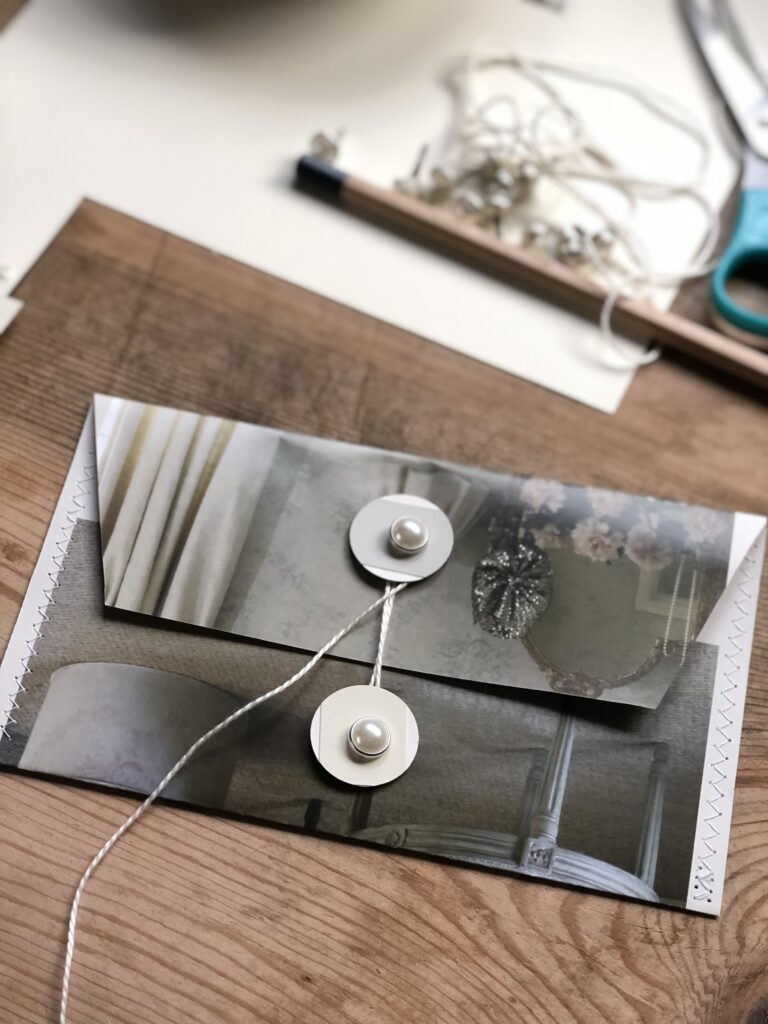
Firstly, determine the size for your finished money pouch. There are no rules here, I simply worked backwards taking a £20 note as my guide ensuring there was enough room for it to sit snugly along with a handwritten card. My page was trimmed accordingly and the bottom edge was folded up an appropriate ten centimetres . The top half of the page was then folded over to create a fastening flap.
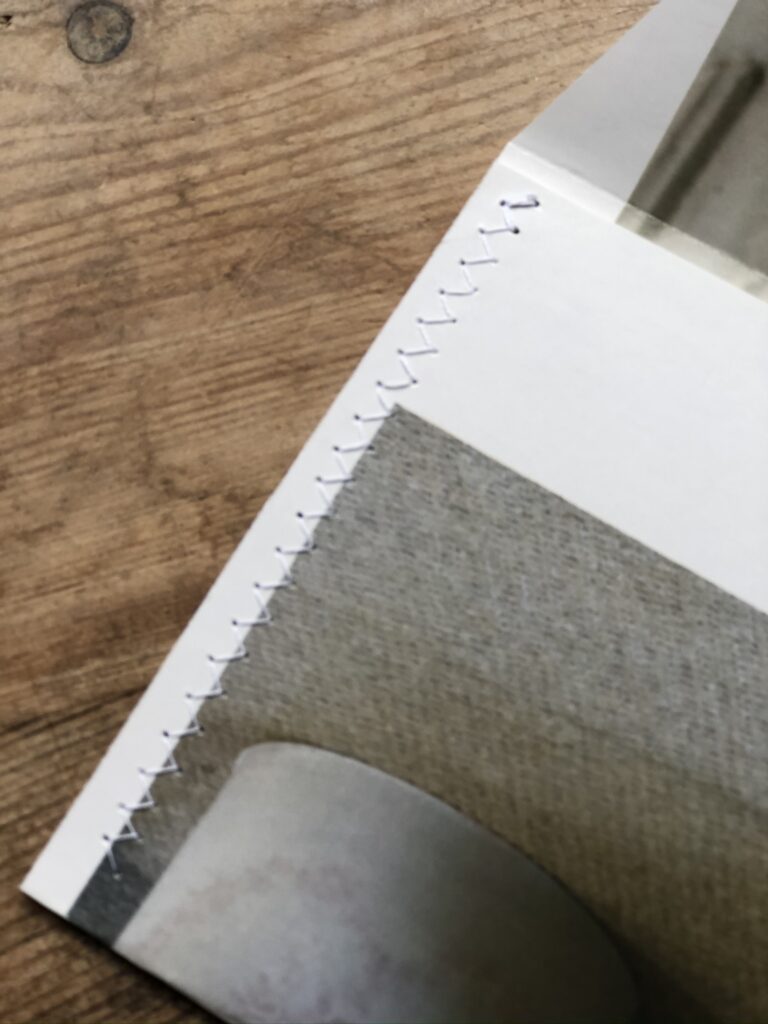
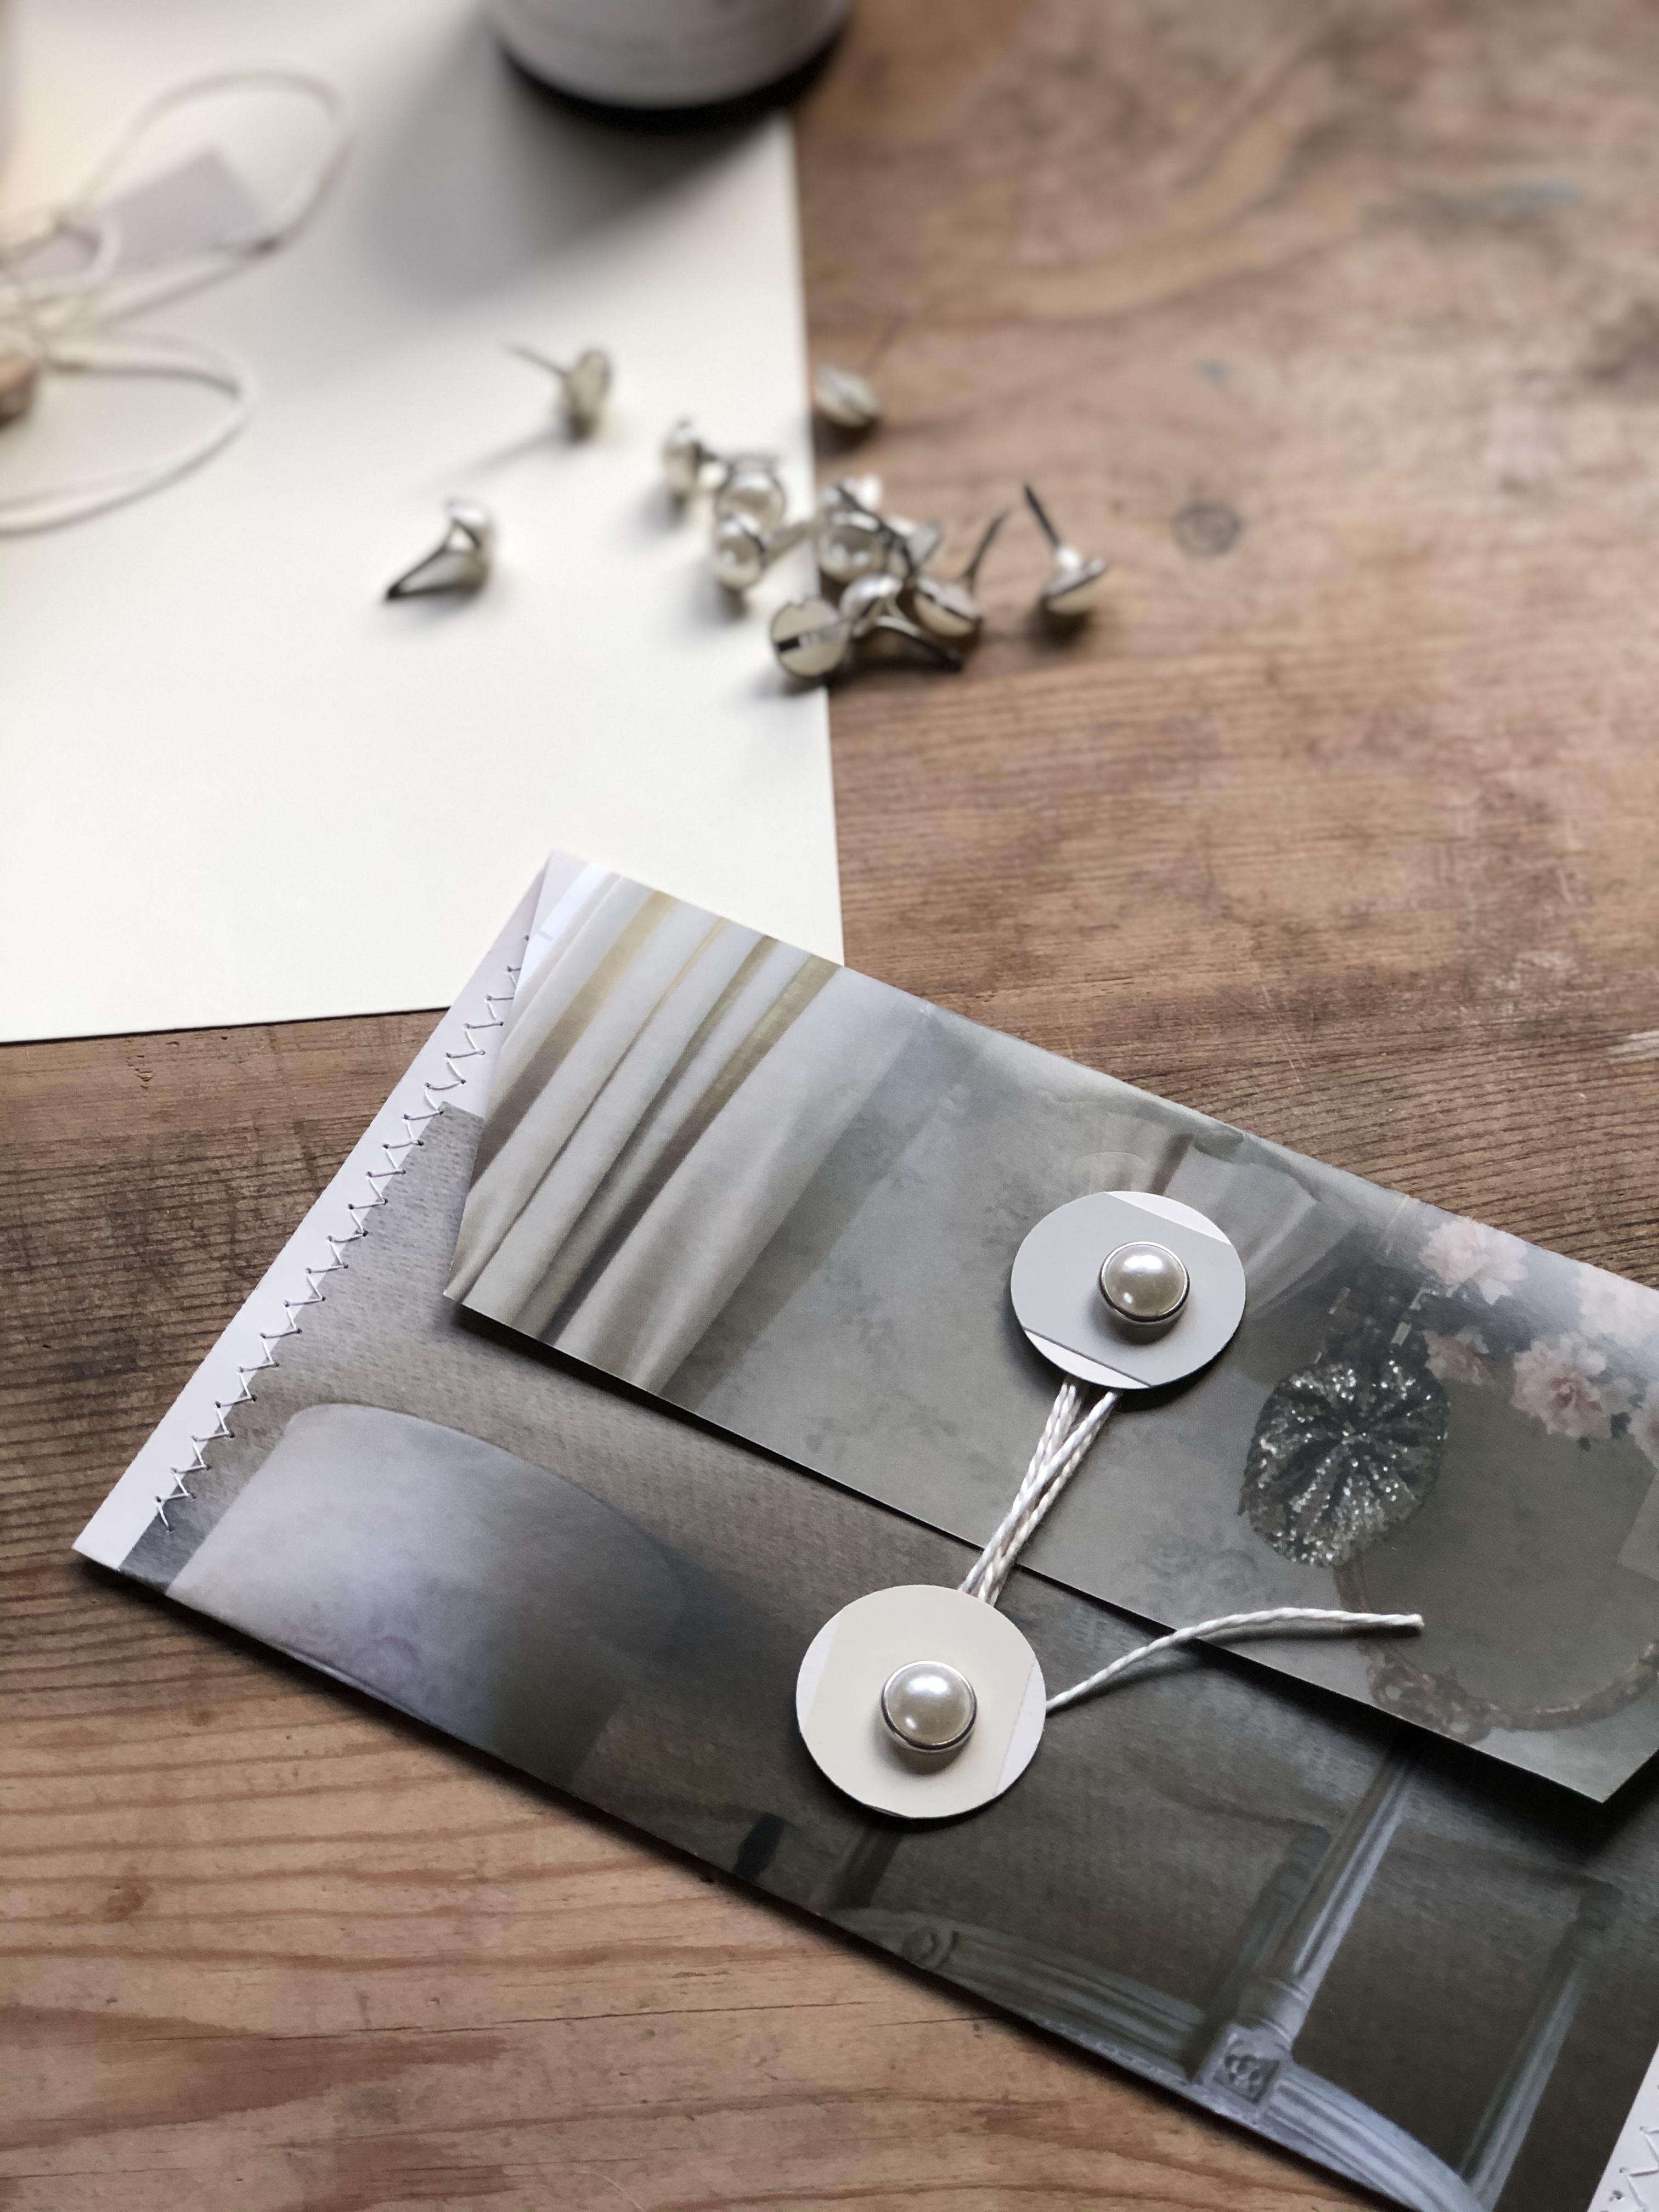
I trimmed the flap a little each side to make the homemade money pouch a little more envelope like and stitched up and down the sides with a zig zag stitch. Use craft glue or glue stick here if you don’t have a machine.
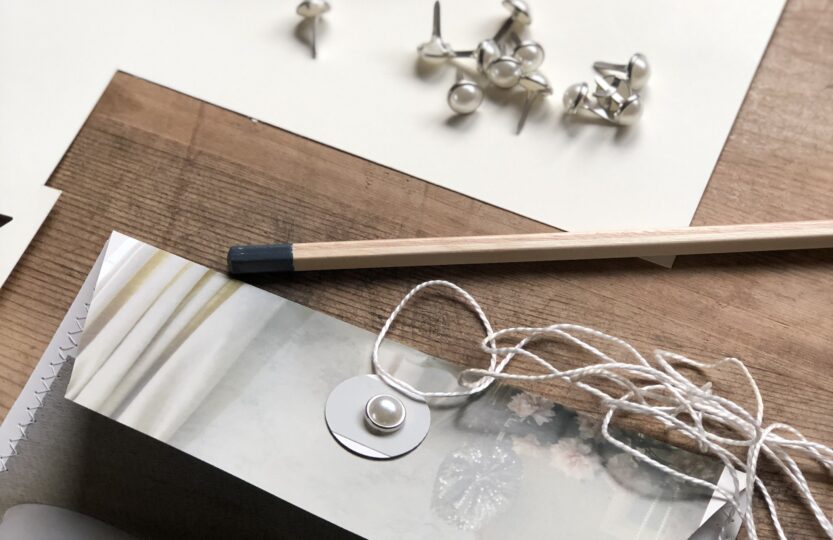
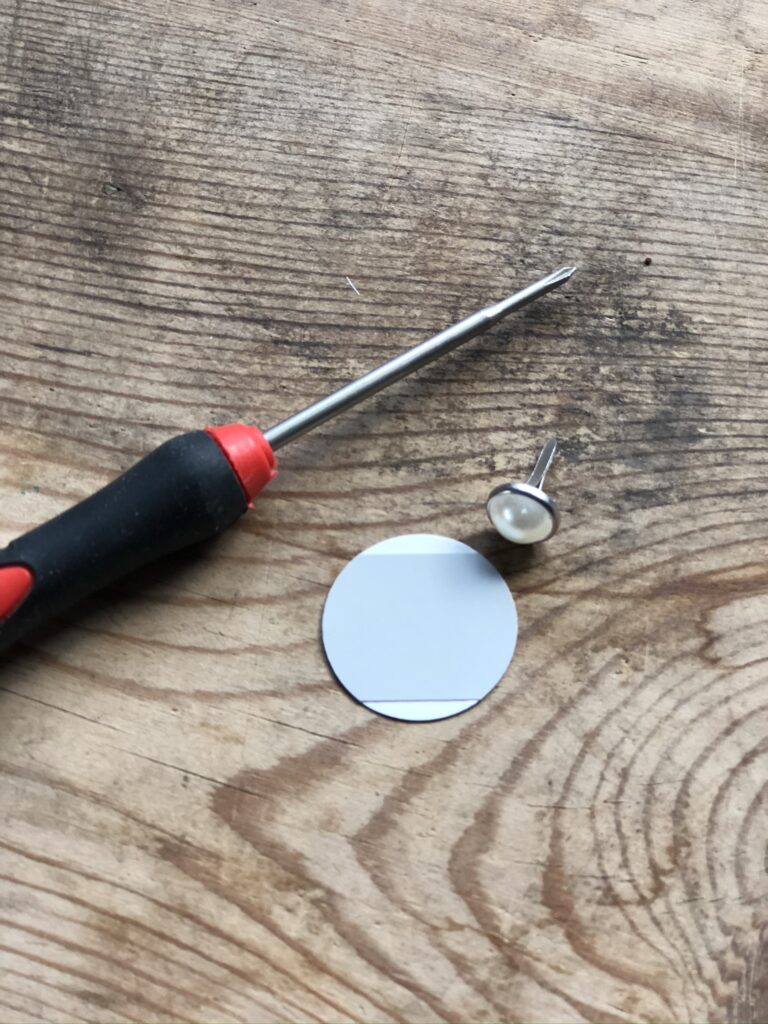
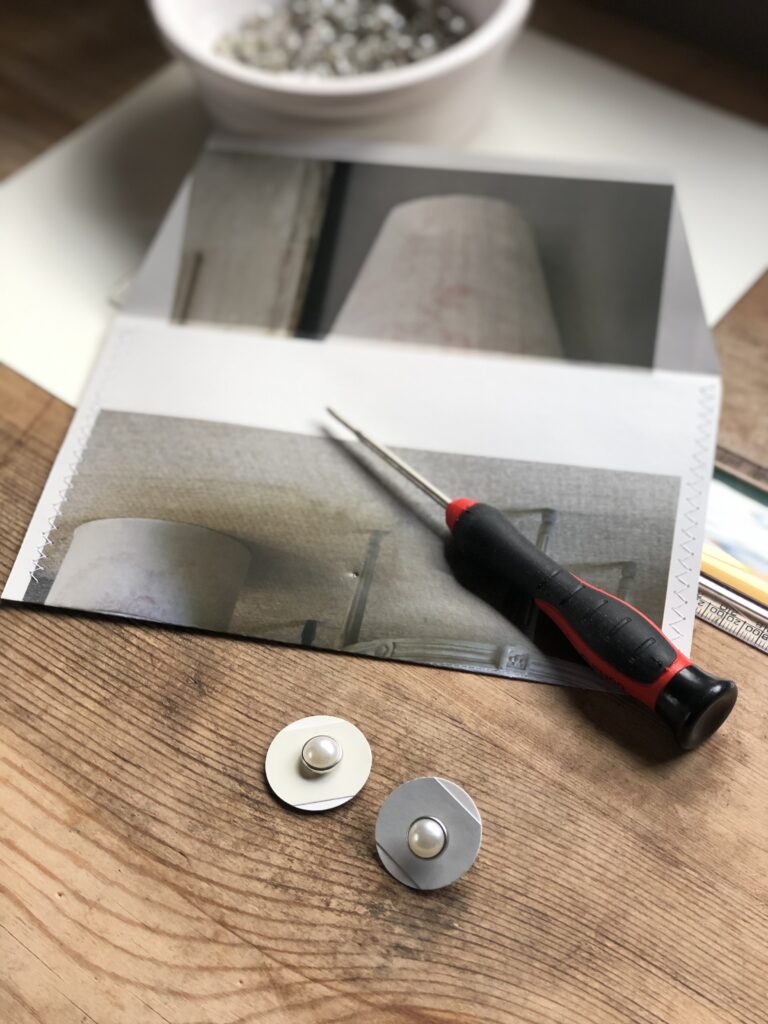
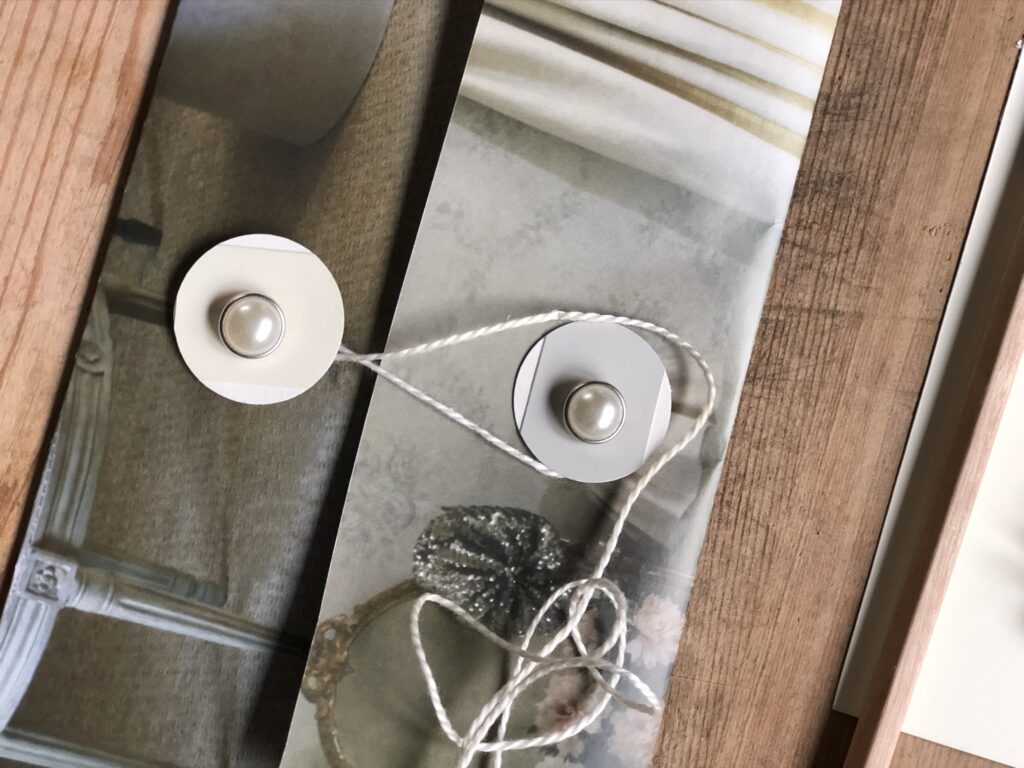
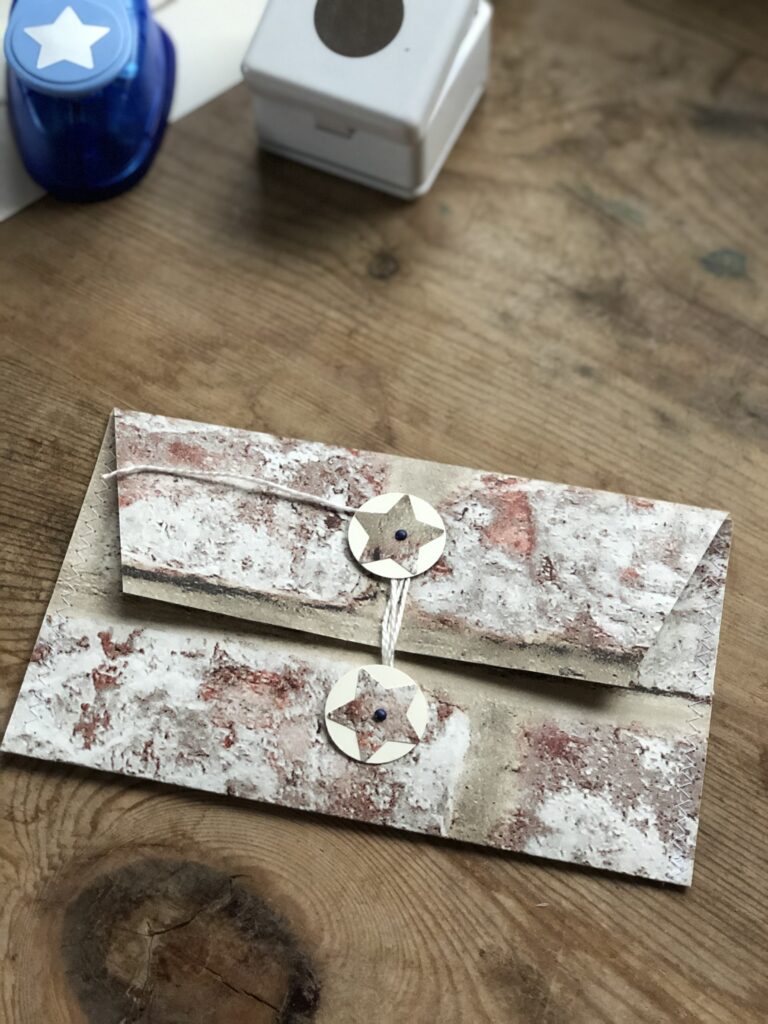
Now to make the paper buttons. I used my circular hole punch to cut out a complimentary paint colour from my chart. Next determine the centre (ish) of your button, make a tiny hole – I used Mr M’s thinnest screwdriver – and push the brad through the hole to create a decorative middle for my paper button. Repeat as you will need two paper buttons.
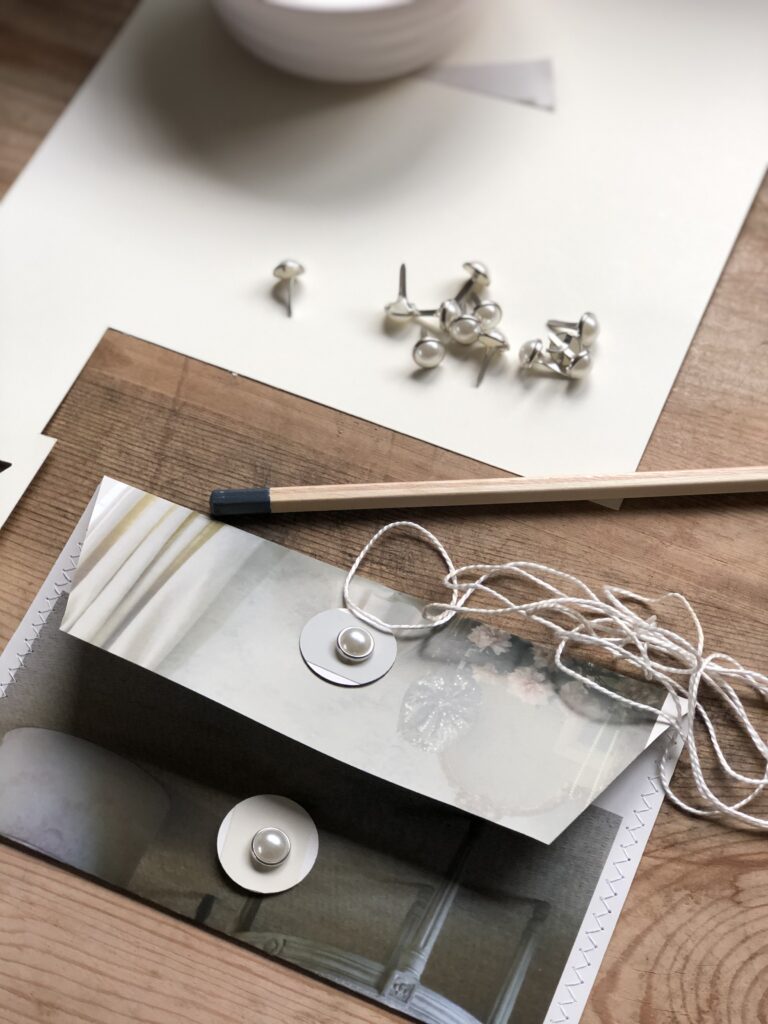
Determine the position of each button on your money pouch and make a small mark with your screwdriver and then everso carefully so as to not tear the pretty paper, push the brad through the mark. Open up the two prongs of each brad to secure the paper buttons in place.
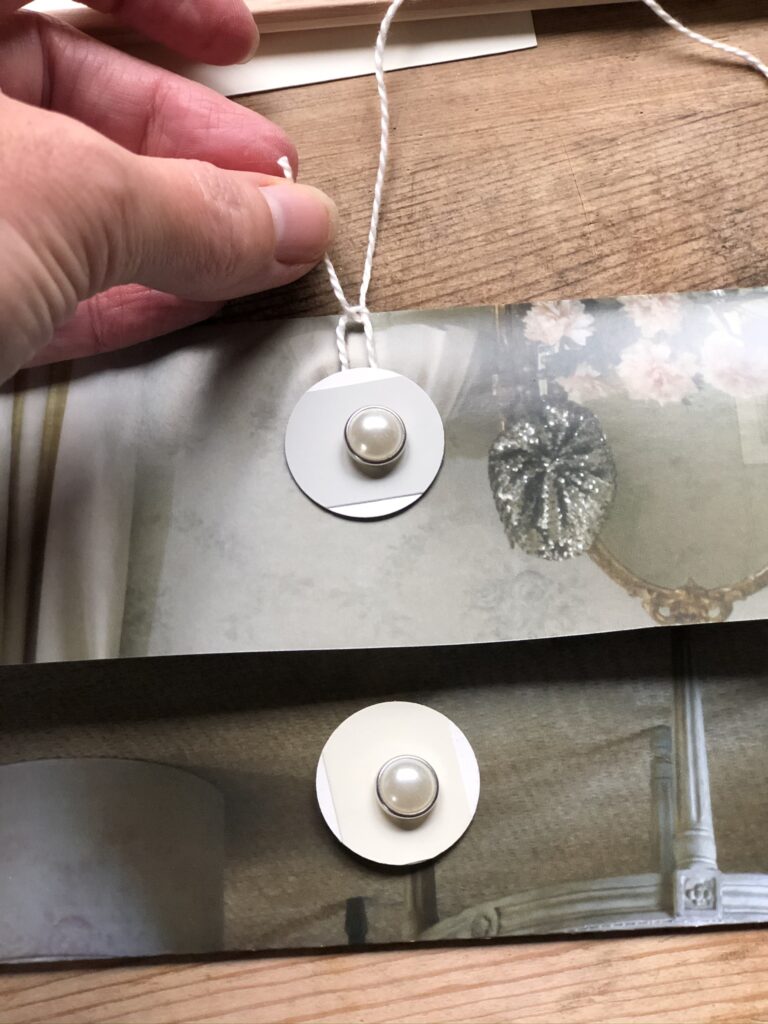
Finally, take a length of twine and wrap once around one paper button and secure in place with a double knot. Add your gift and perhaps a little note and following a figure of eight sequence, wrap the thread around both paper buttons a couple of times to fasten, then trim your thread. Perhaps your thread will have dingle dangles too. You could even use lightweight buttons instead of the paper variety if you liked maybe secured carefully with a few stitches.
These homemade money pouches do not have to be solely for money of course. You could add different sizes and designs to the pages of your journal. Or make use of a few in the craft room to house ephemera you need close to hand for your projects as I shall be doing. And handmade money pouches don’t have to be made with beautiful glossy pages.
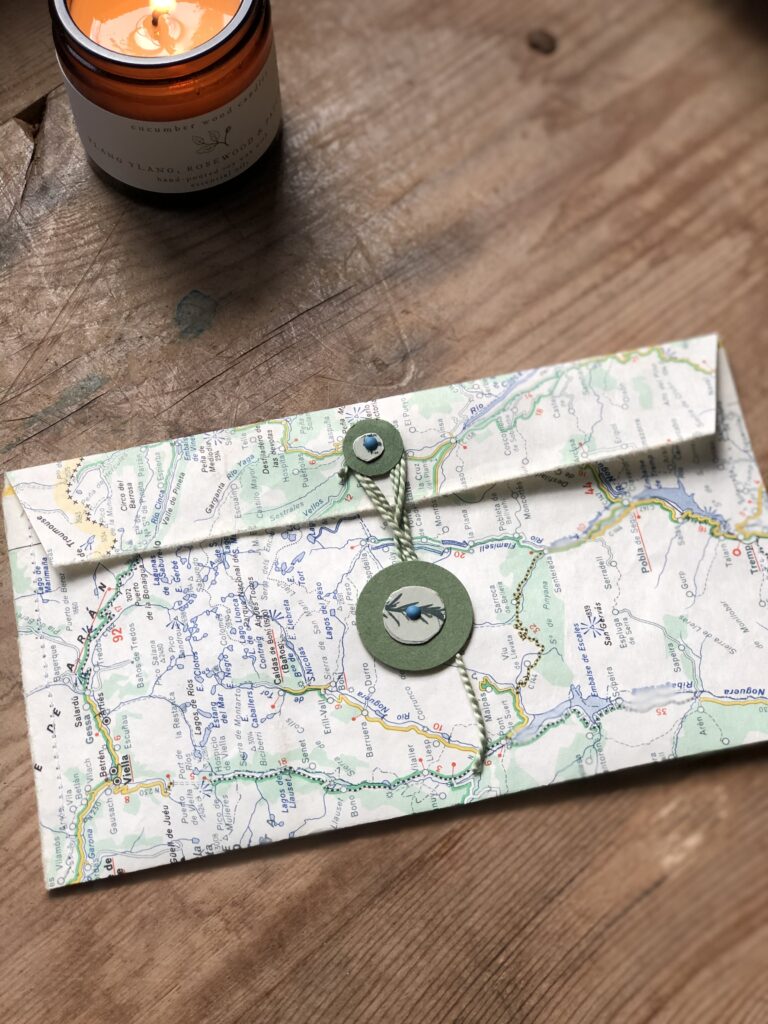
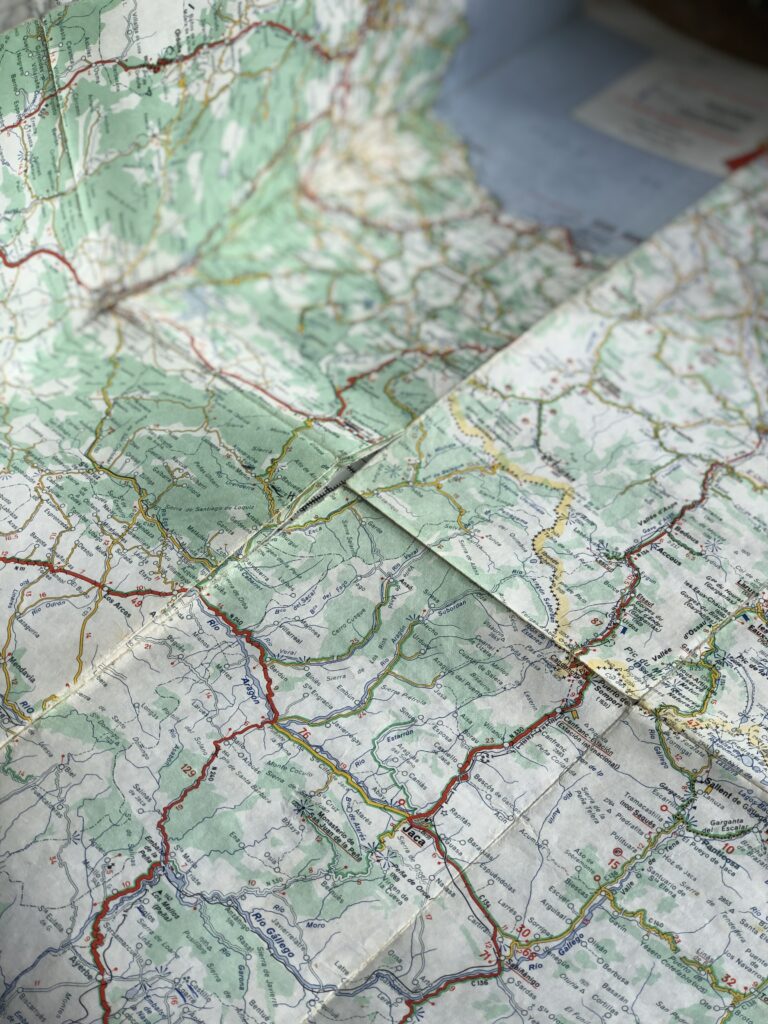
A travelling friend might appreciate theirs crafted from a vintage map. Here I tried different size buttons made simply from card stock and a pretty used tissue box…
And a housewarming gift could be received in a paper money pouch made from an old wallpaper sample…
And just imagine the endless possibilities for children and christenings, weddings and anniversaries, gardeners and avid readers. We could be here a while. Do you like this idea? If you make your own, do share either here or over on my Instagram account; I’d love to see your interpretation of my homemade money pouches. Next week’s craft is so unbelievably resourceful, I promise you I squealed with delight at its creation… until then x
You’ll find another simple paper craft here and this one could be adapted to create a marvellous autumnal wreath…






Thank you Julie, so do I! Perfect for a travelling student – should they ever get to travel again that is! There are limitless possibilities with this one, car enthusiasts, gardeners, teenagers, toddlers. Thanks for your kind message, I’m so pleased you’re enjoying the blog as I am yours x
Such a creative and thoughtful idea! Love the map one!
Oooo maybe we have an idea for your salon vouchers at Christmas time in the making? So pleased you like it darling, you might as well choose the one you’d like for your present!!x
Oh that is fabulous that straight away you know where one is going! I love this craft (I think I may say that about them all) it is so quick, so pretty and so useful. And do you know what my friend? It will be our fault when they start charging us for these paint sample cards… I may have a few myself!x
What an AMAZING idea! I love stitching on paper it always feels so luxurious, this is also great because a lot of Vouchers you now print off at home and I hate putting the A4 paper folded in a card feels a bit half hearted…absolutely brilliant you clever one! Xxxxxx
Well Helen!
Wow what another perfectly curated blog post. Another to add to my list of projects to try when I find a spare hour or two. I will never again throw away a paint sample chart( which I think I have a slight obsession with. I can ever walk past one, even though I know I have loads at home in the drawer😬) The uses for this simple craft is endless. I think I may have to make one to send to Australia. Xx