Happy Thursday everyone and a huge thank you to you lovely people for getting in touch in a variety of ways, to tell me how much you are enjoying the blog. I could not be happier to have you all here each week. I love the start of a New Year with all its hopes and dreams for the coming weeks. It’s the perfect time for endless lists of projects, goals and to create to-do lists galore. And I enjoy the warm candlelight I seem to have in my home from dawn til dusk, helping natures gift of light which seems to be struggling a little right now. Generally in my home, I tend to favour a neutral backdrop and use a lot of cream and grey hues in my decoration. Yet right now, I find myself craving a pop of colour. When this happens I look to flowers, fresh or faux and in particular at this time of year, spring bulbs to brighten up my home. So this week I’m going to show you another quick and inexpensive way to add colour to your homes during the darker days and weeks ahead…
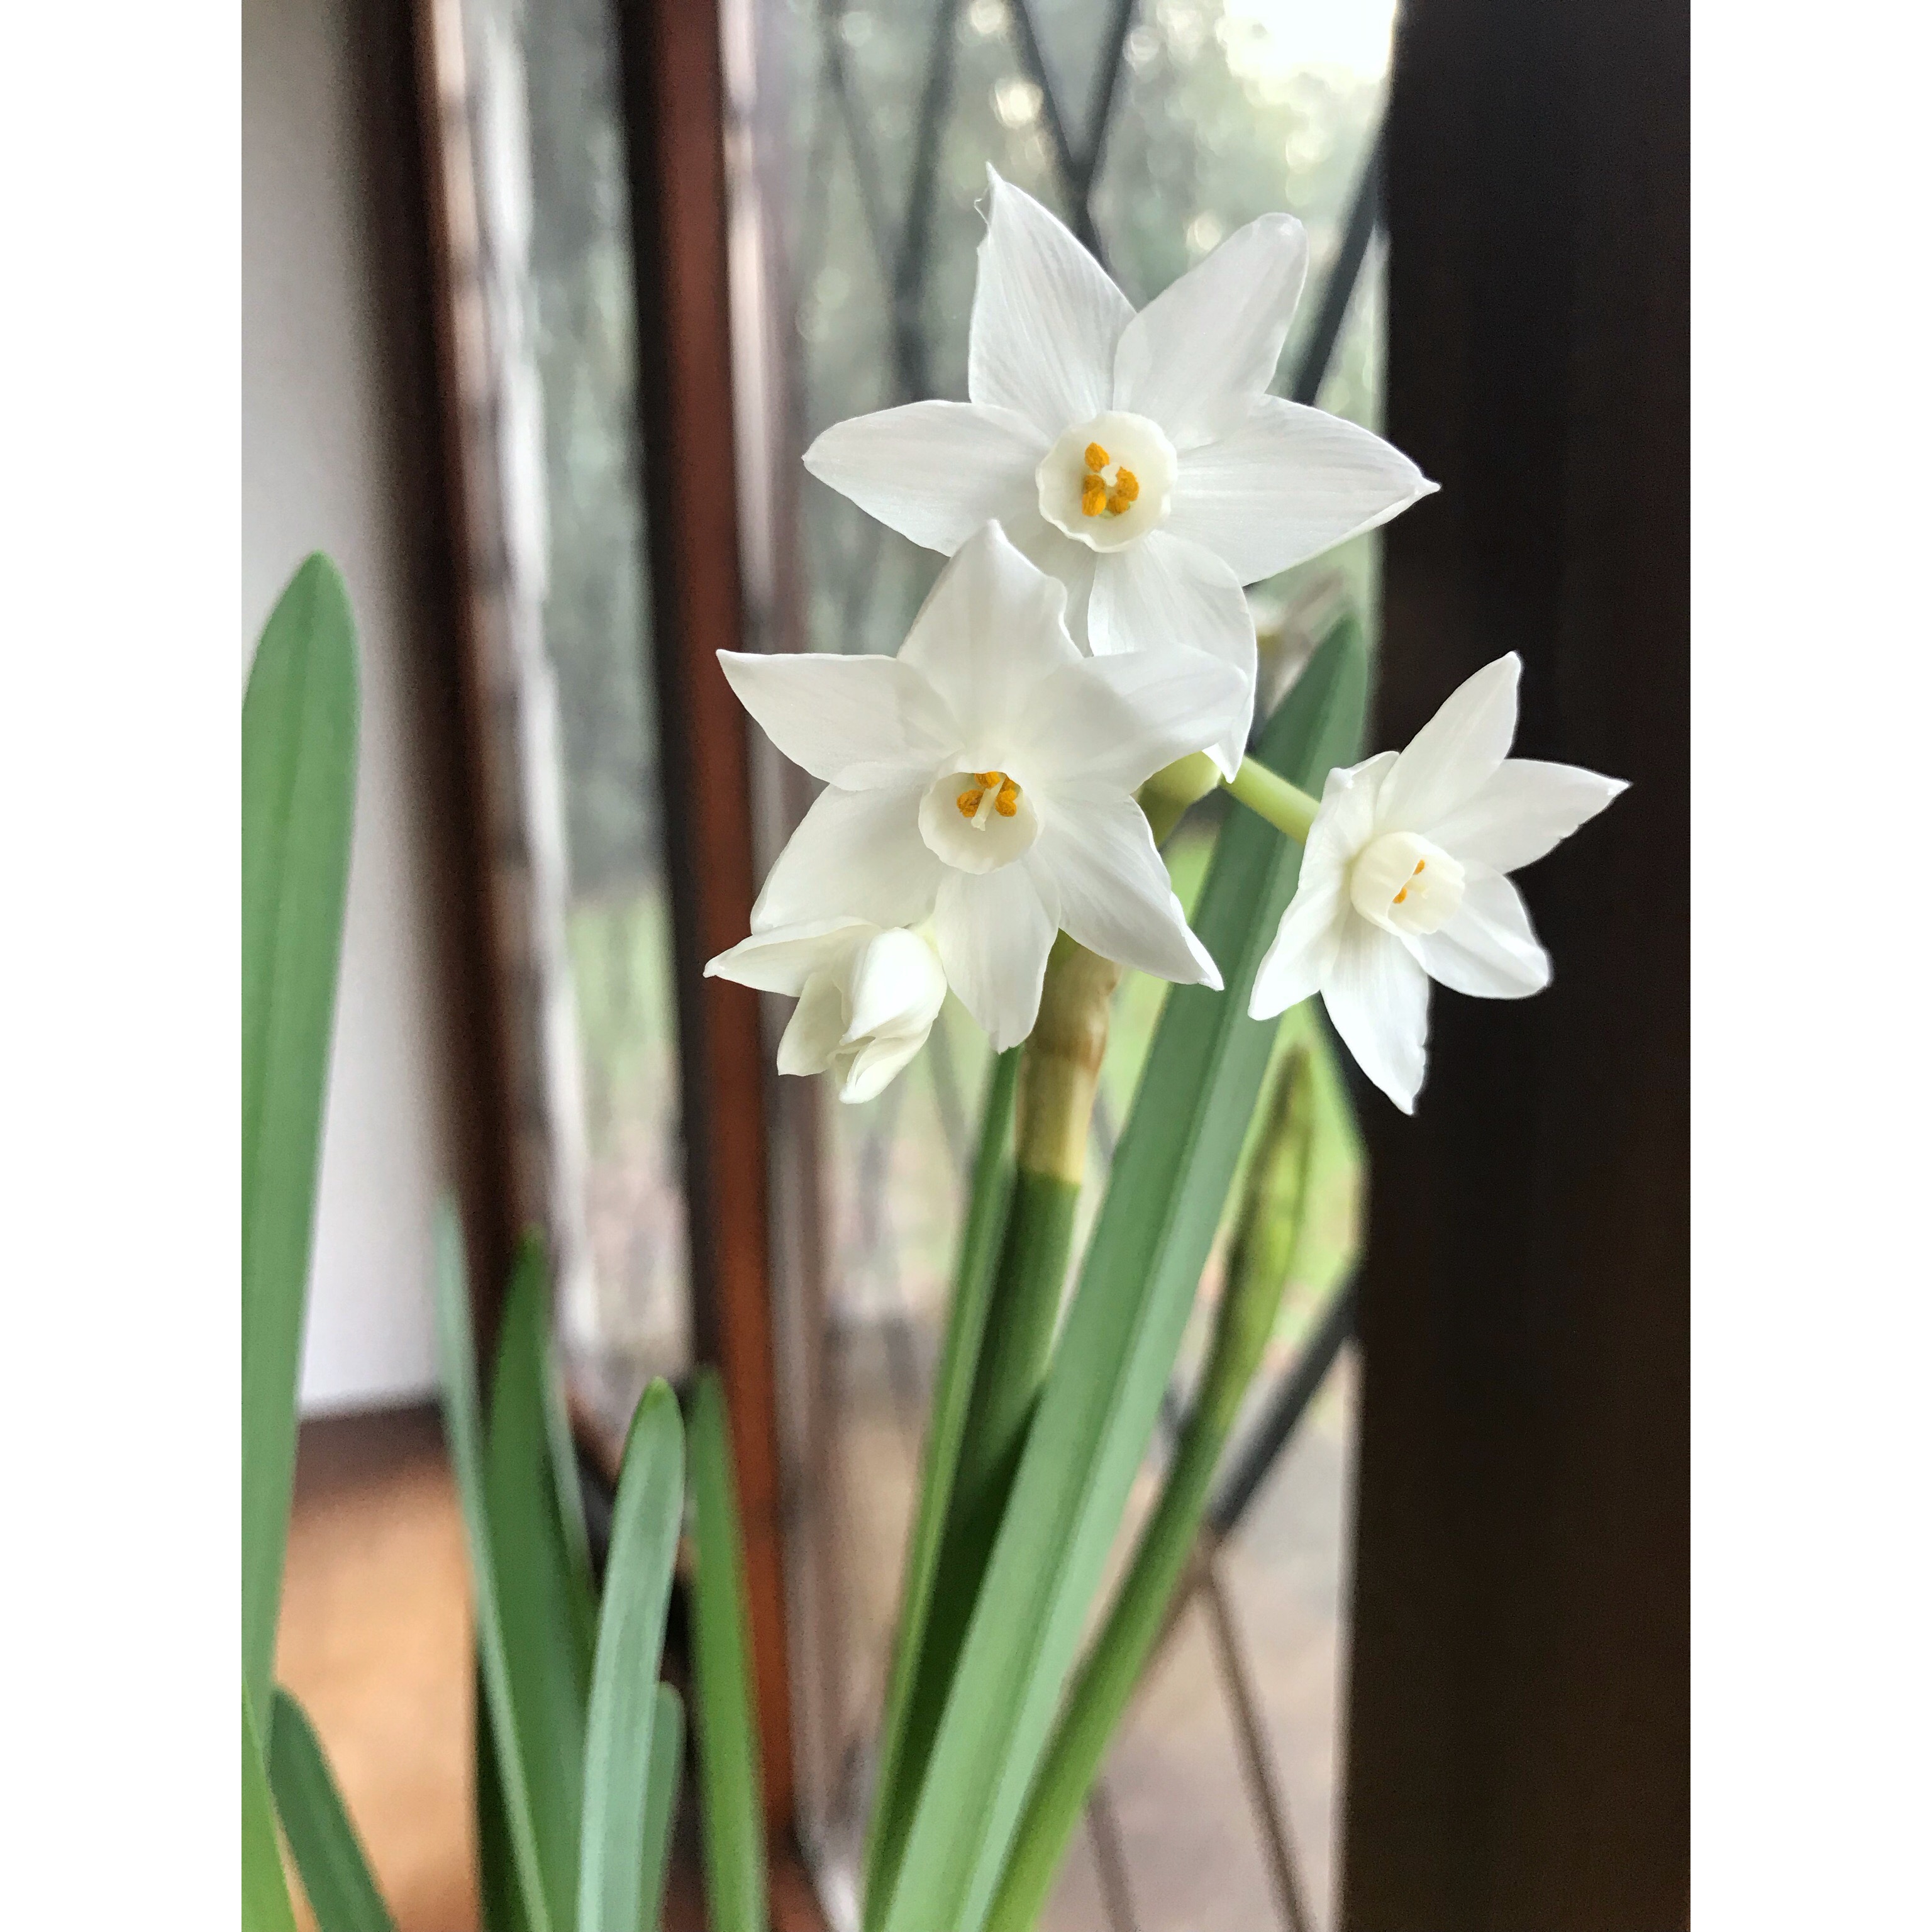
Over Christmas I planted a few indoor spring bulbs to mix with all the seasonal decor and I liked that natural element they provided…


What I didn’t do (and hope to remember for next year) is to plant spring bulbs at regular intervals in the hope of successive flowering throughout our gloomier months. It’s a good job for me then, the shops did remember and we can pop along to our independents and local florists and purchase some real beauties at the moment. If however you would prefer to recycle your own pots and containers, perhaps coordinating them with your room decor, that is achievable too. I picked up these cardboard containers from our local supermarket. Each pot contained four or five tiny spring bulbs…

And although the inoffensive cardboard pots will work just as well, I wanted a little more of a vintage twist for my arrangements. So I gathered together a mix of vessels from around the home and set about transferring the young bulbs to them. I began this project with a handful of small stones to help with drainage which I placed into the base of the chosen containers. As you can see, a pretty strong root system had already grown through the plastic pots so careful wiggling and jiggling was needed to remove the young plant.


Then each group of bulbs was placed as centrally as I could manage in its chosen pot, followed by a little topping up with last years leftover compost…


Finally each display received a good watering outside with the seed nozzle on the watering can. To soften the rough appearance of compost for the home, The Spotty One and I collected a small amount of moss on one of our crispy cold walks, to top off our young spring bulbs display. The moss also helps the growing plant retain its soaking for a while since indoor spring bulb roots will rot if over watered.


So tell me, what do you think? I bought this chipped Emma Bridgewater soup bowl from a Christmas fair complete with a small heather plant for £6. It was the most expensive of my chosen pots for this project and I love how with a bit of thought and time it has a new lease of life.


This glass rose bowl which you first saw here was a car boot find for just 50p. It is in constant use and over Christmas was piled high with jewel like chocolates. To take us into springtime and to brighten up a dark corner, it will be home to inexpensive, pretty spring bulbs.


A recent charity shop visit yielded perhaps my favourite container for this project. This vintage jelly mould was just £1.50. Together with the little bulbs priced at £2 and a tiny bit of compost, I have a cheerful little display for around £3.50. That makes my thrifty heart sing and my kitchen windowsill shine.


Of course you don’t have to stick to just daffodil bulbs at this time of year. Muscari will be next for me together with a few delicate white Tete-a-Tete for the sitting room. They make delightful displays in bathrooms and cloakrooms too. Many of us have unused bowls and pots sitting around our homes which can be used in this way. Perhaps you too will find yourself looking at a particular piece in your home in a different light now. Right now I’m wondering if I’ve left it too late for the beautifully scented Hyacinths I see all over my Instagram feed? There’s only one way to find out…until next Thursday, happy planting x





What a lovely surprise to log into my wordpress account to double check this weeks post is ready to rock and roll and to see these lovely comments on old posts! I’m so glad you enjoyed this… one year on! Aah the jelly mould, now I’ll have to get my thinking cap on x
Such simple ideas give the greatest pleasures don’t they Helen. Not only do they look pretty I love the waft of scent you get when walking into a room, particularly from the hyacinths. I just wish they wouldn’t keep flopping over!
Like you I love to repurpose containers…..what’s next for the jelly mould?!….I challenge you! Xxx
Beautifully written as always my lovely xx
Aah I see you have caught up on my blog…thank you, you’re pretty lovely yourself!x
You are wonderful xx
Thank you Little Miss!xx
I have to admit to enjoying a little bit of spring already, glad you like them x
Thank you lovely, glad you like them x
Such a clever idea x
So lovely to see spring coming alive…..and great use of those containers…xx
I love them! They look so cute in the vintage bowls what a nice idea xxxx