Where do you stand with thank you cards? I was never brought up to send them. I recall one year around the age of seven or eight receiving a lot of ‘stationery’ themed birthday gifts. I had a small party at home and was so over excited with a mini stapler and a small pack of Thank you paper I received from a school friend, I rather clumsily stapled my finger instead of the paper and screamed the house down. There was much consoling and cajoling to stop the birthday girl wailing and I recall being told it was unlucky to cry on one’s birthday so I stopped pretty sharpish. I am sure that was to be the only year as a child, I sent a handwritten thank you. It was not until a great many years later, when Mr M and I became engaged to be married, my future mother in law reminded me of the importance of a written thank you in response to the many gifts we had received. I took up the practice and enjoy doing so to this day. In today’s post, I am showing you my take on personalised thank you cards the like of which you could recreate in a delightful crafting afternoon yourself…
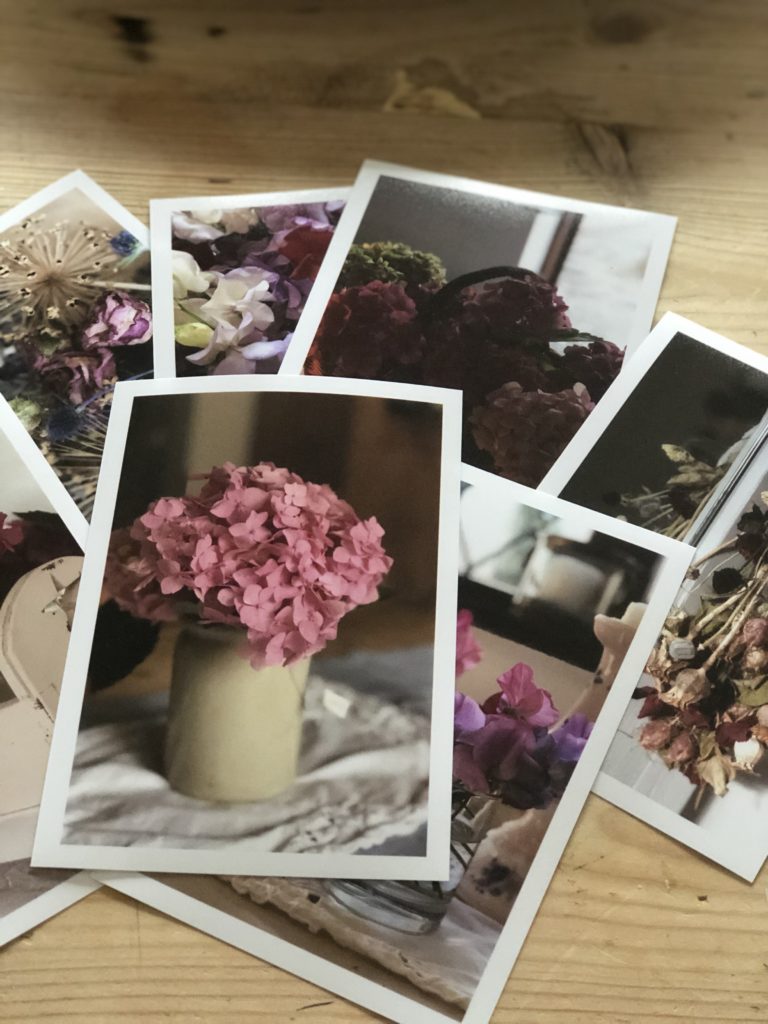
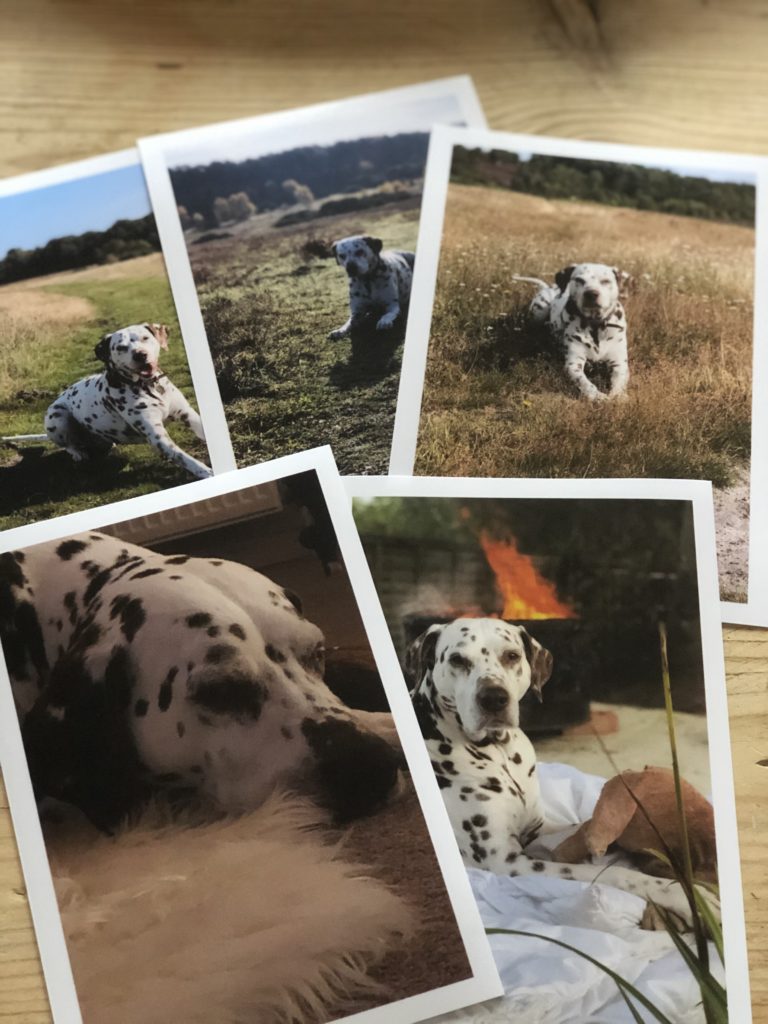
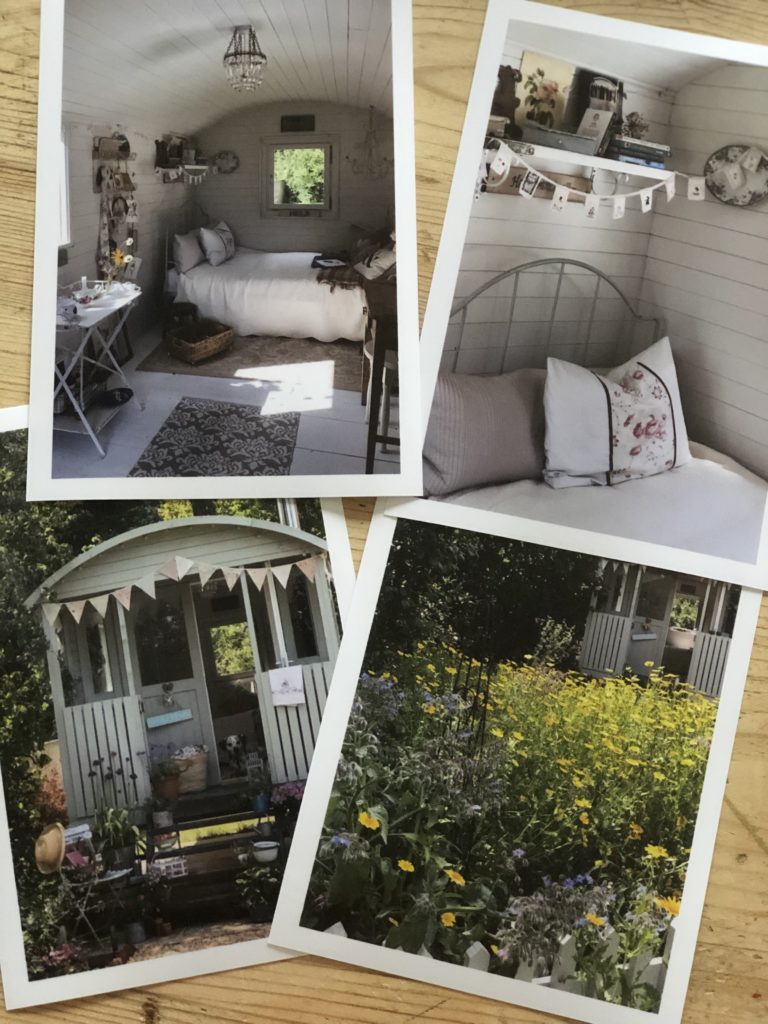
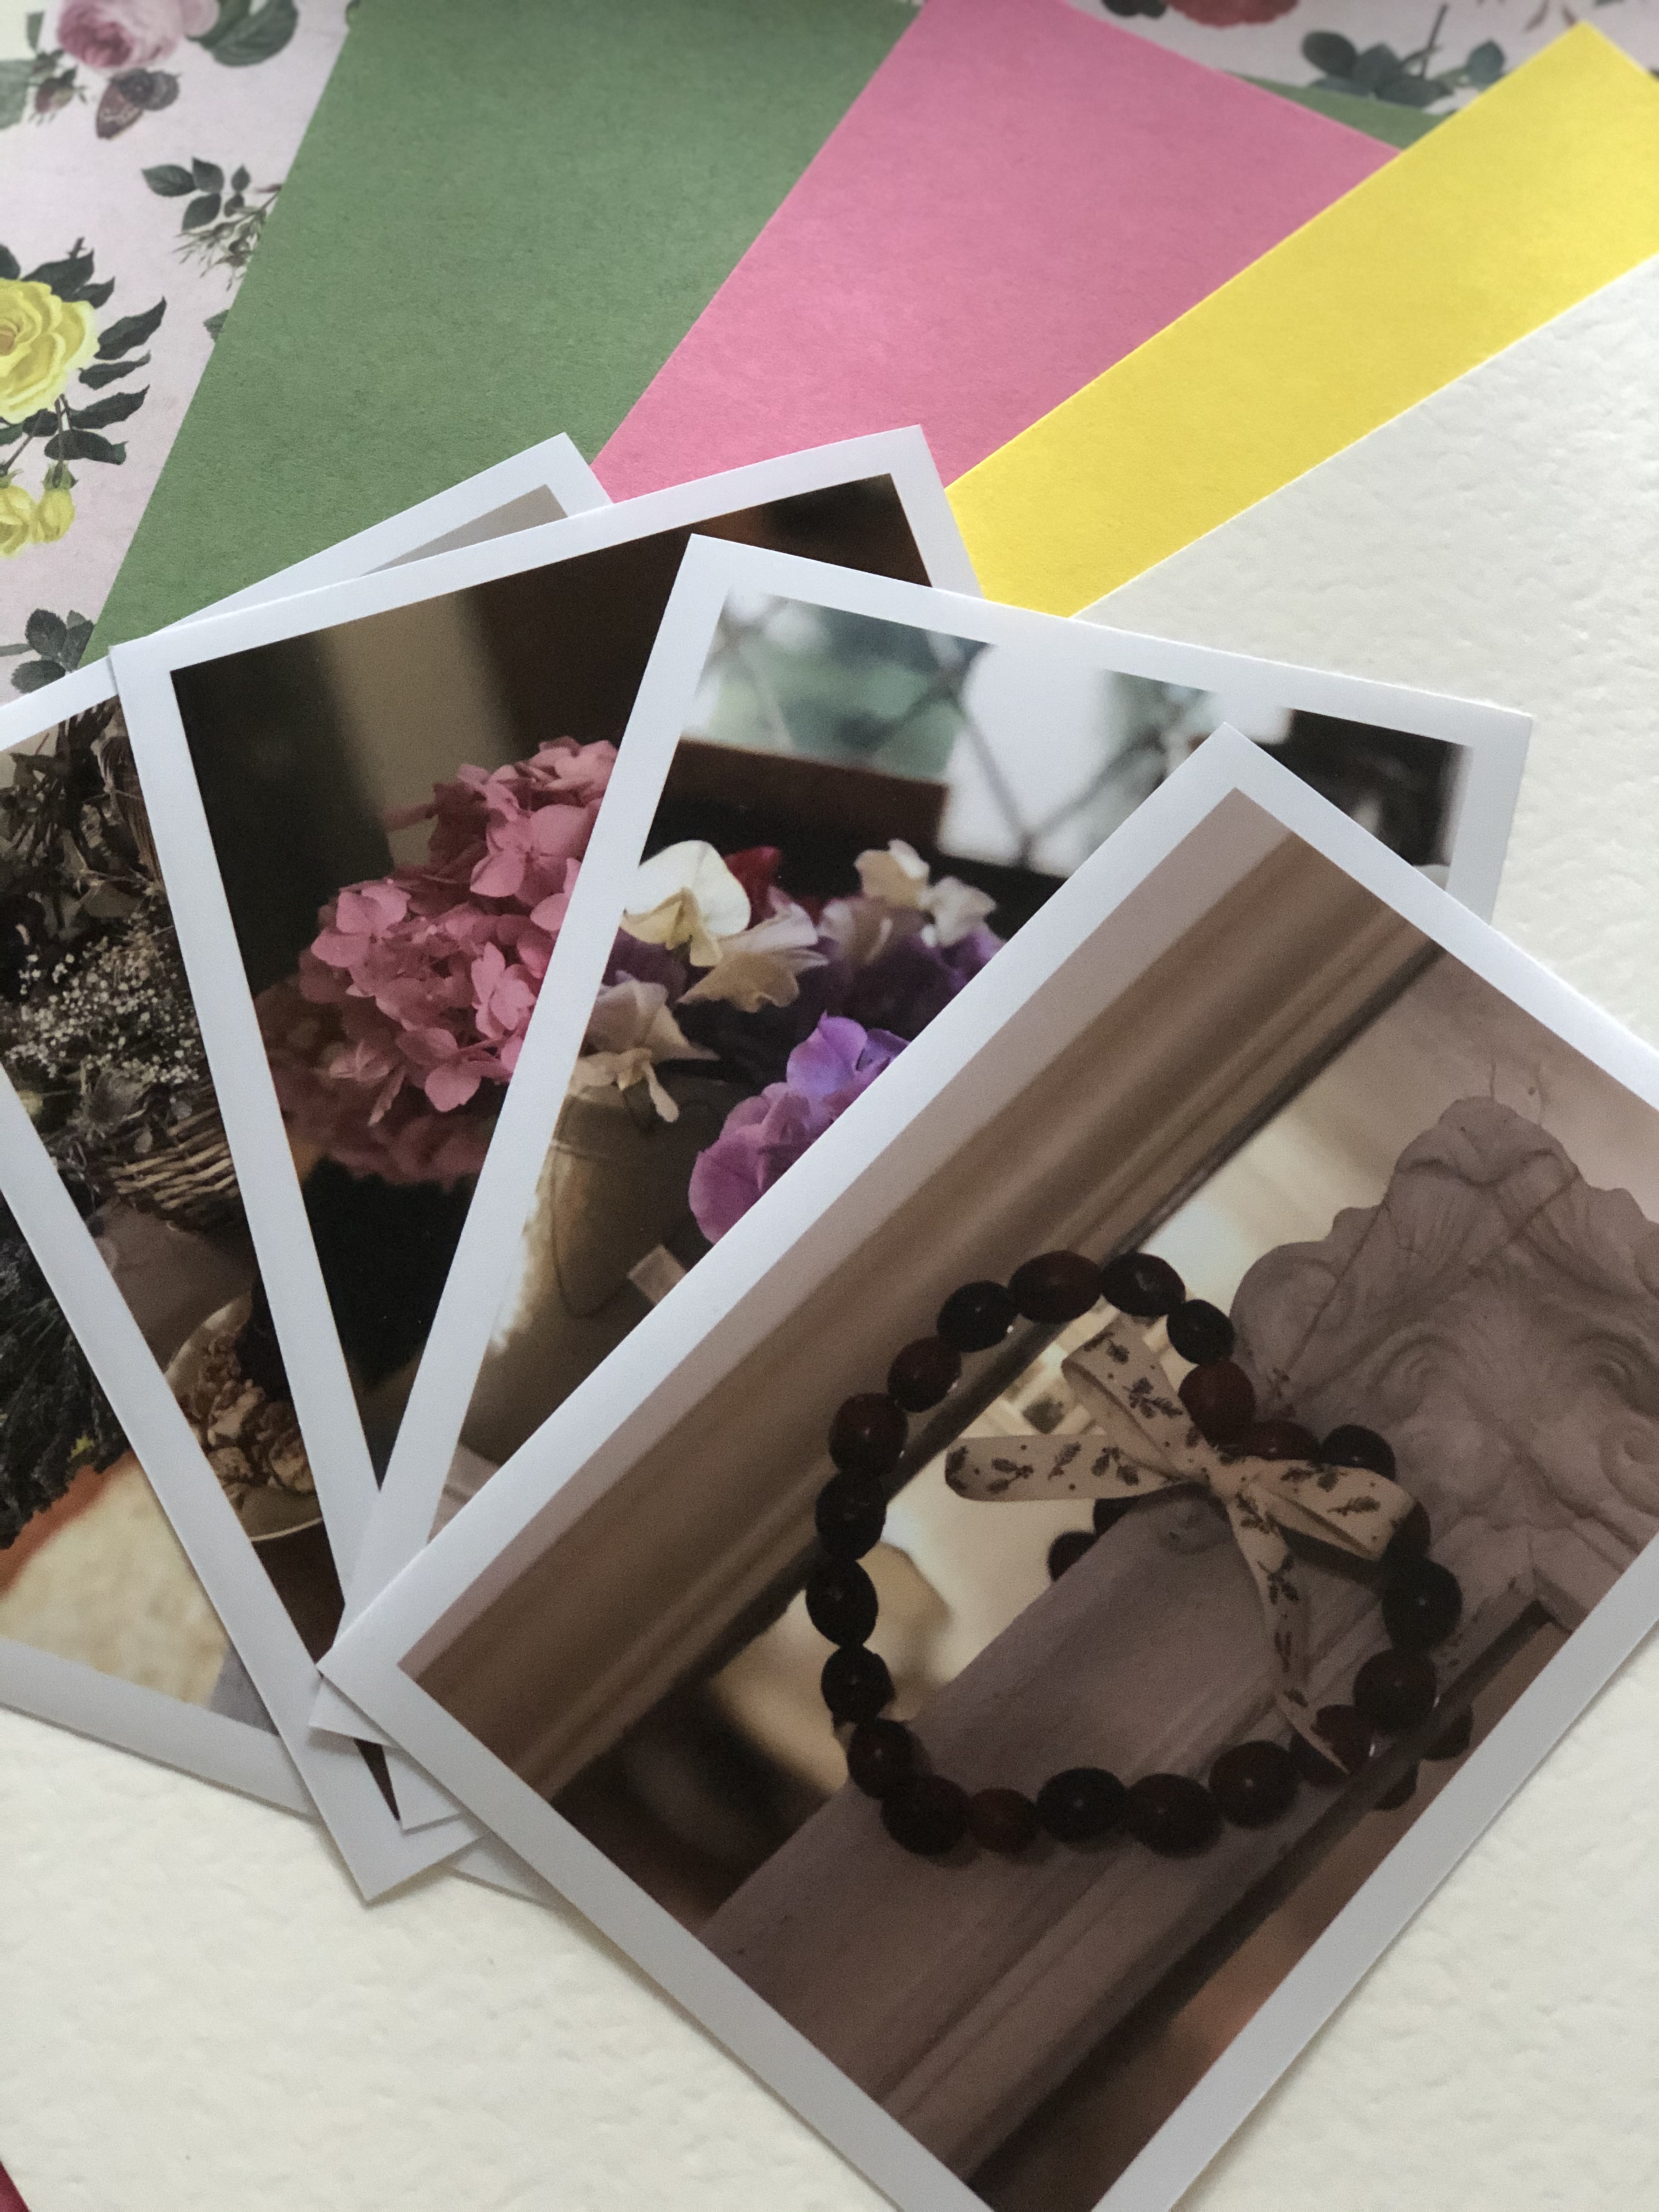
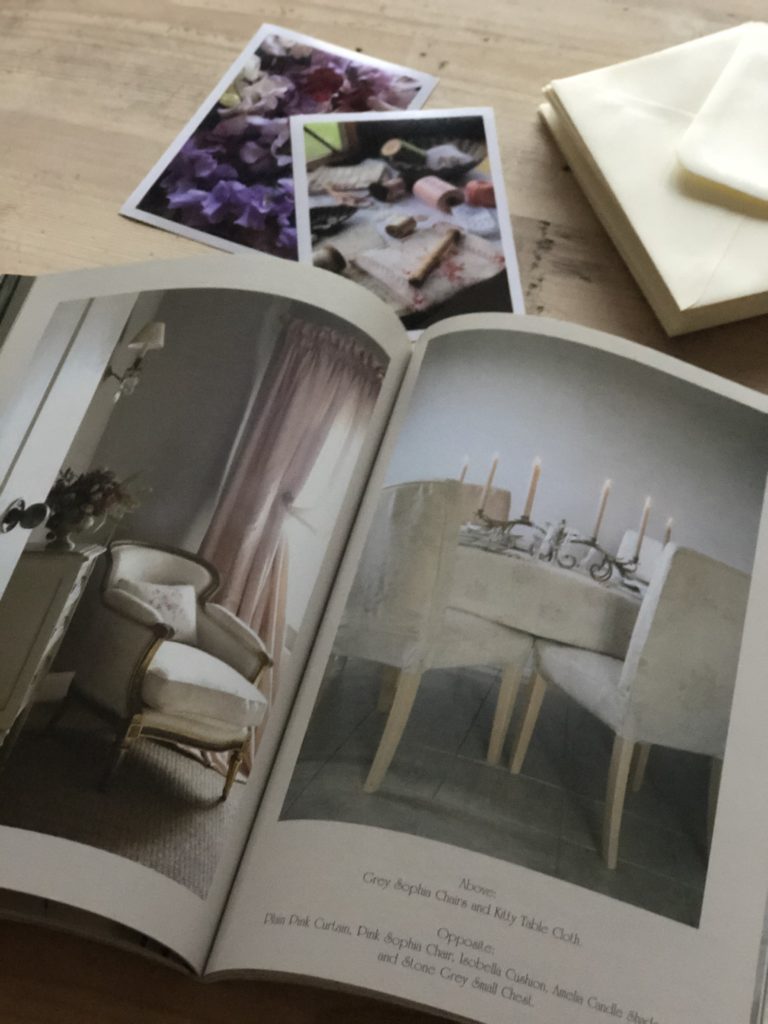
Have you come across Free Prints? It’s a free app to download and you can choose up to 45 prints a month from your camera roll to be printed in a selection of finishes for the cost of the postage. I have never paid more than £6 and usually much less than that. I have a lot of pretty photos on my roll; Belle, The Spotty One, the Cottage Garden and far too many Instagram shots. A great many never make it to an album (note to self: an album a year at least would be wonderful) or indeed a photo frame.
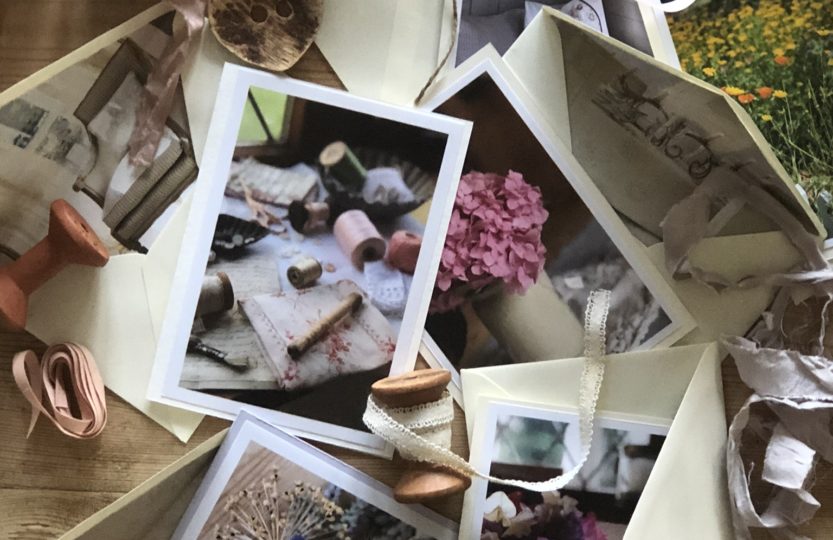
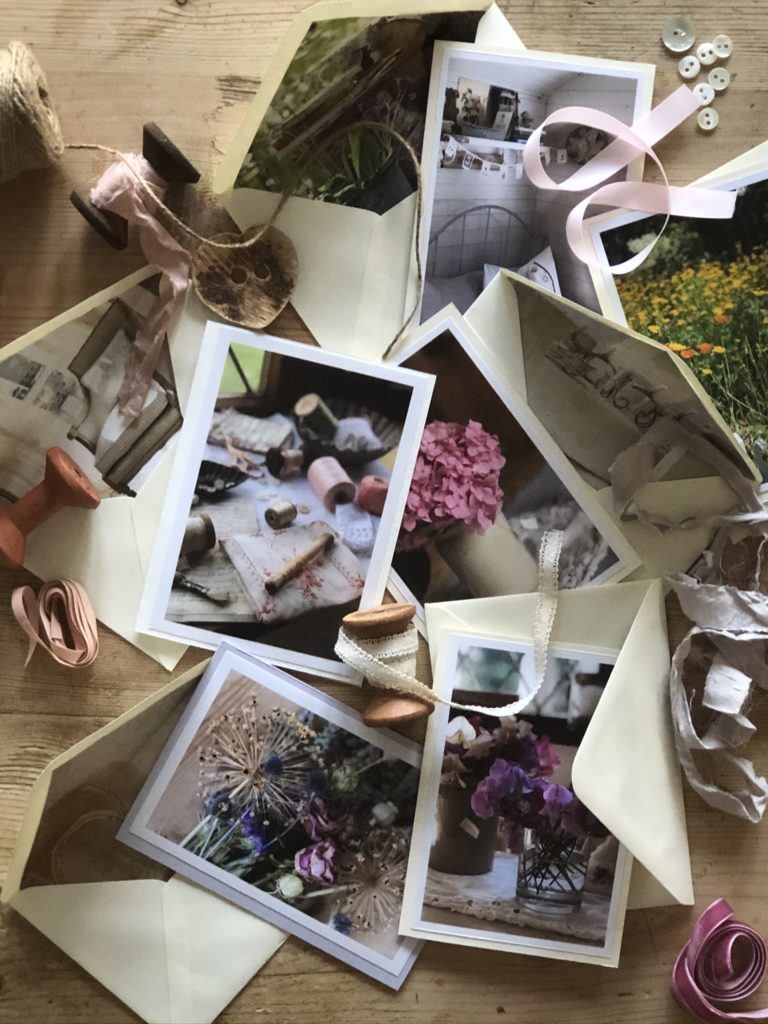
Recently our financially challenged student was making his family Christmas cards. It’s a tradition we have all grown to look forward to perhaps more than the gifts and should he ever come into money and choose to buy his cards, we would certainly miss the humour. Whilst he was busy making, it got me thinking that my recent delivery of pretty photos could be put to a similar use. And so, on a rainy afternoon with no better place to be, I lit the candles, turned on the music and gathered together the supplies I would need. Coloured card and envelopes, sticky tape and a scalpel and I was ready.
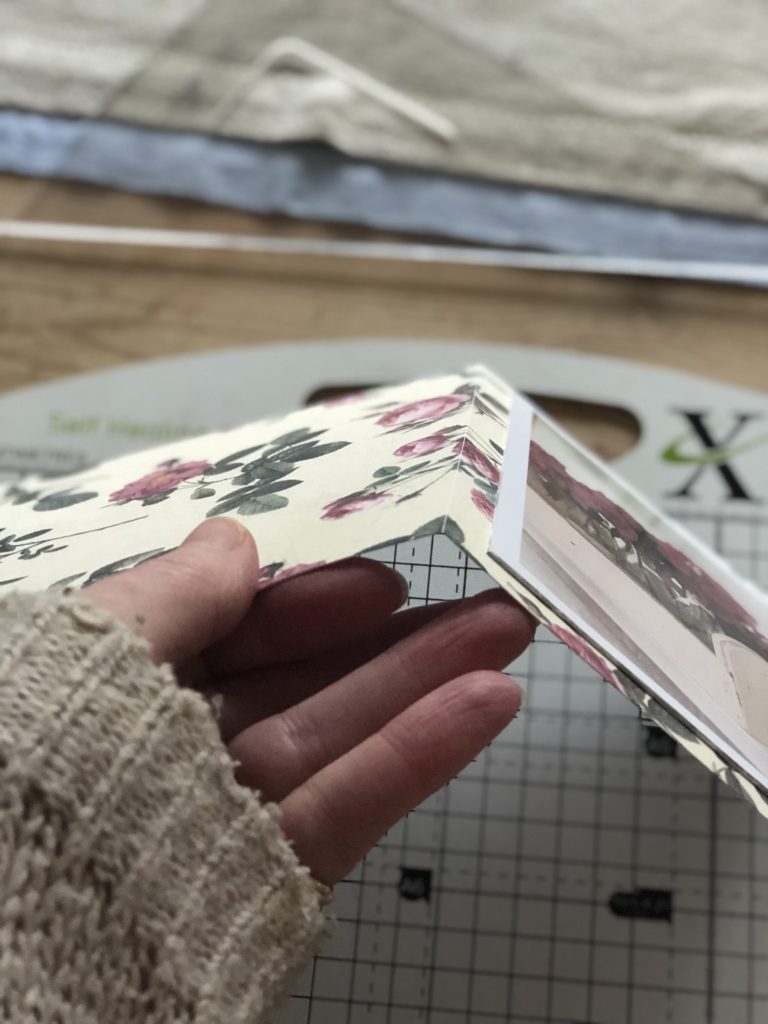
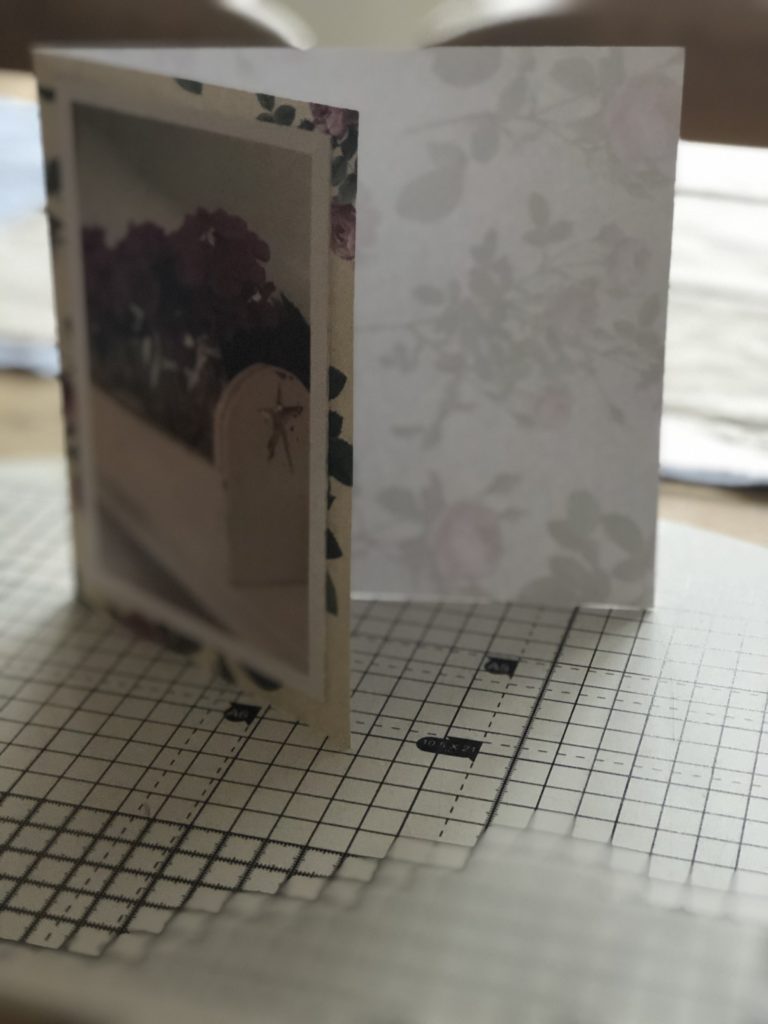
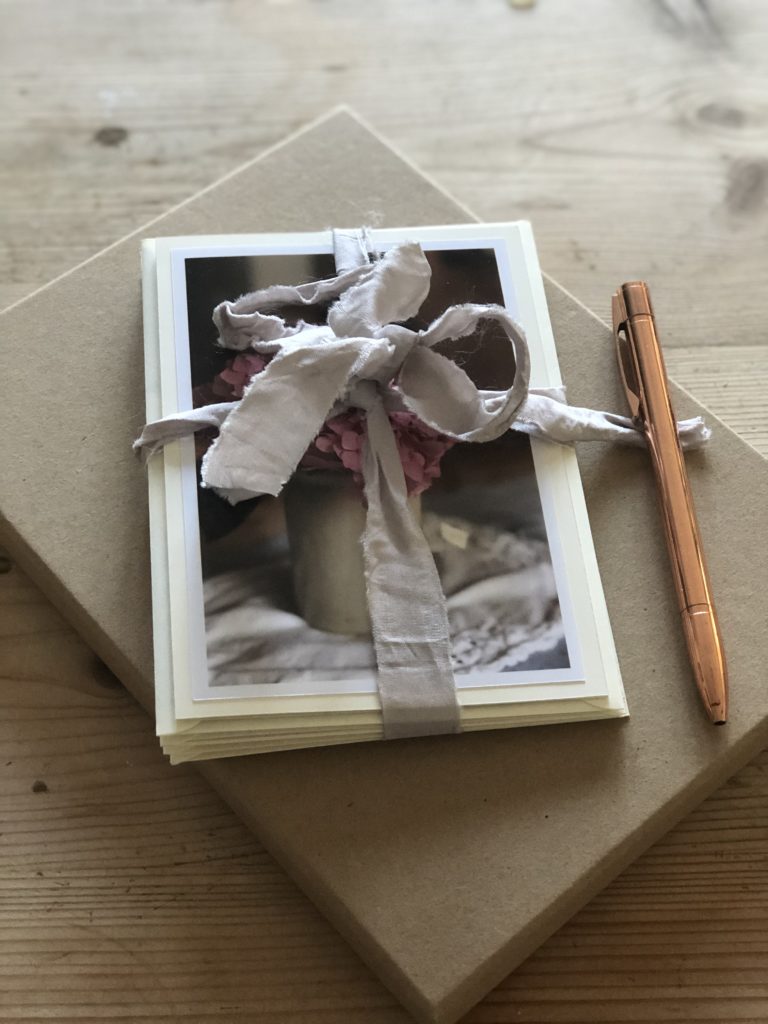
I placed the first photo to the left of the A4 card which resulted in the finished card opening the wrong way. I may have hysterically vocalised my disappointment in wasting my favourite card and photo since Master M lifted his head from one of many meals that day saying “calm down Mum you’re stressing me out, just hang on while I finish this and I’ll show you how it’s done.” And he did and the resulting personalised thank you cards turned out quite well.
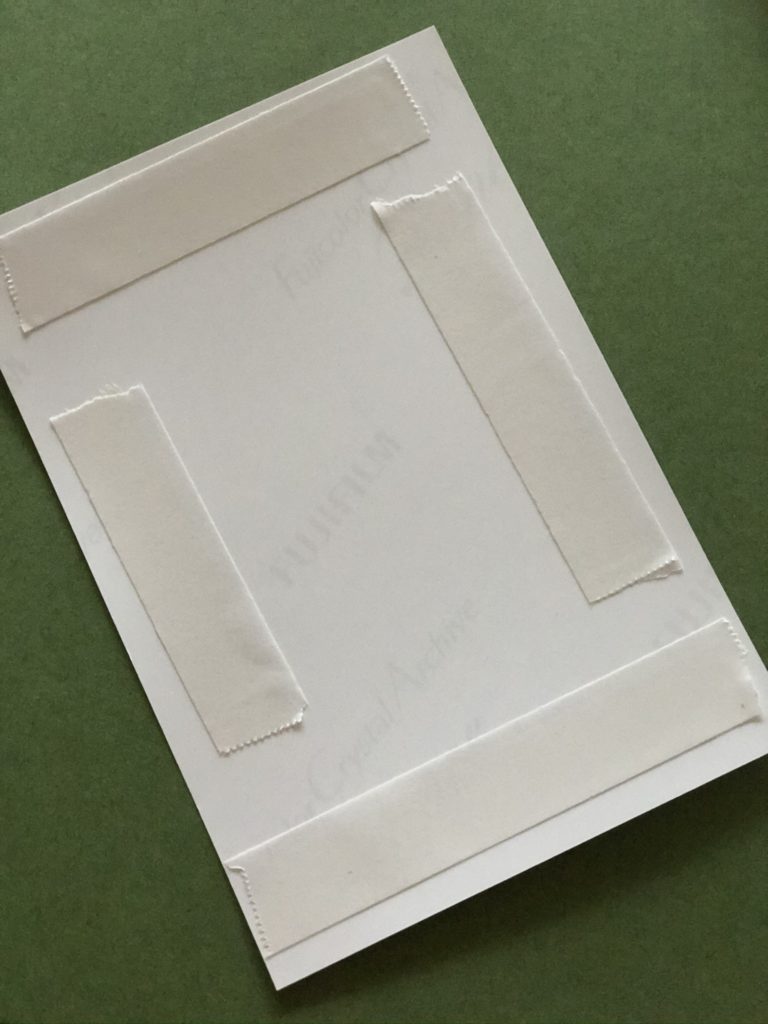
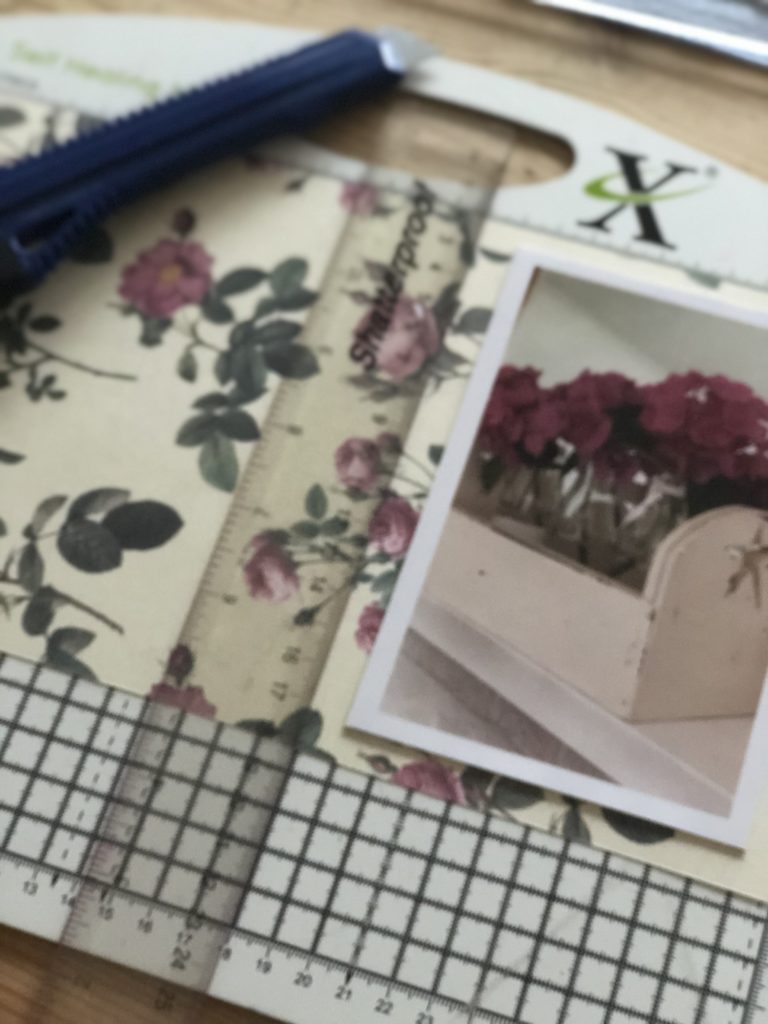
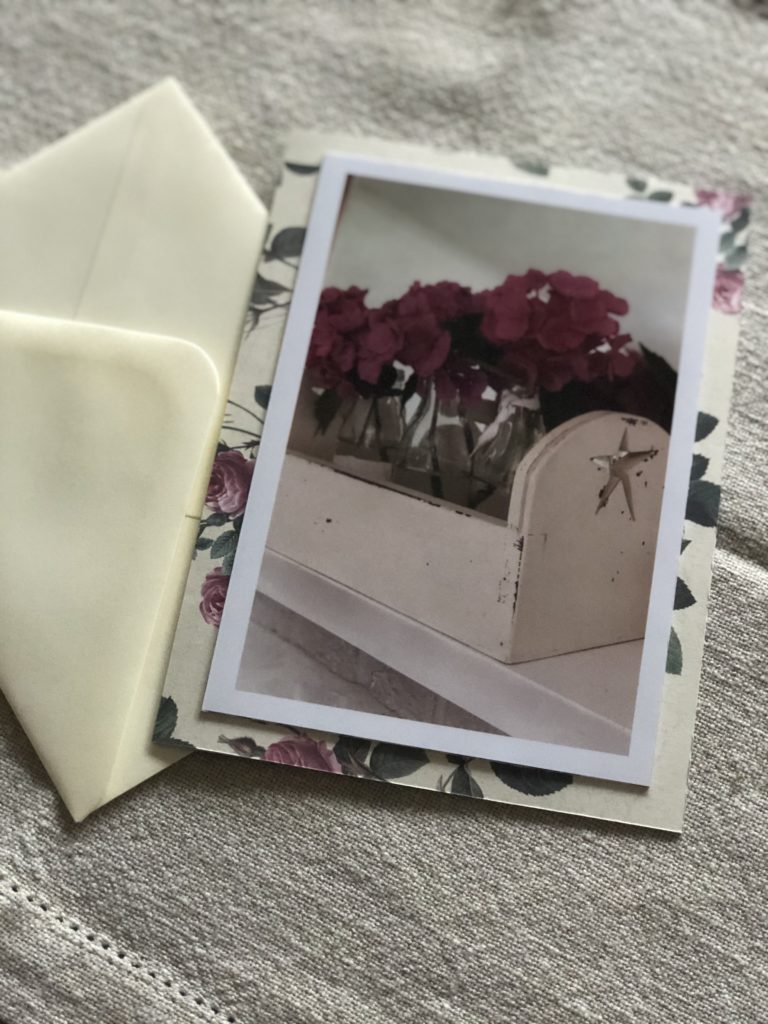
I used double sided sticky tape to secure the photo this time to the right of the card, using the white mount as my guide for placement. Then I lightly scored a line using a scalpel and ruler where I wanted the fold to be and trimmed off excess card. This time I happily vocalised my success.
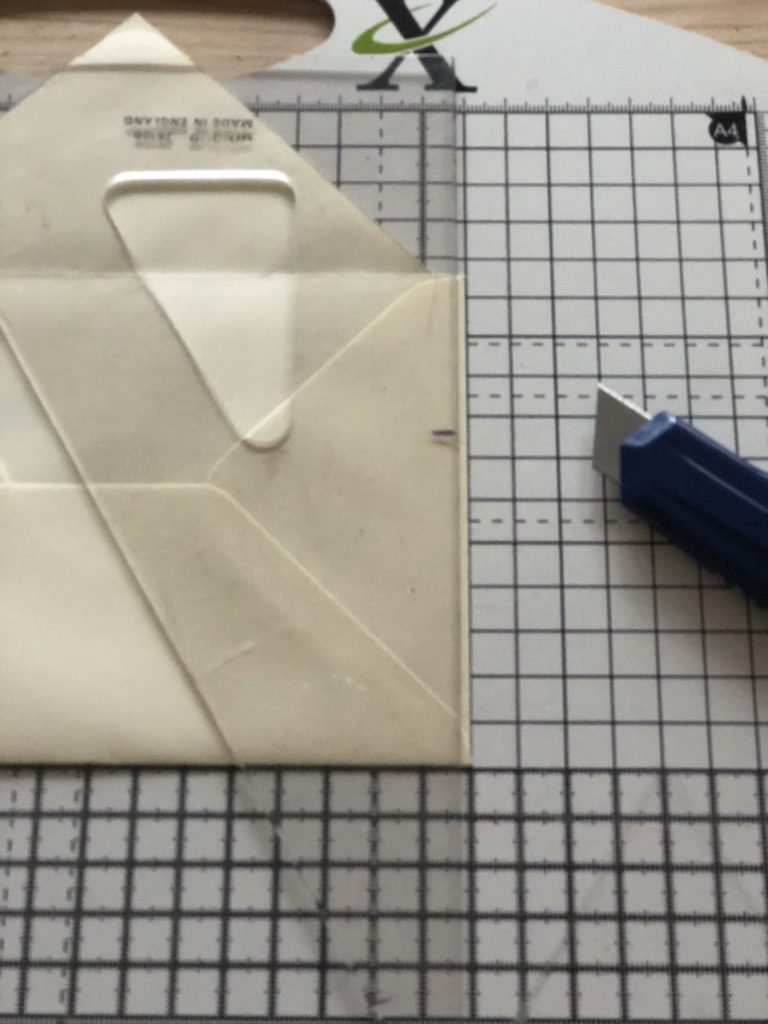
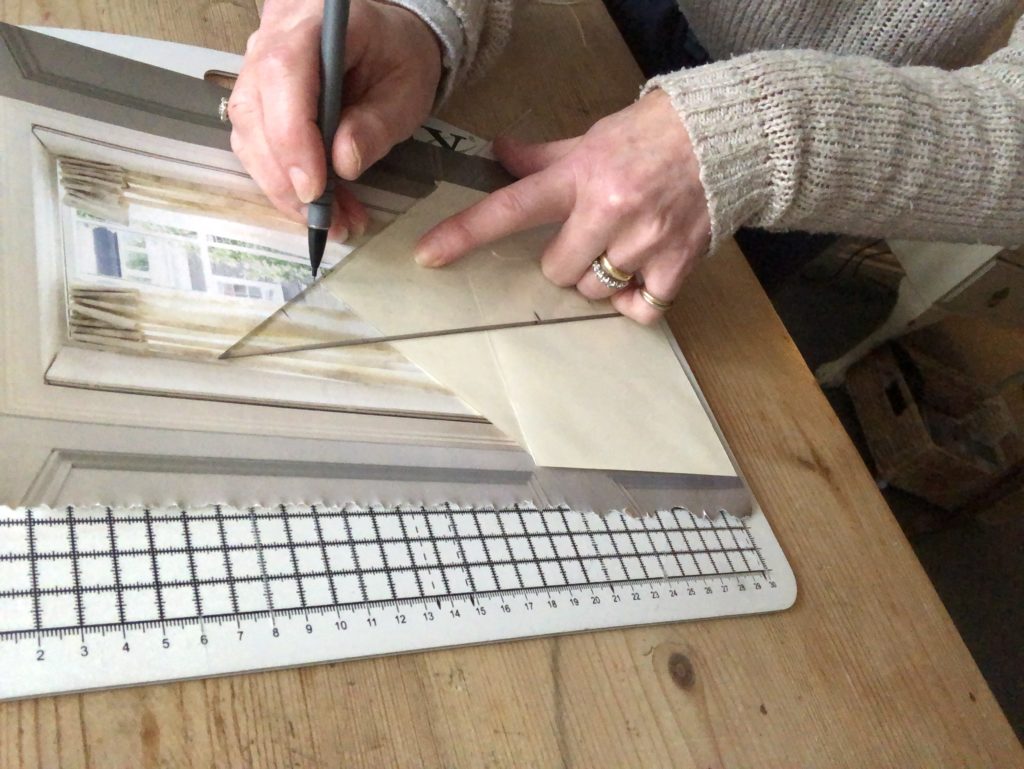
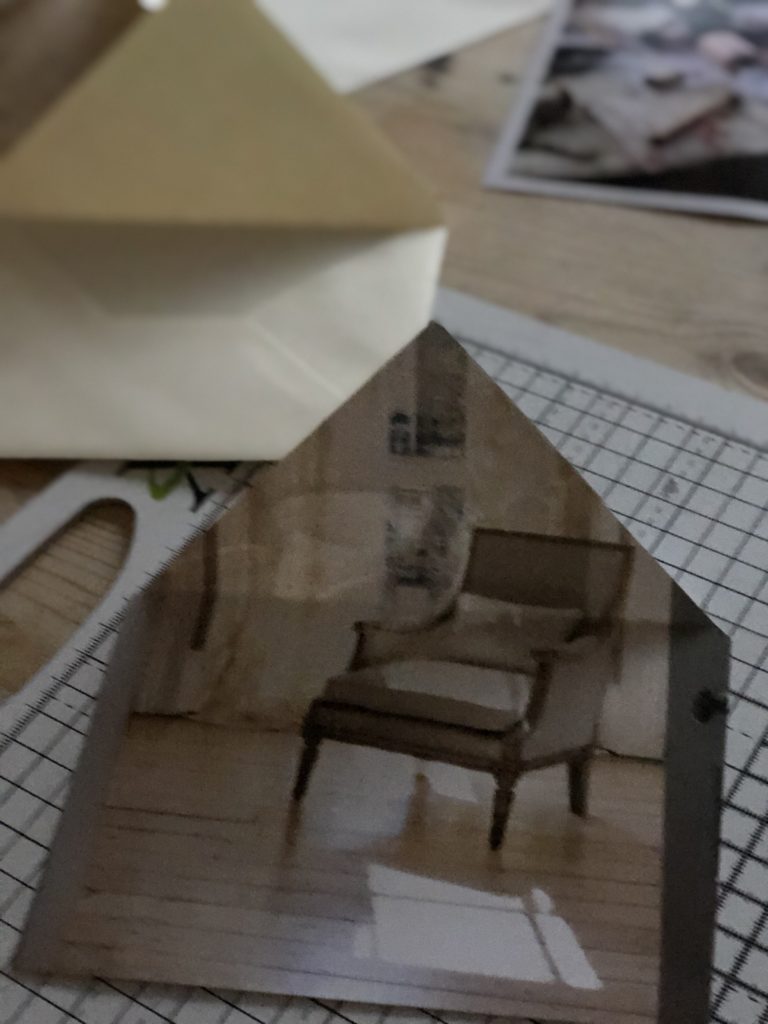
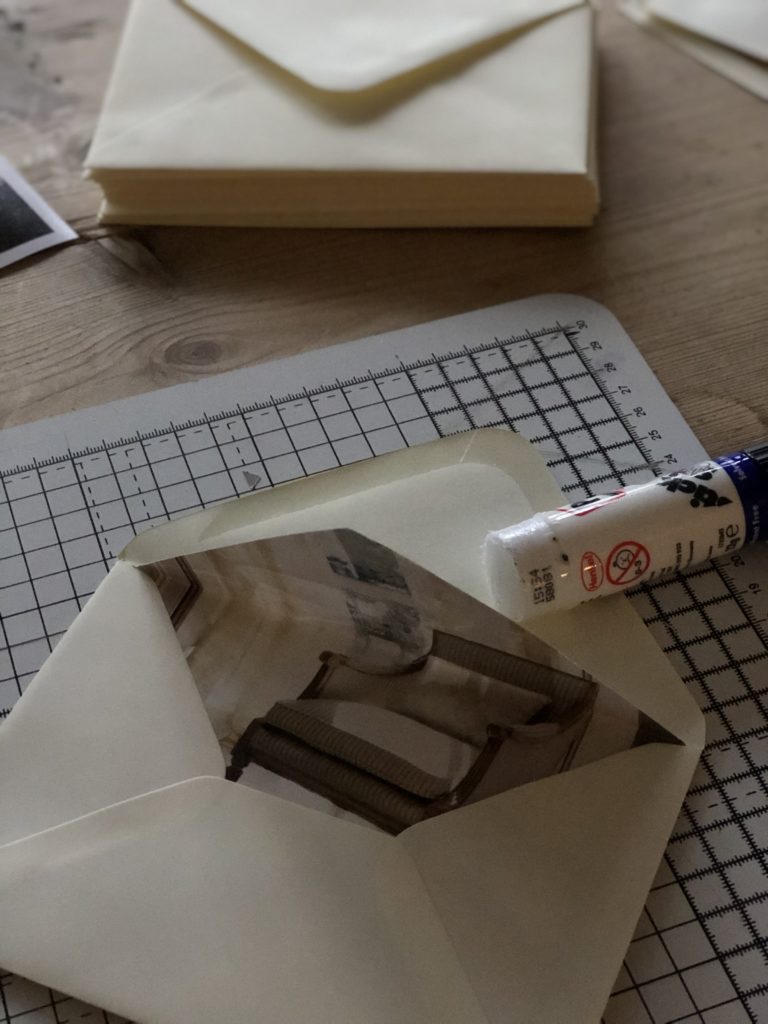
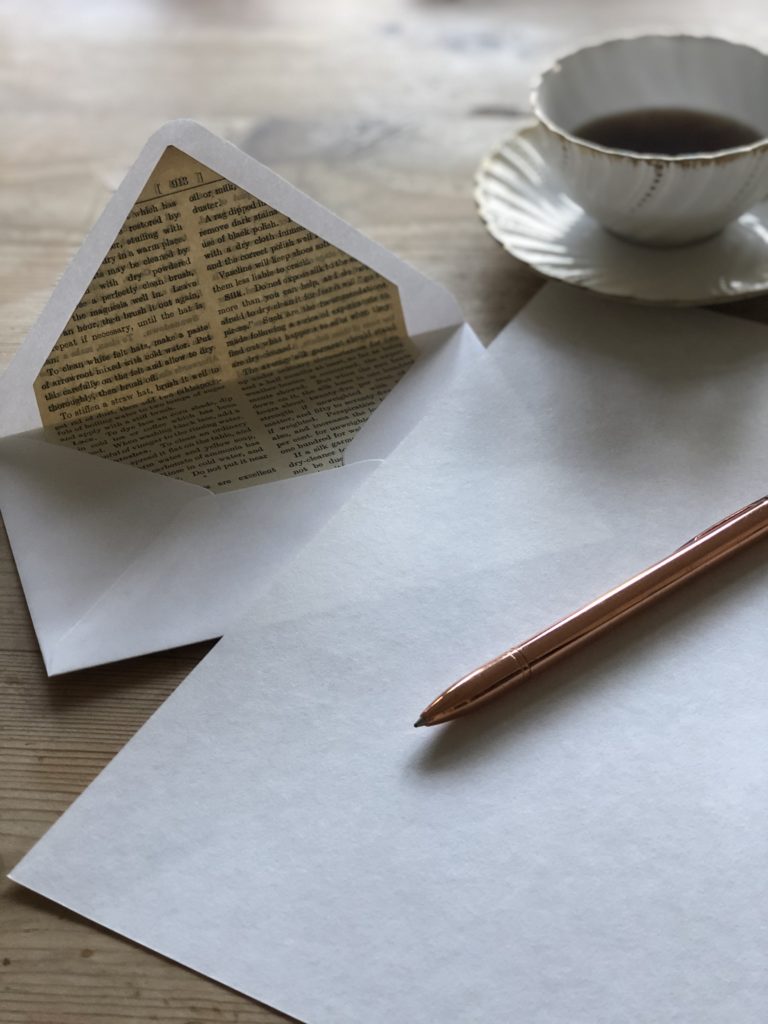
A plain coloured envelope teams up perfectly well with the finished card: I have however always wanted to try lining an envelope myself and until now, never have. A search on Pinterest showed several tutorials, some more complicated than others. As you know I don’t do complicated if I can avoid it so, I followed Martha’s idea slicing thinly around the outside of three edges of an envelope and discarding the piece which naturally falls off to create my envelope lining template. You should also trim the gum off the triangular point.
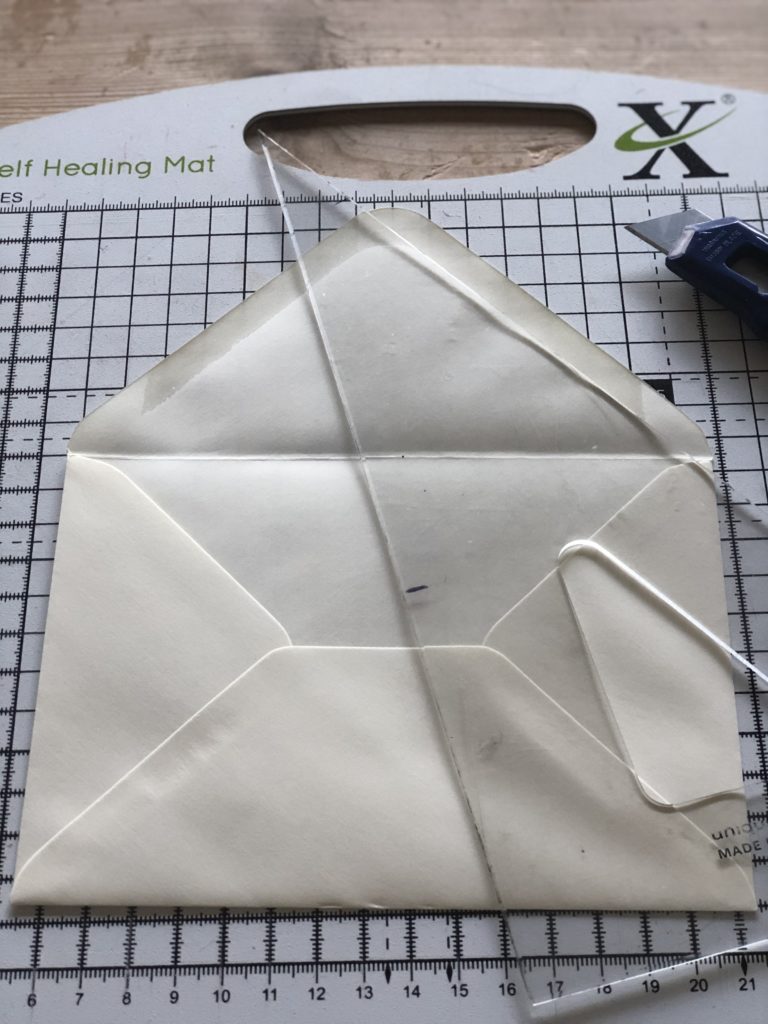
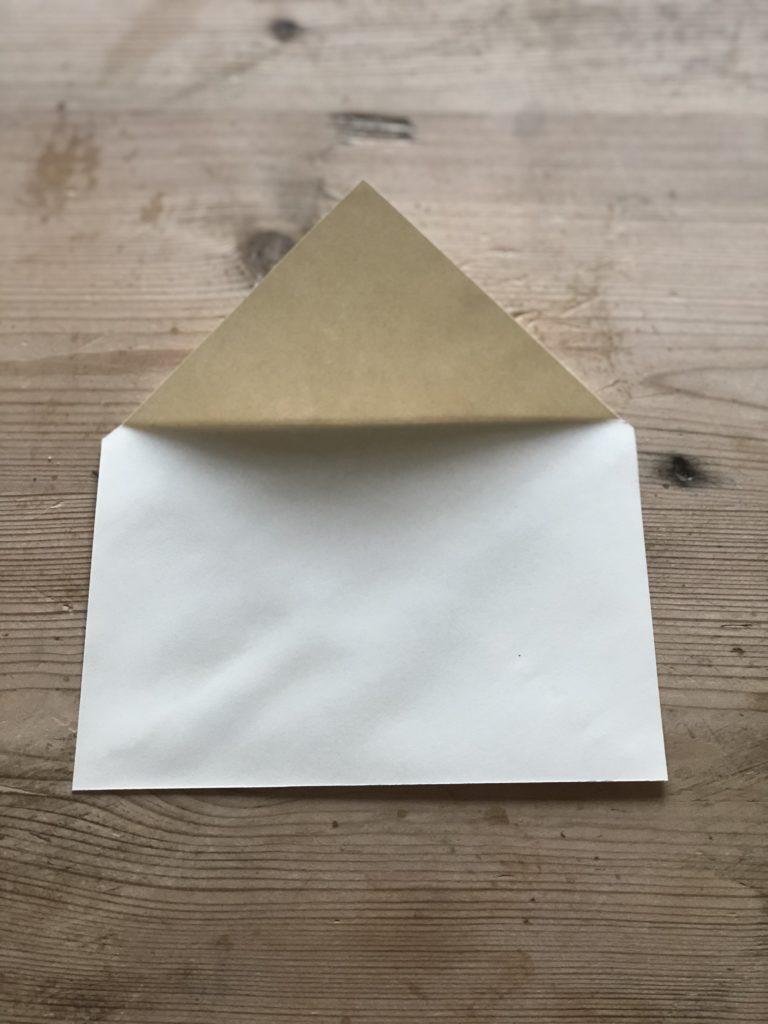
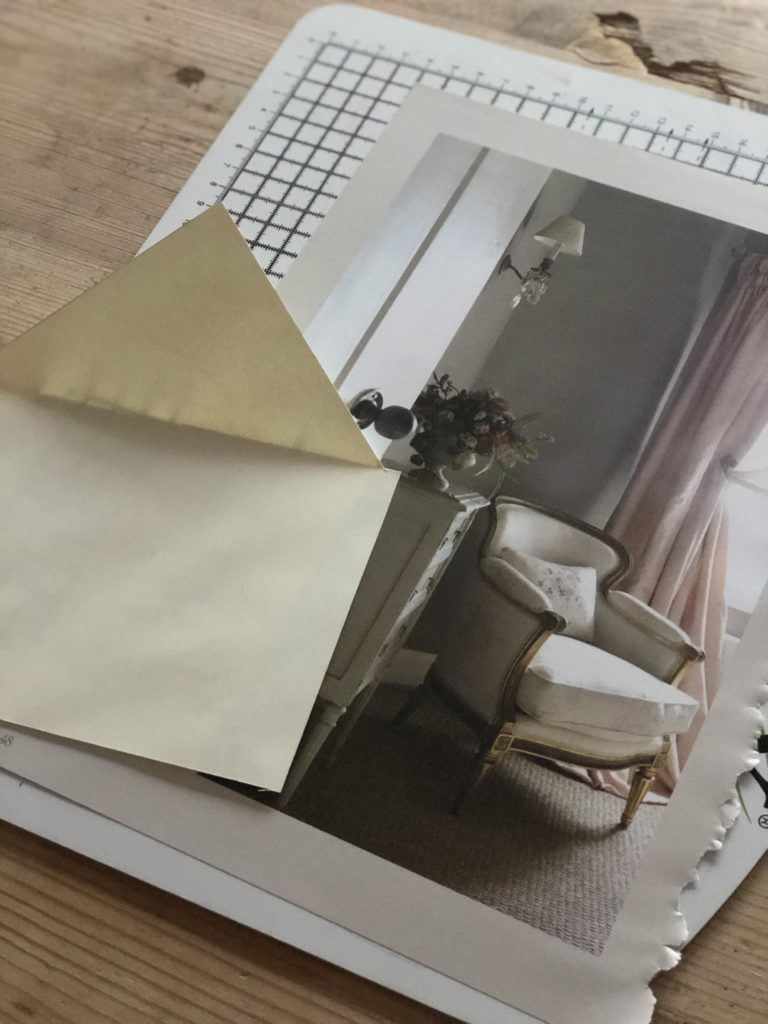
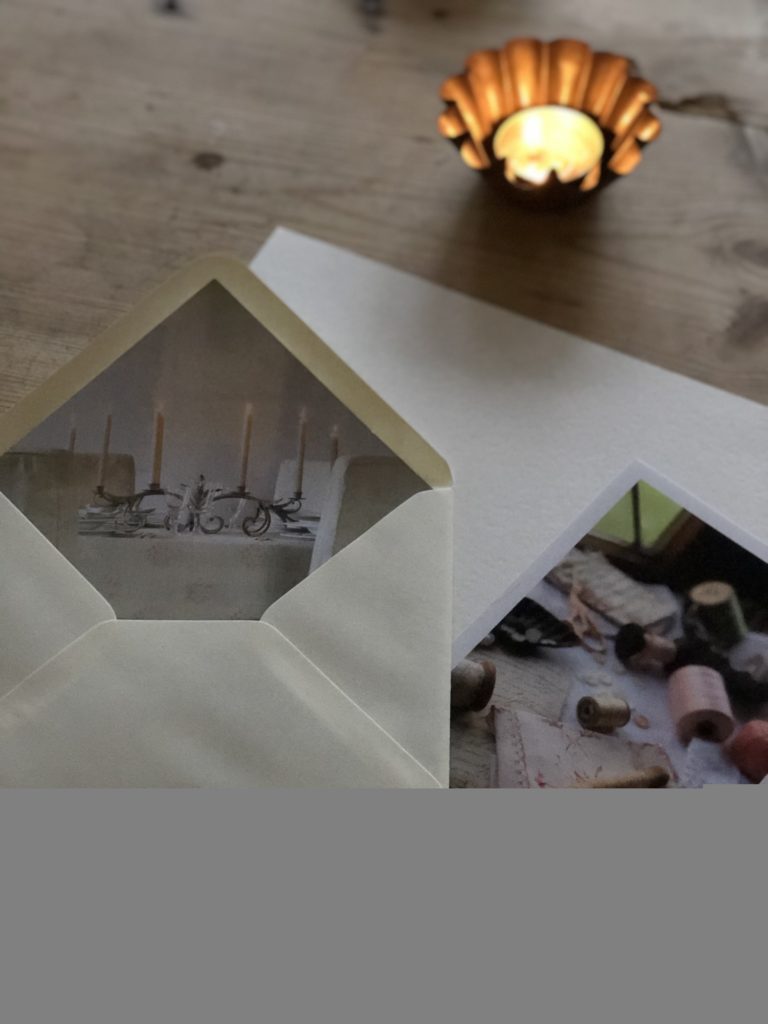
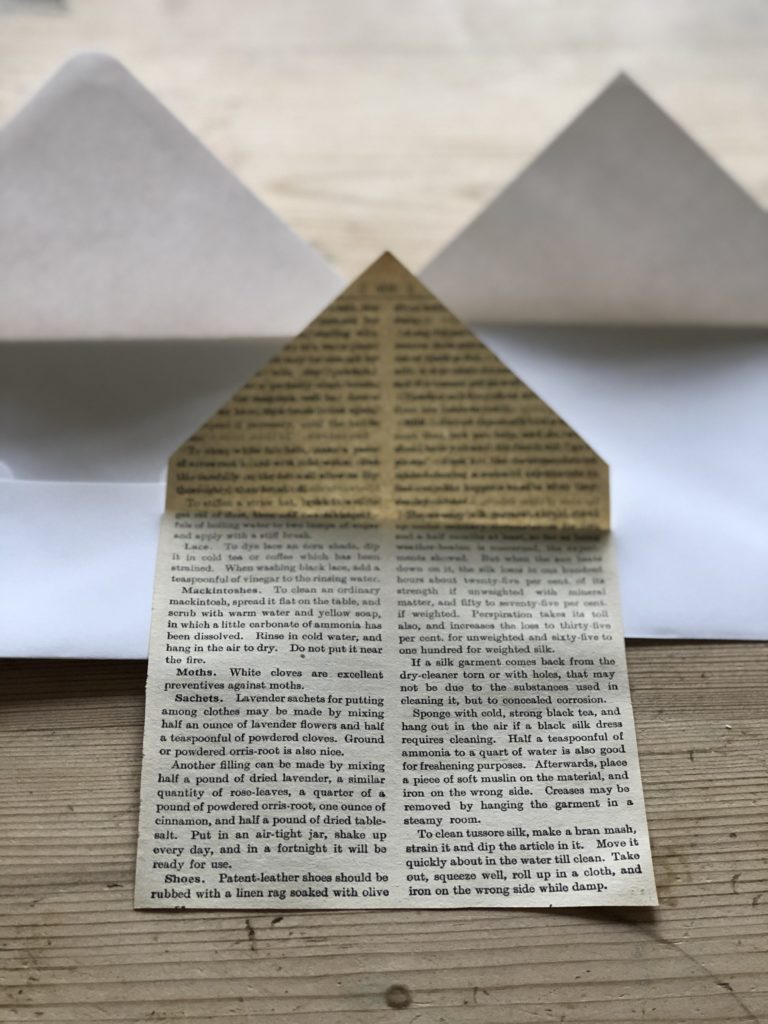
Then I selected an old and beautiful fabric brochure from a few years ago in my stash, which I have always believed to be too beautiful to part with. If you recognise this brochure, please don’t let on I chopped it. This talented lady may strike me from her mailing list and that will never do since her fabrics are those I dream of for my windows. For the envelope lining a light paper rather than card stock works better and who doesn’t have a home or garden brochure somewhere to put to good use? I placed the envelope template on a picture which complimented my finished thank you card and drew and cut around. Simply slip the cut out into the envelope and lightly glue the triangular portion of the paper to the envelope. No need to struggle sticking the entire lining. And hey presto…
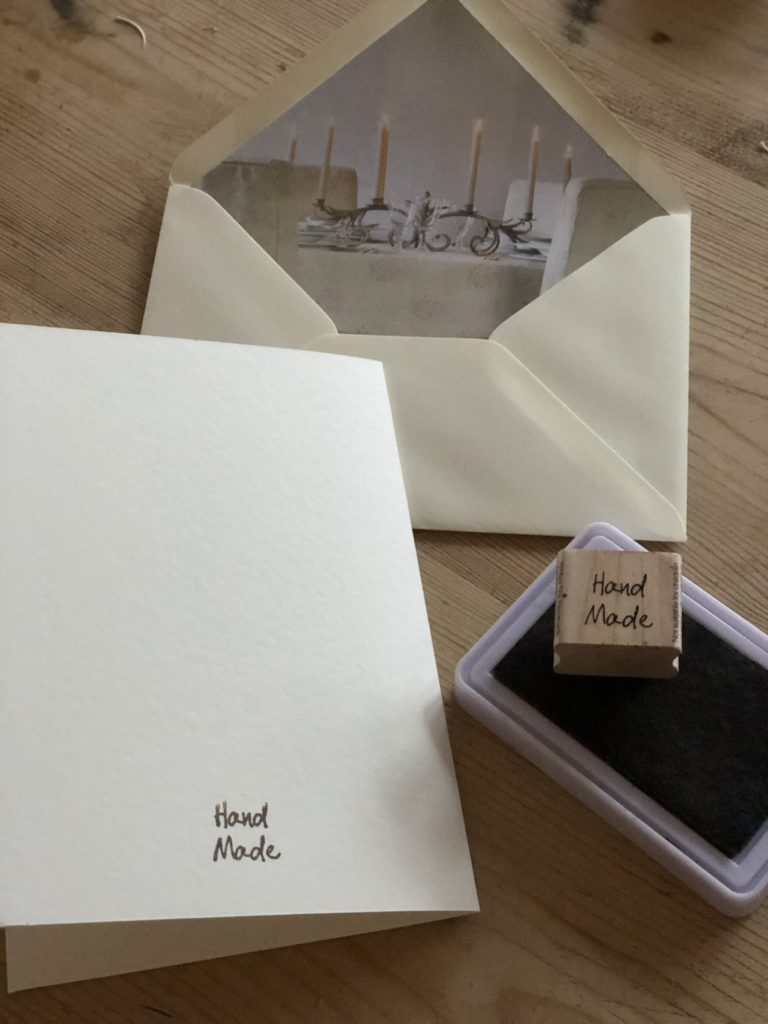
A playful time was spent mixing and matching lined envelopes with pretty cards and adding a subtle stamp to remind the recipient this is indeed a one off design.
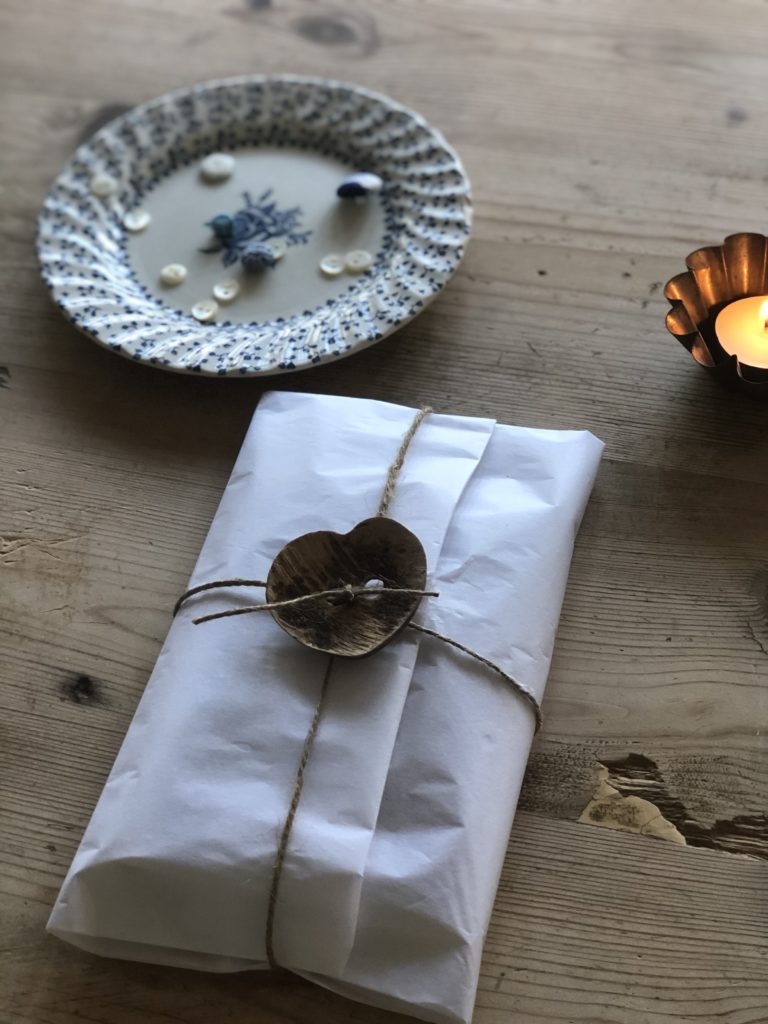
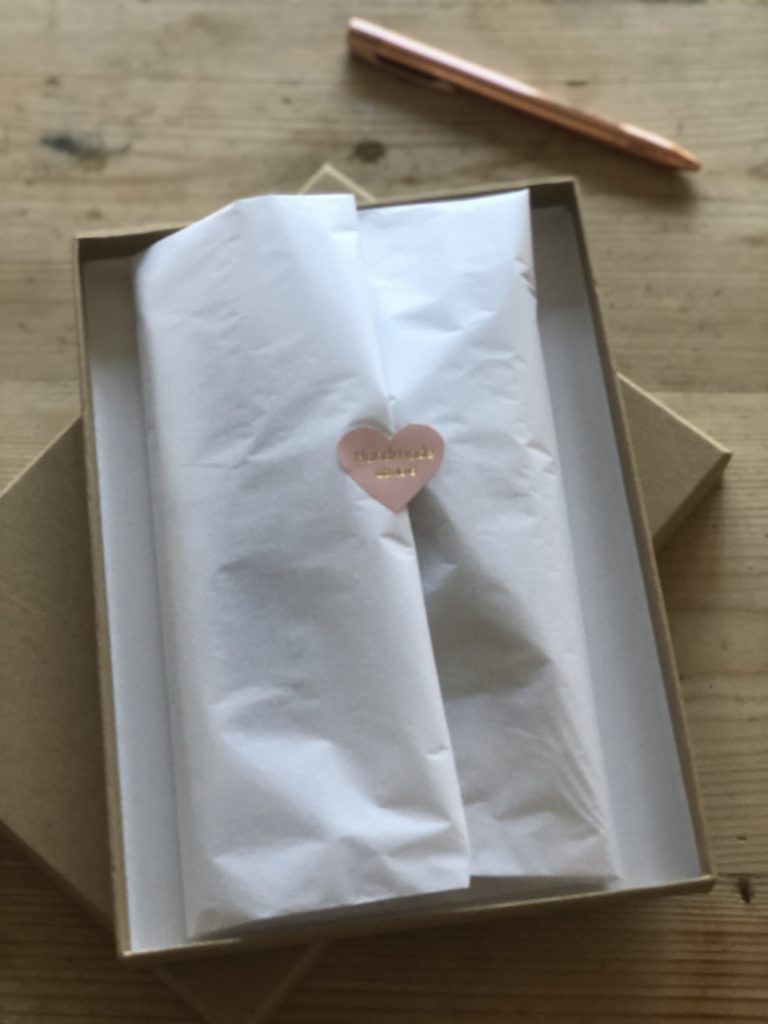
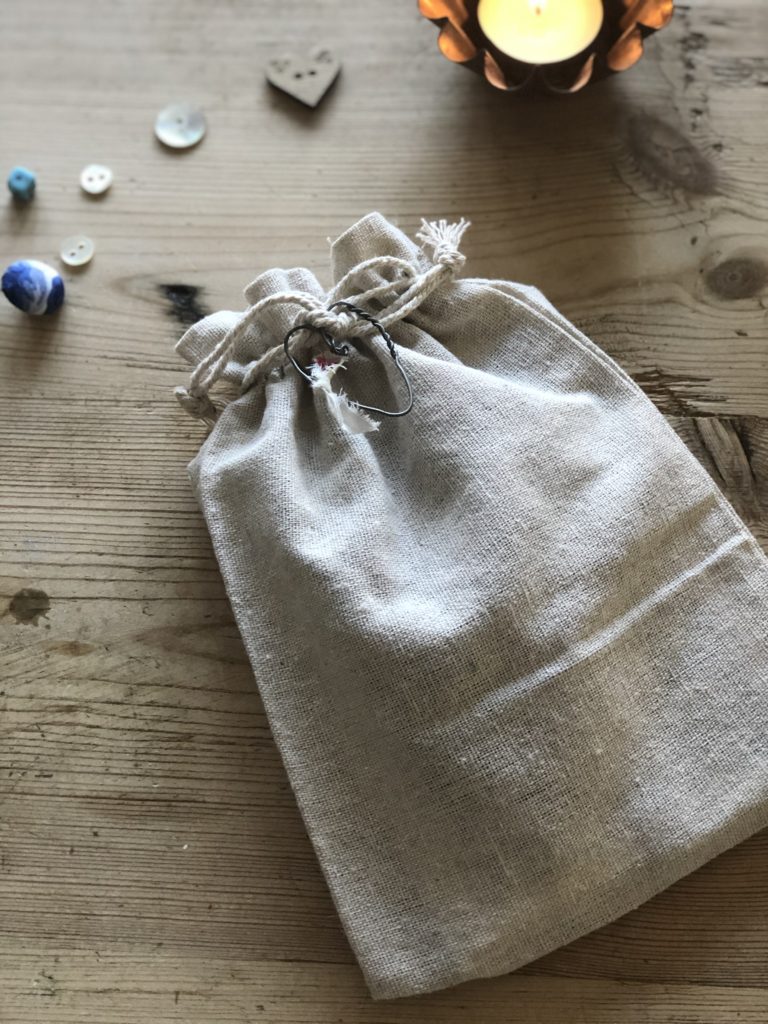
As with most crafts, once you get into your stride these personalised thank you cards and pretty envelopes don’t take much time and in a couple of hours, I created six which I was extremely happy with. So much so, they shall be gifted and I spent another happy while wrapping with eco friendly boxes and bows and tissue and twine. Teamed up with a pen they make a lovely present don’t you think? Is it entirely acceptable I wonder to send oneself the gift?
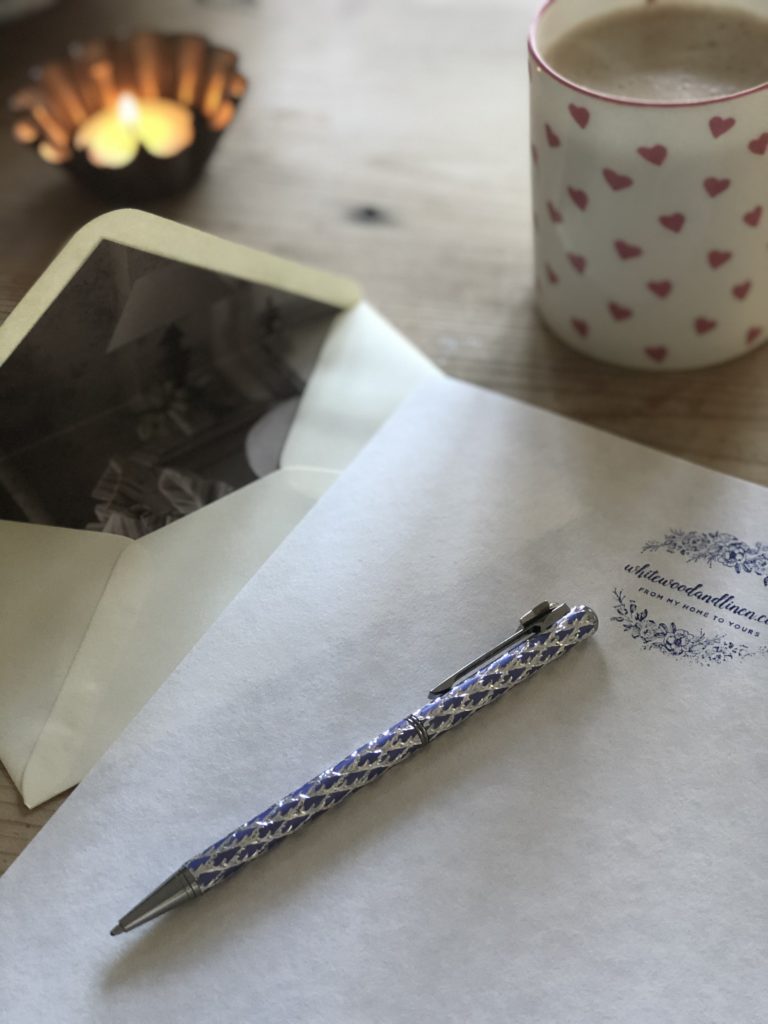
Knowing these personalised thank you cards – which strictly speaking could be used for a great many occasions and not simply thank you’s – were destined for the present cupboard (you have one too, I know you do) I felt a little bereft. So, I played around with a few ideas for myself using my pretty plain paper and this old book for the envelope lining and sent a few thank you notes to loved ones.
There are endless themes to follow when making your thank you cards. Should you choose to gift this craft, grandparents or maybe new parents would surely be delighted. Friends and family moving into their dream home could only appreciate such a thoughtful idea and what about children too? For when a text simply won’t do of course.
I wrote another post some time ago using a different app for homemade stationery you can find here and here’s another creative post for an alternative spin on simple homemade cards if you are looking for ideas.
I know January is not a favourite month for many. I always find it to be a good time for crafts though. Although next week is the last Thursday of the month and strictly speaking I should be quiet, I do have a surprise for you which will appear, directly in your mailbox if you are a subscriber to the blog. You must be subscribed to receive it, so if you have yet to do so and don’t wish to miss out, complete the sign up form directly below this post. until then…x


I am right there with you Jane. I would say to the M children when they were growing up “no time for thank you’s? Oh that is sad, the present will have to go back then” and somehow that worked! And for a great many years they made the cards themselves or simply decorated the paper they wrote on. It’s a good practice I think and as an adult I love to send cards. My gang laugh at me and roll their eyes as I get ready to send another card! Thanks for stopping by and joining in, I really appreciate it x
Ha ha that’s the whole point, they are the funniest! Glad you liked my interpretation of the ideas inspired by you darling! Lots of love x
Hi there Debbie, so glad you like this post!x
What a lovely post, with a wonderful idea!
xo
What a brilliant idea!! I promise that I will always make my own Christmas cards for you guys however unfunny they might be
Hi Helen,
I was brought up to send thank-you cards and still send them to this day! My four children still send cards even though they are all grown up now. I think that it is such a lovley thing to do when someone has taken the trouble to choose something for you. Somehow a text just doesn’t cut it. I know that some would say that it isn’t eco friendly to send a card, but in my experience the cards can stay displayed for a long time and can even be recycled! I love what you have made here. Well done! Another lovely post as always.
Love Jane x
I recall a particular holiday of yours where a number of beautiful photos were taken, they would look fabulous as cards x
that’s such a good idea, even I might give that a bash!!
Thank you Karen, you would have so many to choose from for your personal cards!x
Thank you Amanda I can certainly see your beautiful gardens looking just perfect on the front of a few of these x
Pretty and personal as always. ❤️
A lovely post. Amanda x
Good morning early bird! I am so glad you like these since you are bound to receive one sometime soon! Oh next week I am so looking forward to sharing with you all… have a wonderful day my darling x
These are so beautiful and thoughtful! What a treat it would be to open one of these up – you make everything so special..:,
I am so looking forward to next week and seeing what arrives in the inbox!!! Xxxxxx