Today’s craft is a perfect addition to your Easter décor whether you dress your home for the celebration or opt for a more subtle nod to this time of year. Ever since I can recall there has been simple Easter decoration in our home. When The M children were mini’s we would join in with our church’s wonderful Good Friday craft workshop, recreating the garden of Gethsemane from a child’s perspective in the church grounds and moving from craft table to table in the church creating beautiful spring time décor from next to nothing. It was a favourite calendar moment and of course by now, you know who probably enjoyed the craft tables the most. Join me today at my craft table as I create a simple Easter table centrepiece to grace any home at springtime…
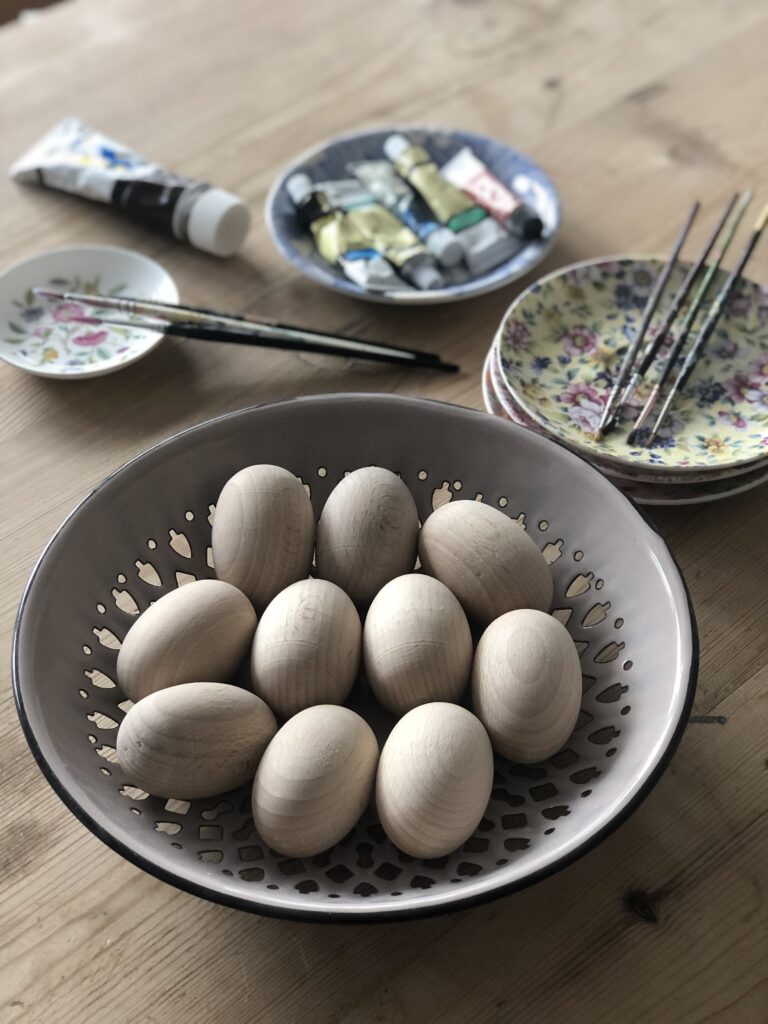
Today’s simple and pretty craft will create a homemade Easter table centrepiece in no time at all. Begin by gathering together all you will need:
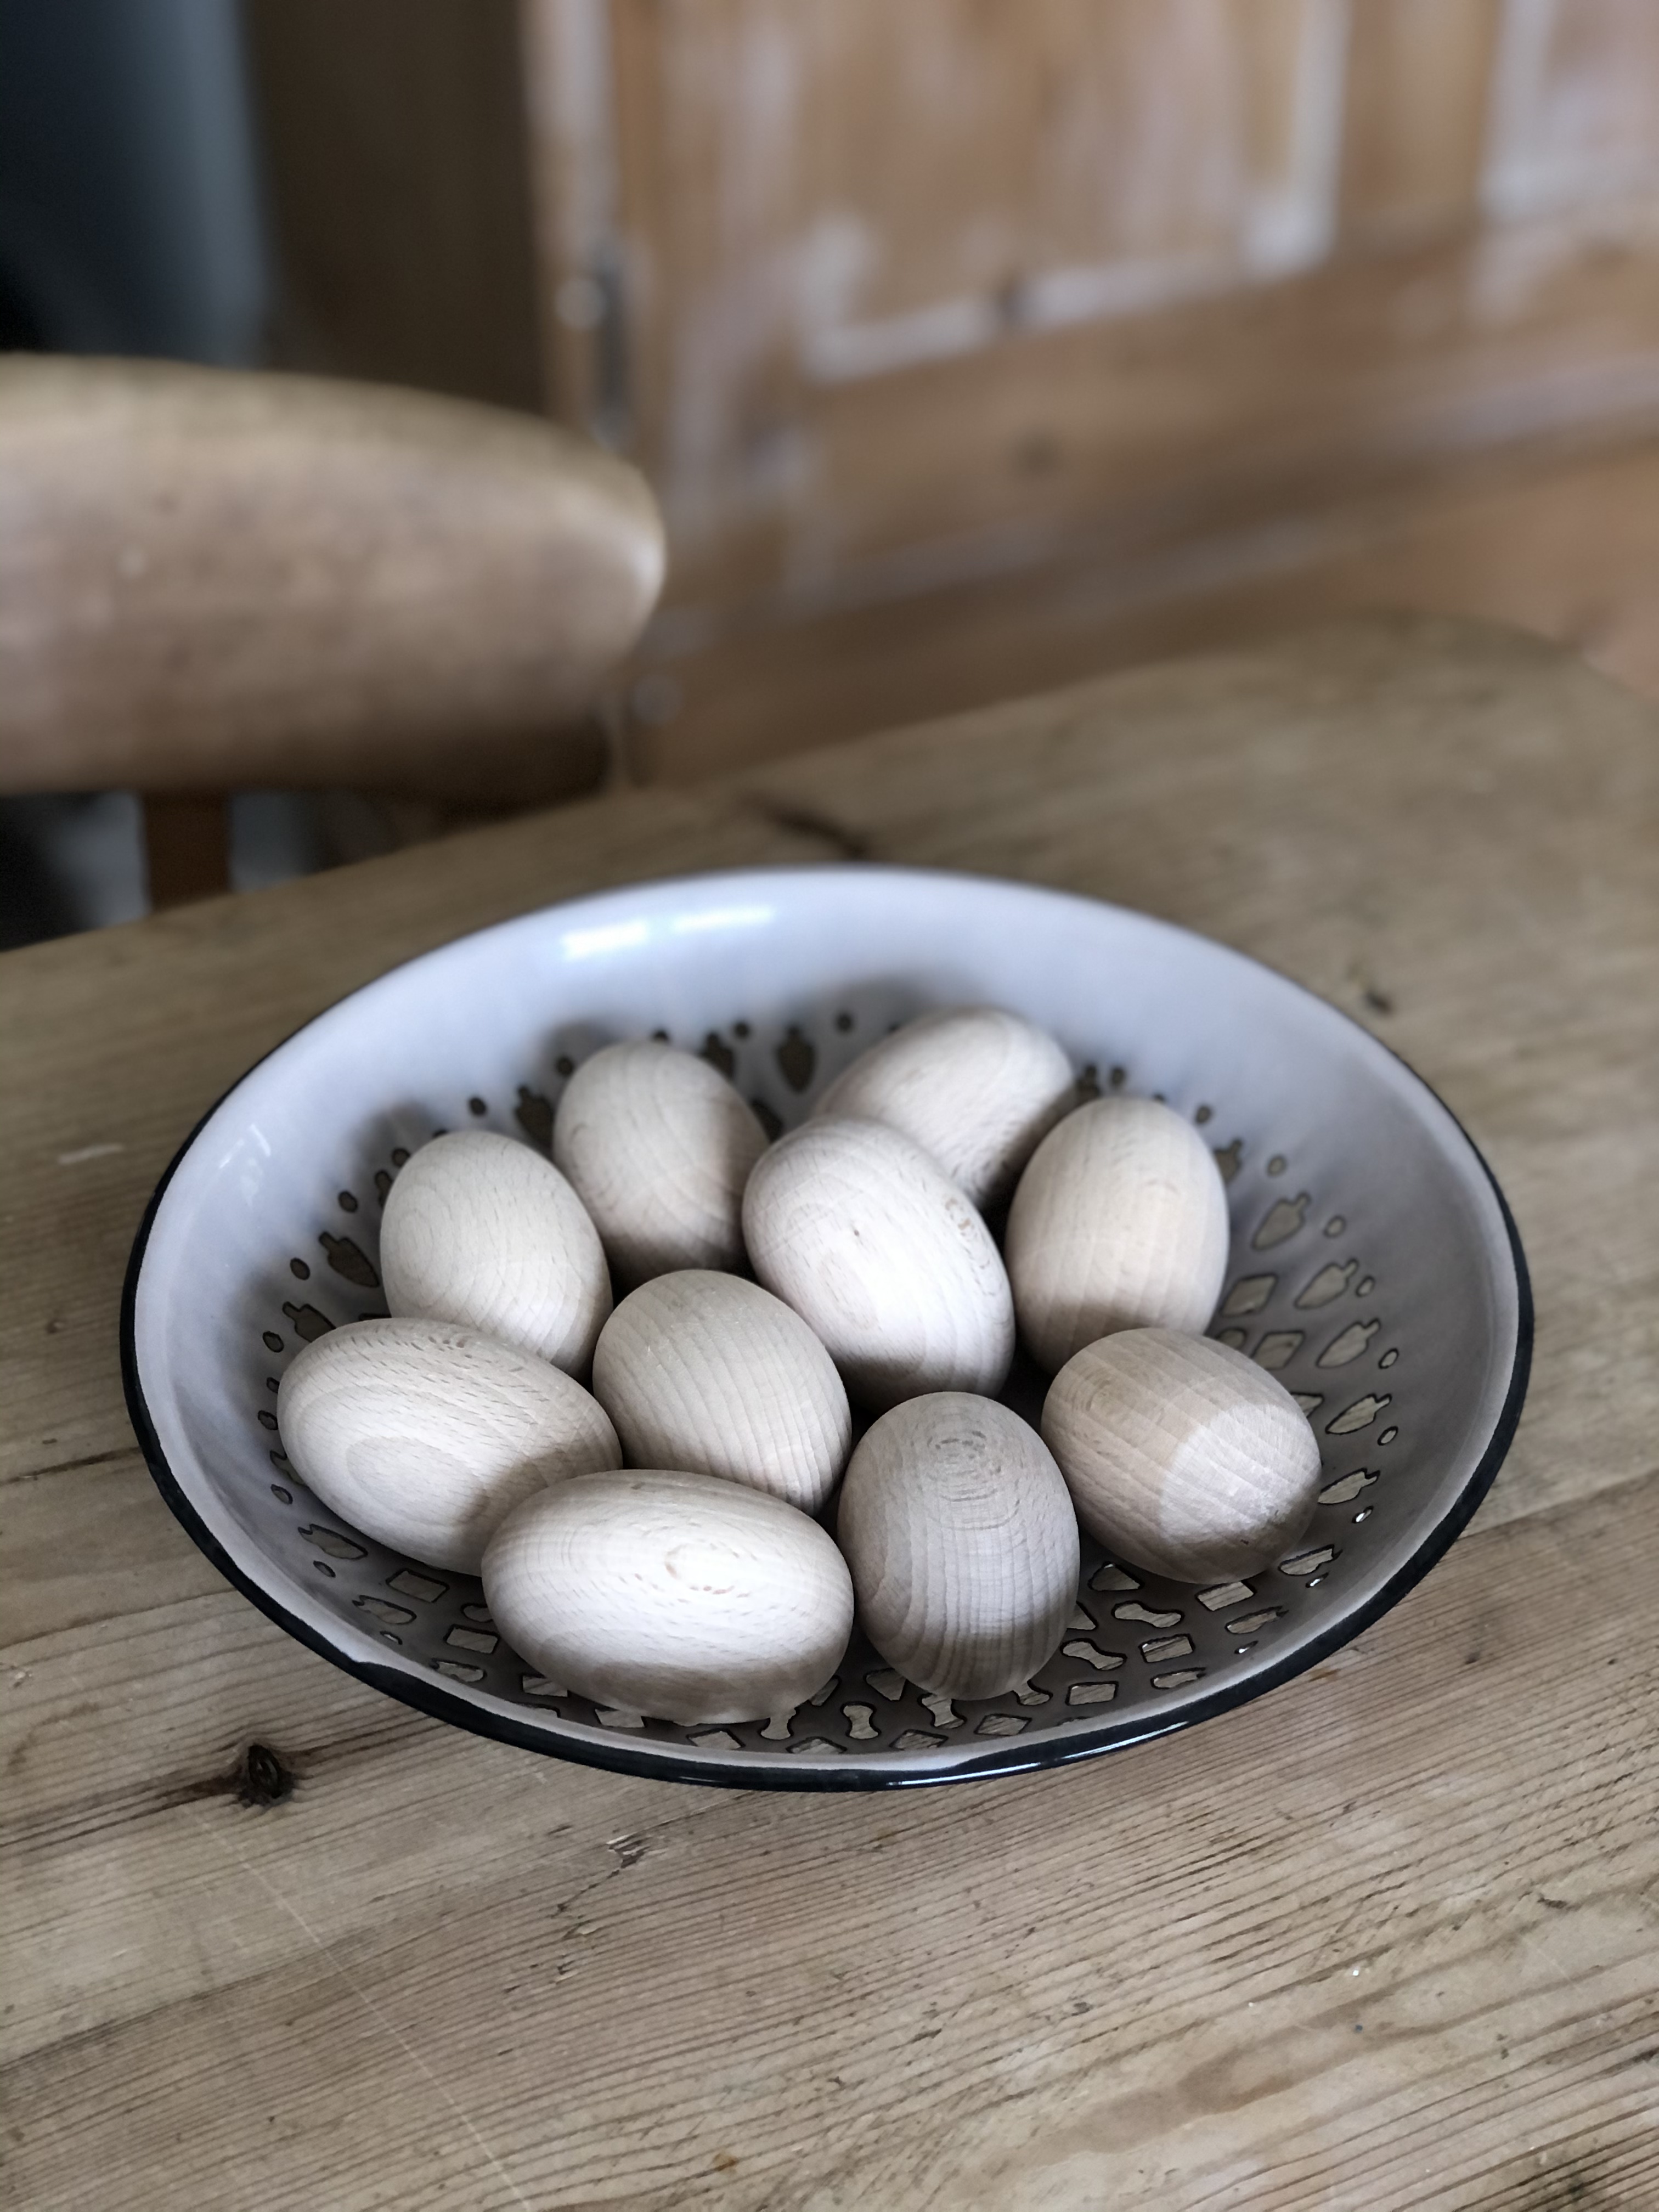
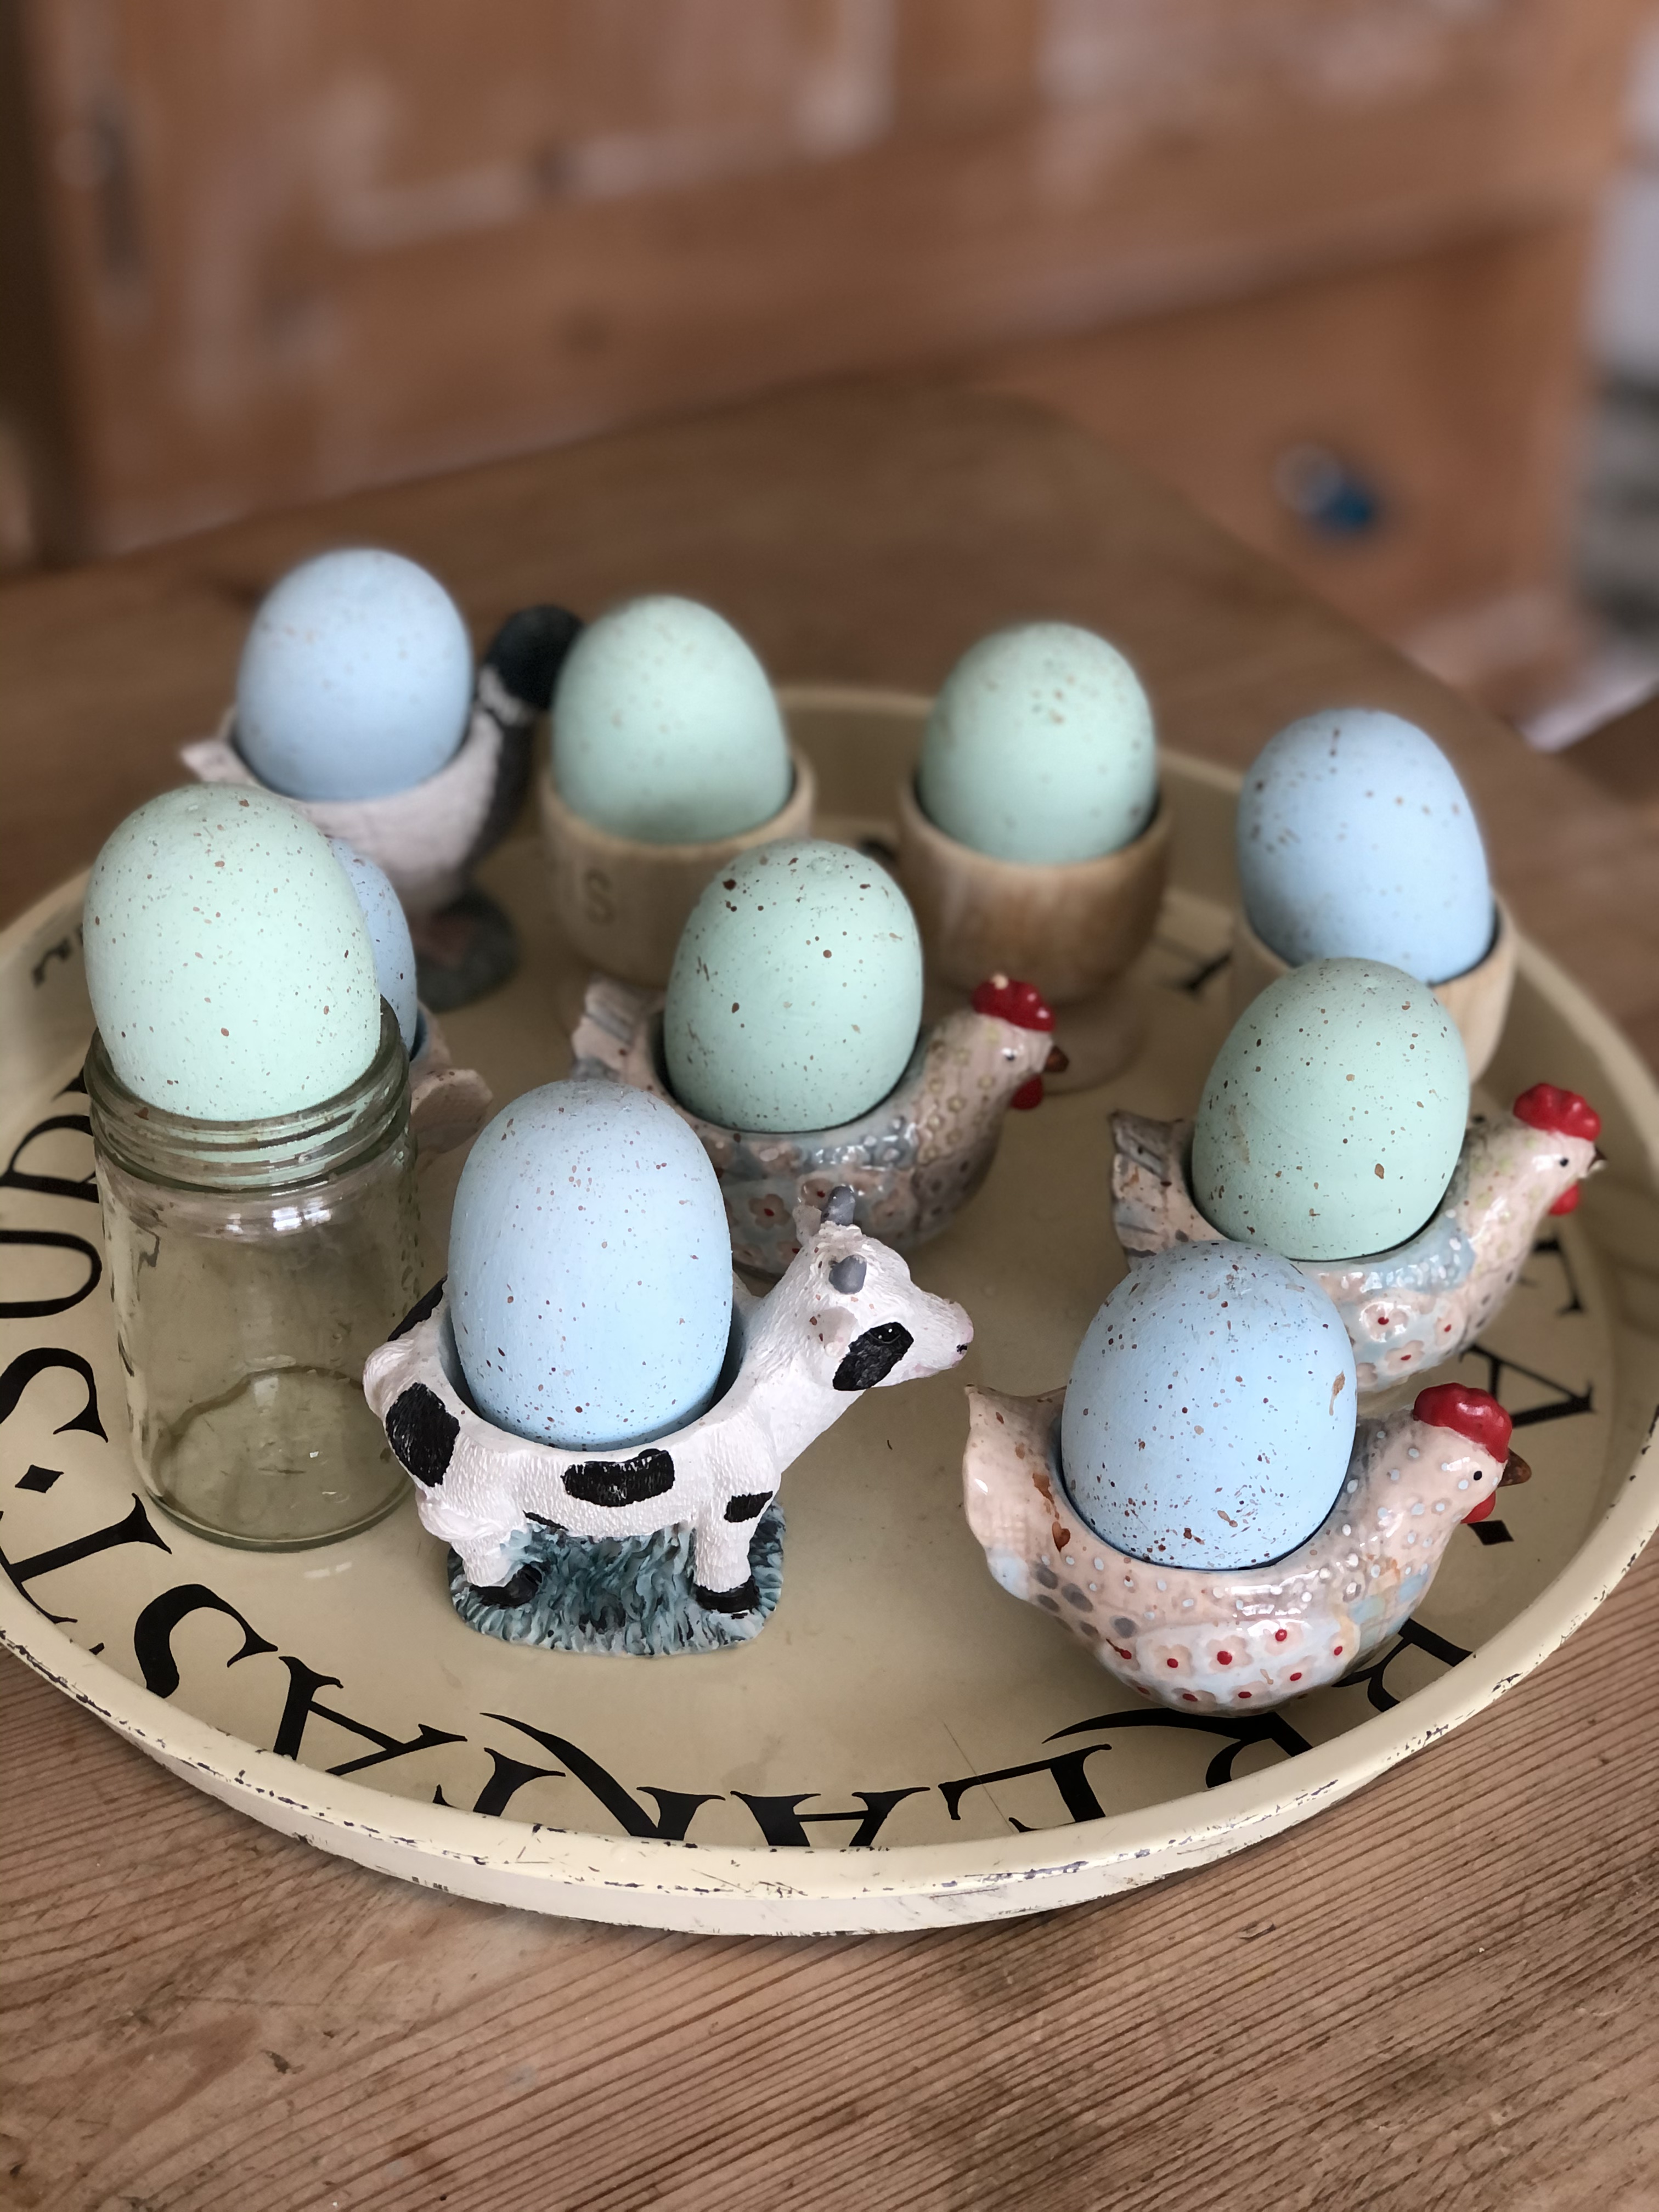
- Wooden or craft eggs, I used these
- Acrylic paints or old tester posts
- Artist paint brush
- An old toothbrush
- Chippy or old tea plates for mixing paints
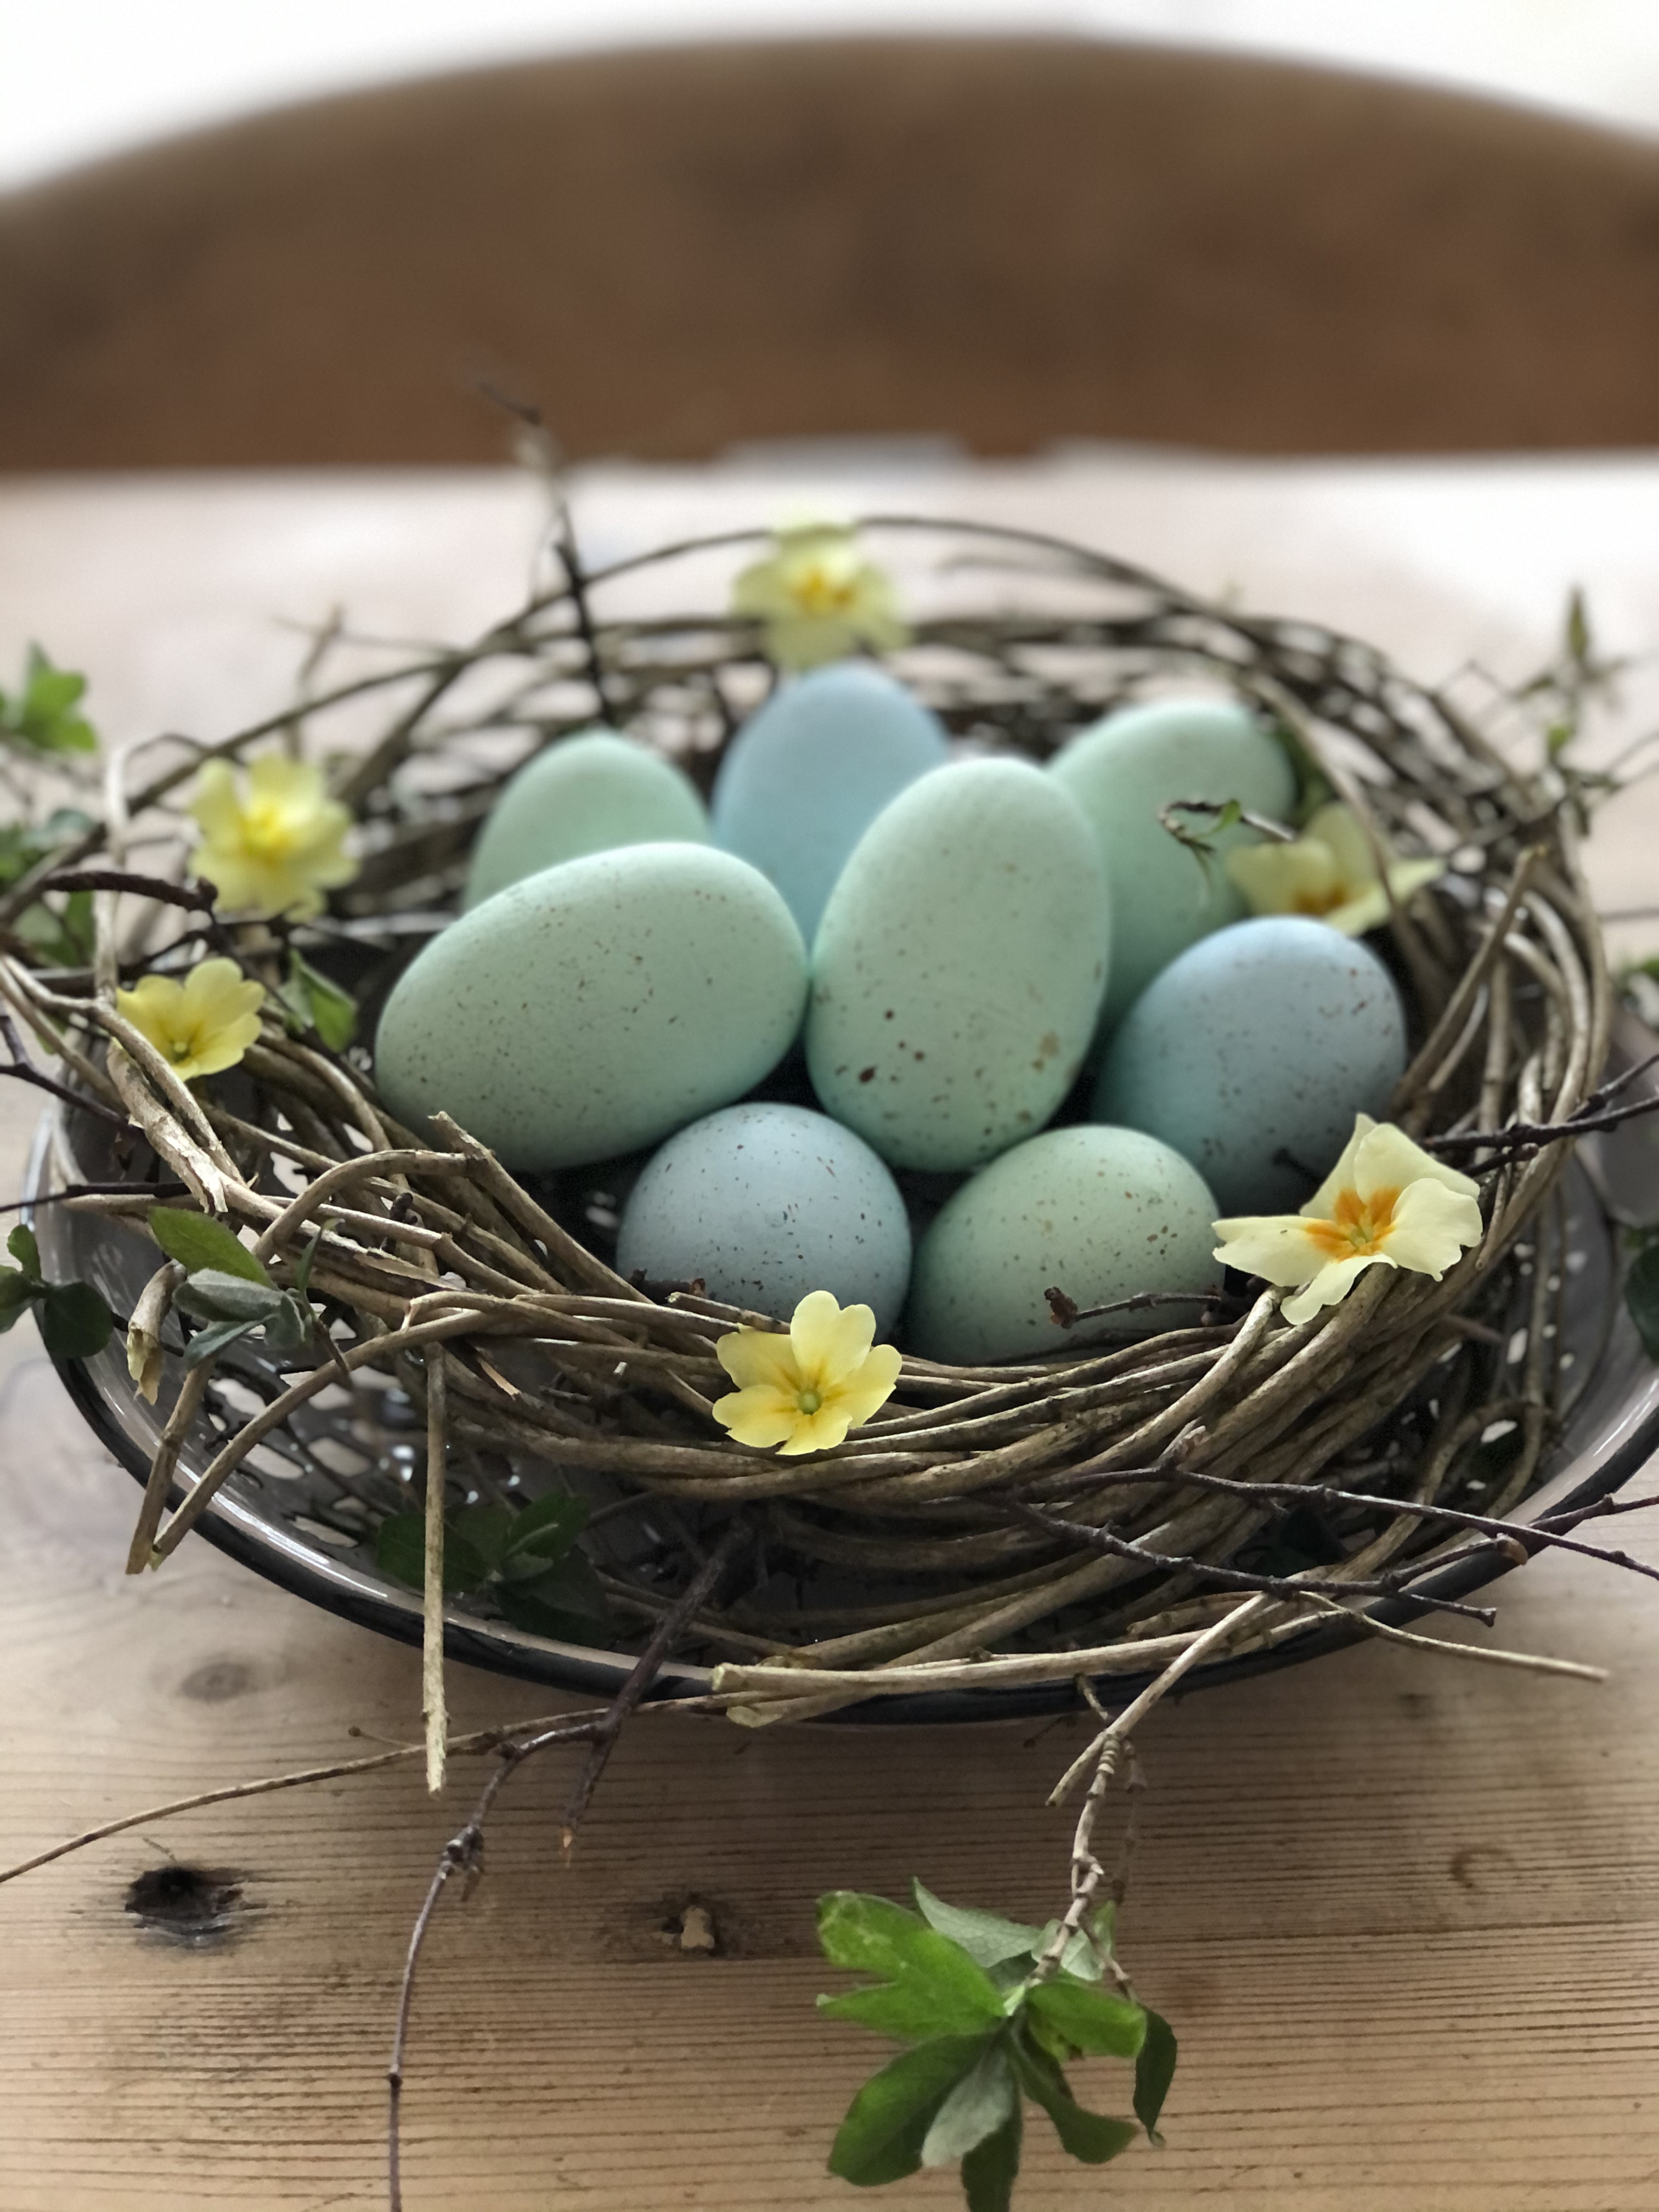
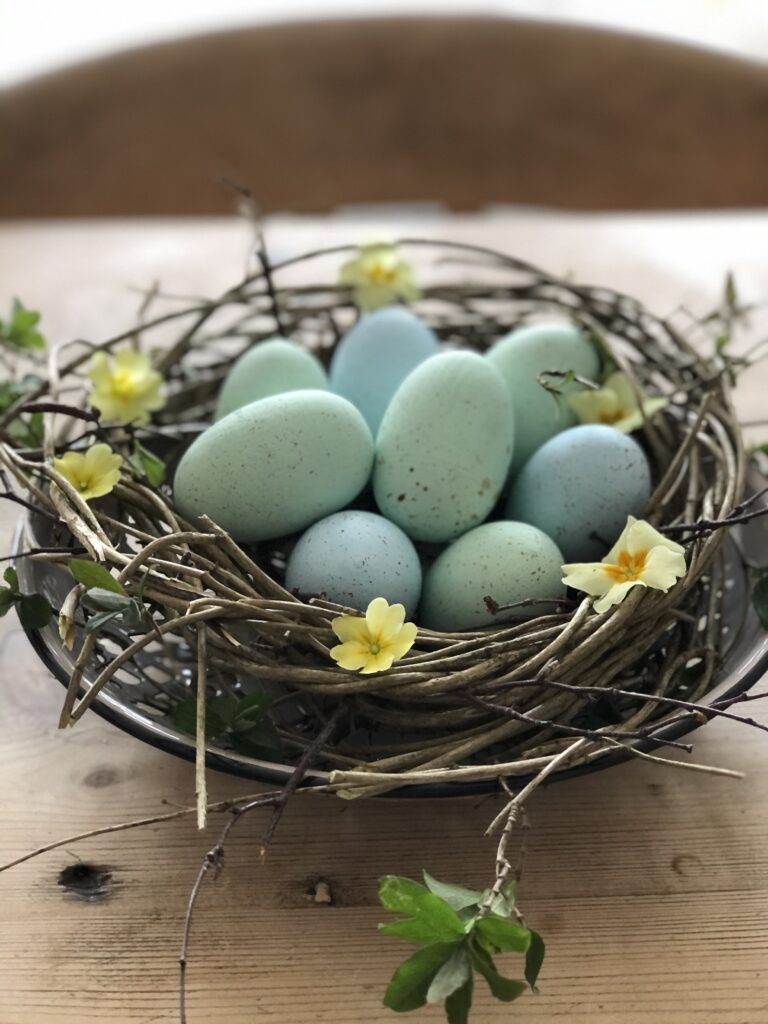
- Display bowl or dish
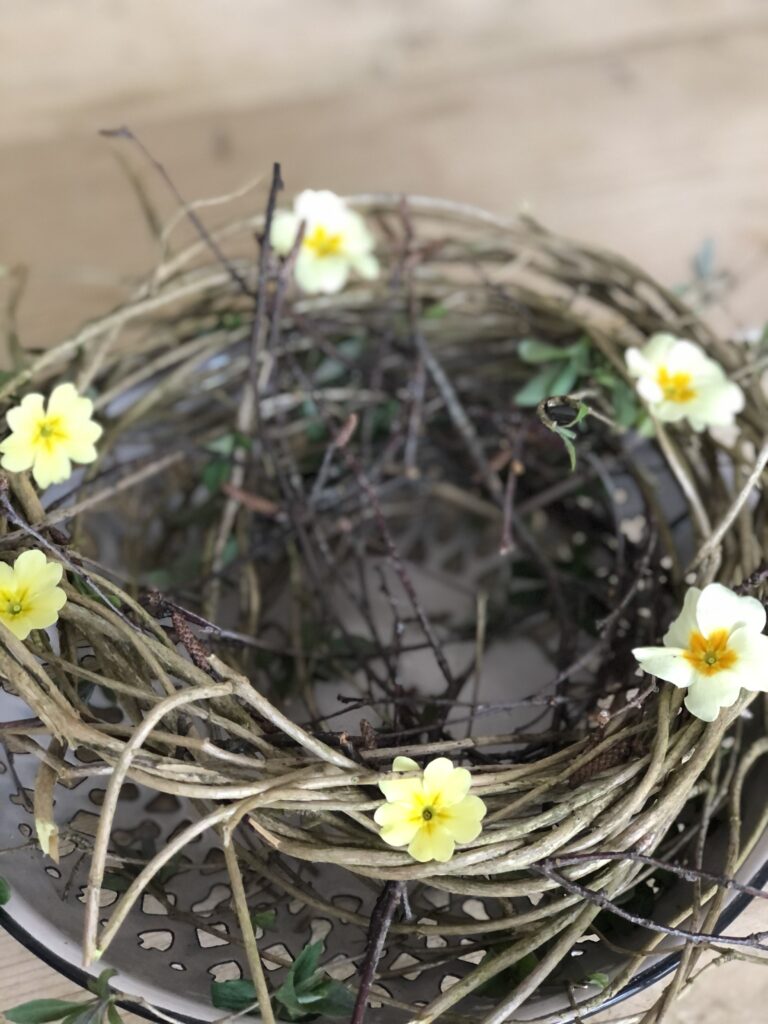
- Twigs or raffia for ‘nest’
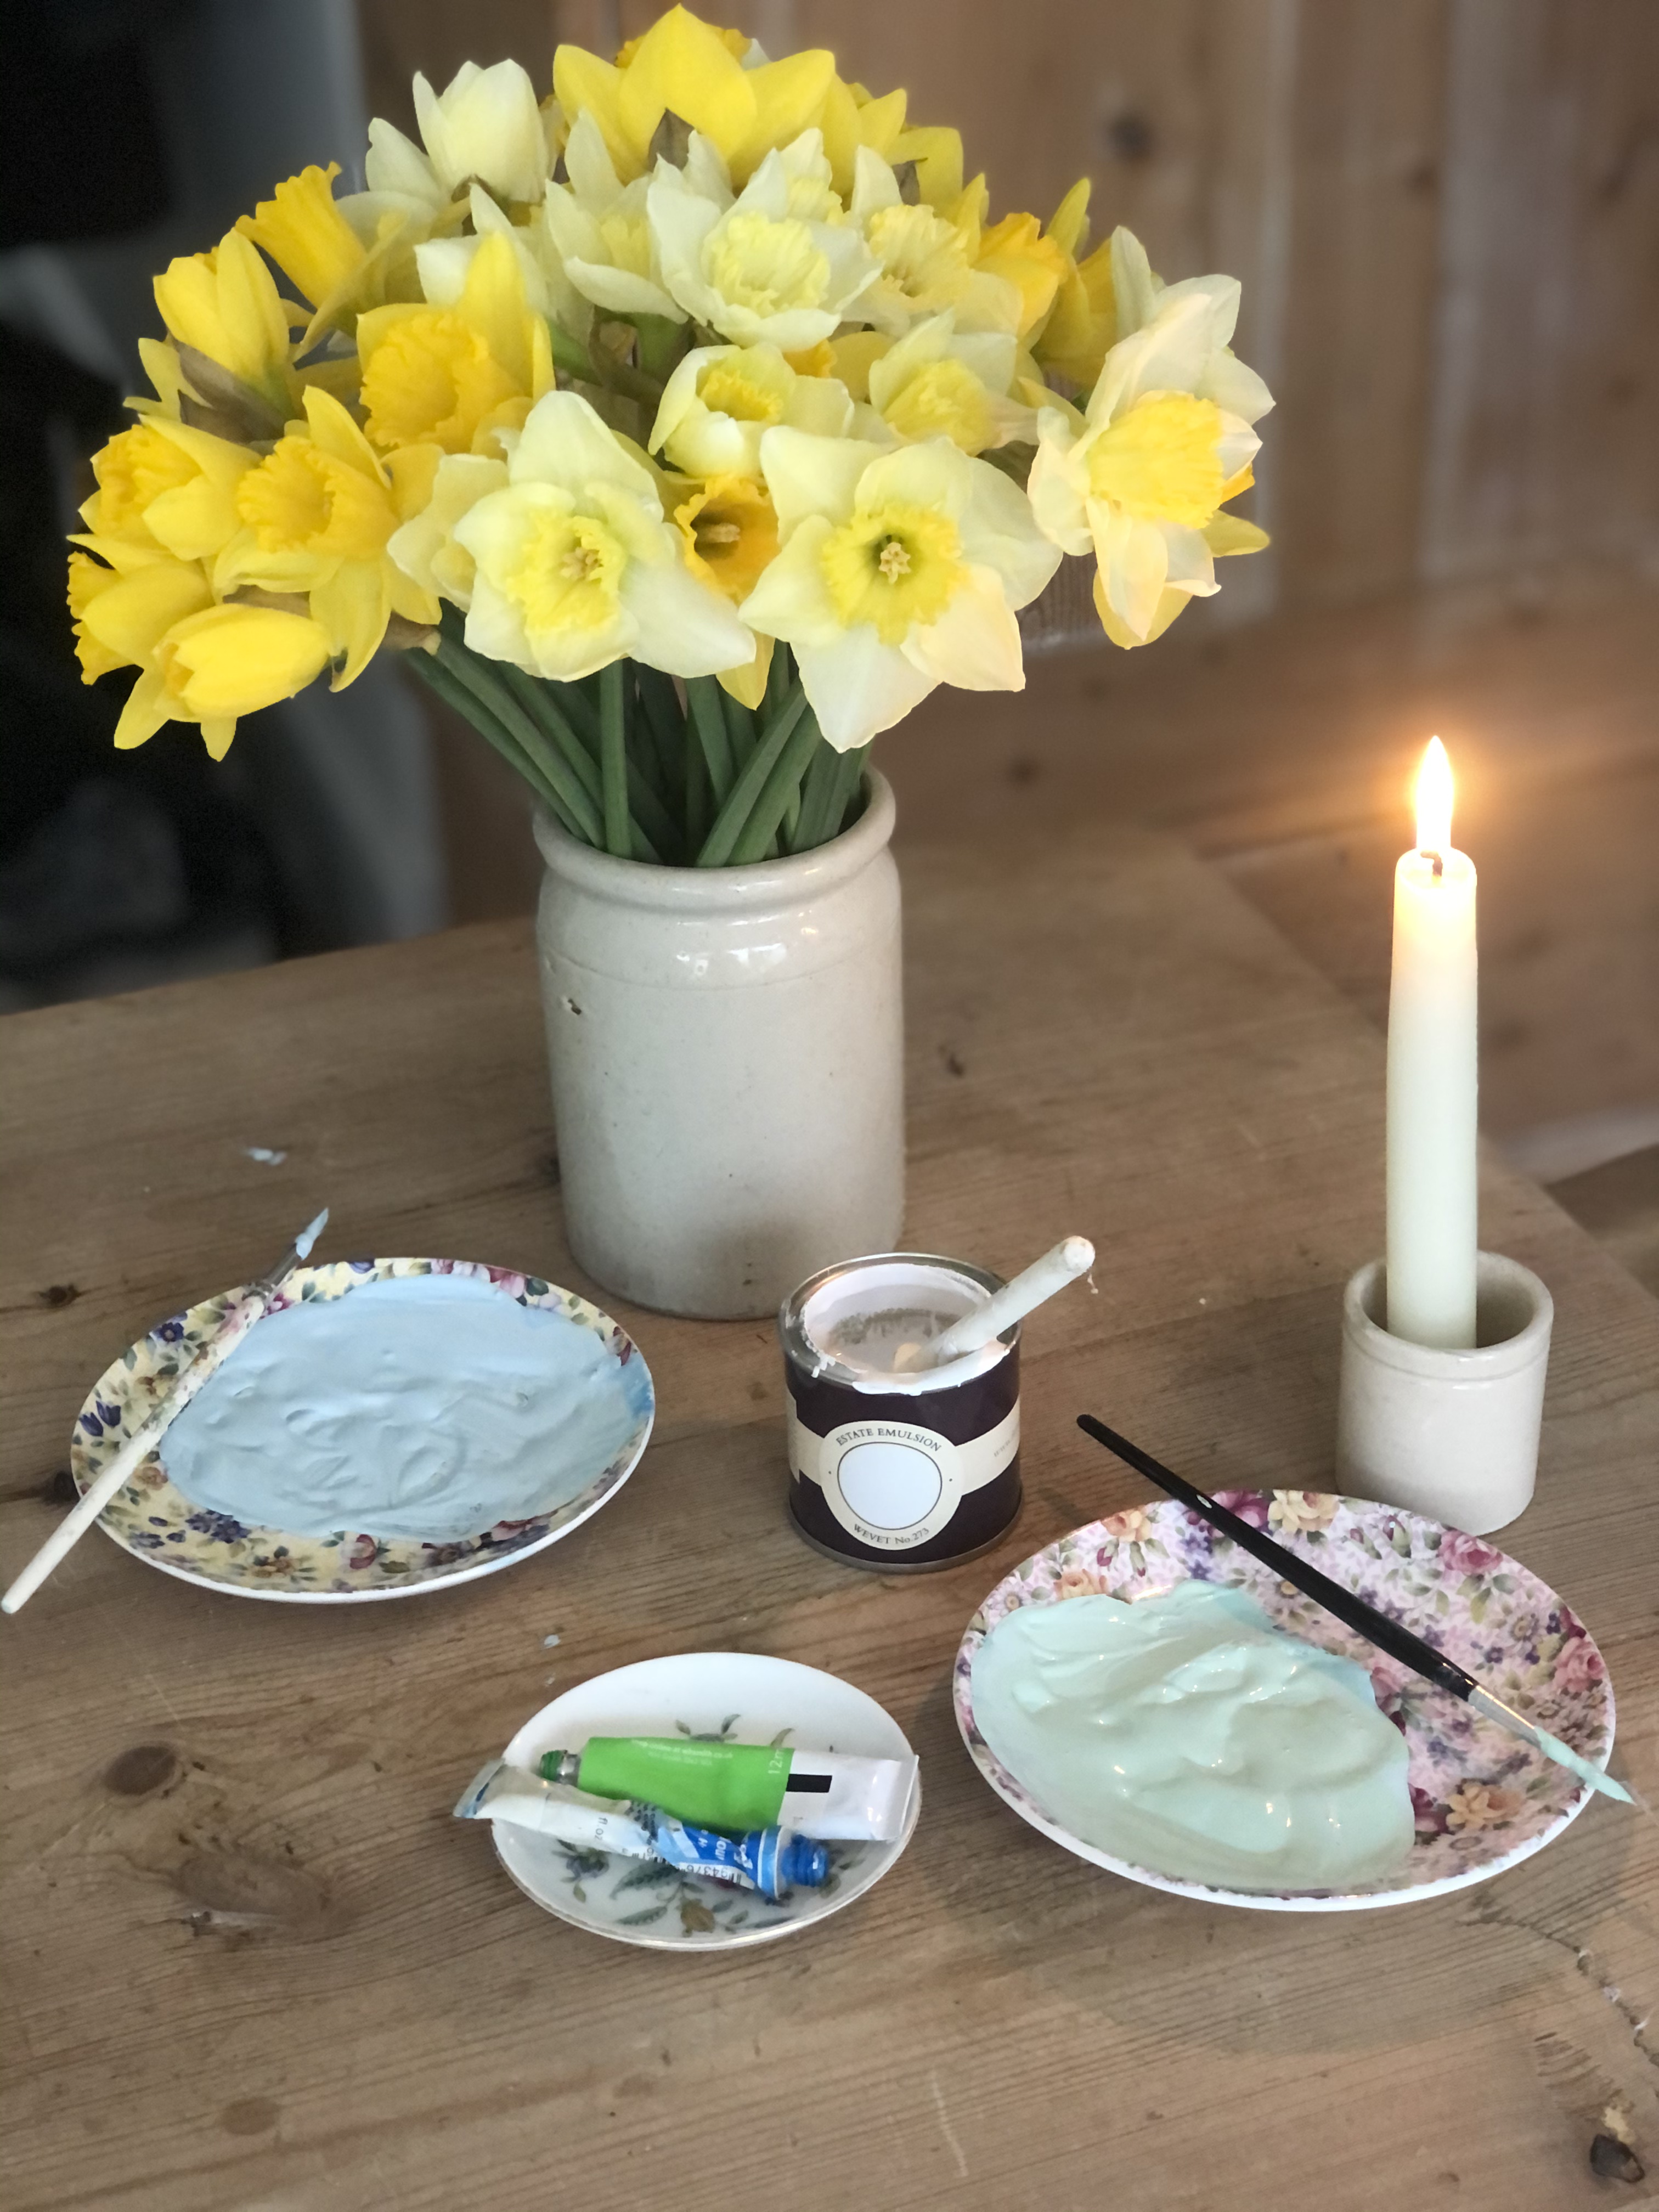
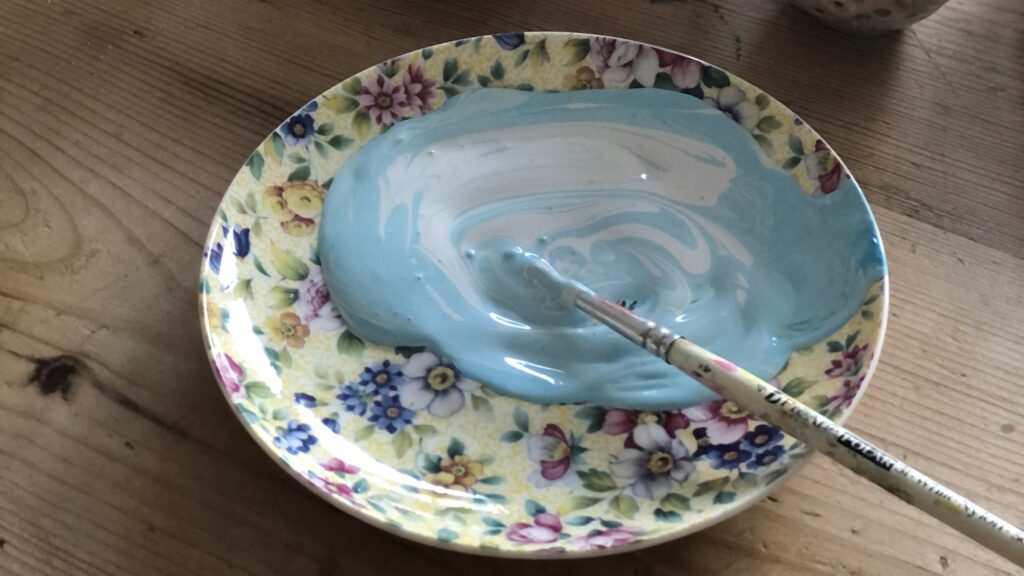
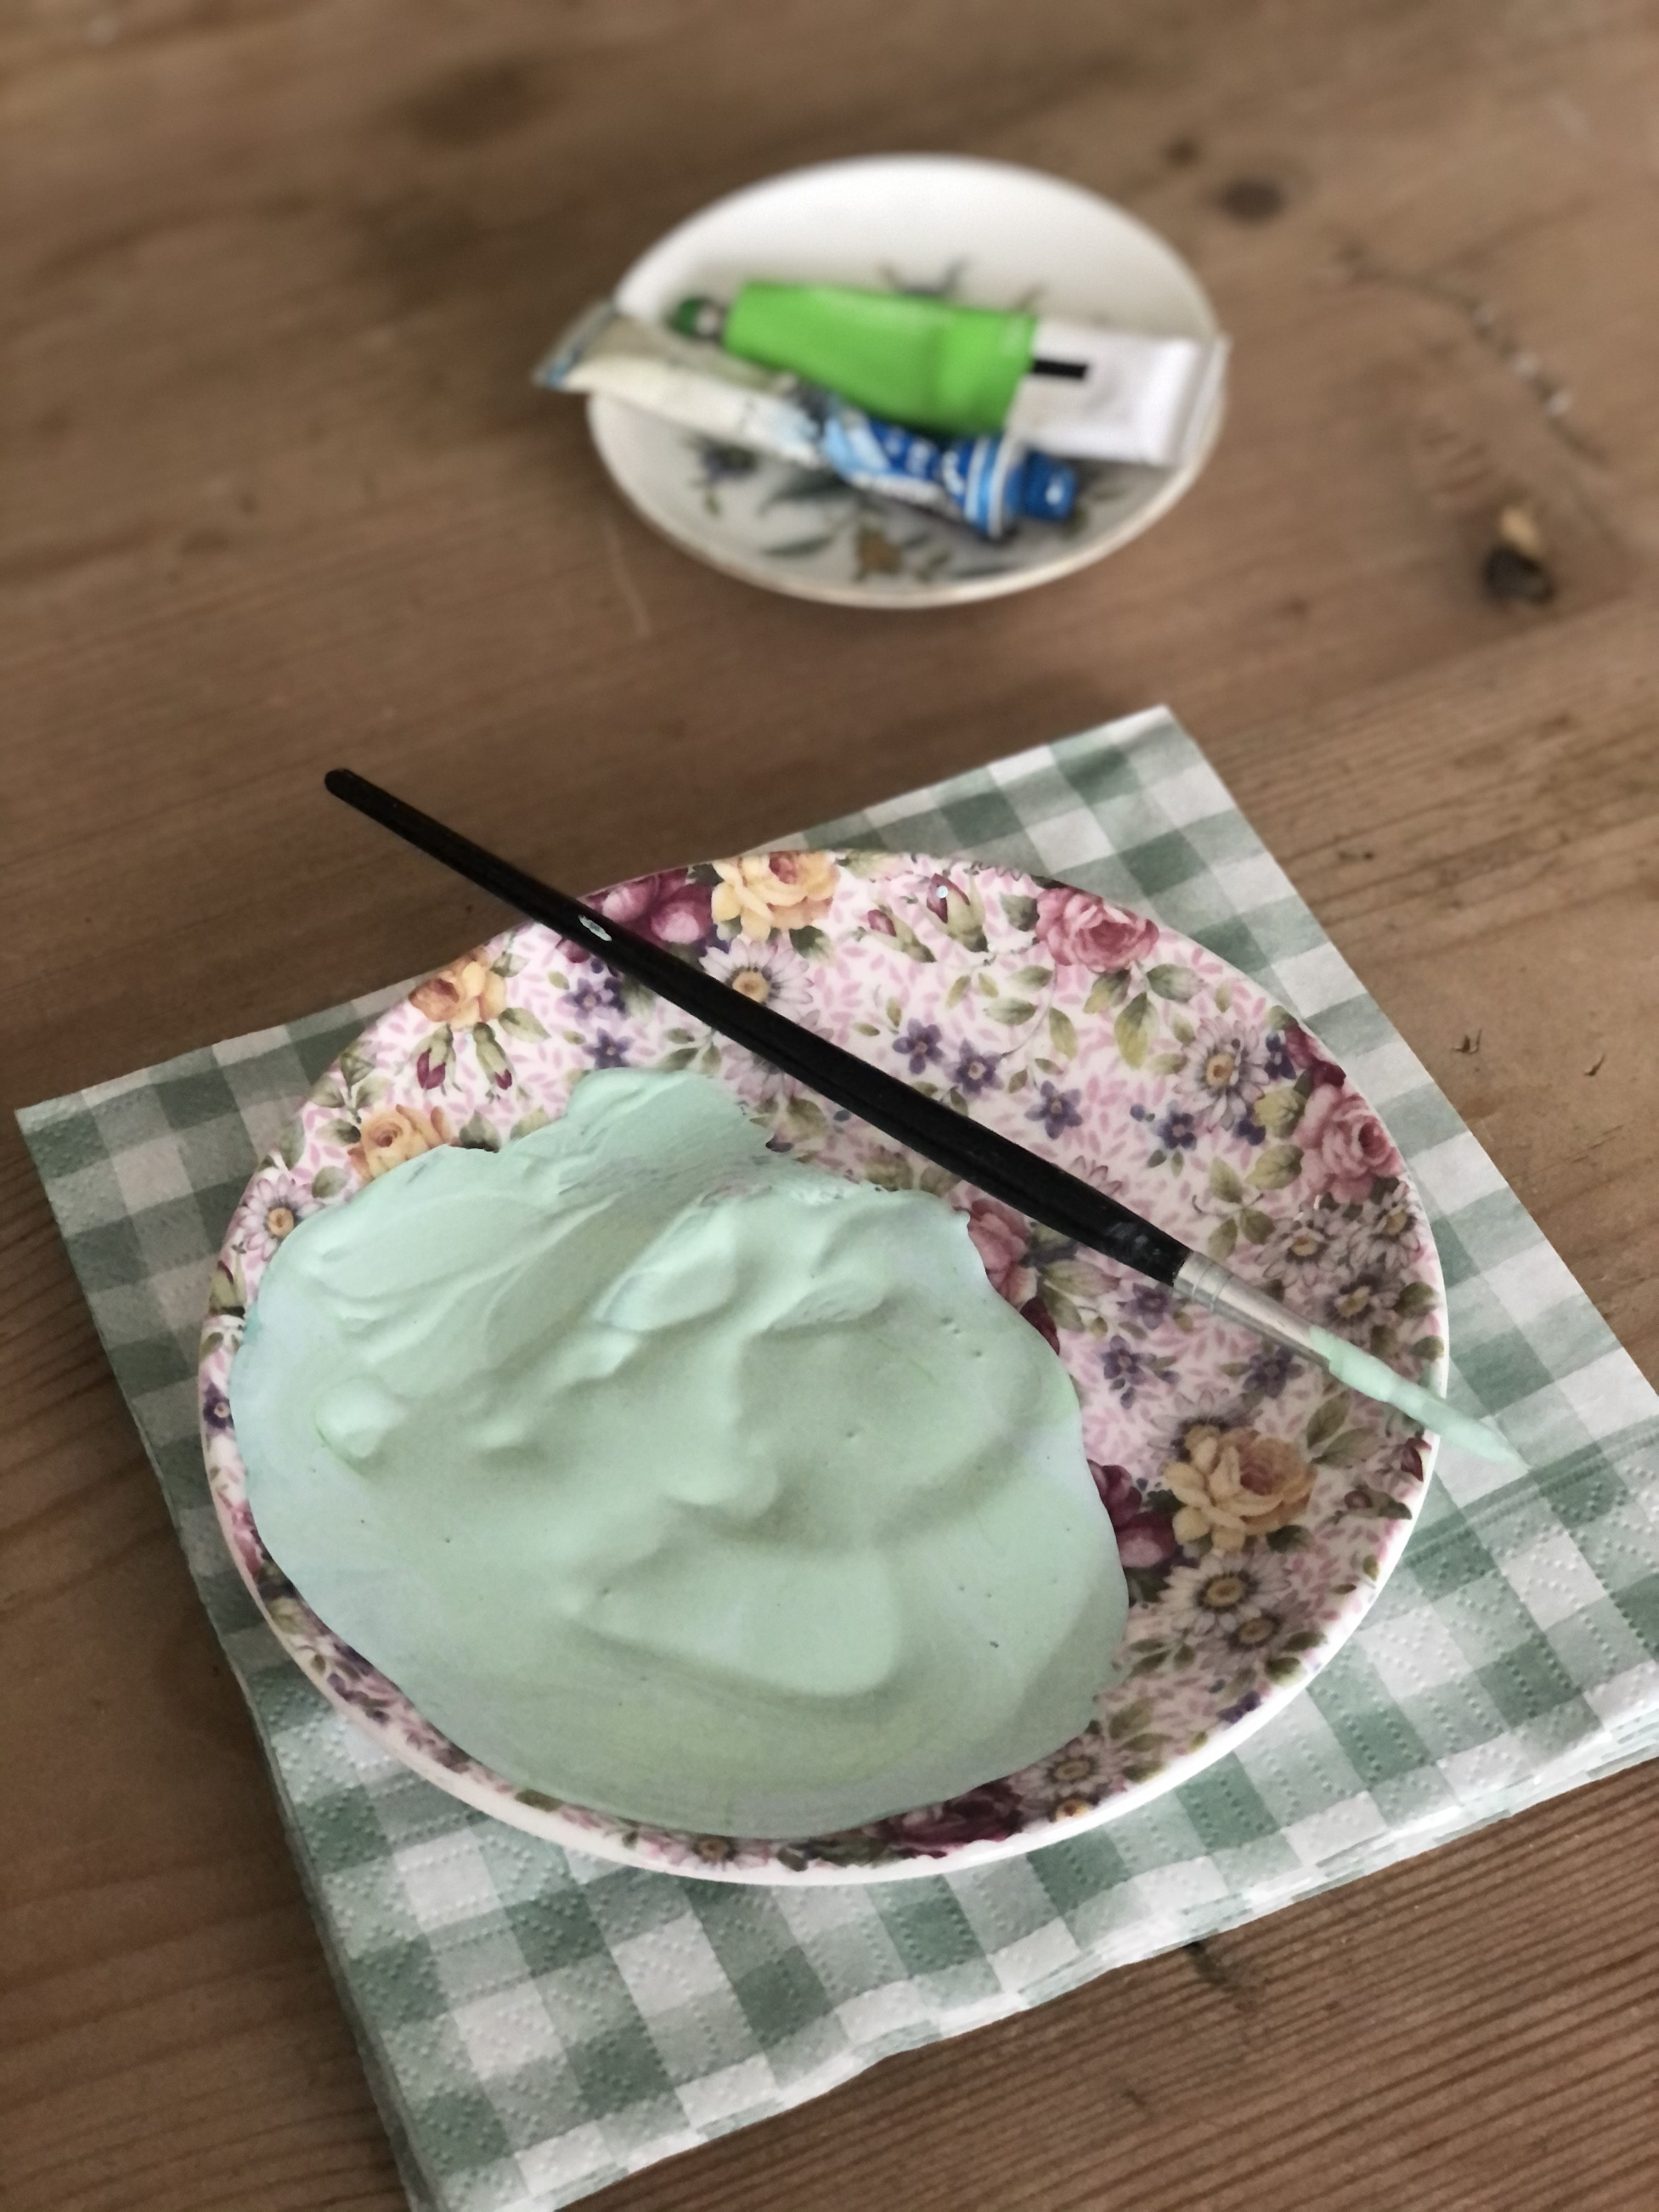
Start by enjoying the alchemy of combining paints to create your desired shades for the craft eggs. I plumped for a pastel blue and spring-like green for mine.
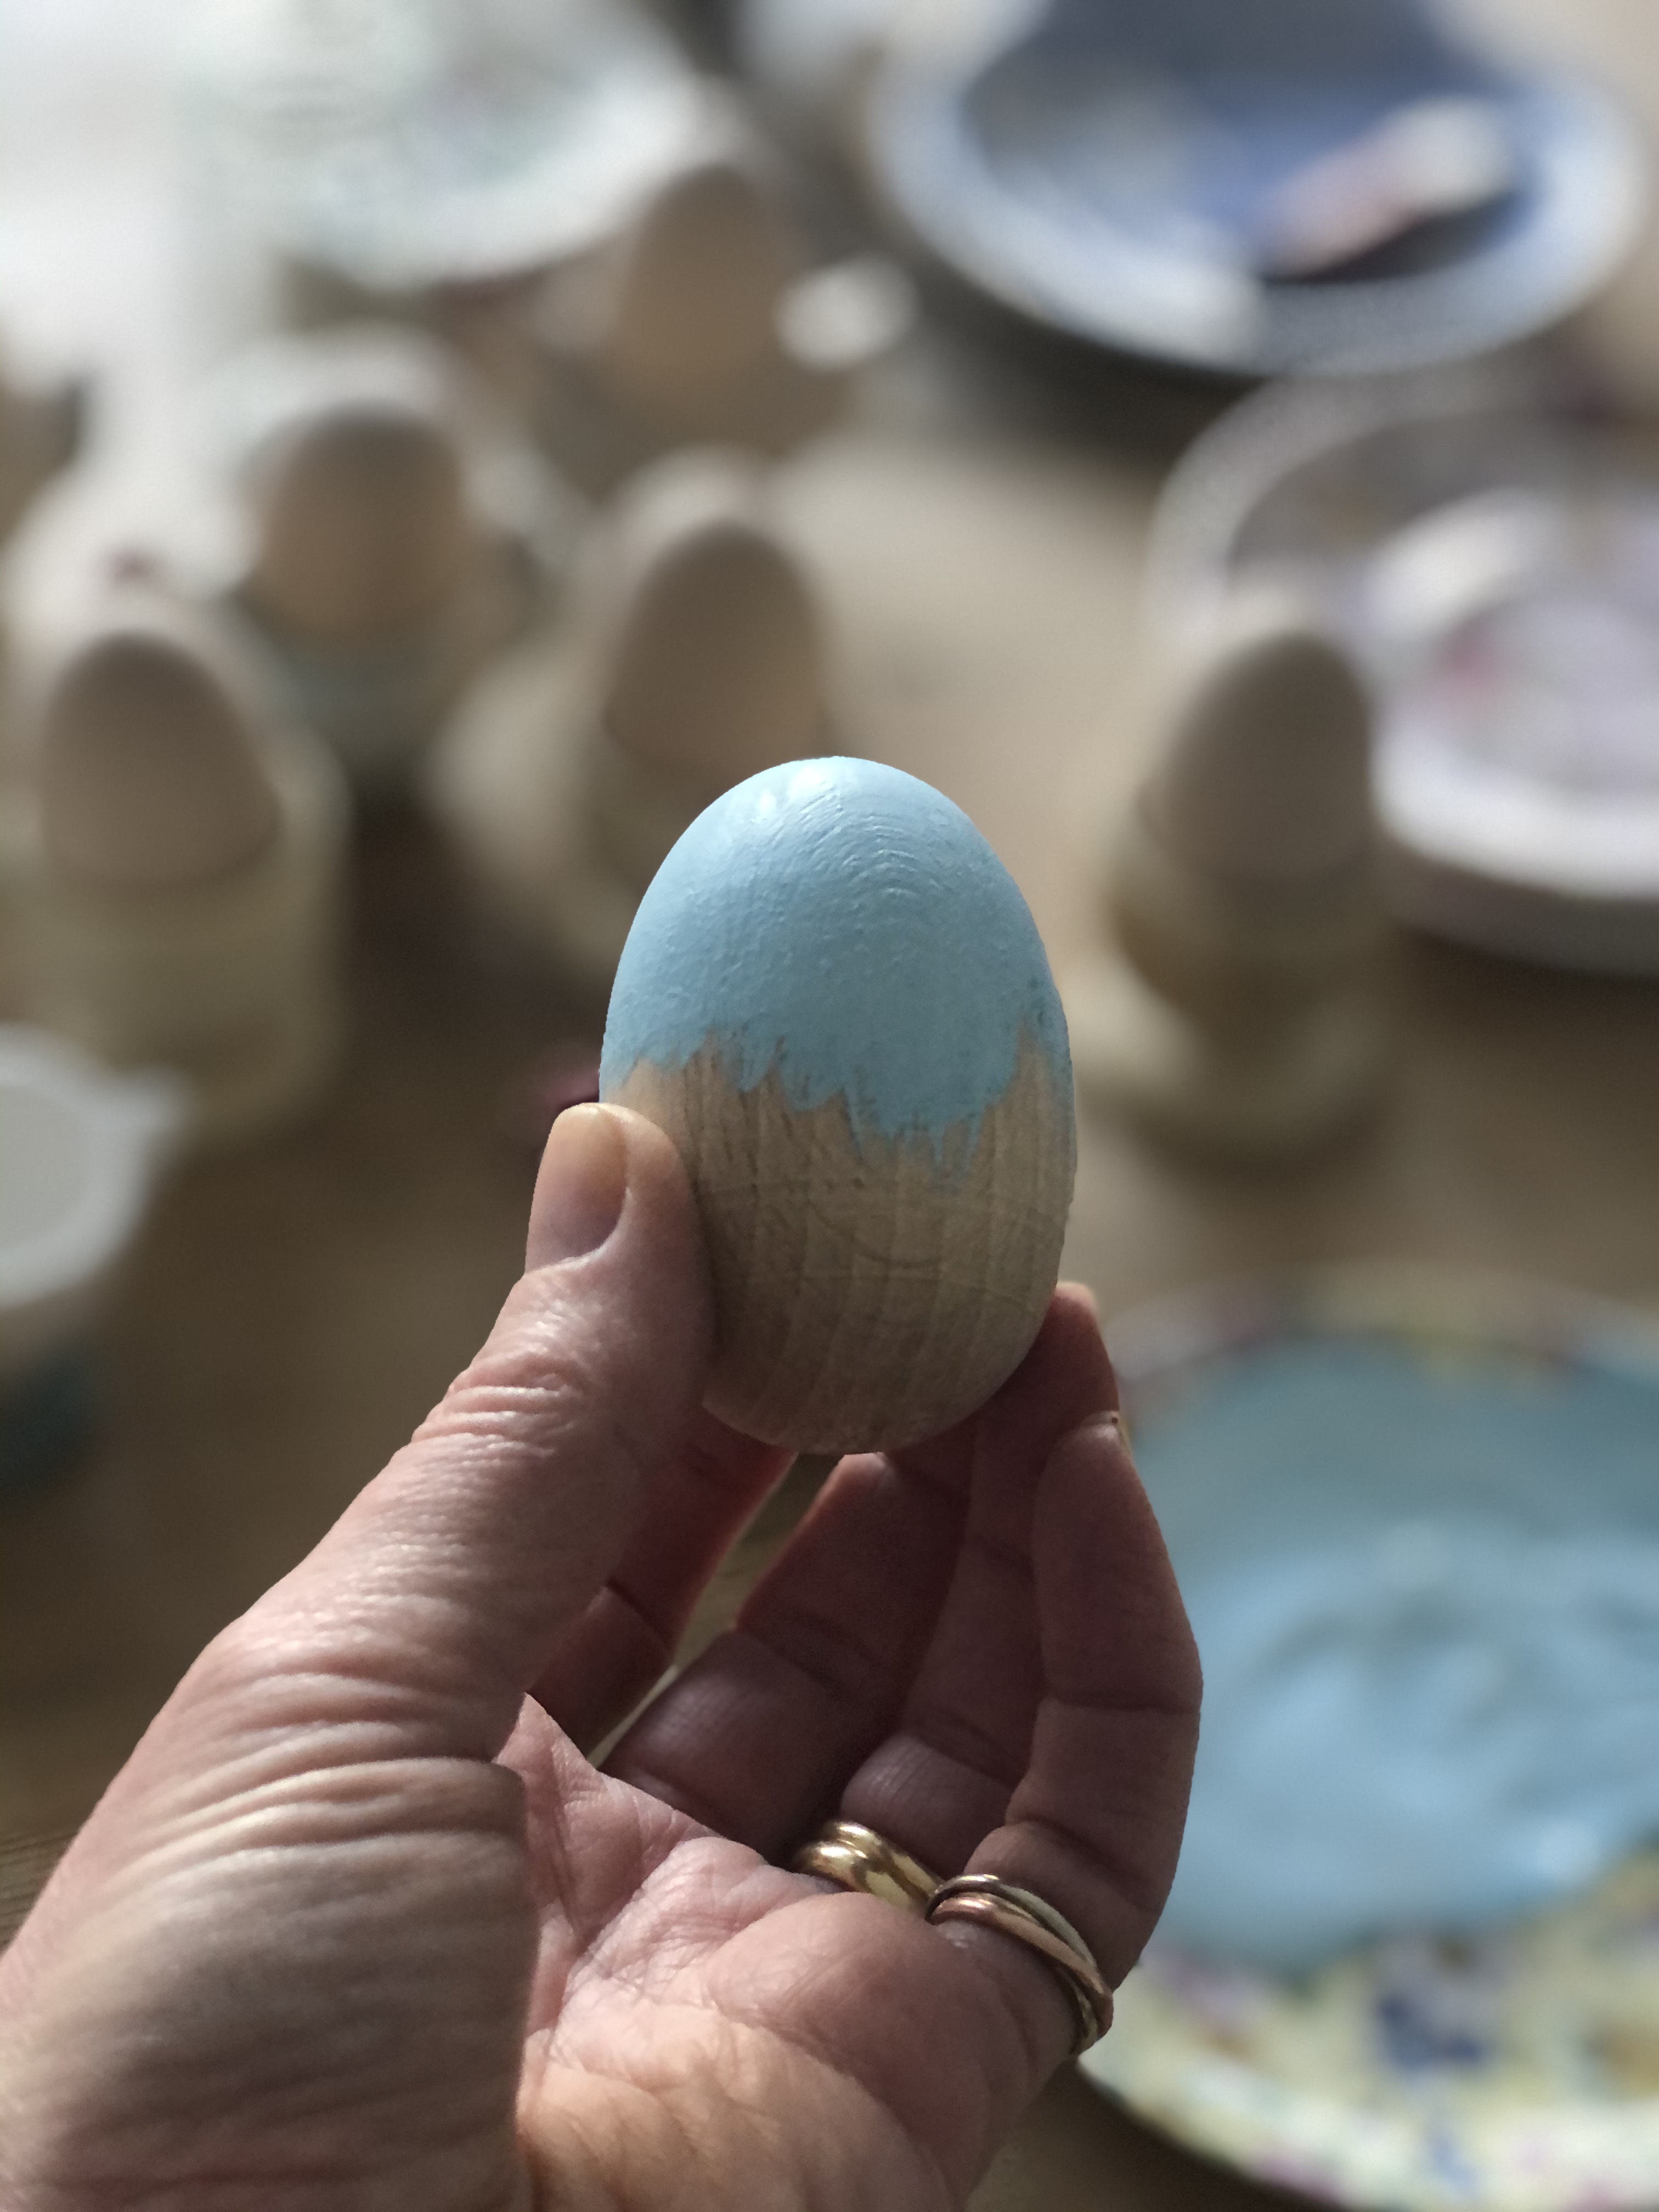
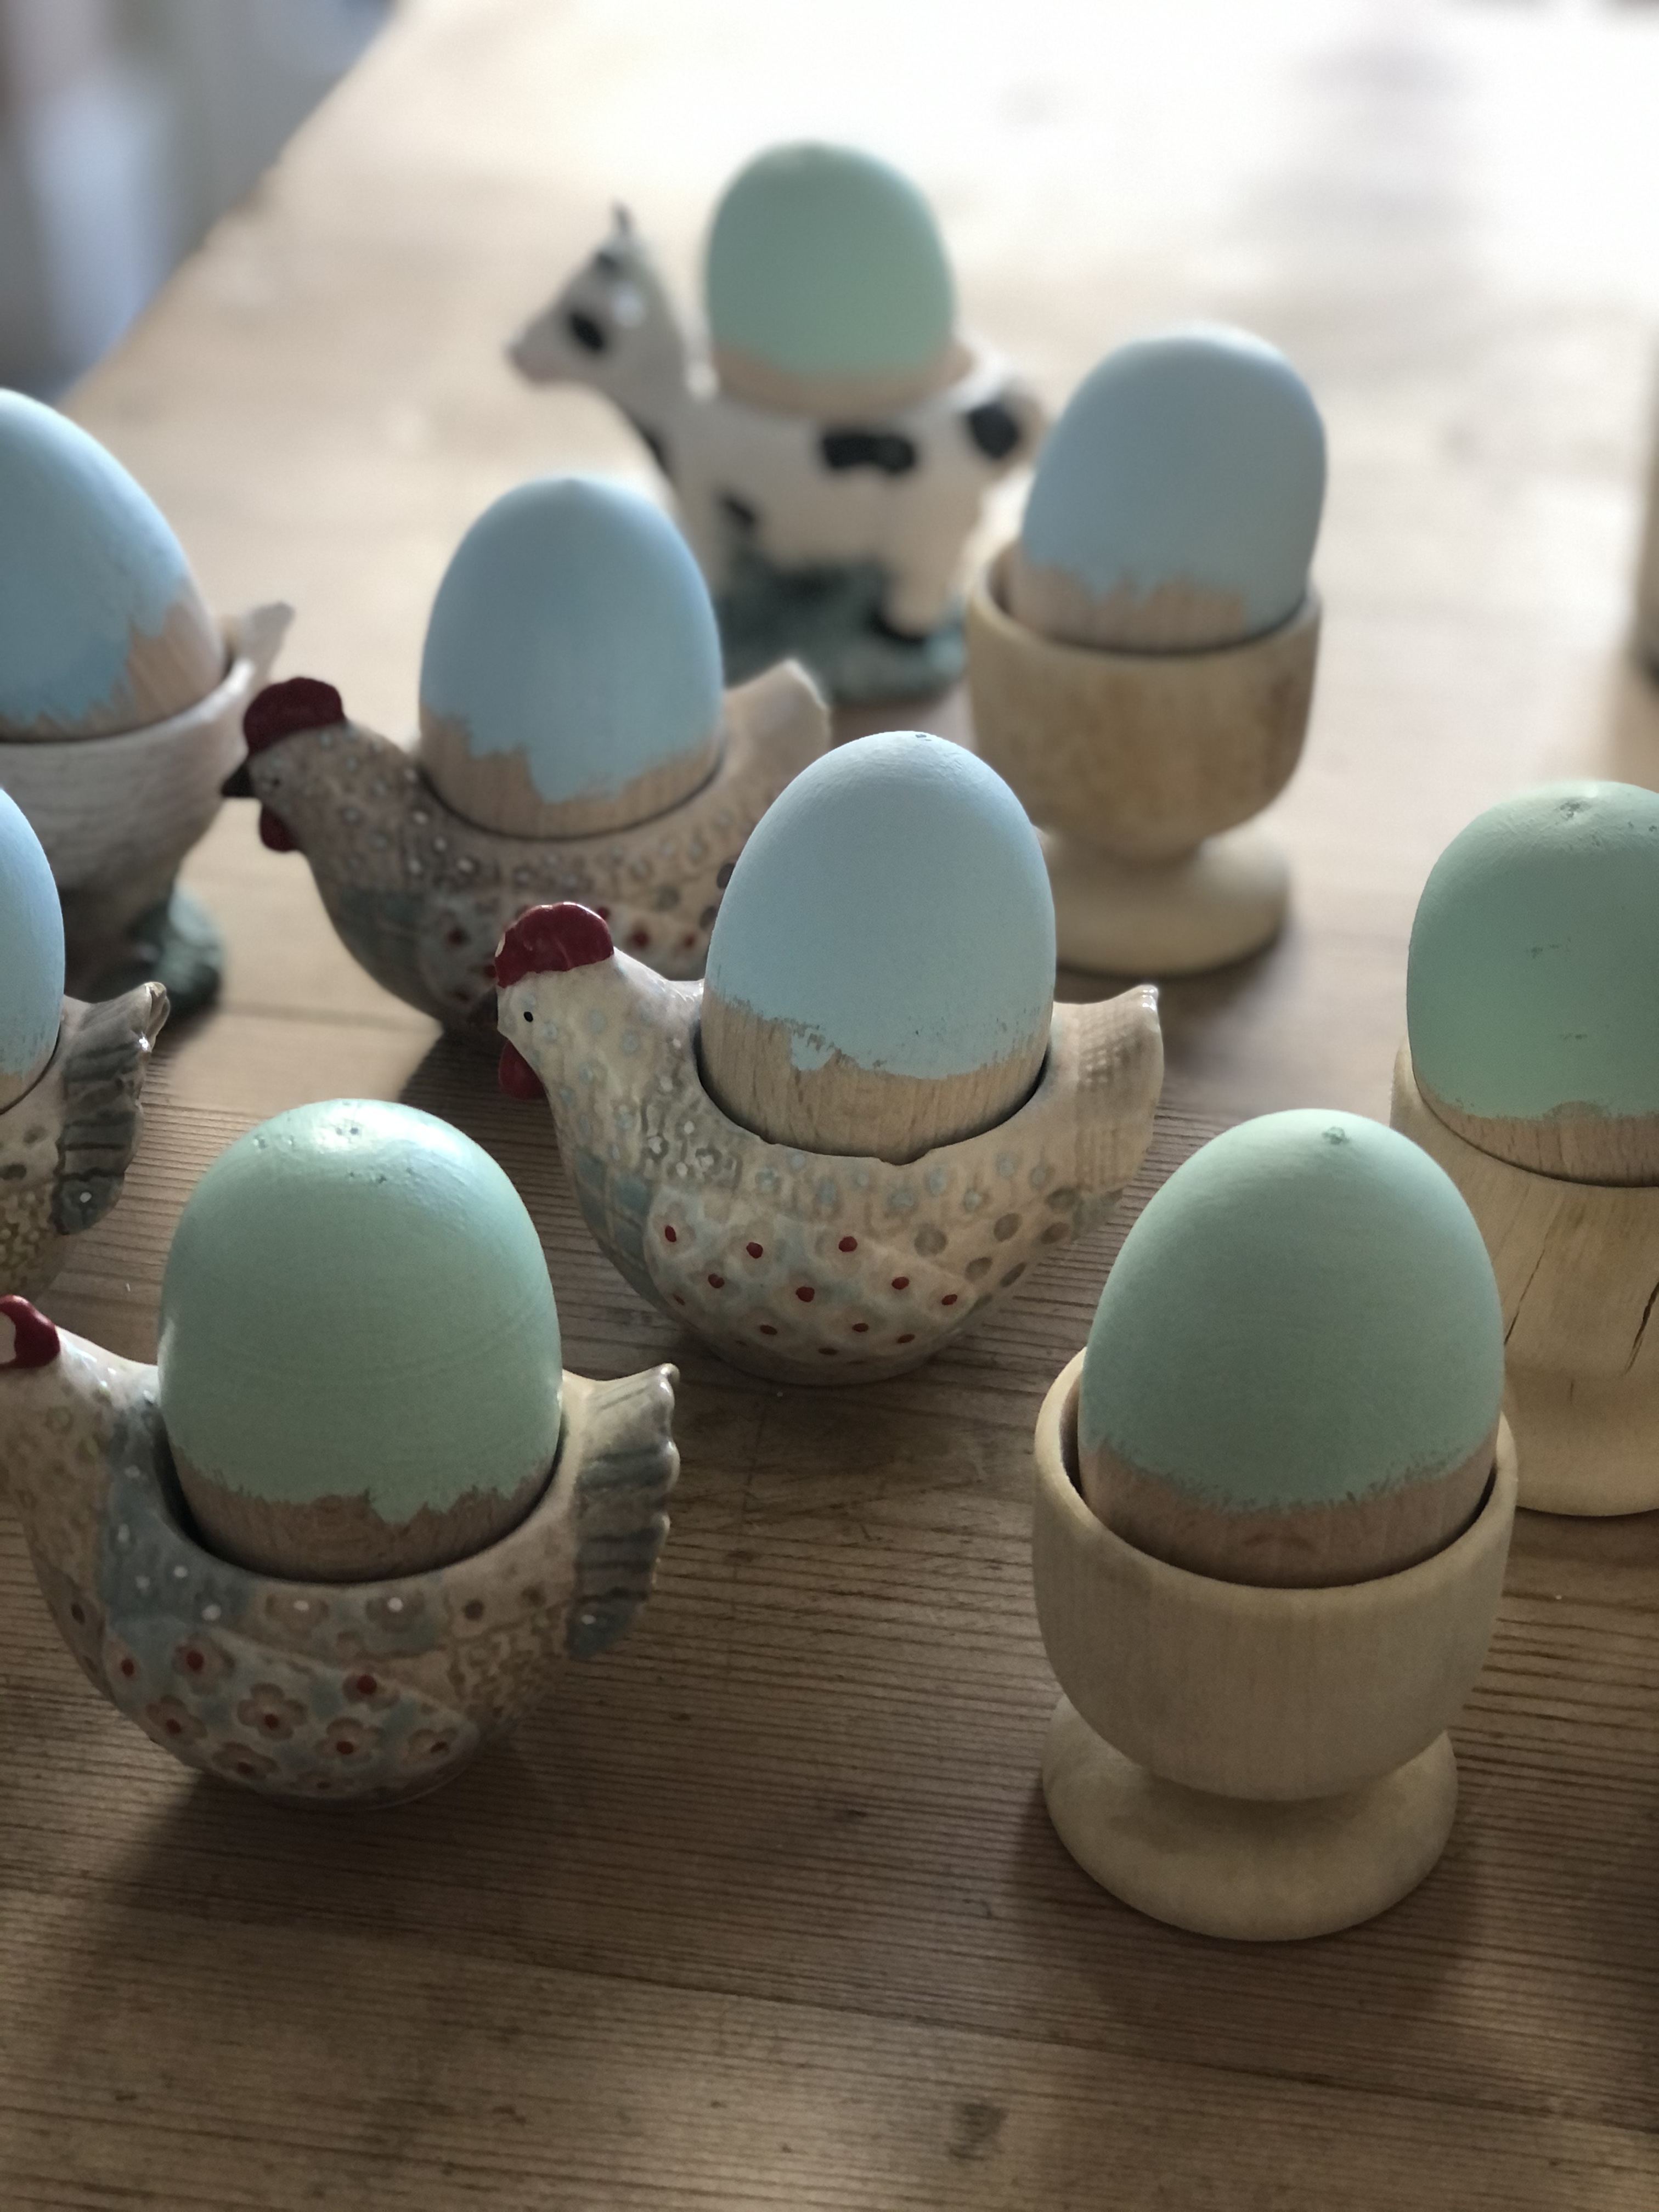
This craft is a game of two halves; pop each egg in a suitable holder allowing one end to dry before painting the other. Drying time is so quick, I was able to have the entire craft completed in a day.
Now mix a brown shade of paint you are happy with in one of your tea plates adding plenty of water since for this next stage you don’t want the mixture too thick. This brown mix is for the speckles on your eggs and here it is worth a little practice first. I put my egg in its cup in the sink since a bit of mess and spray is created and promptly forgot to take a photo of the process.
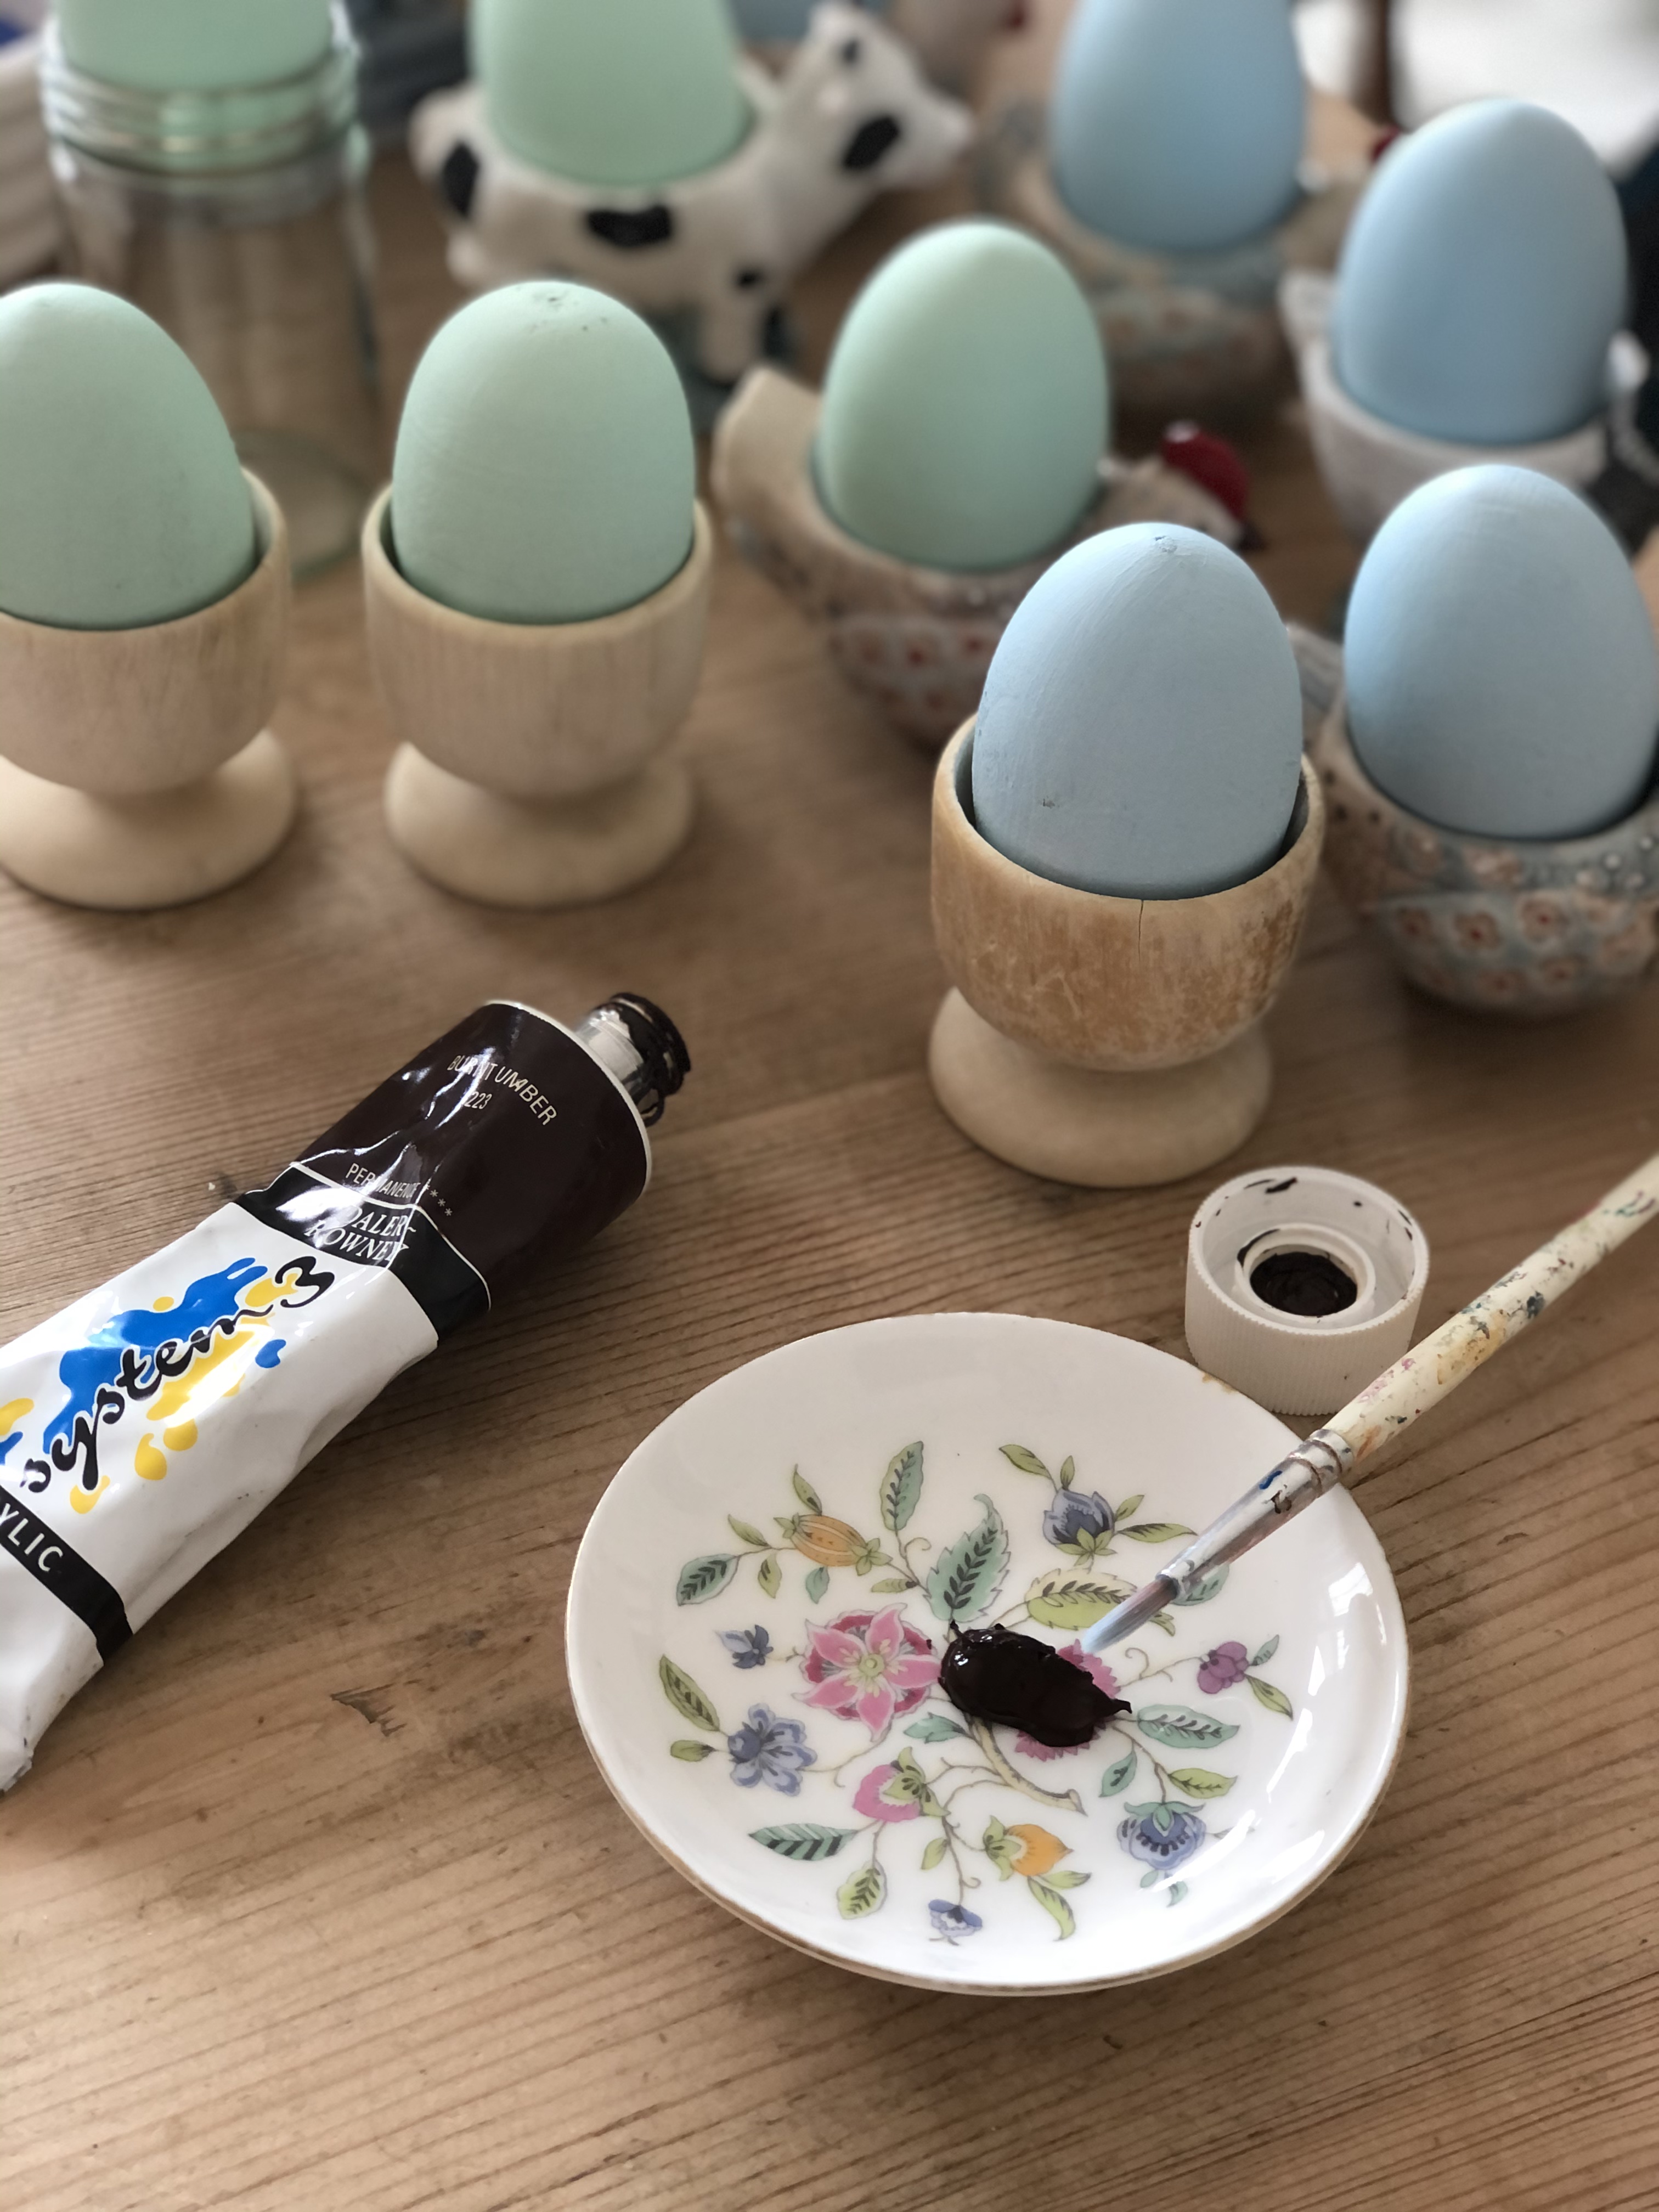
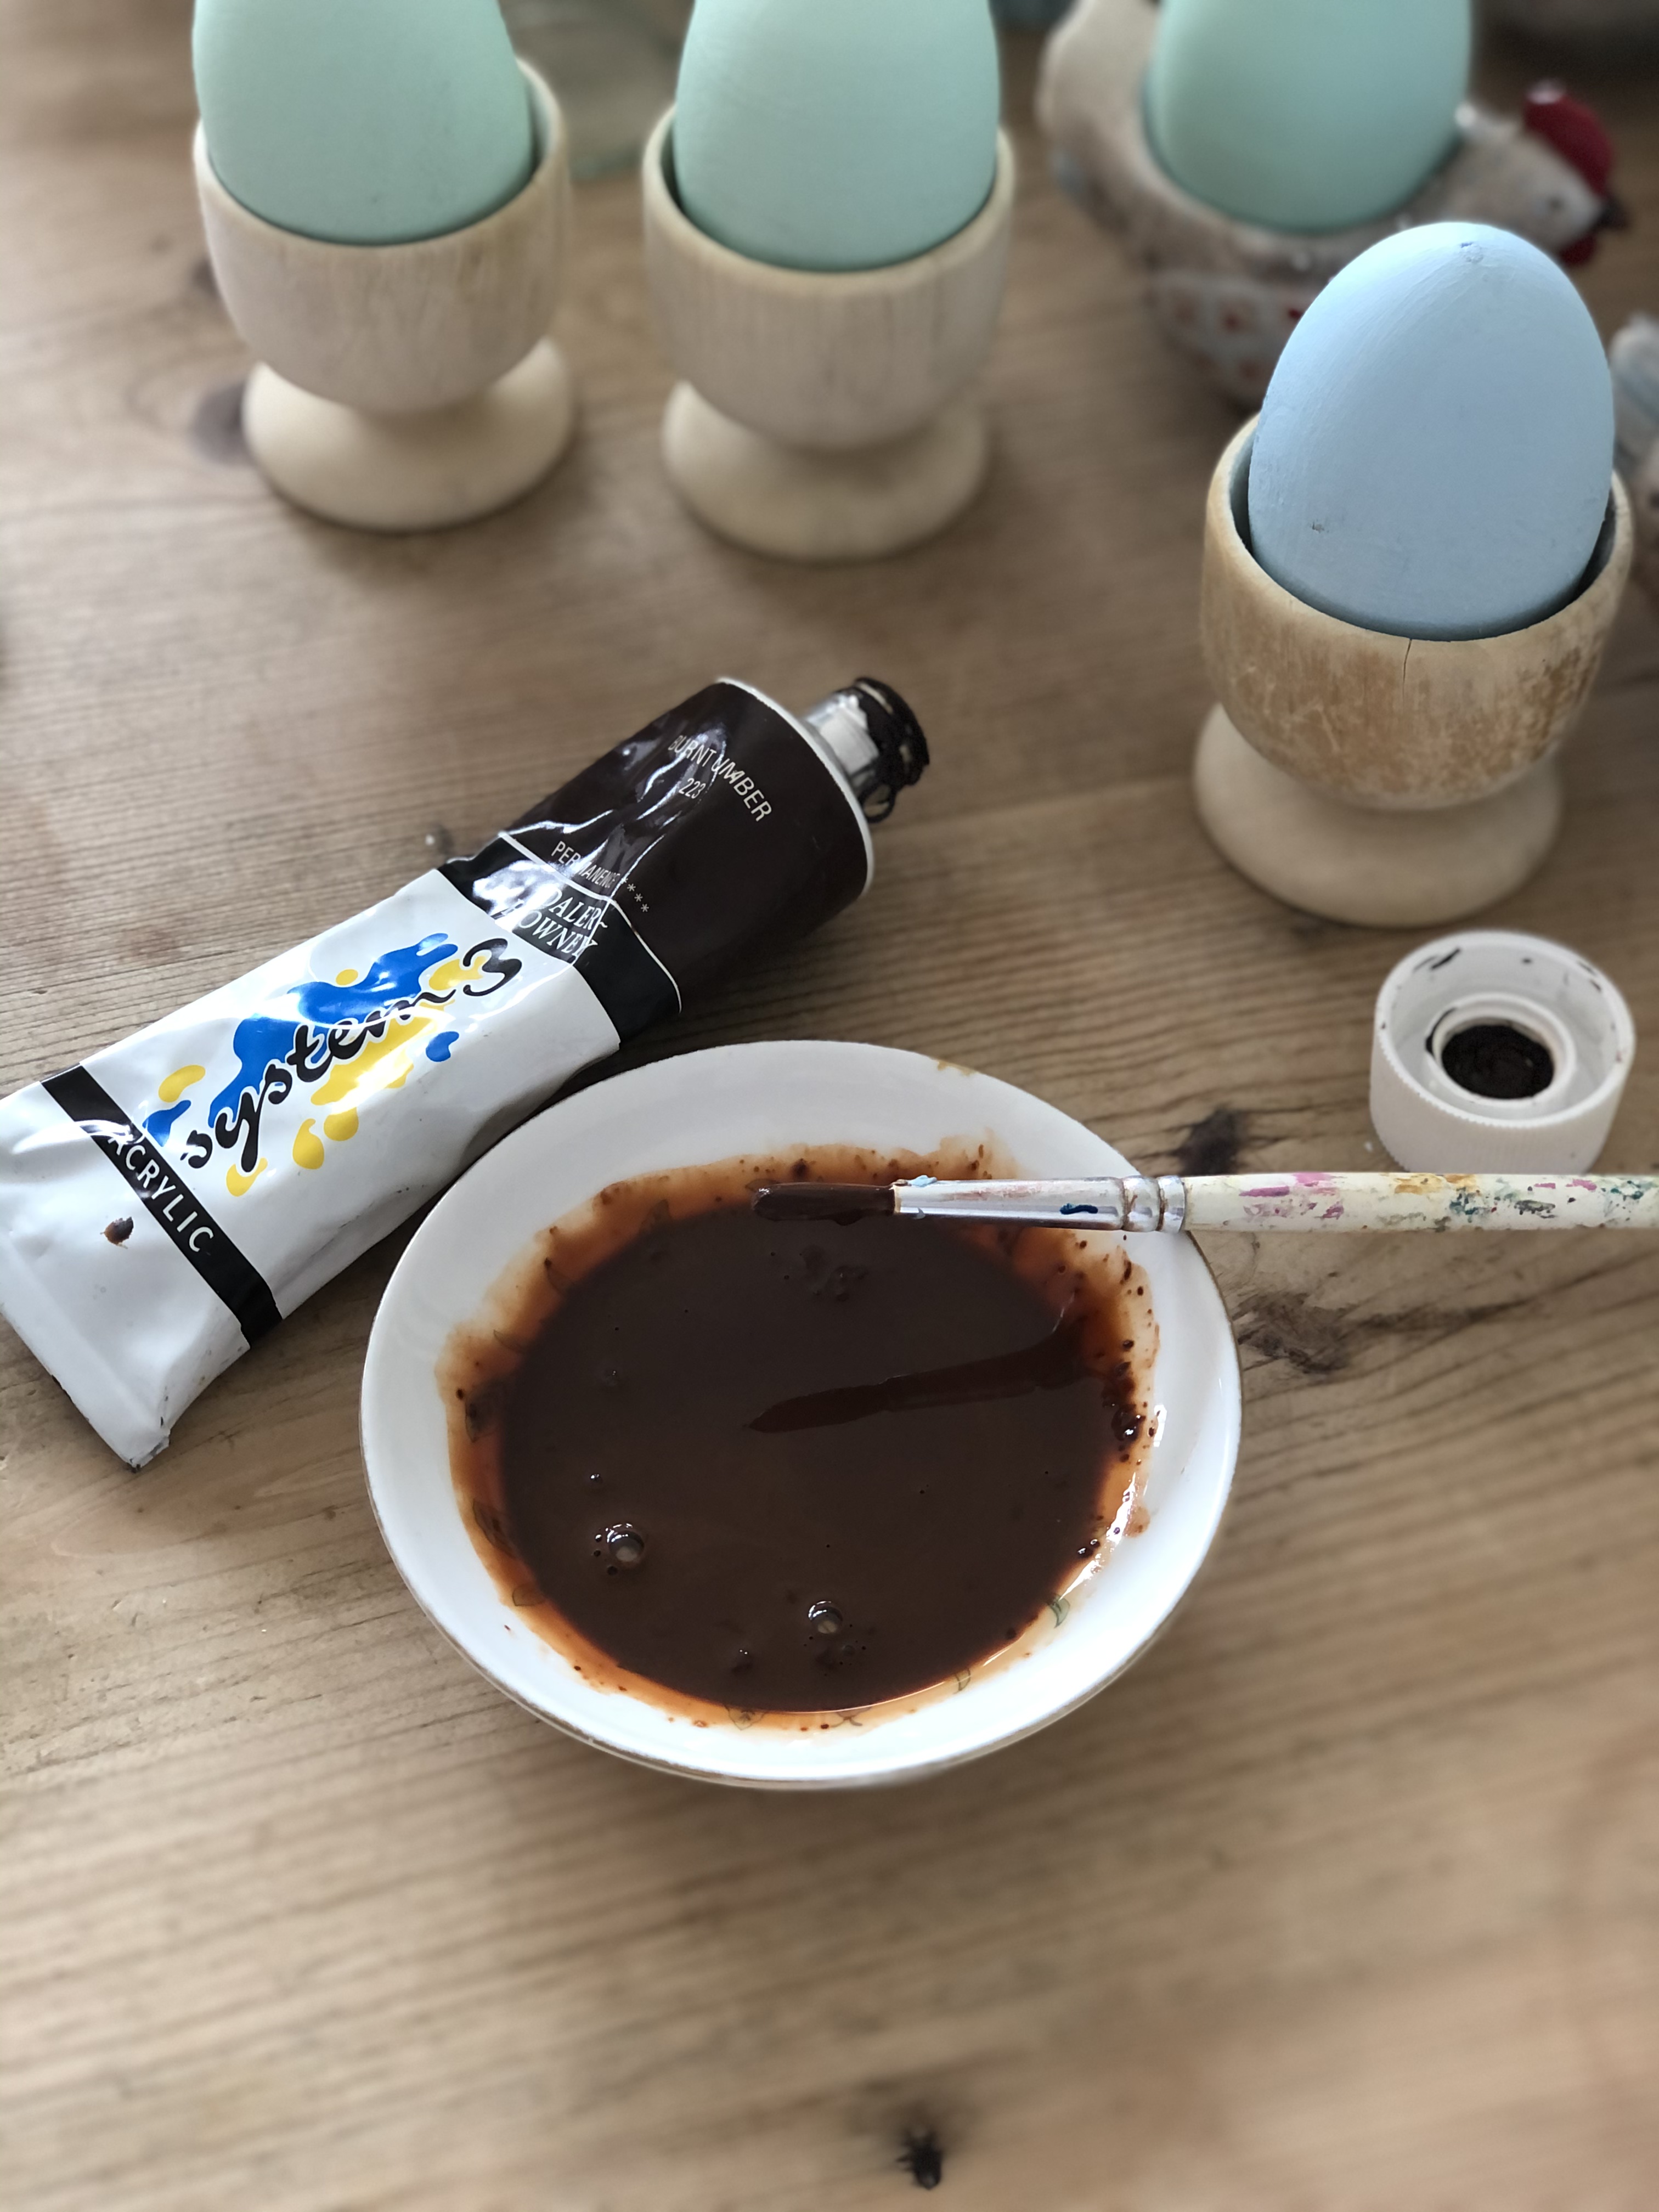
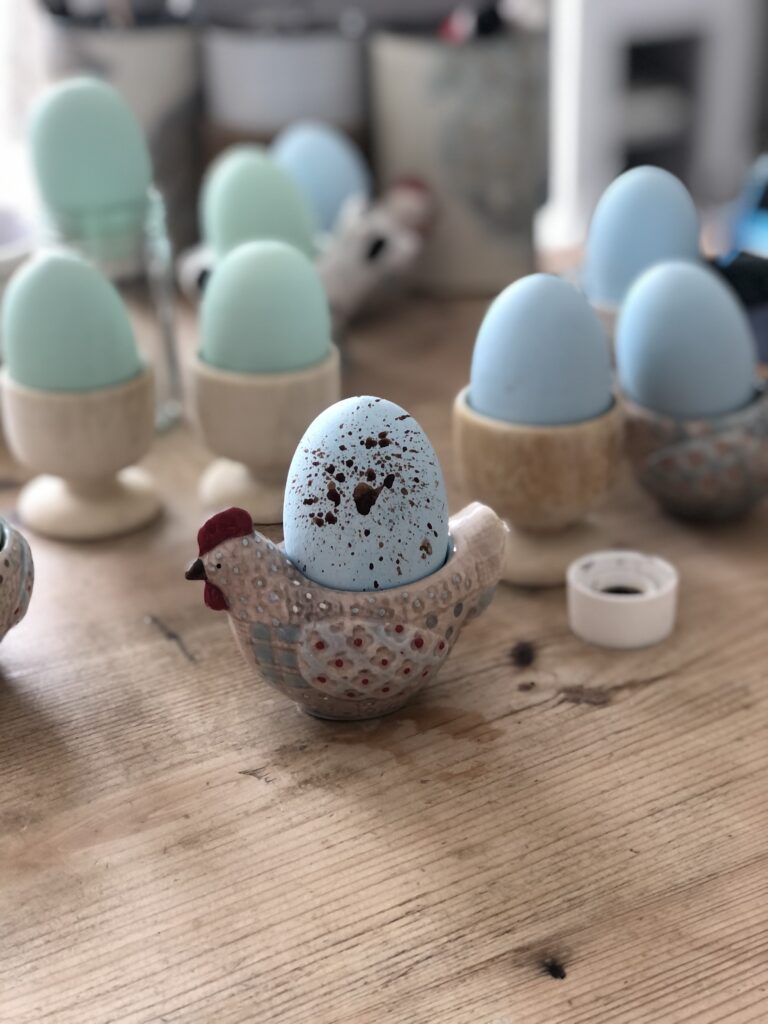
Here’s what you do though… wet the toothbrush with the paint and then wipe away the excess paint liquid on a paper towel. You want the toothbrush to be wet with paint, not sopping. And then with your toothbrush a little way away from the egg, pull back the bristles of the brush with your finger spraying paint towards the craft egg thus creating a spray of tiny speckles. Move the egg around spraying as you go, until you are happy with the overall coverage. Lots of little sprays definitely created the look I was after on the right of the next two photos as opposed to the unfortunate look on the left…
“Oh, I’m not sure about that one Mum” commented Master M as he walked past looking worryingly at both the heavily splattered egg and the toothbrush, “and please tell me that is my old toothbrush and not my current one” he finished.
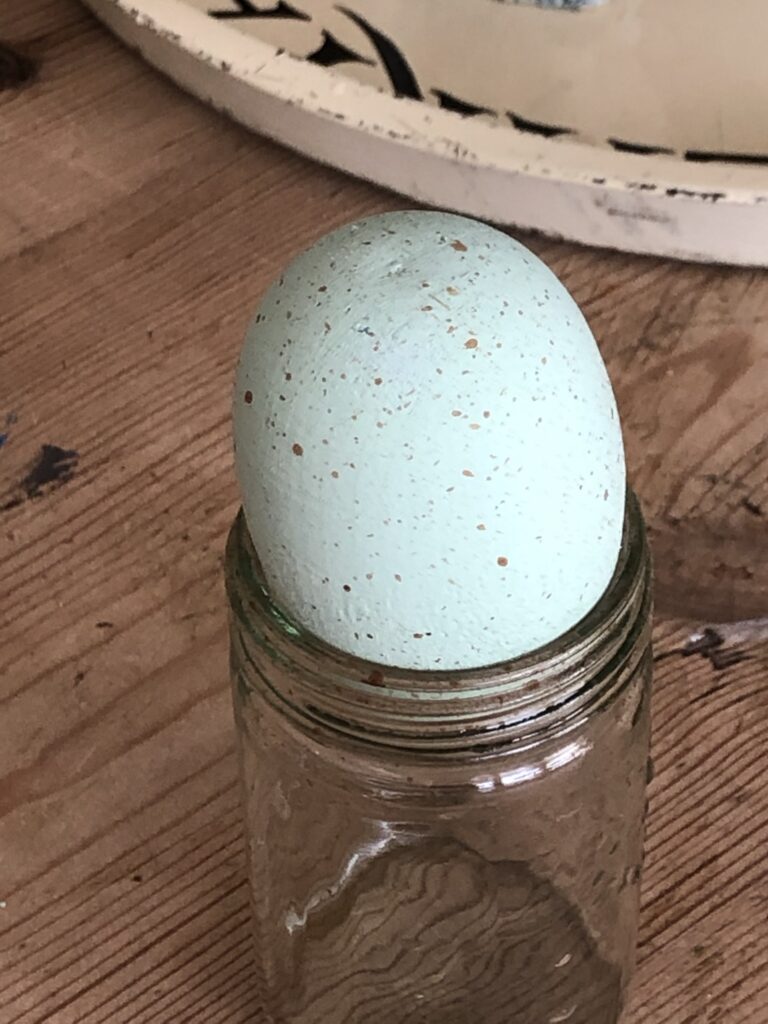
Sparingly splattering the brown paint gave these pleasing results…
Whilst the eggs were drying, The Spotty One and I went for a little forage in the woods for nest like twigs to line our dish.

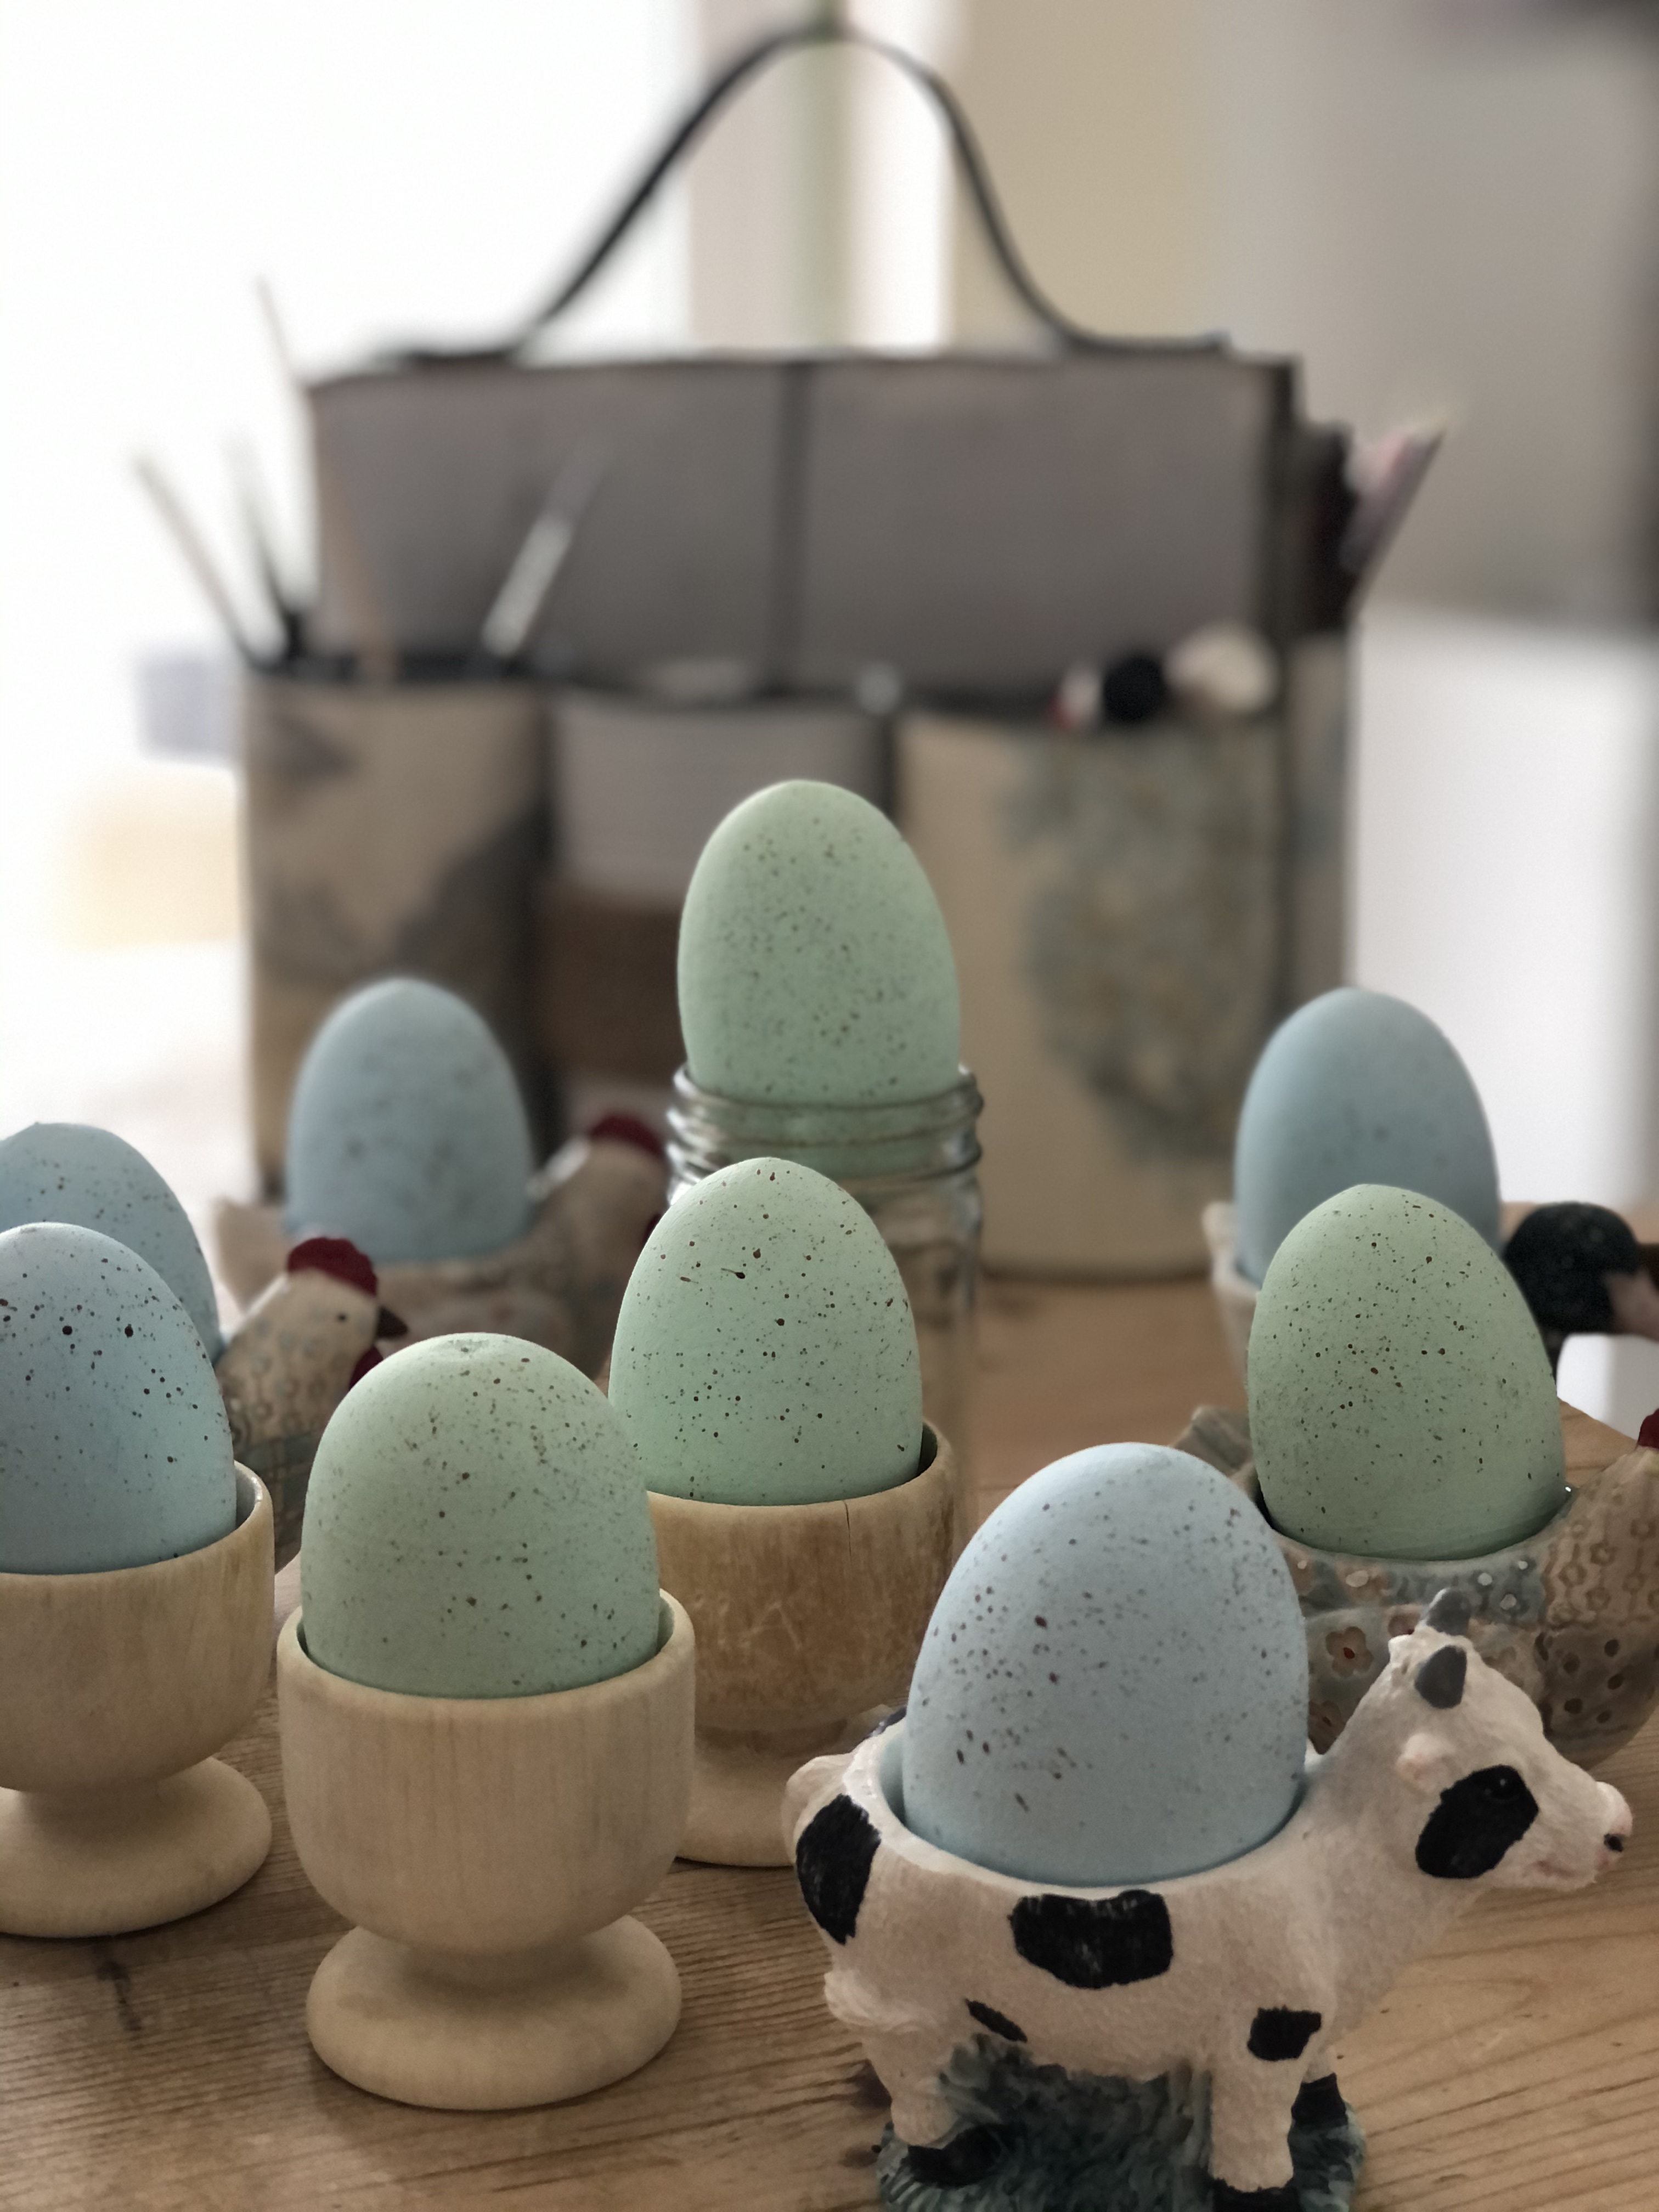
And I enjoyed a quiet while faffing the eggs until I was happy with my Easter table centrepiece. No doubt throughout the coming sunnier days, I shall add to the bowl with snippets of gingham ribbon and maybe more fresh primrose petals when these have faded.
If you follow me on Instagram, you might see my homemade Easter table centrepiece elsewhere in the home as I hope to show a few photos of my new kitchen in the coming days. That is if we finish the kitchen this side of Easter. I am ever hopeful.
Next week, I shall be mailing my monthly note In Real Life to you – you must subscribe to receive this, which can be done by completing the box directly under this post – by then we will find ourselves in the last week of March and after the newsletter, I shall be taking a springtime break. My focus and attention are needed in both the home and garden and apparently, I may need to start cleaning again which I have enjoyed avoiding for quite some time. I shall be back on the blog on Thursday 22nd April with more new exciting ways for you to craft a few quiet hours away. If you find you need a crafty fix before then, there are a fair few makes in this blog to keep you busy. For another seasonal make for your home, you might like this idea or this and if you are looking for crafts for the garden, you might like to try this or this. Do enjoy your Easter when it comes and I hope you are able to spend time with friends and family no matter how restrictive it might be. Until next time.. x


Dear Molly, whatever day I find you in my comments box is a happy one for me and I shall continue to be your Thursday alarm call for sure! Happy week ahead for you my lovely x
Ahh Helen …you had me at toothbrush, Master M’s comments about ‘that looks too thick mum’ and a raffia nest!…above all I know I was alerted to the fact it was Thursday …albeit it Friday my the time I got time this … You are and all ways will be my rock for many reasons Xx
Ha ha I did think mini nests with chocolate eggs would be lovely however with no little M’s anymore, I knew I’d eat them all myself! I’m really pleased you enjoyed the craft and story too lovely x
It made it to the blog, not in the nest though! Thank you for reading and leaving a message for me to find too!x
Ahah! I’m glad to see the heavily splattered one made the blog!
Oh my goodness Helen you never cease to amaze me with your creativity! What a beautiful nest filled with those gorgeous decorated eggs. How clever! Just as well those weren’t chocolate eggs, they’d never last long in that nest!! 😉😆xx
Thank you Sara, I’m so pleased you enjoyed the read and craft, I have a funny feeling your nests will be just perfect!x
I am so pleased you like the craft Wendy thank you for stopping by to tell me and have a wonderful Easter too!x
Ohhh my goodness, how incredibly delightful!!!!💞💕💞 Wishing you and yours a magical Easter, hugs
Lovely blog and such a pretty craft! I’m off to gather my twigs this afternoon and hope my attempt at nests look as good as yours!! Xx
I thought you would like this one darling and it is soooooo easy with such pretty results. I am looking at mine right now on our old pine table and there they shall stay for springtime!x
This is GORGEOUS I absolutely love these eggs and the nest is so so cute!
I actually thought the eggs were real when I opened the page I was about to ask you where you got them! So clever and brilliantly written, I can’t wait for IRL xxxx