Recently I was gifted a beautiful Easter embroidery pattern by the extremely talented Jane @summerhousesewing. As well you know by now, I am inspired by a great many stitchers and embroiderers on Instagram and I have followed and admired Jane’s work for sometime. I do get a buzz when she posts and I will seek her out if she hasn’t popped into my feed when I have the time. I find Jane’s needlework and crafting charming and often my own level of experience means I might manage some of what is in her finished piece. Every time I see her work though, something more important than the need for achievement occurs for me. Inspiration strikes. Her designs get creative cogs turning and make me think outside the box. How could I do something like that? What do I have I could use which might give a similar look? Oh, I’ve got one of those, I could try this with mine… and on it goes. And for me, this process of thought provoking individuality, epitomises the purpose of Instagram entirely. On this occasion however the inspiration was the other way around and this craft here, provided the artistry for Jane’s Easter embroidery design which, I have recently embroidered myself and am sharing with you today. Do join me to see how I got on and to be the first to get your hands on this delightful seasonal design …
Jane’s Easter embroidery provides the step by step process you should follow; here is how I got on complete with what I might do differently when I embroider this piece again, for I certainly shall.
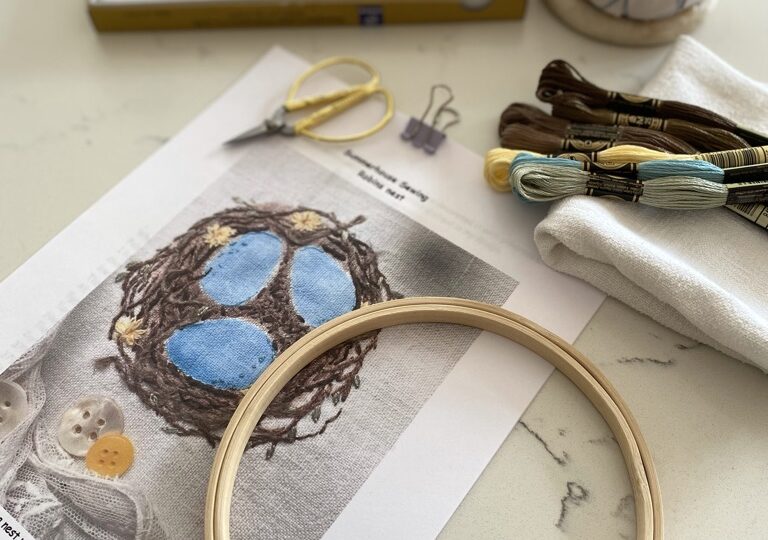
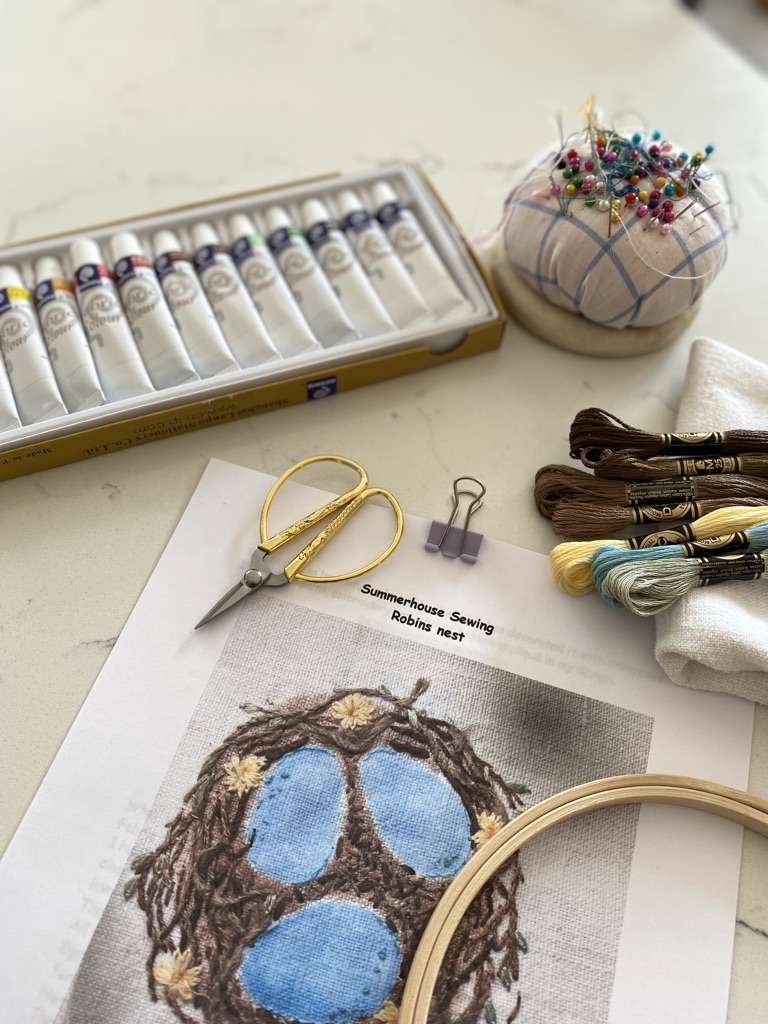
For this delightful birds nest Easter embroidery, Jane suggests specific colours however if you have similar shades, you might like to use what thread you have. I am enjoying building up my stash so splashed out the pennies for the embroidery floss Jane recommends. Similarly I treated myself to fabric paint, so excited was I to discover there was indeed such a thing although watercolour paint will work just beautifully. Be aware though, watercolour is likely to fade over time and of course you will be unable to wash your design should there be a need. There are a great many more knowledgeable folk out there than I, when it comes to the subject of painting on fabric and this article in particular is an interesting read. More about my attempt at fabric painting shortly. Let’s start at the beginning of Jane’s design…
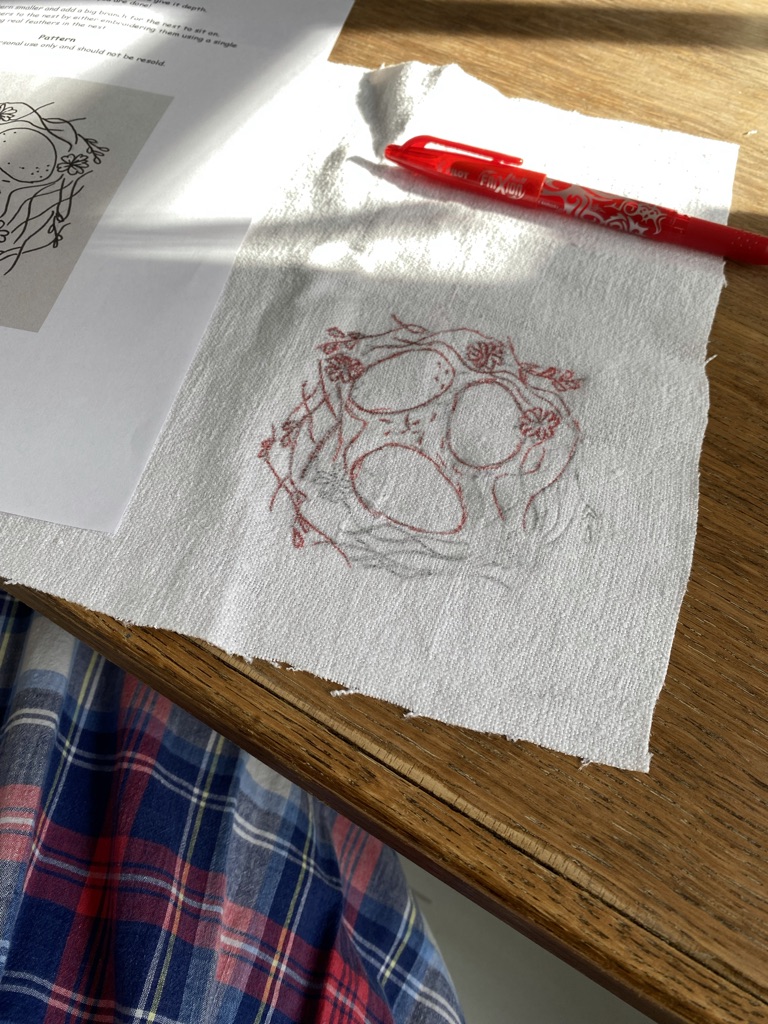
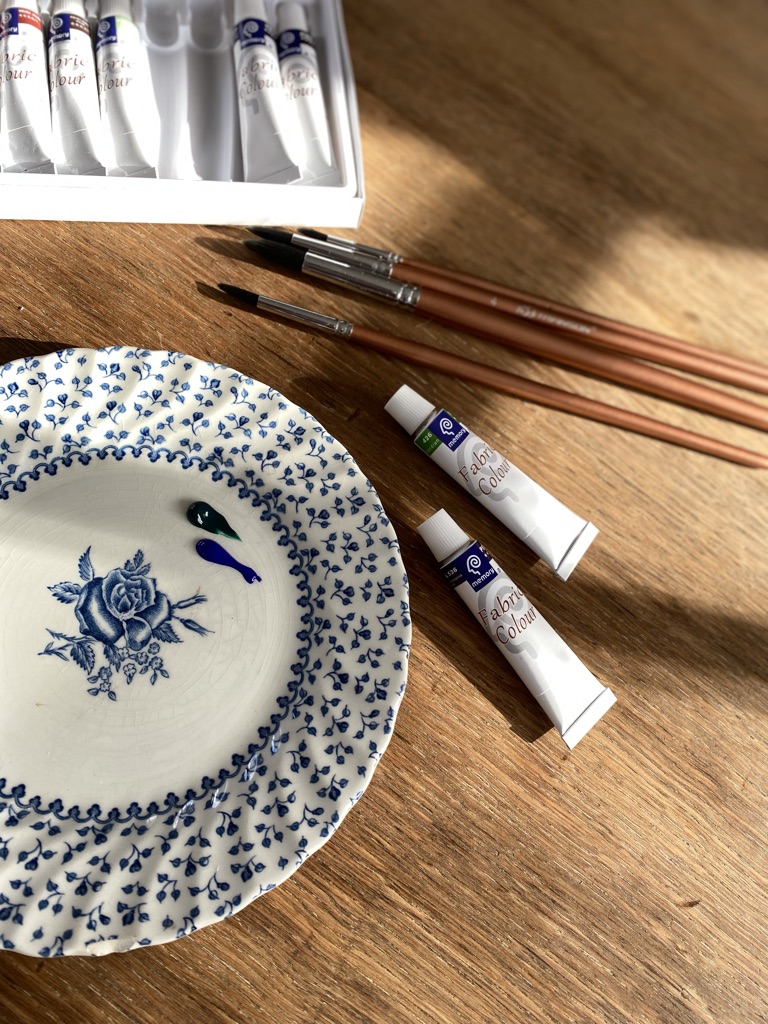
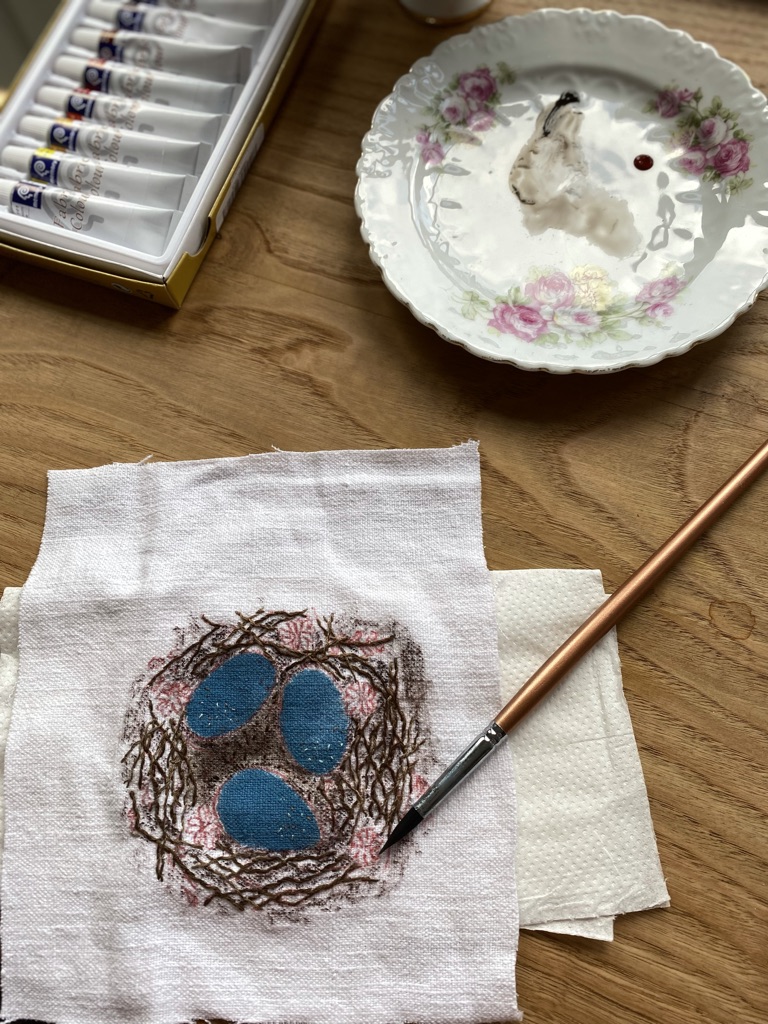
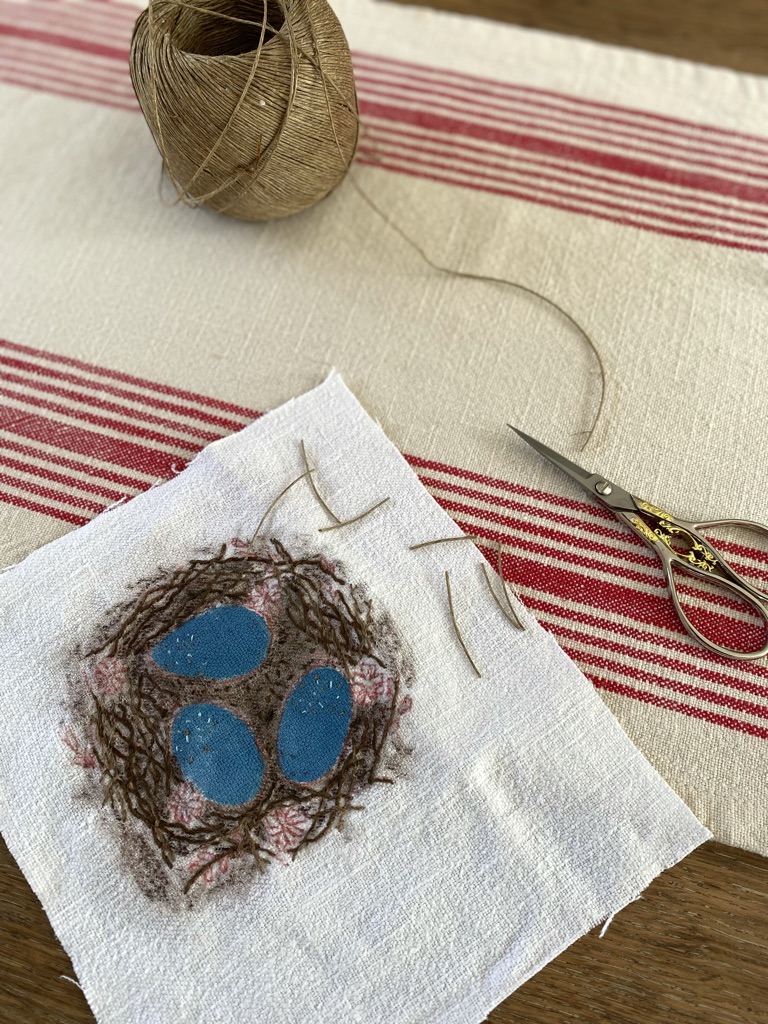
Gather together all your equipment. Needles and threads, paints and brushes and an old tea plate perhaps, to mix together the colours you will need. Embroidery scissors – set to become my next indulgence – and you will also need to be able to transfer your PDF pattern onto the fabric, so tracing paper and pencil together with a heat resistant fabric pen for keeping the design on your fabric until no longer needed, should complete your list.

A note about fabric if I may. Choose wisely. Having selected a particularly soft and slubby linen myself, I would probably choose something a little more sturdy for a beginner. As I type I find myself thinking stabilising paper on the back of the fabric might have been wise.
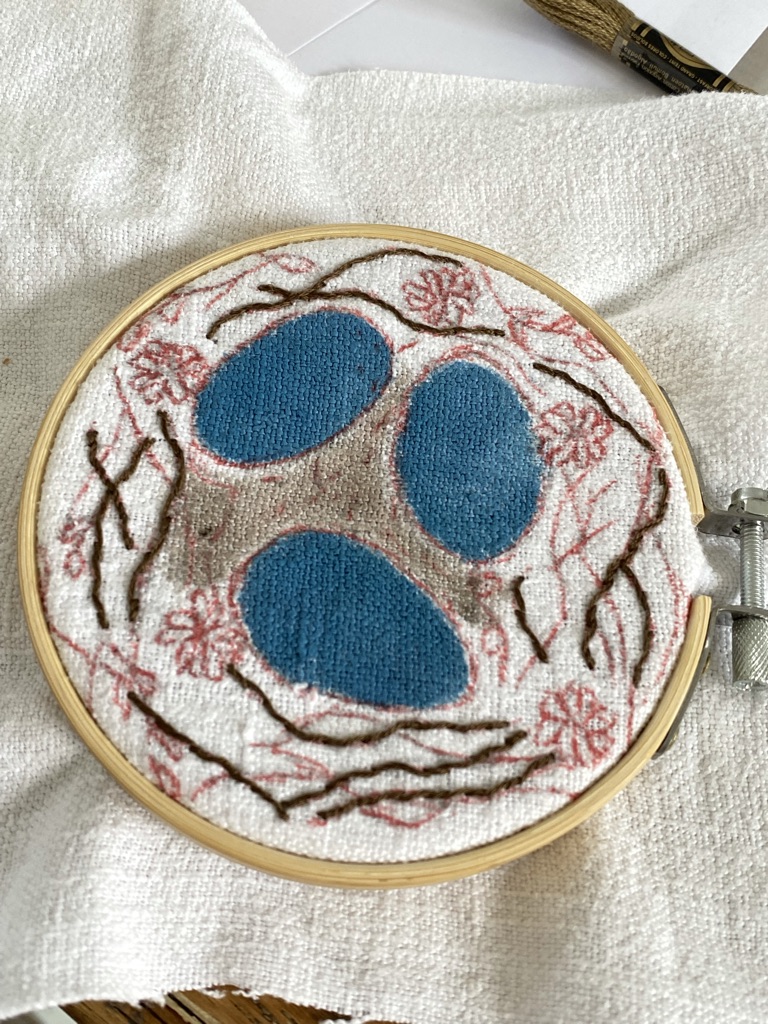
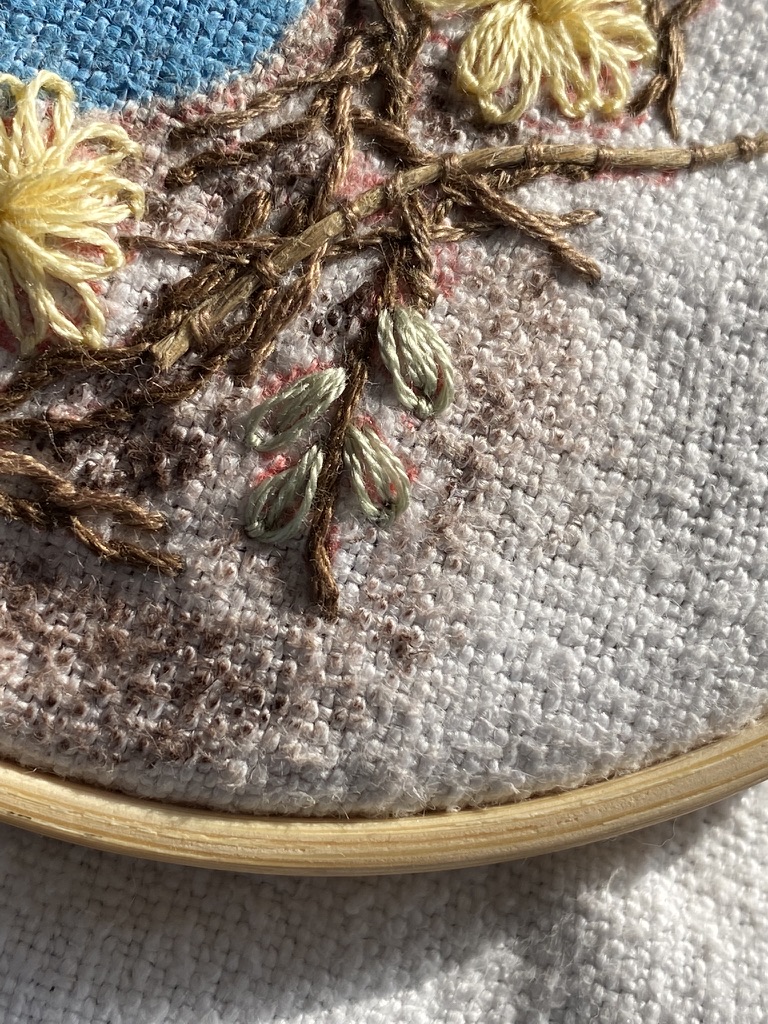
You’ll need an embroidery hoop too. If you are new to this hobby, start as you mean to go on and not sloppily as I did. You need a hoop. Not being one for tools for the sake of tools, I thought perhaps a hoop to be a little showy. It is not. It is a necessity in my opinion. Your stitch tension will thank you for it as indeed will your eyesight: It is much easier to see the tiny holes in the fabric and keep your stitches neat and similar in size where perhaps they should be, if the fabric is taught and not floppy. This Easter embroidery however does not call for such precision, making it quite ideal for beginners. It is useful to remember as you stitch you are a creating a birds nest and you will do well to keep in mind the Song Thrush does not select its twigs for similar lengths nor colour; thankfully. A little artistic licence is encouraged in this design.

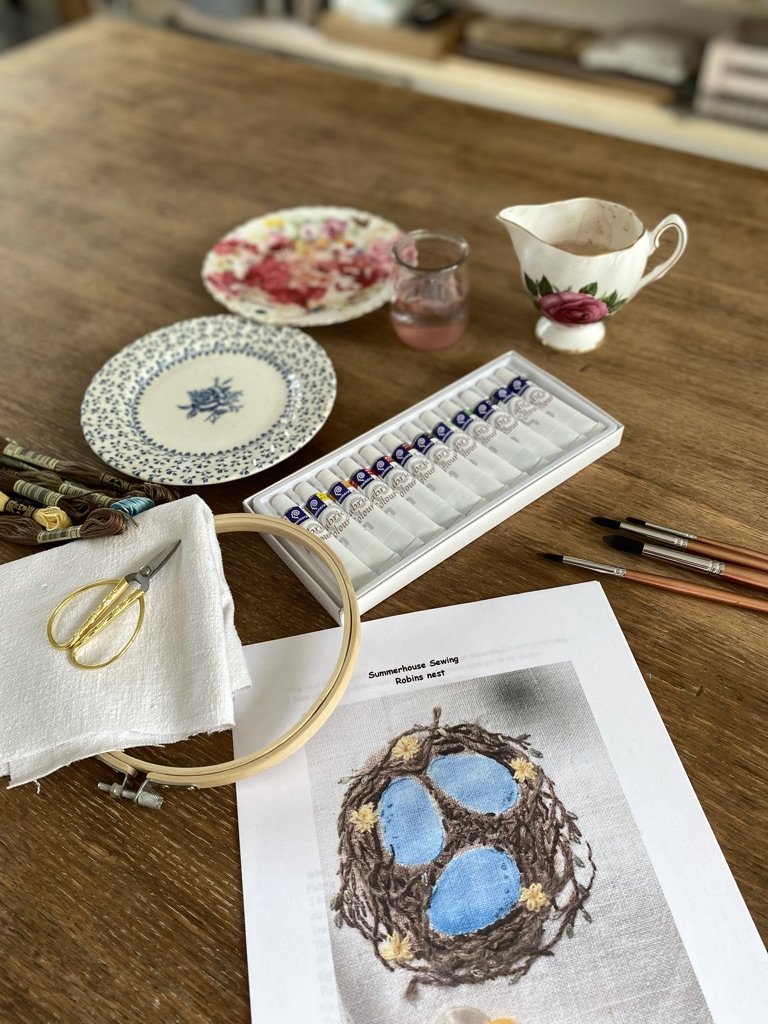
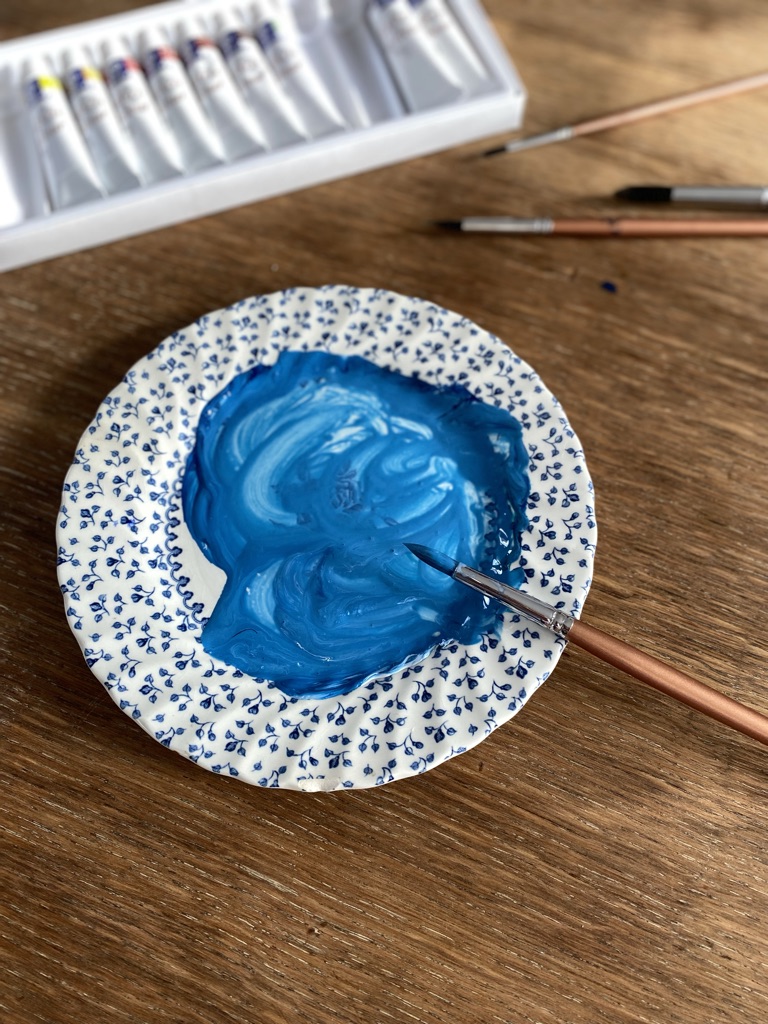
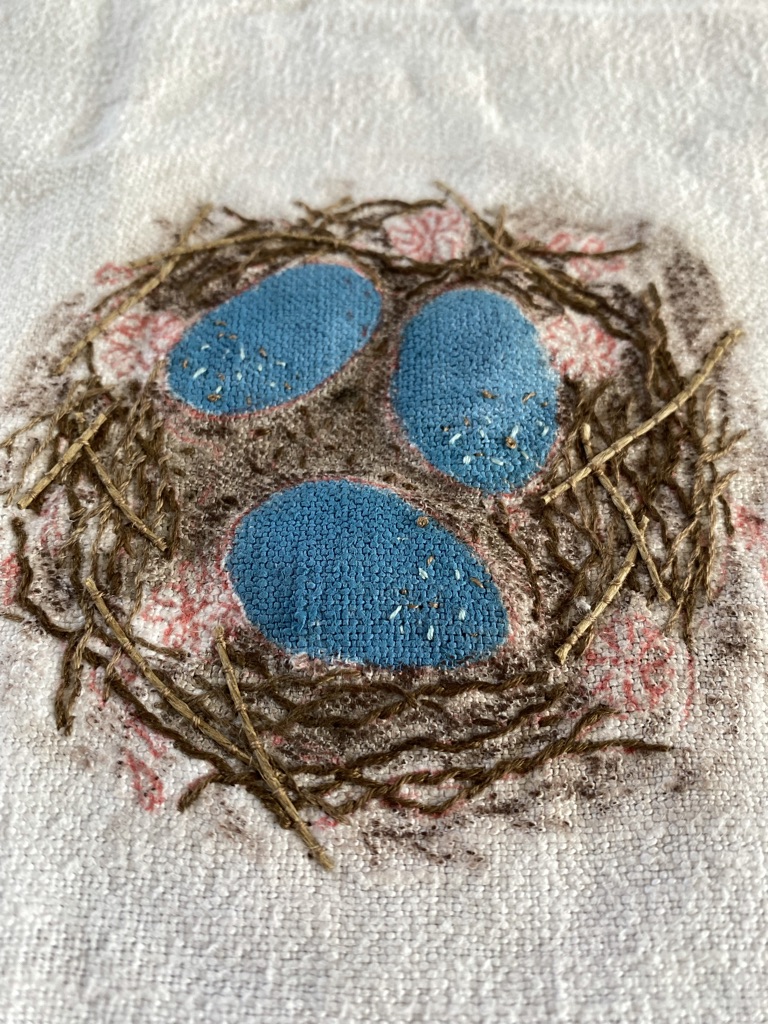
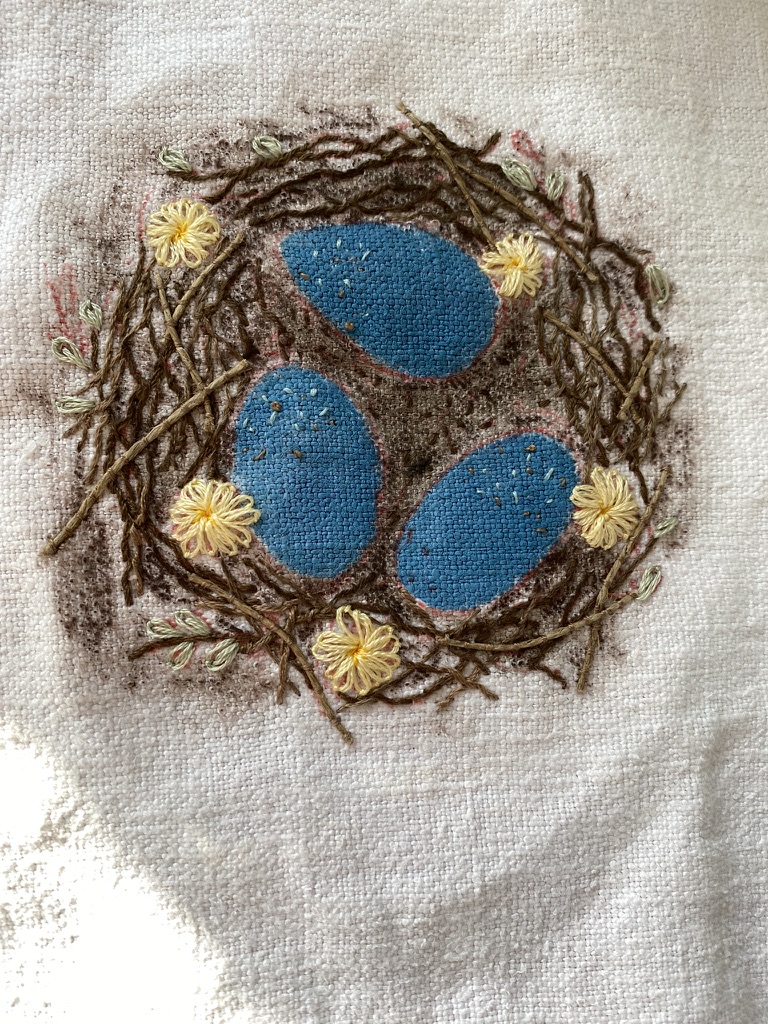
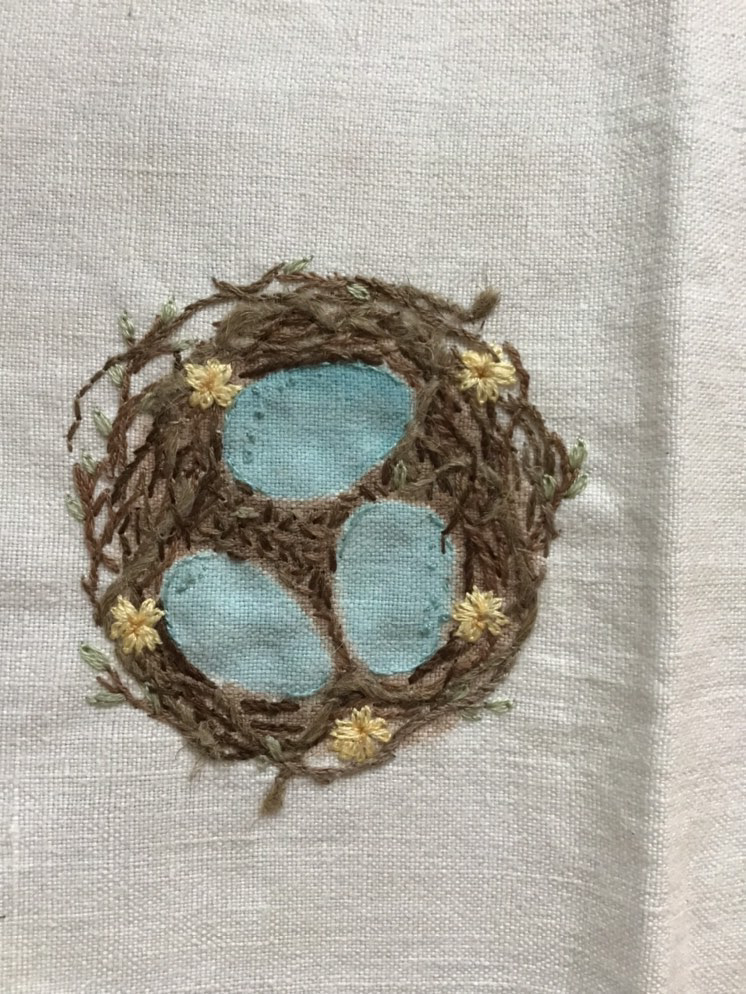
Once your pattern is transferred and marked out clearly in your heat resistant pen, it is time to begin mixing your paints. Rather oddly perhaps, I enjoy showing you where I might improve next time I recreate my crafts in these blogs. Having established my fabric choice perhaps a little unwise, I most certainly would afford myself the luxury of a little more practice and time, with my paint colour mixing before painting directly onto any fabric selected for a project. The M’s will giggle when they read that I imagined the blue of my painted eggs to be a delicate shade of duck-egg. You will see at the end of this post, Jane’s finished piece. That is perhaps the colour you should be aiming for.
Jane encouraged me to try rectifying my shade. I wasn’t quite that brave so instead thought I would show you how way too much blue and green and not nearly enough white plus in my opinion, too thick a consistency will result. Mr M thought about saying “I’ve never seen an egg that colour before darling.” He wasn’t that brave either.
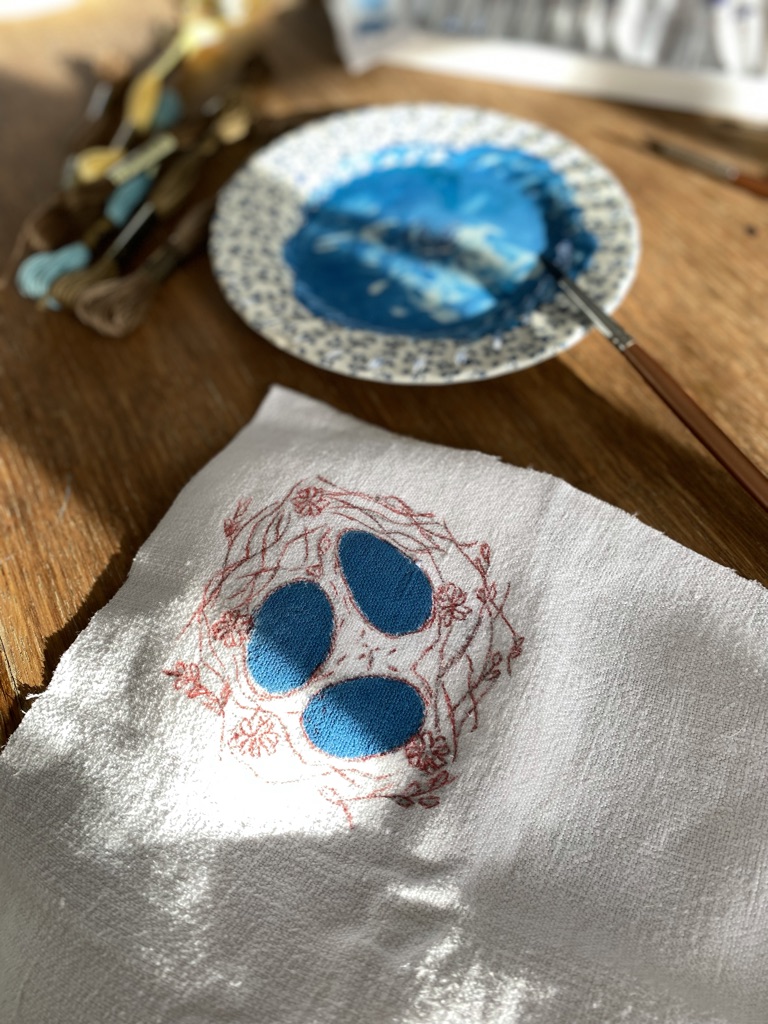
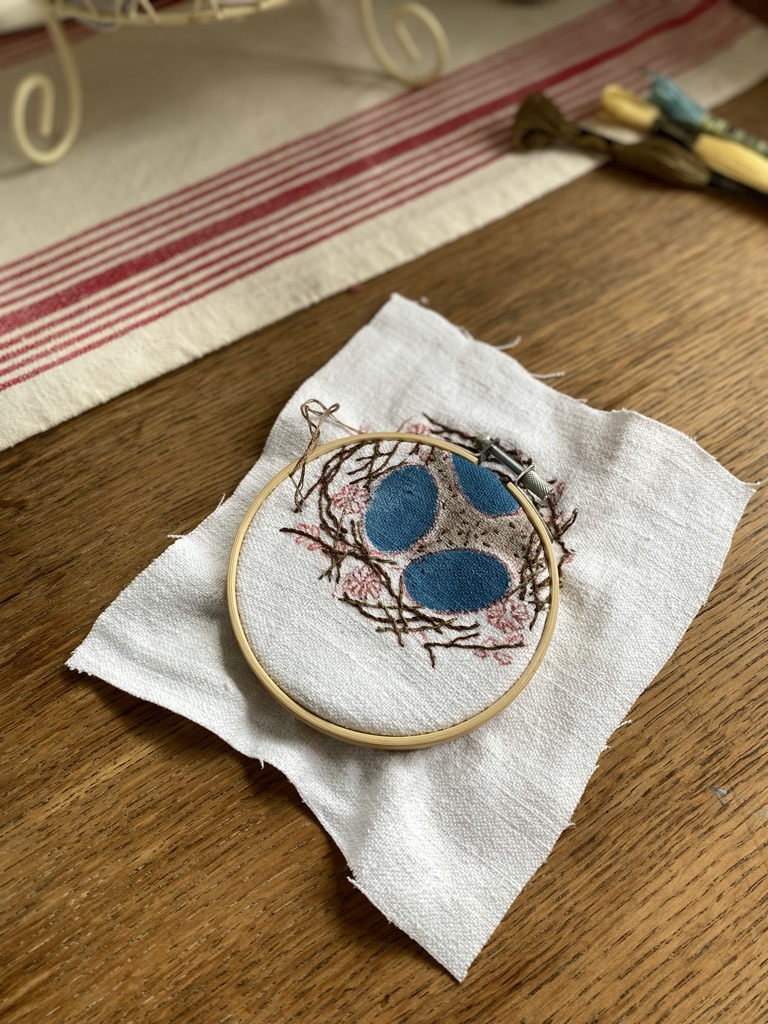
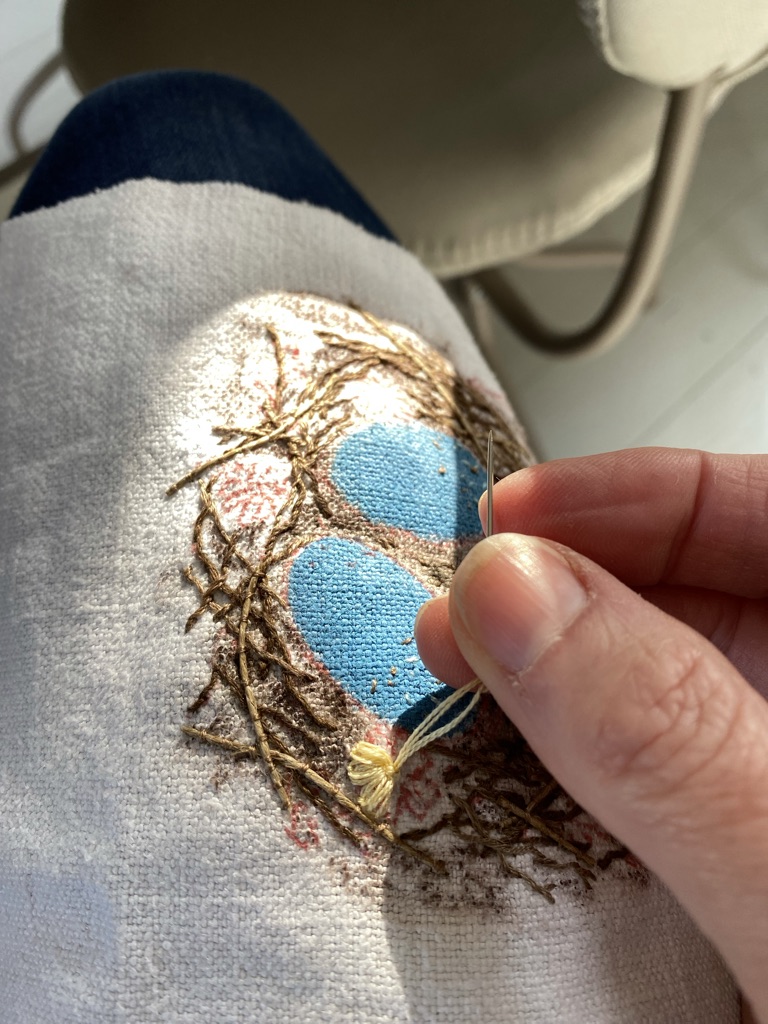
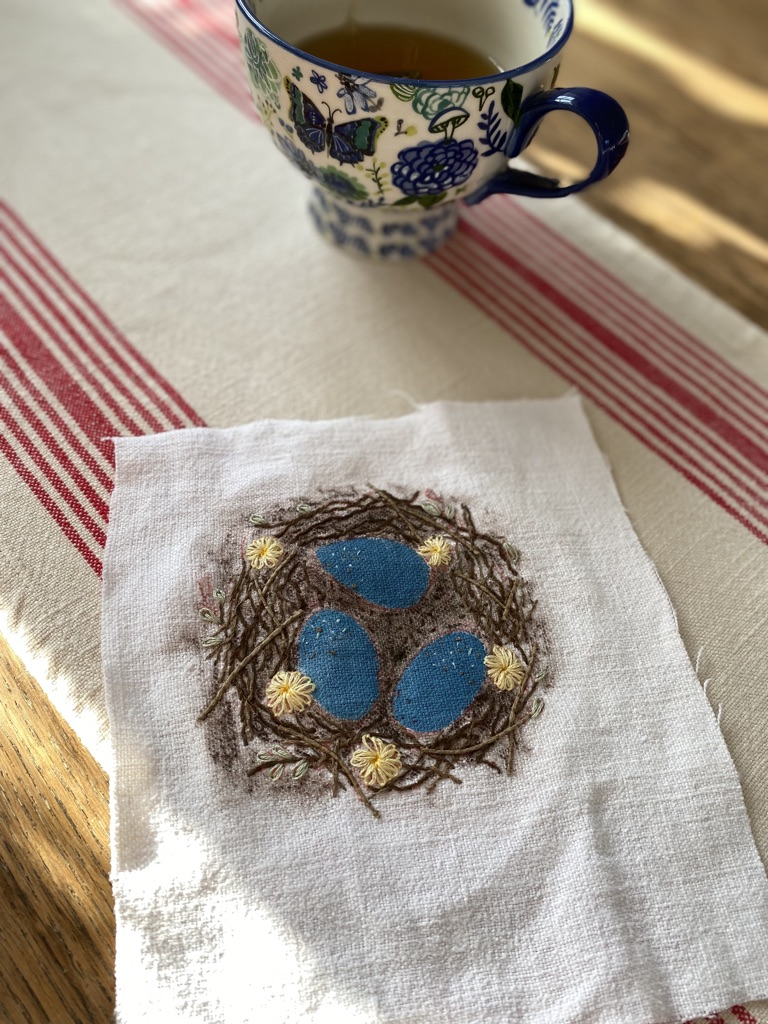
Once the paint is dry, you can begin your embroidery. I almost cannot bring myself to write that I was simply spoiled for choice as to where I might sit whilst I stitched. When I first received the design, the nights were still cold and there is nothing quite like hunkering down by a log fire and passing away an evening with my threads. Then life became all about Crafts at The Little House and so my sweet embroidery was put to one side in favour of meal plans and dried flower hoops. All too soon though my first workshop was complete and whilst still riding the high, I found myself poised at several sunny spots between Belle’s and The Little House to continue my Easter embroidery.
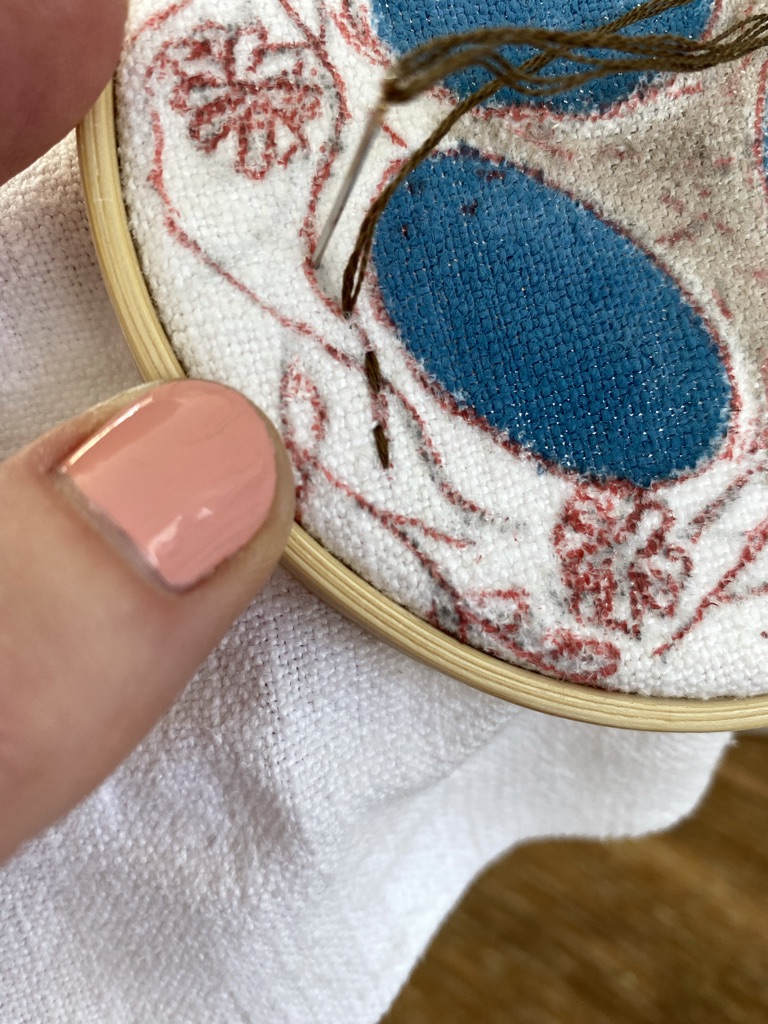
And then I made another stitching faux pas. I cut my cloth too soon. I have absolutely no idea at all why I decided my piece of linen needed trimming but trim it I did, resulting in a square of linen too small for my 6 inch hoop and which would only fit in my smallest hoop. And since the whole design didn’t sit comfortably in the smaller hoop, precious stitches were handled too frequently. Some even appeared to grow a little. I doubt anyone else around these parts will notice too much though I share with you, so you don’t start trimming until you have completed your work. There is a very good reason Jane suggests the size of the fabric and hoop you should use in her design.
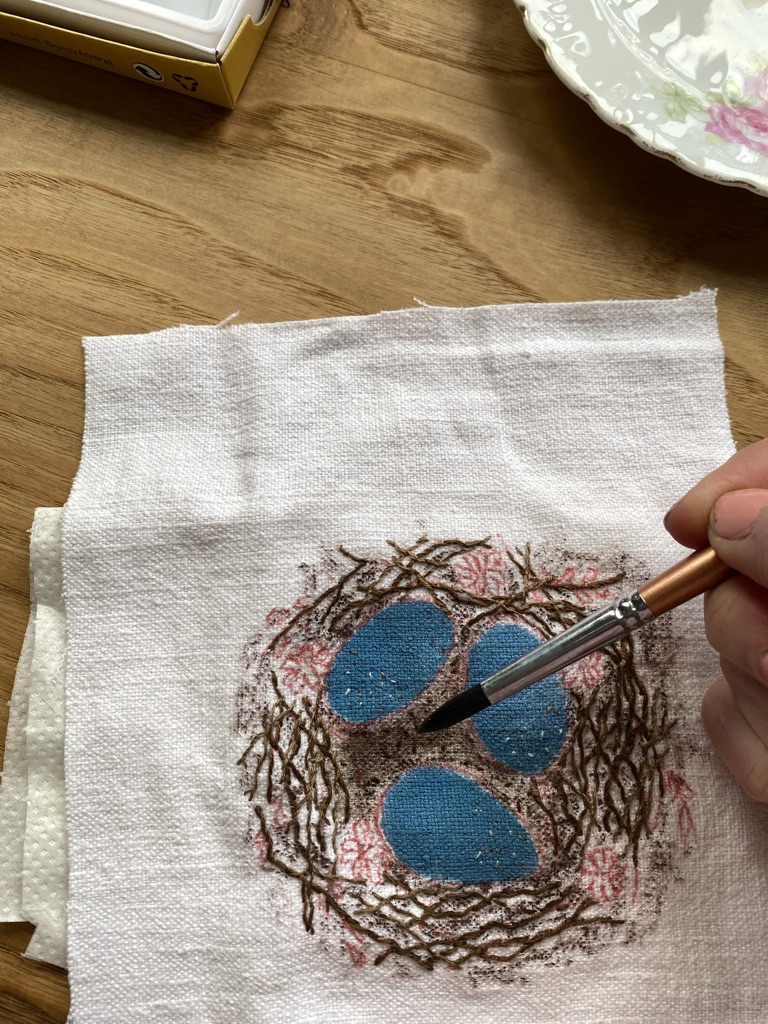
There’s a little more painting midway through the design which I enjoyed…
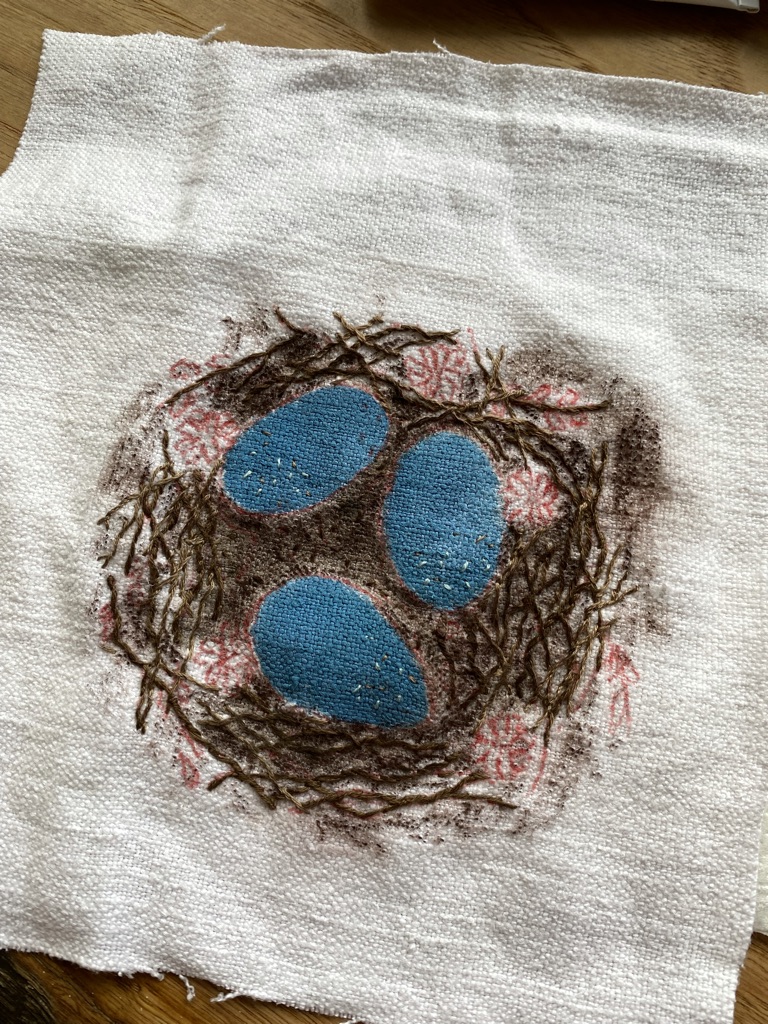
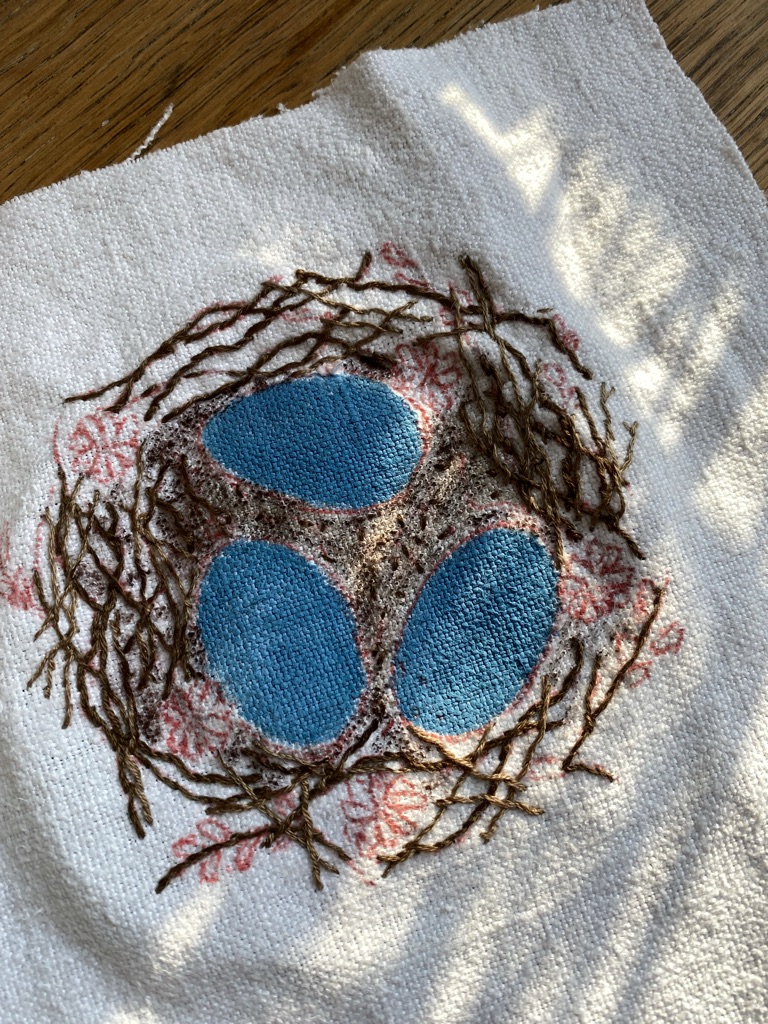
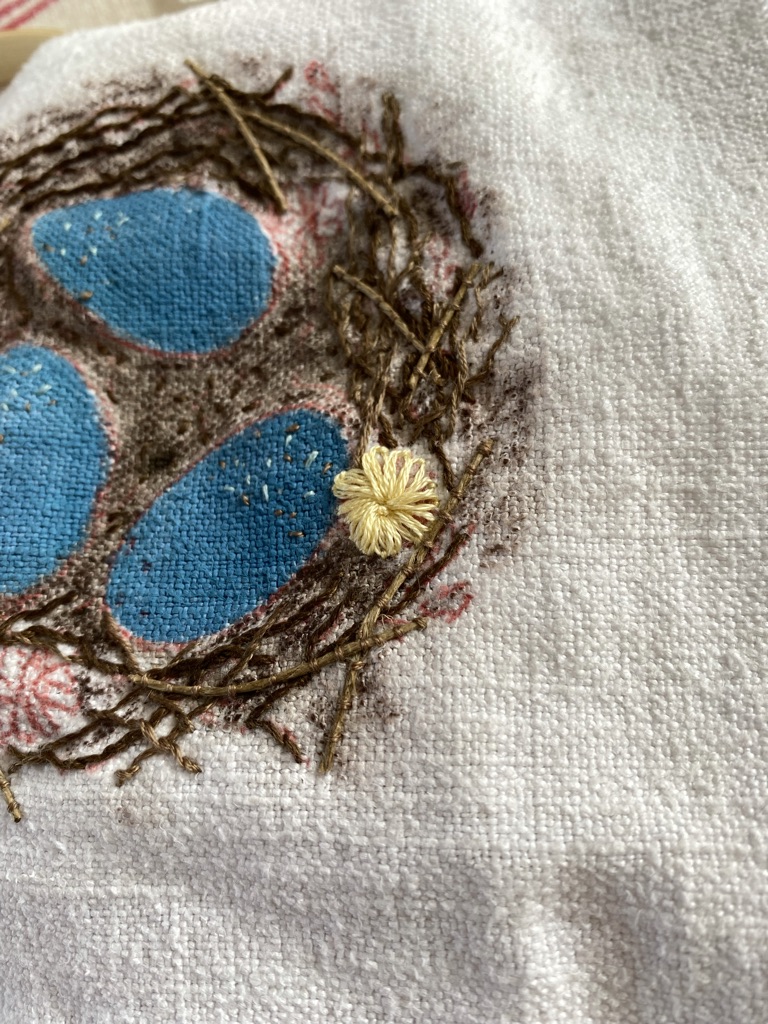
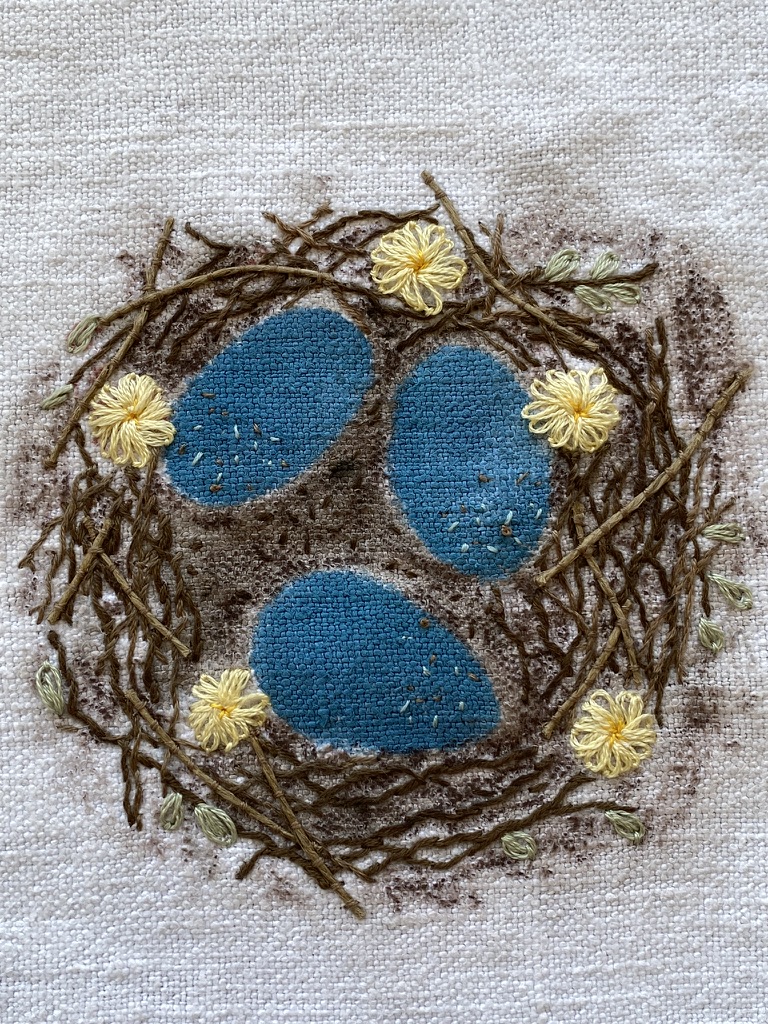
You need not be a master of many stitches to achieve this pretty design with the majority of the piece using whipped and lazy daisy stitch and there is some clever couching for added texture. You can follow the pattern completely or add a made-up stitch from time to time as I did to fill my leaves. This is one of those delightful patterns which will appeal to a total novice or a more accomplished embroiderer wishing to embellish with tricky stitches I have yet to learn. Jane makes further suggestions herself in the PDF for appropriate embellishments to the piece.
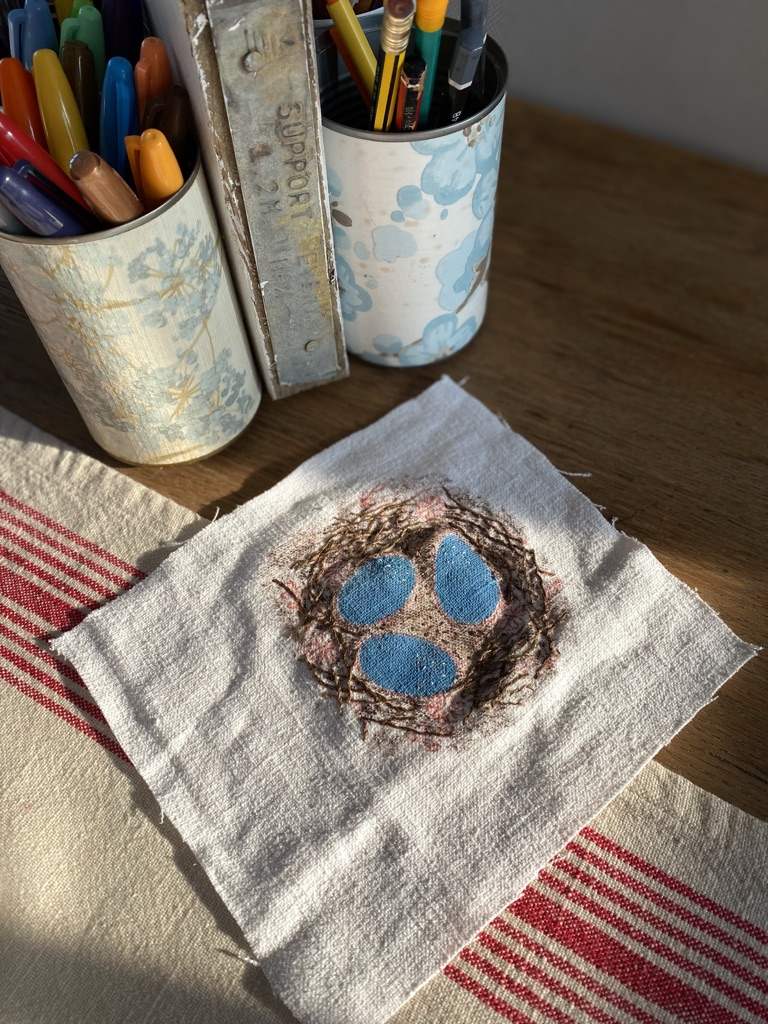
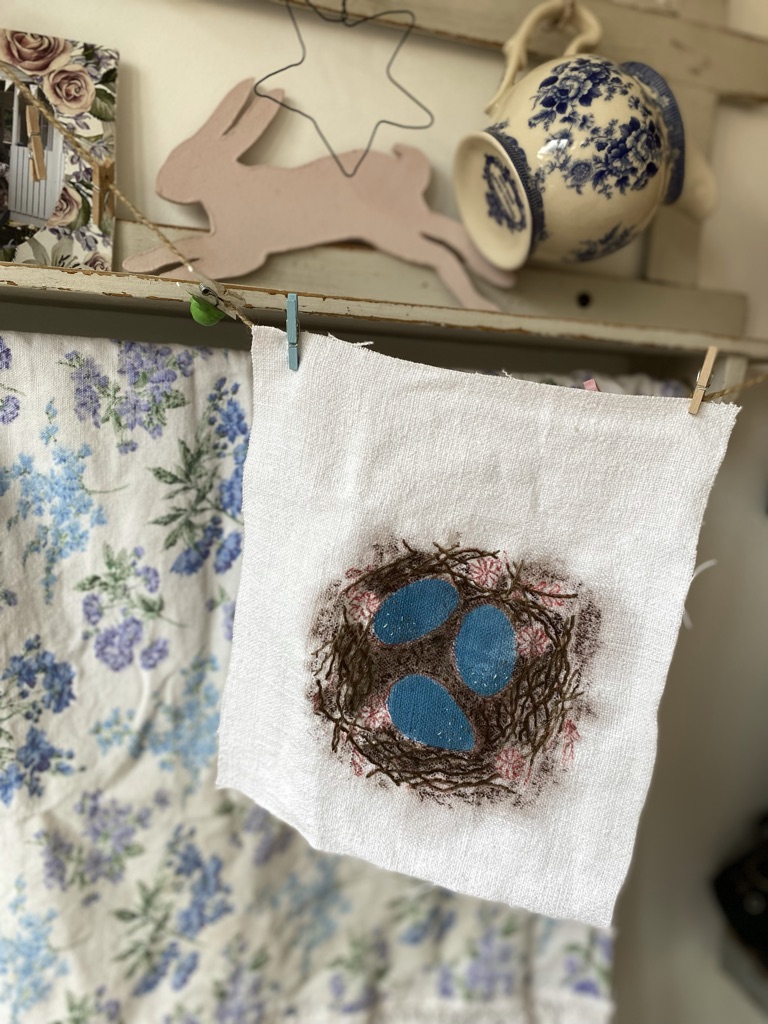
Once your completed piece is ironed to remove your heat pen and neaten up your work, your only quandary might be what shall your Easter embroidery become? I am turning into one of those ‘save for best’ crafters and I must put a stop to this right away. I’ve changed my clothing habits – not saving anything for best post-pandemic – and seemingly replaced this annoying trait with squirrelling away a pretty pile of crafts. And since I have no wish to create a heap of finished embroidery waiting for its moment, I thought I might ask you, what shall my Easter embroidery become? If you have a minute, do let me know in the comments below. It would be lovely to catch up with you, it’s been such a while.
Mine on the left, Jane’s on the right. Ssh, I can hear you you know…
Jane’s Easter embroidery PDF pattern is available to download now from her Etsy shop and with Easter only three weeks away, you could have this completed and taking pride of place within your Easter decor, or turn it into a finished seasonal gift for someone special or gift the PDF itself perhaps with a selection of gorgeous threads maybe in something like this or even wrapped in one of these.
Next week, join me as I take you behind the scenes for a peek at my very first ‘Crafts at The Little House with Whitewood and Linen’ Creative Day. I still can’t believe it really happened as I type this. Don’t ever let anyone tell you dreams don’t come true. Until then…x


Aah I am so pleased to be joining you on your tea break Little Miss and even more happy that you like this little Easter make. I agree, spring-like eggs and as you know all too well, I do love a shade of blue!x
Thank you for that idea Joy, yes I could and I have a very sweet little Easter cushion it could alongside too! So pleased you like the craft and blog too x
Oh I looooove your blue eggs!!! They are bright and spring-like ! This is such a cute design and I can see why you enjoyed it so much!!! I’m sure whatever you decide to use it for, will be gorgeous!
It was so lovely to be able to have a read of your special stories on my break I love them soooo very much xxxxx
OOOOOOoooooo this is fabulous and perhaps you could make it into a little Easter cushion to come out every year to be enjoyed …. Joy xx
Hi Anne and thank you for your message. Yes, in a chippy white frame, what a lovely idea, thank you! I think you are right, a little artistic licence never hurt did it? Happy weekend ahead to you x
This was such fun to read, Helen! I actually love the darker blue eggs, even though it’s not “accurate” — with embroidery anything is permissible! 😉 The couching idea is genius. Thank you for letting us know what worked and what didn’t for you. It’s always helpful to hear another’s experience with embroidery. I think the finished piece would look lovely in a frame 🙂
Hello lovely Fiona and thank you for your message. I think it’s important to show where mistakes occur don’t you since it is from there we all learn. Happy weekend ahead to you and I hope you’ll enjoy next week’s read too!x
Aah how lovely to see you in my comments box Helen! I am thrilled you like this pattern and my take on it and I love your ideas for how to use my embroidery. I am going with the wall hanging. I don’t have an Easter one yet so later it will be out with the rusty wire and dried flowers and rag ribbon and a quiet half hour in TLH as I turn this pretty embroidery into just that, thank you for the idea!x
I was thrilled to be a part of this collaboration Jane and love your work, thank you for working with me. And I love that a sweet little nest created way back when, becomes the subject of this years seasonal stitching. A lovely pattern, a fabulous mix of crafts and a wonderful couple of evenings and afternoons creativity. And as always thank you for kind words of support x
Thank you Helen this is so inspiring and I like that you have given us a step by step guide ( including what went right and what went wrong . Loving this and looking forwards to next weeks blog xx Fiona
Oh Helen, yet again you have created something beautiful and easy to follow! I shall be seeking out Jane’s embroidery but this is just so pretty! I think I would turn it into a wall hanging or use it on my dressing table xxx
Thank you thank you so much for your lovely blog about my pattern Helen. You have captured your thoughts and processes perfectly. I am so glad that you enjoyed painting and stitching this little nest. Without your nest you made last year this design would not exist. Its lovely to see people sharing their talents and your blog just captures the magic of crafting and the importance of having fun playing.
Thank you again Helen for all your blogs every week, they are an inspiration to many.
Much love
Jane xxx
This embroidery Helen, is the perfect antidote to your busy day. Very few stitches easily learned with pretty results, what’s not to love?! And next week’s blog is going to be a real treat too, for all those who couldn’t make the day and for those of us who were there to relive it all over again!x
What a lovely little embroidery. I may just have a try at this one, it looks like a good place to start for a novice like me. I’m really looking forward to next weeks blog now having been part of your first wonderful workshop at the little house. X