Bonjour tout le monde. You cannot know how excited I am to bring you this post. French flair and shabby chic combined, I could not be more pleased with how this vintage up-cycle has turned out. Not for the first time though did I nearly throw the towel in. And more than once I decided this project would be best as french firewood. It has however been long over due that I should step out of my diy comfort zone and try a different overall look to an up-cycle. And with these vintage and rustic armoire doors, destined for the scrap heap I had my perfect opportunity. So, when you have your croissant warmed through and your freshly brewed café au lait, you will be quite ready for Part One of this french flavoured, rustic armoire door makeover…
Earlier this year my wonderful friend bought herself a rustic armoire, typically French in its detail yet sadly for her, in pretty bad shape upon arrival. She had been rather looking forward to creating her own brand of magic with her wonderful painting skills and tender loving care however this small armoire with its broken shelves and crumbled carcass, was long past such treatment. With only two of its three remaining legs hanging on for dear life, my attention turned to each split and flaking vintage door which appeared to be all the french armoire had left to offer. I couldn’t help thinking that my luck might just be in again. My friend simply shook her head and laughed as Mr M quietly loaded up the car with my latest bounty. Not a word was uttered, not even an ooh la la.
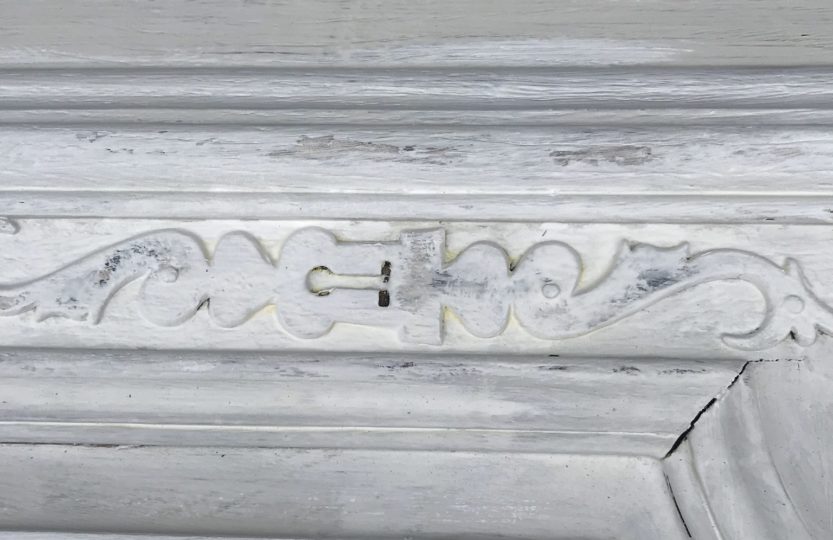
This is what each vintage door looked like when it arrived…


The doors sat patiently in the up-cycle queue at home for sometime whilst I turned to Pinterest for inspiration. As usual there was much to choose from and before long I decided to set to. I used this wood filler to tend to the cracks, applying, waiting out the drying time and sanding down to a smooth finish. Wait the full drying time if you do a similar vintage door makeover; the filler must be really dry not nearly dry. In my usual eagerness to complete an up-cycle almost before I have started it, I began sanding too soon and practically rubbed the damp stuff away. So I grumpily refilled and waited all over again. One day I will learn.


There was a lot of ‘yellowing’ coming through the already primed vintage doors so I decided to apply a generous coat of this (which you will recall I also used here) and I left the up-cycle overnight in the hope it would stop the yellow reoccurring. A few places received a second coat with of course more drying and waiting time.


Eventually I was ready to prime the fronts and backs of the rustic armoire doors with a coat of this before applying two coats of my favourite light grey paint, used on this project which I carried out earlier in the year.


So far so good. Yet the eagle-eyed amongst you will have noticed already of course, I have left the two panels to the front of each rustic armoire door unpainted because this lovely reader is where my new magic will happen. Where each french vintage door will meet shabby chic chintz and become delightfully pretty. And that is where I will leave you this week. A little detail to whet the up-cycle appetite and I hope, a good enough hook to get you back here next Thursday. I promise you will not be disappointed. Not without its dramas, next weeks post will reveal all and I am almost a little too giddy to wait until then to share it with you. Until next week however…x


So glad you like them although you may not have them back; I am currently doing very well out of your rubbish pile thank you!x
Oh Wow blooming Wow already! They look fab as they are! I can’t wait to read next weeks blog, I might have to ask you return them though….xxxxx
Ha Ha!! I know I cannot wait for The Bodyguard either!!! I’m glad you like it so far Helen…watch this space!x
Oh no! Stop teasing us! It’s bad enough that I have to wait a week for the next instalment of ‘The bodyguard’ drama on tv but now this!😂Looking great so far!👌x
Love this comment! Sounds like just the sort of thing one of my daughters would say!😂
So glad you like what’s been done already Sara, I’m rather nervous about unveiling next week…xx
They look fab already!…looking forward to seeing the finished doors next week! Xx
Oh my, this did make me laugh! I have a little plan for their final resting place…watch this space!x
Ha Ha… Oi you! You’re not supposed to let on that there really are dramas!!!!! I have a little plan as to where they will live, don’t worry you might even approve!!!x
I’m excited for the next instalment, I know the dramas and outcome!! And where will they go!?!
MANGE TOUT RODNEY!!
I can imagine Del (Dad) unloading the latest project to Mrs Bucket…sorry…Bouquet if you please!!
Super excited for the next post and to see what unimaginable beautiful masterpiece you have created this time…and WHERE YOU WILL DISPLAY SAID MASTERPIECE?!?!
Another fab post Mum well done xxxxxxx
Good morning Christine… the early bird!! I nearly fainted to see a comment so soon in the day; you’d read it before I had!!! I’m so glad you enjoyed the read and I hope you like the finished result next week. Have a great week until then and thank you for your lovely support x
I thought I’d read your blog with my cuppa tea before venturing out to work this morning. All I can say is… Wow!! I am so pleased that you managed to salvage those absolutely gorgeous armoire doors and add your magical talented touch to them. Already they look amazing and I am very excited to see the end product!! Well done Helen, you clever girl! X