Just after Christmas Mr M was having a quiet hour or so to himself in the garage. By nature, this tidy soul is often found out there rearranging and making better use of the space. On this occasion he was clearing up after my latest project, making noises which suggested he was not best pleased with my half-hearted attempt to do the same. I offered my help and in doing so spotted a piece of furniture that had been gifted to me by a dear friend before she upped and left me for the other side of the world. She had offered it to me with the words “if anyone can do something with this you can” although I had never known quite what. It’s an awkward size and to me not a particularly useful piece. If I am truthfu,l I’m not sure I even know what it is. An occasional table perhaps (what even is an occasional table?) A small desk. Maybe a reproduction lady’s writing desk. Whatever its purpose it had eluded me. Until that moment. “Ooooh you see that thing in the far corner” I called out. “What thing darling” he sighed drowning in a sea of junk “you need to be a little more specific.” “That thing there” I squealed whilst pointing at it excitedly, “that piece with the horrid flower painted on it. Under those chairs and behind those storage boxes… yes that thing. Could you fish it out please, I’ve just had a fabulous idea which might involve a stencil…”
Another present Mr M gave me this Christmas was a gift of various stencils. I’ve tried stencil crafts before here and here you will recall. These new stencils however were much larger, perhaps meant for furniture, walls or such like. I decided this unusual piece would be my next experiment. And if successful I knew exactly where this guinea pig would be placed.
Some might have been happy with this piece in its original condition. To be fair I had tried to sell this some time ago on eBay since it wasn’t to my taste, with no luck however.
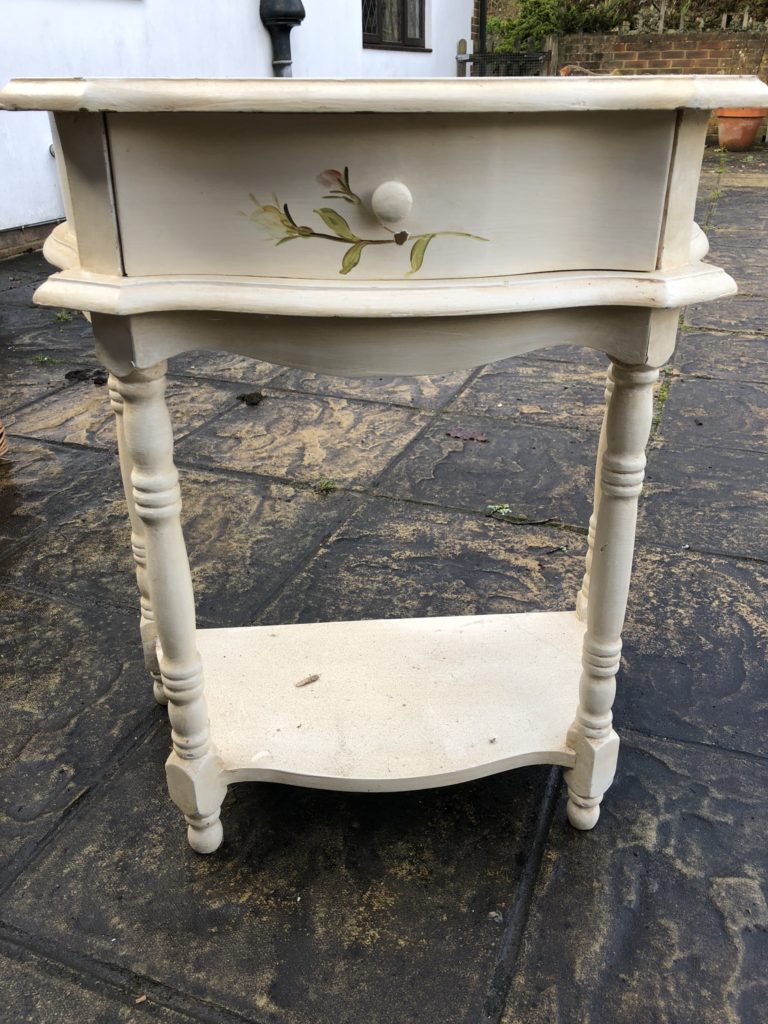
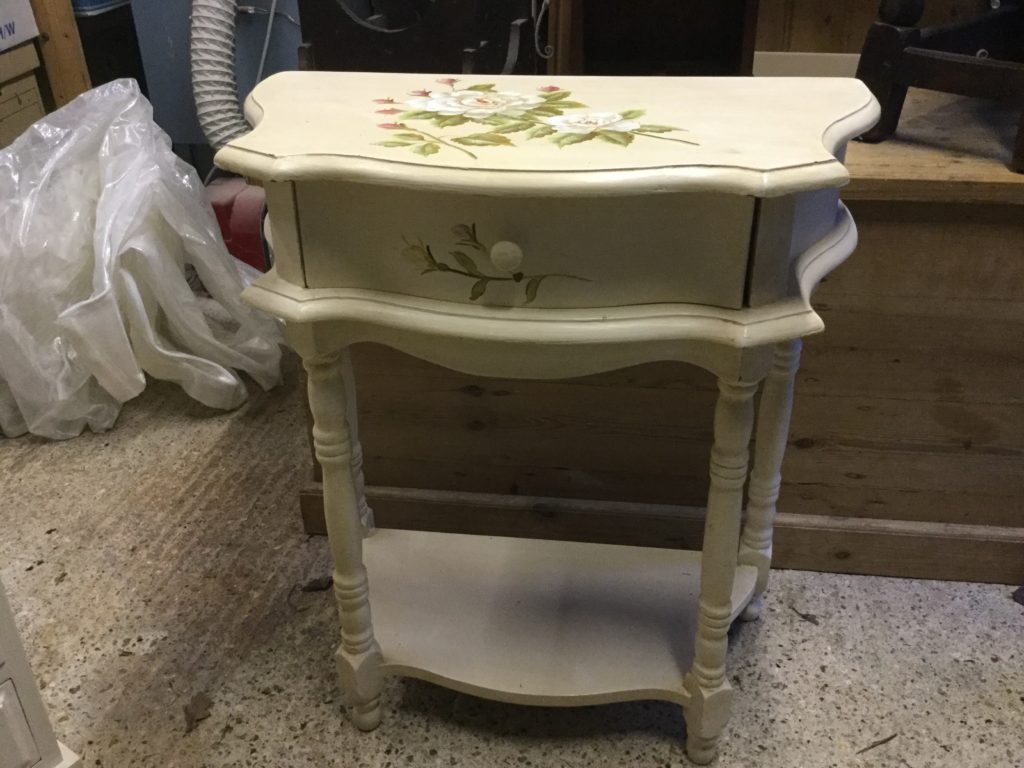
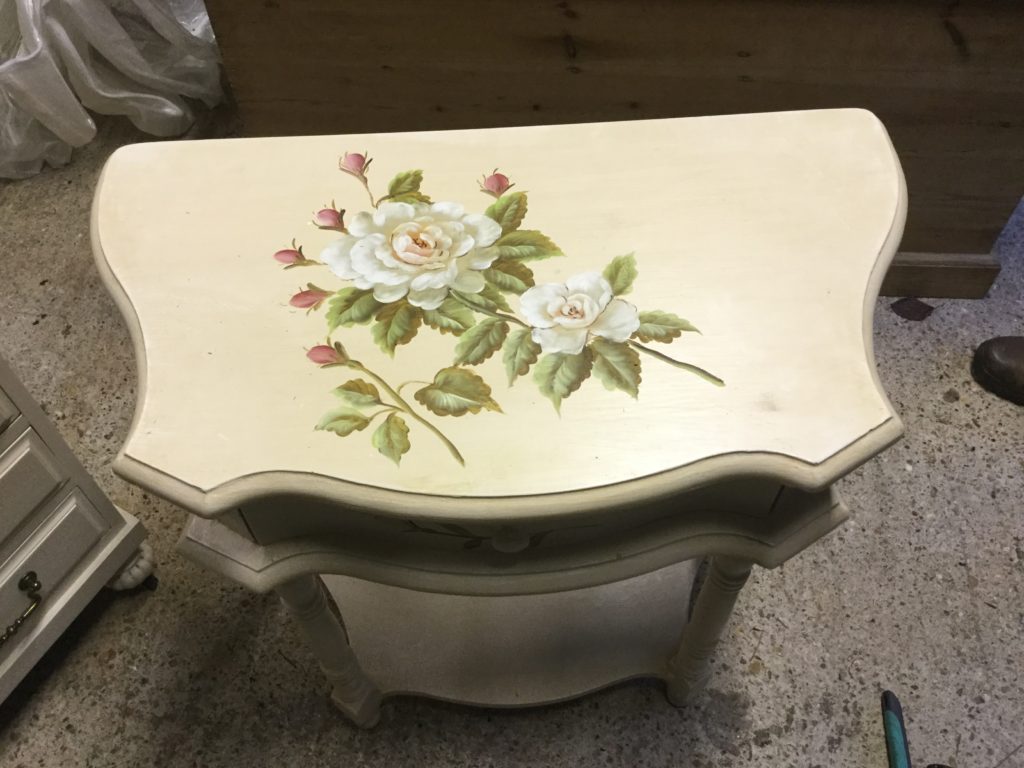
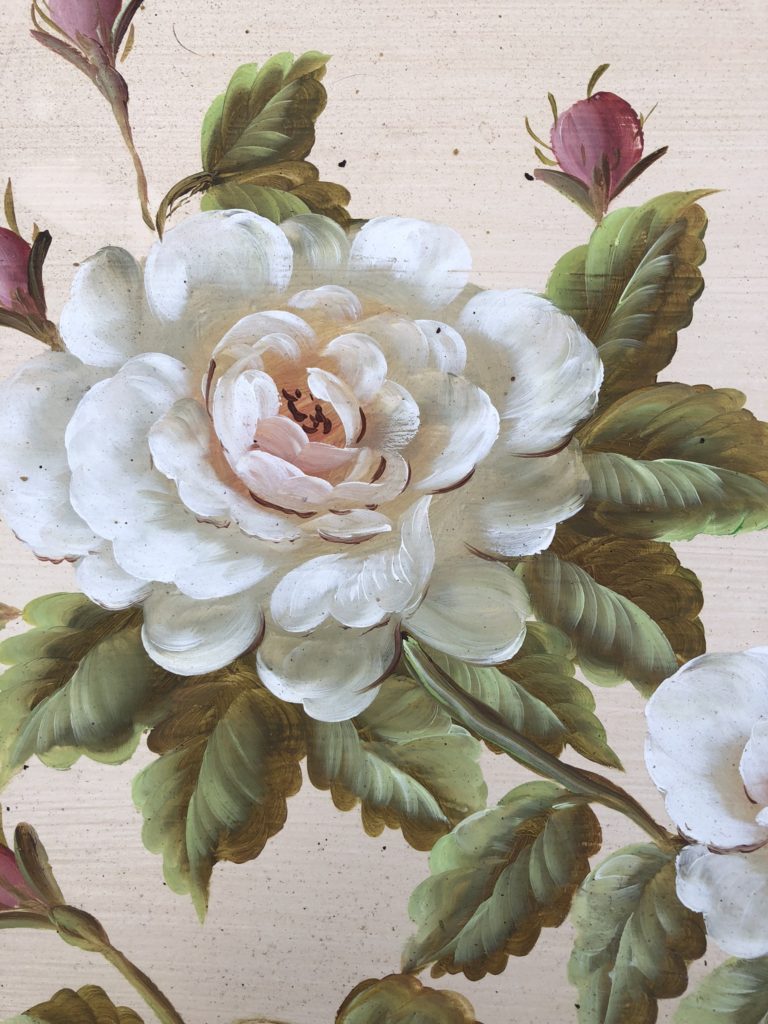
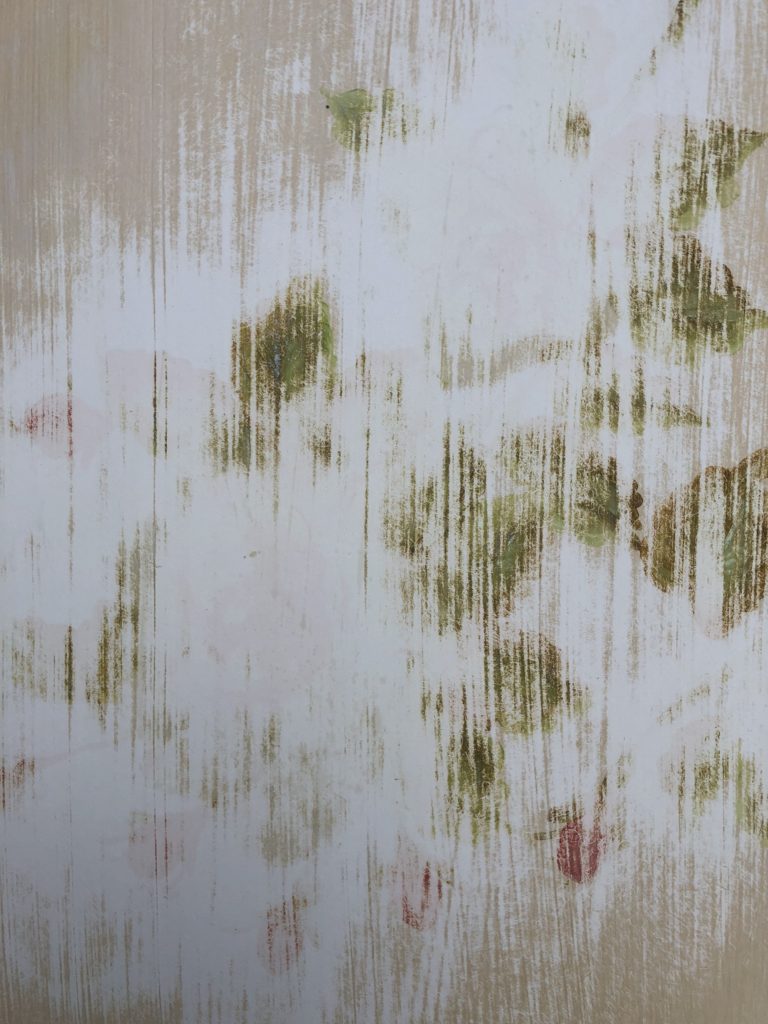
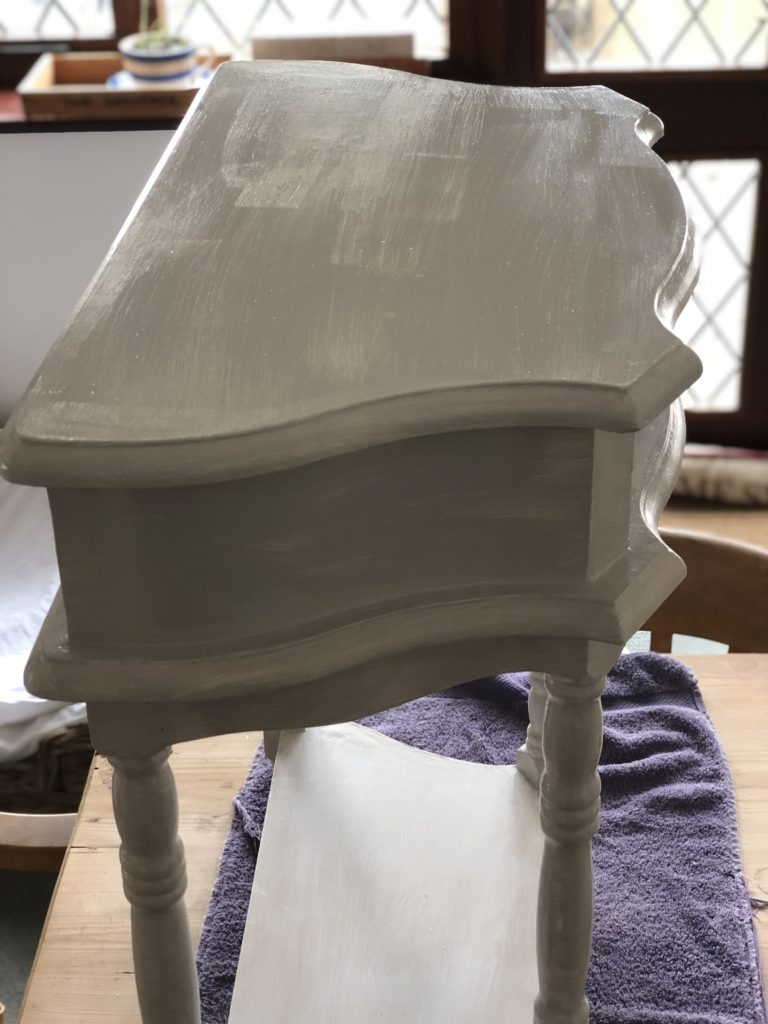
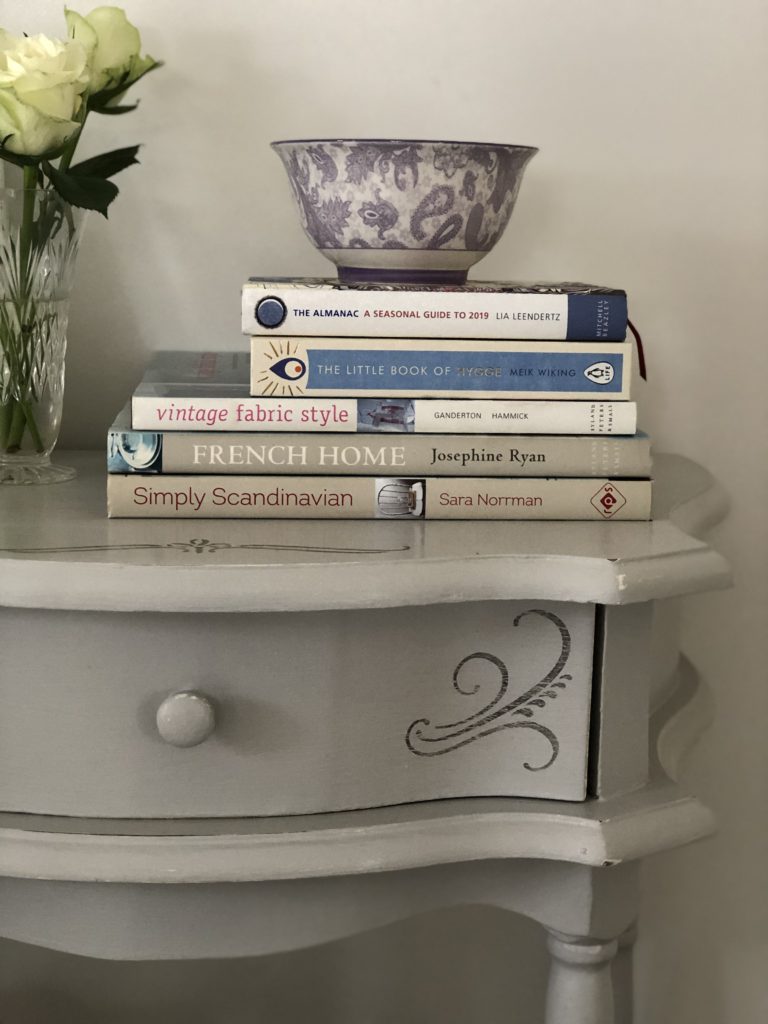
For me the raised fussy flower painting just didn’t work. Perfect in a frame and propped against a wall, not so on this piece of furniture. I began by sanding it away and painting the entire piece with my trusty primer. Then three thin coats of my current favourite emulsion paint (which is similar to Farrow and Balls Ammonite) were applied. You may recall I ‘found’ this paint in the garage and used it in another transformation you can read about if you like. For a more detailed tutorial on priming and painting furniture click here since today I am focusing on stencilling.
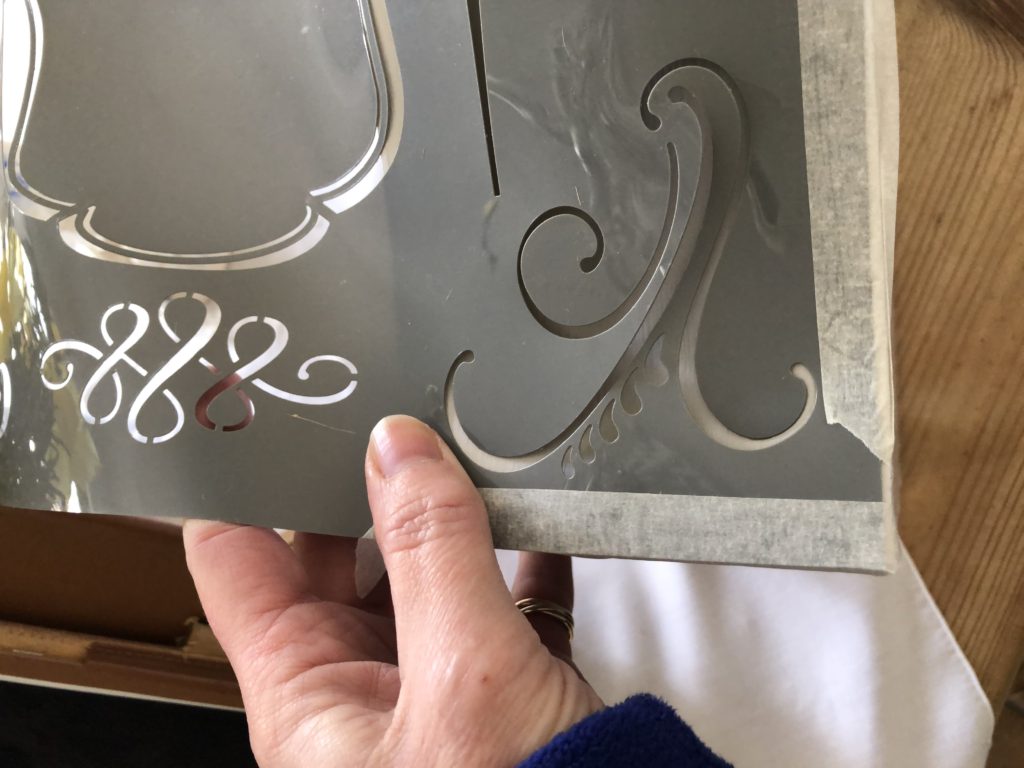
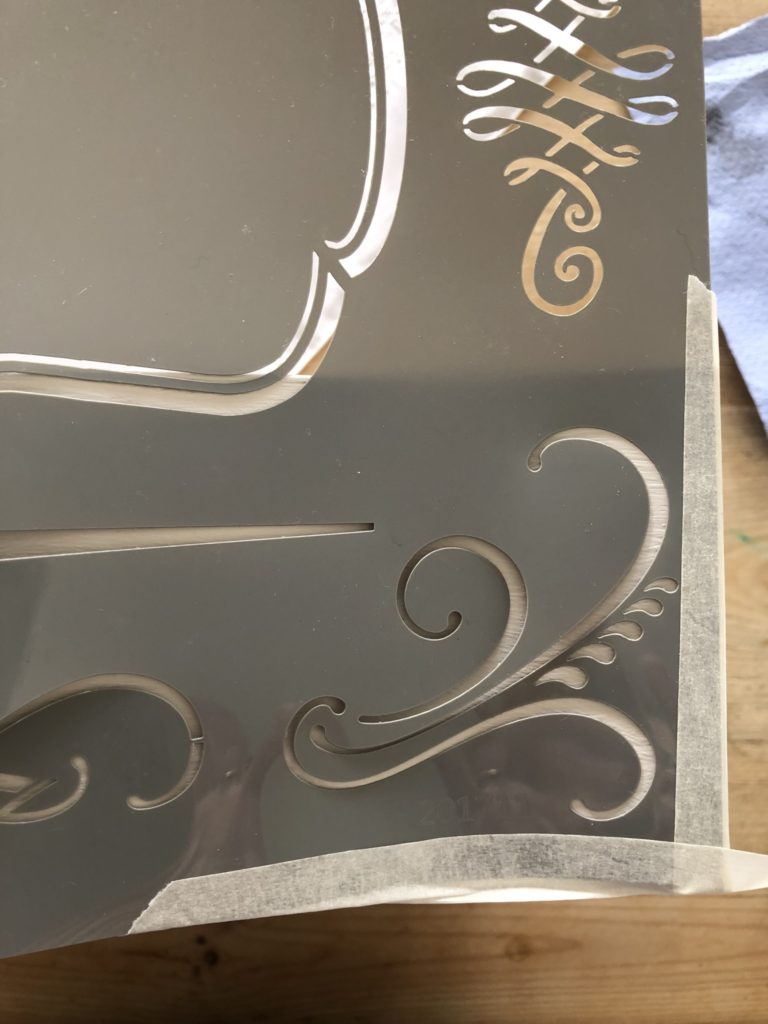
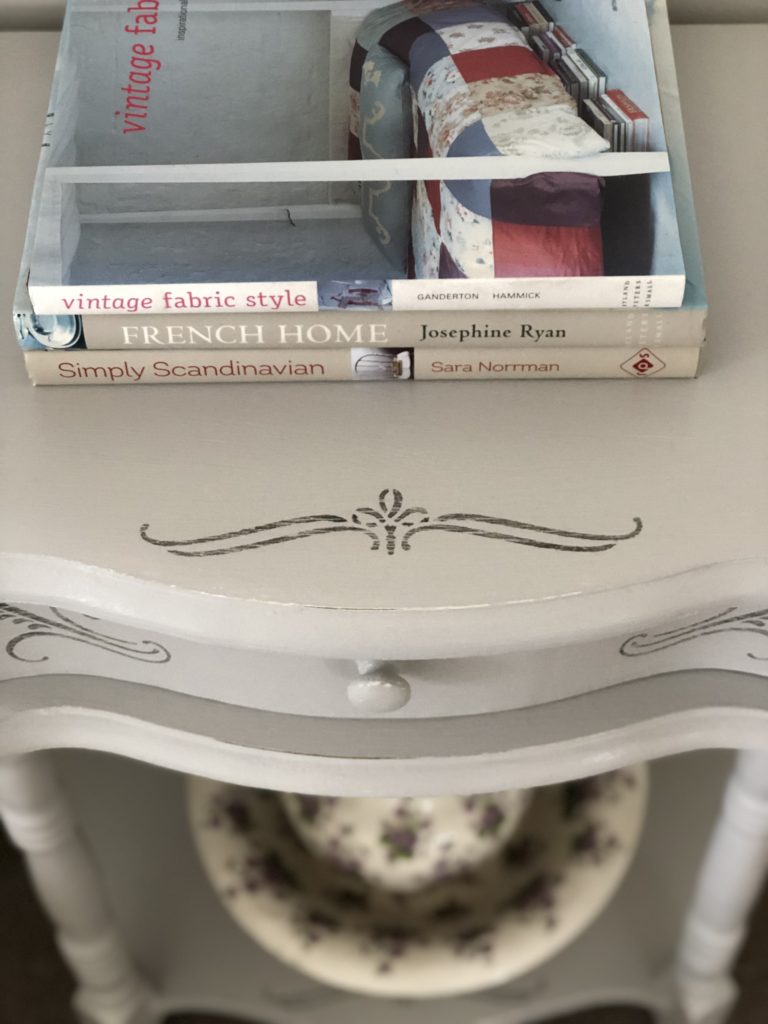
I’ve carried out my own Pinterest research which you can see here. Personally, I could see no advantage to an ‘all over stencil’ since there will be objects on both surfaces obscuring the most part of a large design. I decided on a scroll type stencil hoping for a mildly French feel for the end result. I wanted a subtle unfussy look; a less is more approach.
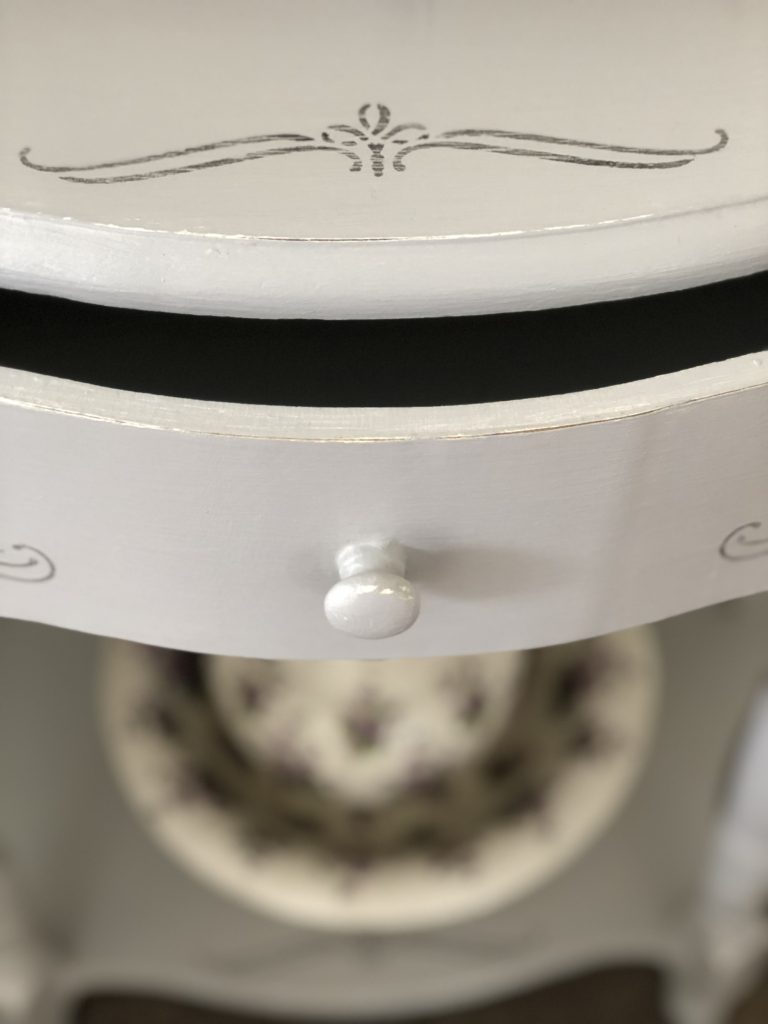
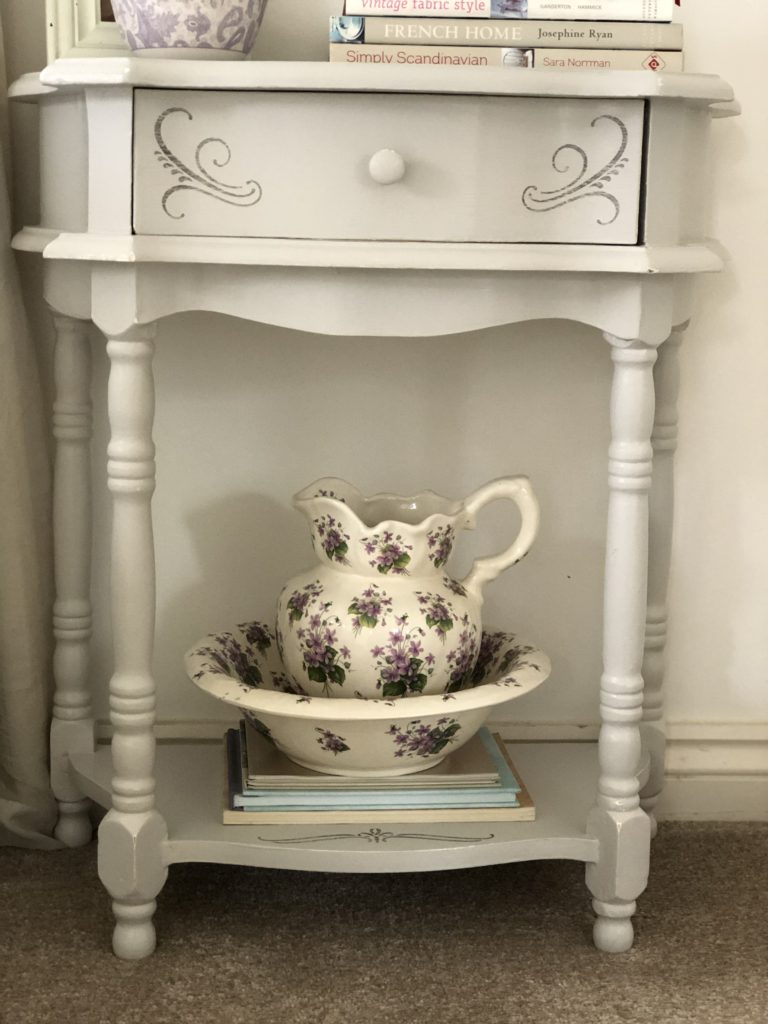
I began with the tiny drawer and selected two scrolls for either side of the handle and I placed each scroll in position using a low tack masking tape. The instructions suggest a low tack adhesive craft spray could be used as an alternative fix. On reflection this second method would perhaps work better on a less than flat surface, like this drawer. No matter, the masking tape sufficed.
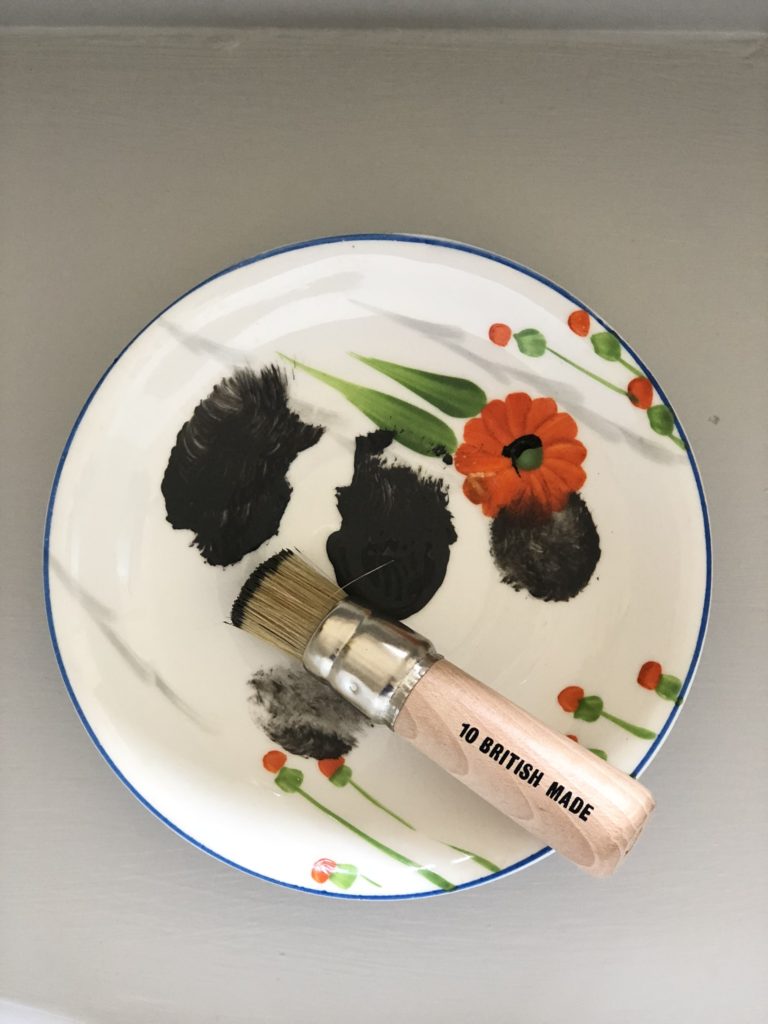
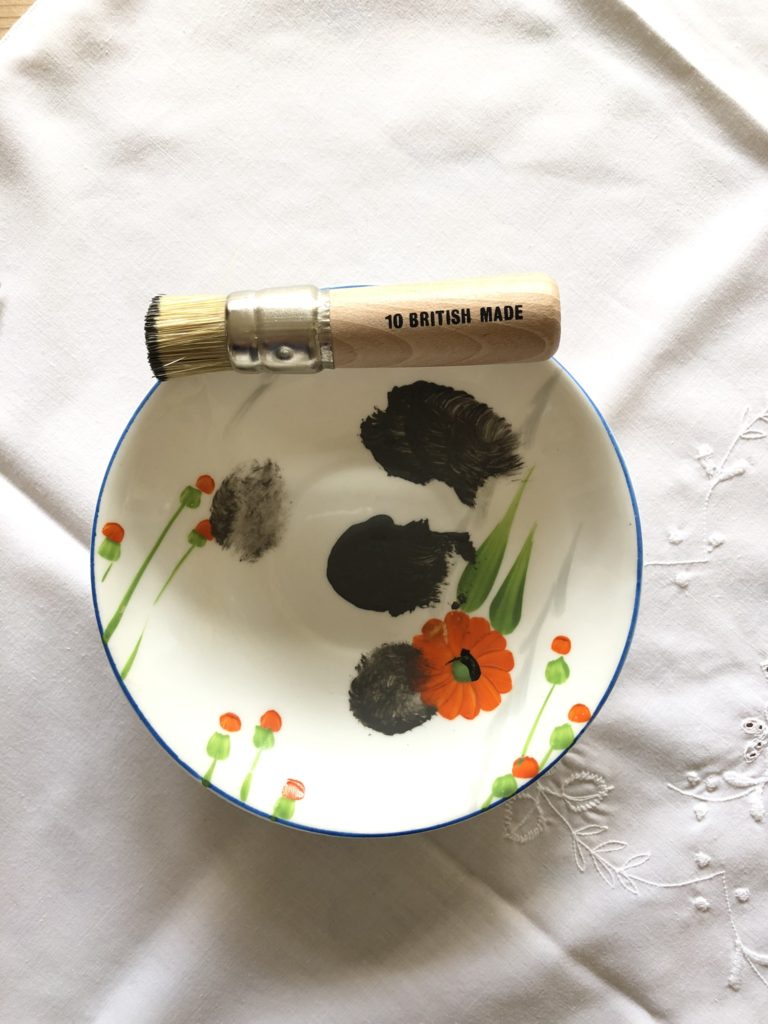
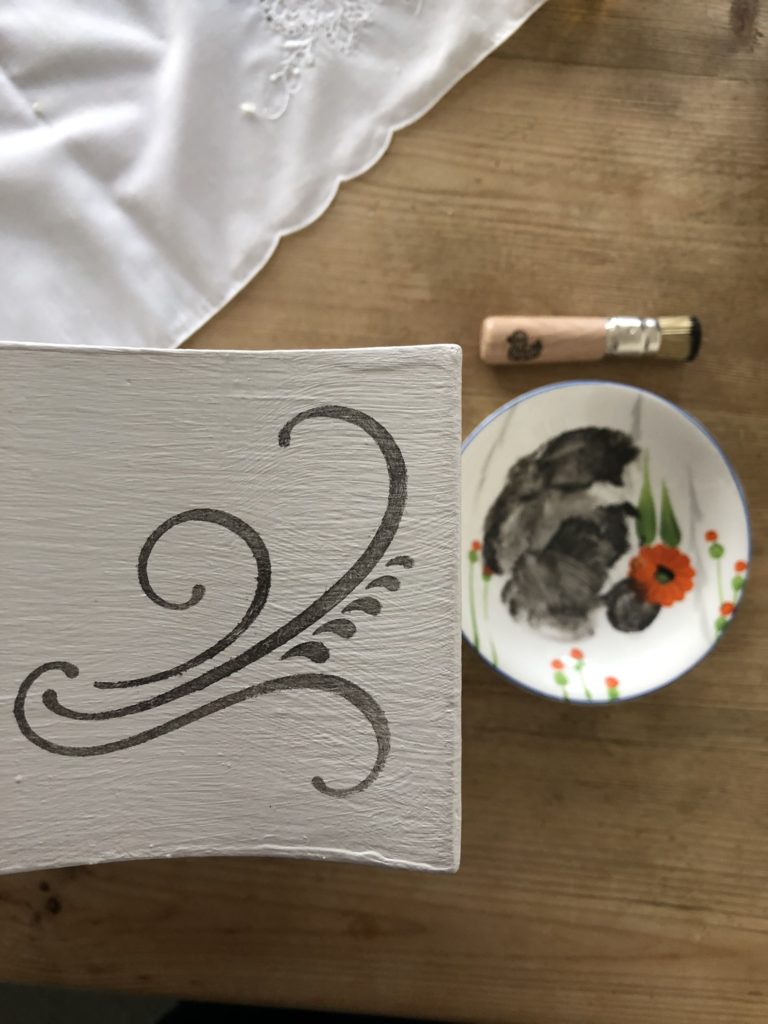
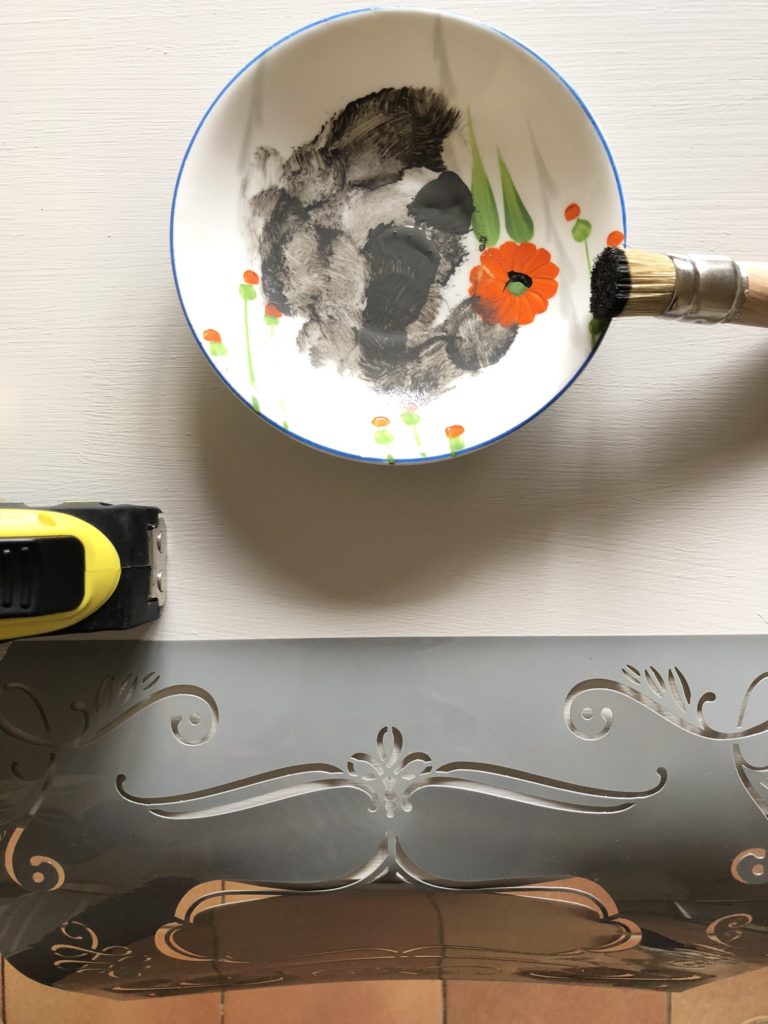
Next, I poured a tiny amount of a darker grey paint onto one of my old tea plates and used this stencil brush. The trick is to have very little paint on your brush. So, dab the brush in the paint lightly to start and then remove as much as you can in a clean area on the plate or use paper towels or a rag. Less is more again. You don’t want the paint to ‘bleed’ under your stencil or ‘tear’ around your design when you remove your stencil.
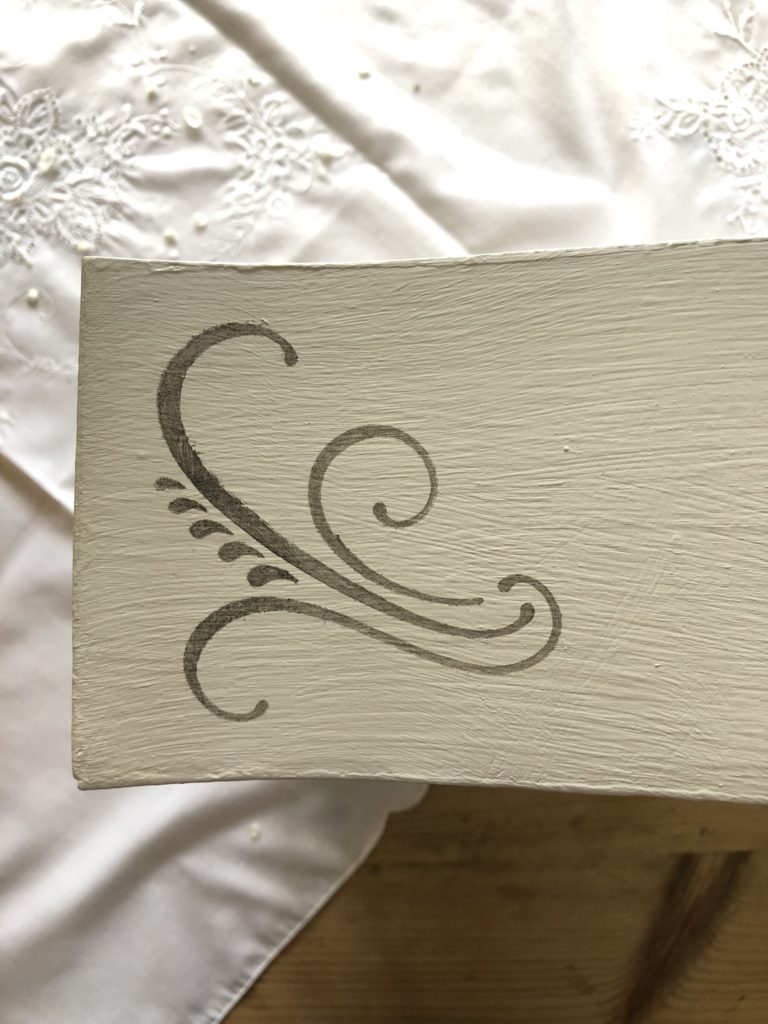
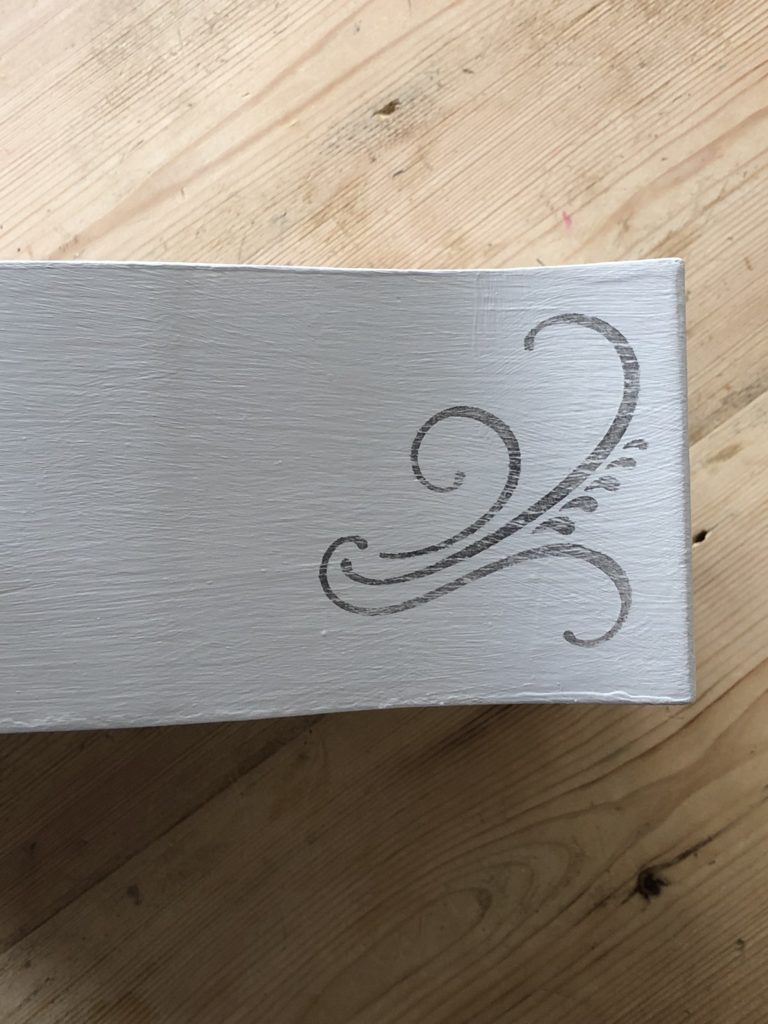
Now don’t be scared, dab and twist the brush lightly over the cut out on the stencil making sure to keep the stencil firmly in place. If you are a little nervous practice first on paper (no of course I didn’t) or watch the many YouTube videos available. You will have used such a thin coat of paint, it should dry in no time at all. You may wish to apply a second coat if you are going for a stronger look. I wanted faded time worn elegance, so one light coat was all I needed. This is how each turned out…
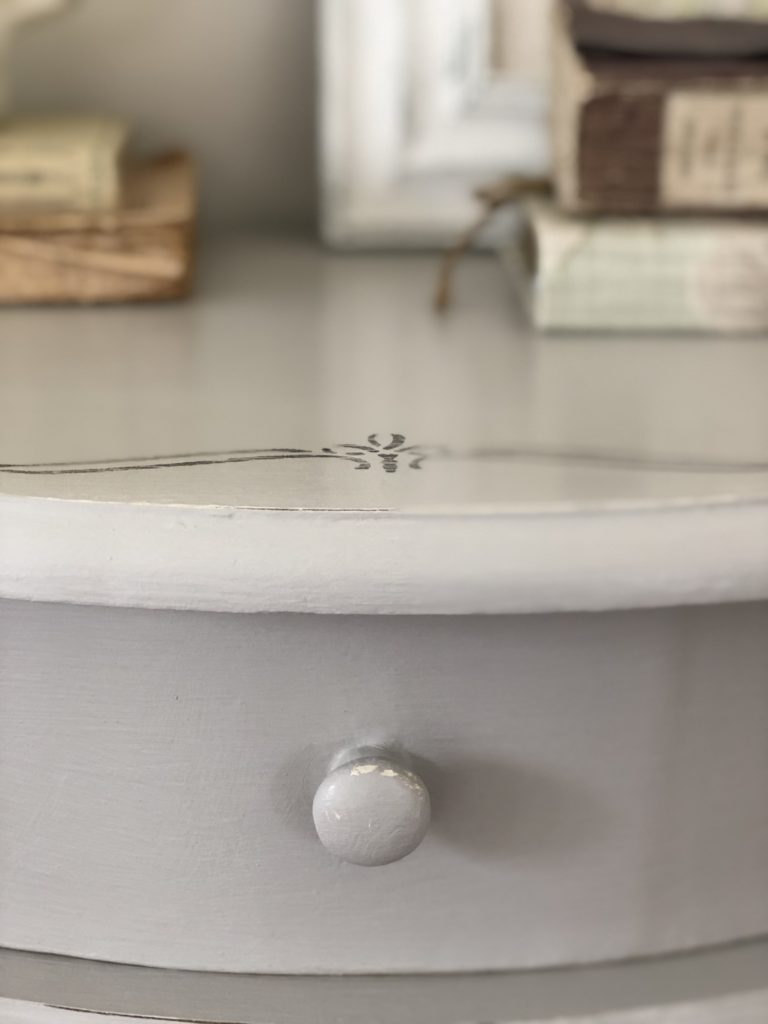
I repeated the same technique with a different stencil on the table top and shelf below measuring carefully central points for both. He would have kittens if they were anything but.
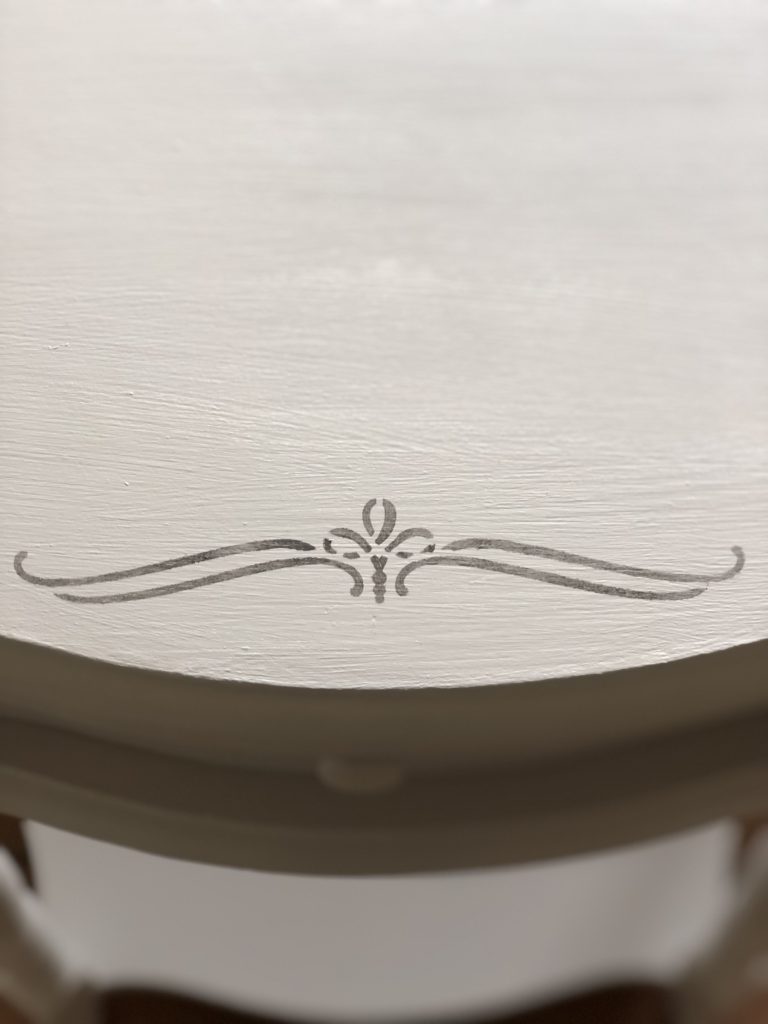
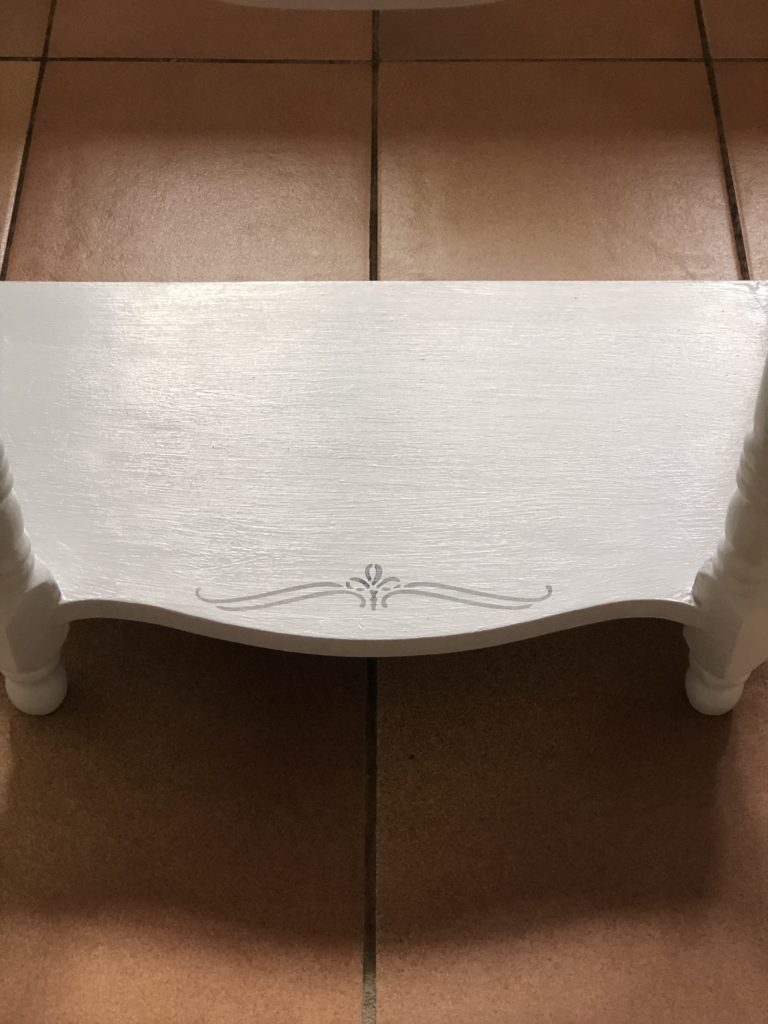
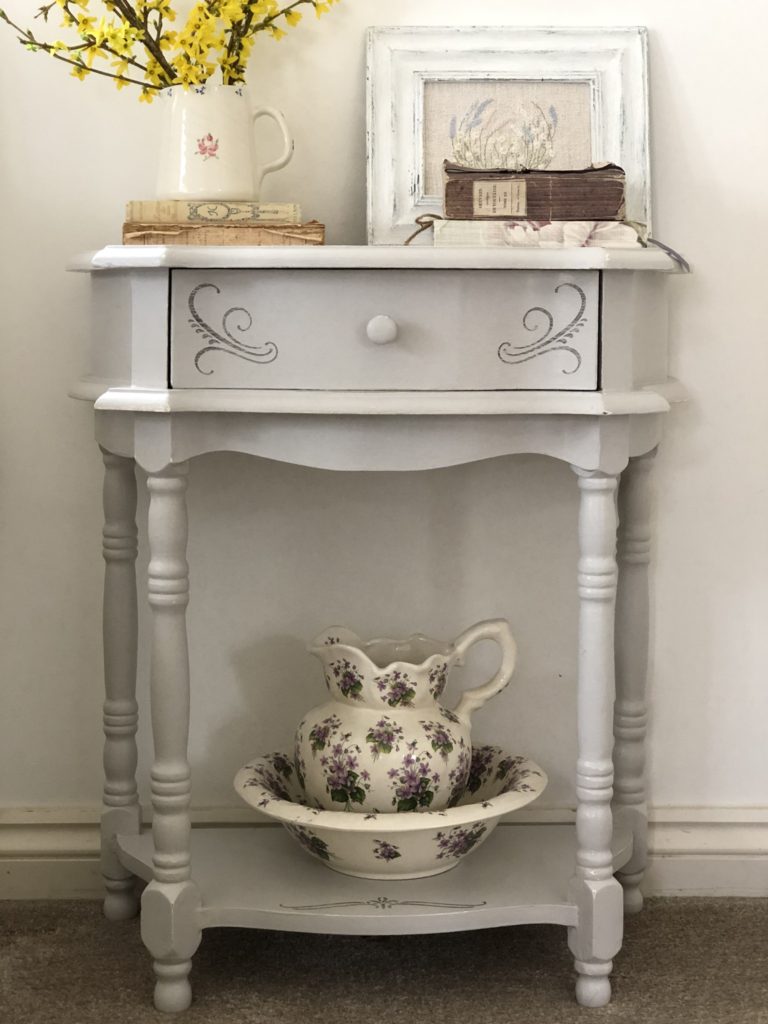
And then it was out with the sandpaper and a light rub to each stencil to age further still. I also concentrated rubbing areas on the piece of furniture where in time, the item would certainly have been knocked. Edges, corners and the handle itself. Only a very light rub was needed to achieve this subtle look.


Finally, a layer of this wax was applied and duly buffed for protection and a slight sheen.
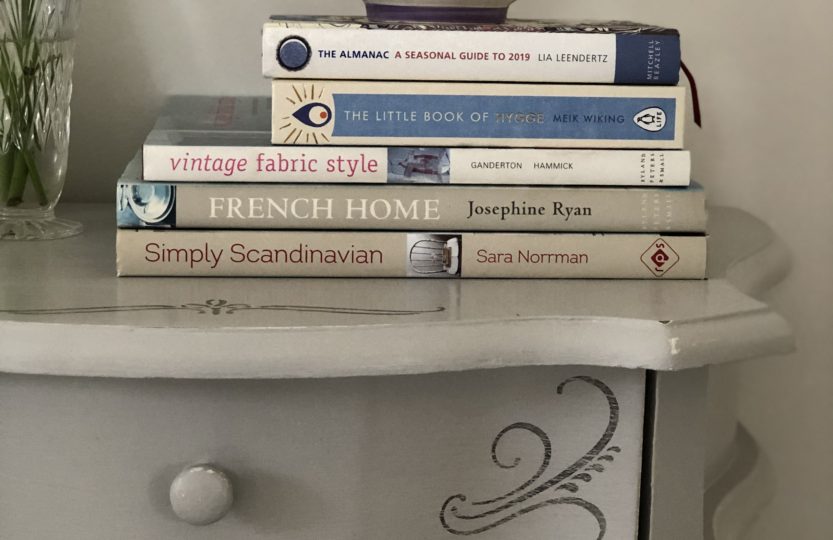
We have space for only one bedside table in our bedroom. Lucky really since we have only one of these tables. And would you believe it, in a further stroke of good fortune, the only space we have appears to be on my side of the bed.
A final resting place for this piece of up-cycled furniture? I wouldn’t have thought so. You will no doubt see it from time to time on my Instagram account in one room or another, it’s purpose reinvented over time as is my want.
Do you have a piece of furniture needing a spruce? A table, wardrobe or perhaps a chair or chest of drawers? For the price of a lick of paint and an inexpensive stencil, you could have a spruced up corner of your home in no time at all. A simple, quick and inexpensive project for springtime. Right, that’s it from me for today, I’ve got the stencil bug so if you’ll excuse me I’m off to apply a little magic at Belle’s. Until next week…x
With the Easter weekend not too far away now you might be planning a DIY of your own. I’ve selected a few alternative stencils below to help get you thinking…


Thank you Karen, this little piece has made it to the revamped bathroom now and is proving useful storage for essential oils and display for pretty glass bottles x
Ahh love it!! It also brought back memories to my college course. I used to stencil using plaster for a raised rustic effect and Vaseline!! Ooh those were the days. Well done Helen it looks lovely. Xx
Aah the lovely Molly in my comments box again, this did make me happy to see lovely one! Ahead of the time eh? There’s a first! I wasn’t a huge fan back in the day, I think for me a little stencil here and there is the winning formula. Hope you are on the edge of your seat for Belle’s forthcoming antics…watch this space!x
‘Drowning in a sea of Junk’ …how familiar does this sound….how I laughed. Takes one to know one.
This is fabulous Helen and you are ahead of the times as stencilling is supposedly making a come back.
This has transformed into a beautiful yet practical piece. I love how you have kept its simplicity,
Another fab project and how wonderful to be getting to use all those gorgeous Christmas presents Xx
I so enjoyed this stencilling up-cycle Claire. I wasn’t a huge fan of stencilling back in the day. This less is more approach suits my home a little more. I imagine your beautiful home to have a few spots where an appropriate stencil would look wonderful (not least that gorgeous balcony you’ve shown us over on Instagram!) x
Well done Queen of Upcycling – love your transformation. I have only stencilled letters and numbers on “bits and bobs” (compass coordinates, postcodes, beachy sayings and other profound messages like ‘gone surfing’🙈 in our home in Brittany) Your post makes me think about where I might use some stencil magic in different ways.
Thank you. xx
Claire
Ha ha ha… I know of no-one else who dumped me for didgeredoo’s do’s and kangaroos, do you?! Not for the first time did I spend an afternoon thinking of you and your sister, glad you like it x
Is that me you are referring to and I assume one of the crappy things I dumped on you from Barbara’s? Maestro Moore -well done !
Barb and Tino will be smiling .
Thank you dear friend… there is rather a lot I should make decisions about I think!x
Perfect transformation!…ideal for displaying your vintage finds 🥰💕and what else is lurking in the garage?? 😉
Aah you are lovely, thank you. I’m glad you like it… I can see this stencil thing extending to girlfriend presents too x
Very lovely piece of work mrs m. Such a clever girl! Yet again in awe. Xxx
Thank you! Now… about where it’s going to live….x
I’m glad I emptied the garage to get it out now, it looks great! Where’s it going to live now!! x
Ah lovely Jennie how good it is to see you back. Do you know I was not a great fan of stencilling the first time around and I’m pleased to find I am more fond of it this time. I’m looking at Belle’s walls in a different light!x
The trouble I have gone to to keep this out of your gaze! It’s been back in the garage, in the spare room, behind a door… and now at last in can now go in its rightful place! So glad you enjoyed the giggle!x
Aah thank you my darling… it’s funny that has been in the garage for 3 years and finally I have an idea for it!x
This looks amazing ! well done mumma!
OH I CAN’T BELIEVE I HAVEN’T ACTUALLY SEEN YOU DOING THIS?!
I love it and so practical…I’ve always thought your house could really do with an occasional table, I’m so glad you managed to find one and make it perfect in the way you always know how! Such a funny read and brilliant inspo xxxxx
Très chic Helen. I used to do quite a bit of stencilling and am rather pleased it is becoming popular again, though your less is more approach is more millennial friendly and much nicer in my view than stencilling in the 20th century, That was more is more, which is usually my moto, but I’ve seen enough stencilled ivy to last a lifetime and that’s just in my house! x