Mr M is a giver. There have been many points during our marriage where money has been stretched imaginatively. Perhaps he has forfeited a gift announcing instead, he doesn’t know what he wants that year. I know that game he plays. Not so with me. I have always received thoughtful birthday and Christmas gifts. Maybe they haven’t all been as grand as this one; nonetheless there has always been one. This year was a Christmas full of surprises for me once again. The M children chose thoughtful gifts from many makers of Instagram. Each one was as beautiful as the last and sent me into an emotional frenzy. I felt very loved. Mr M’s gifts were equally as thoughtful and he too had followed a theme. His chosen gifts all related to my love of craft. I received tools for this and bits for that. And there were a few new crafts ideas too. Today’s story is about one such craft – metal stamping. A craft I knew nothing about until I unwrapped and played. Before though, a quick story …
Many Christmas’ ago, when the M children were little and Mr M and I were paying particular attention to the coffers, I had asked for eye cream as my gift. This product had I felt, become a necessity and if it were to be received with a pretty bow with a tag attached, I would be quite grateful. Mr M asked for an electric toothbrush since he felt sure they had come on since he last purchased one. Once the over excited Little Miss and Master M had unwrapped their plentiful piles, we unwrapped our gifts making sure the little ones saw our gratitude. Presents gifted, I declared the children could eat their stocking chocolate for breakfast (a tradition we continue to this day) and we adults began clearing the vast amounts of paper away. “Oh, and this is for you too” he said handing me another gift. I looked at the beautifully wrapped present in Mr M’s hands and irrationally screeched “But we discussed this! I don’t want another present, it’s not fair! I only got you a toothbrush, I just asked for eye cream, you know that, you’ll have to take it back!” The children looked at one another in shock disbelief at their mother’s outburst and their father appeared very confused as my tears flowed. I know of course, you will understand my reaction.
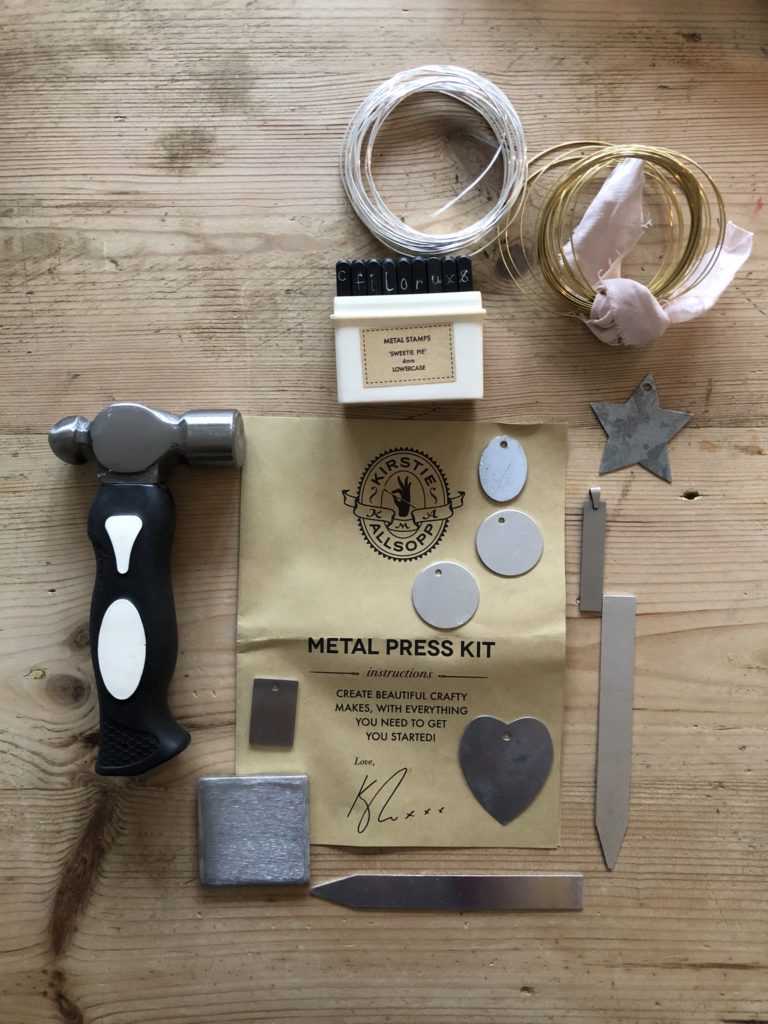
This year as I opened one of my many packages from Mr M I asked “Metal stamping?” I don’t know anything about metal stamping.” “That’s the point” Mr M replied cheerfully “I thought you and your readers might like a new craft.” “Why?” I enquired cautiously “what’s wrong with the crafts I do?” “Nothing” he said in that slow and controlled manner of his, “I just thought you might like a change, that’s all.” He was right of course. Metal stamping is a rather addictive craft.
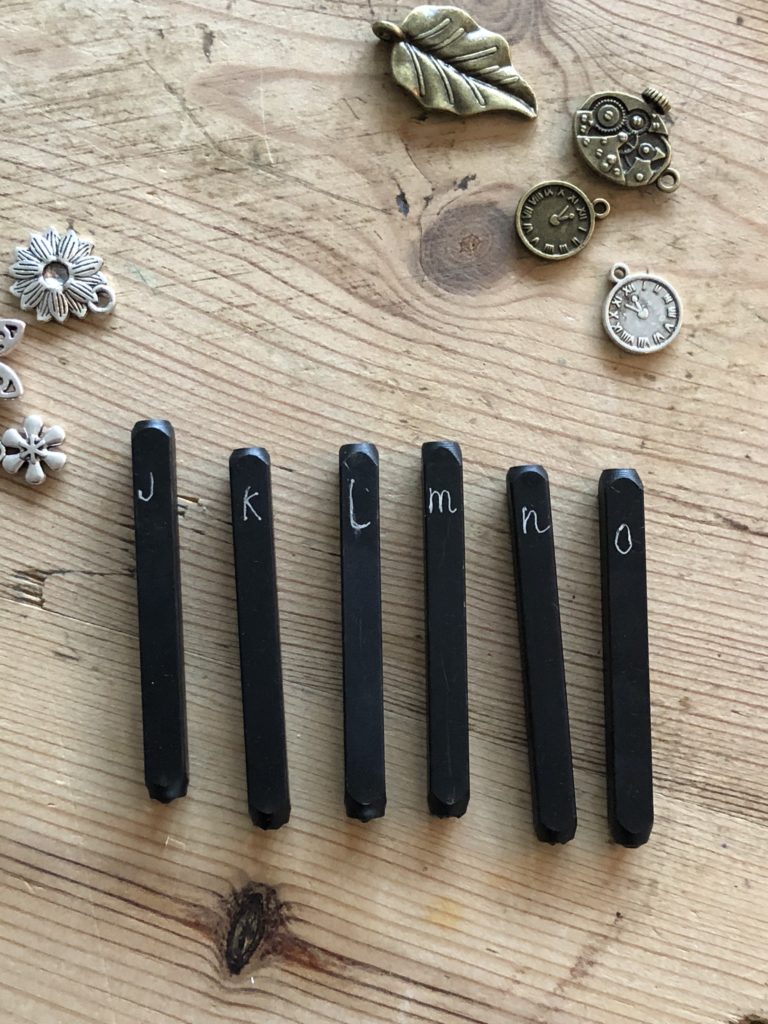
So, this week I am showing you how with my metal stamping kit I made hanging decorations to adorn gifts for friends. Hostess gifts, house warming tokens, that sort of thing. Top Tip: Before you begin, mark each of the stamps with the letter they represent in white marker pen, in the direction the letter will stamp onto the metal, does that make sense? Not doing so results in frustrating mistakes and waste. I should like to claim the credit for that nugget; no doubt you have worked out who can though.
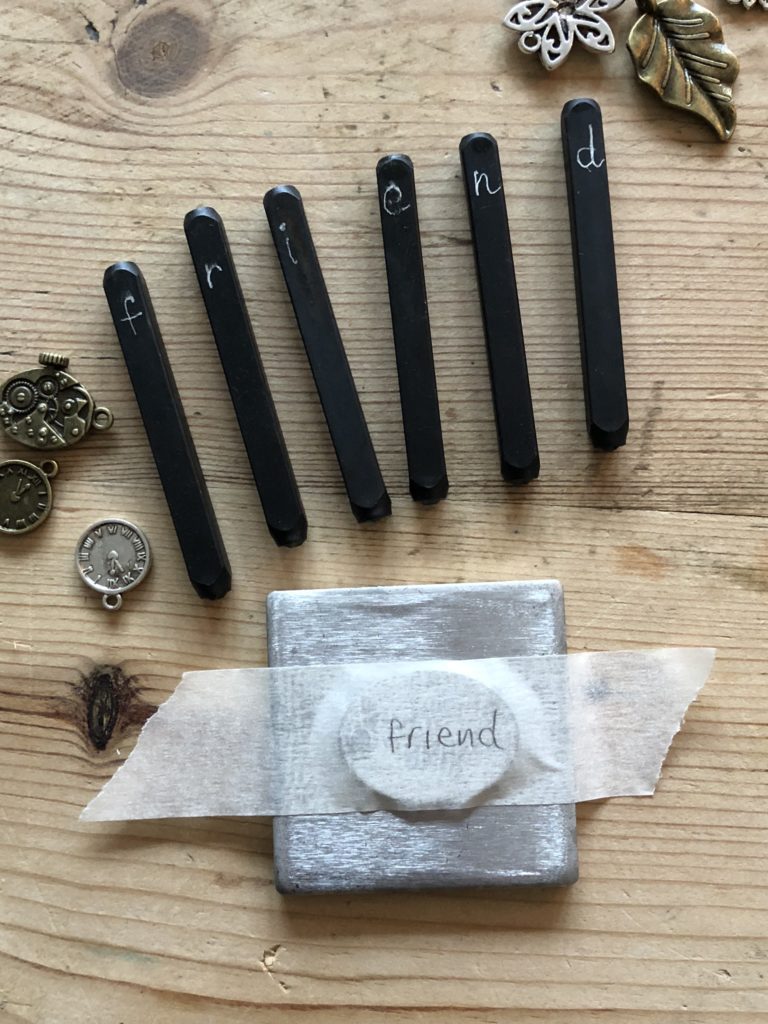
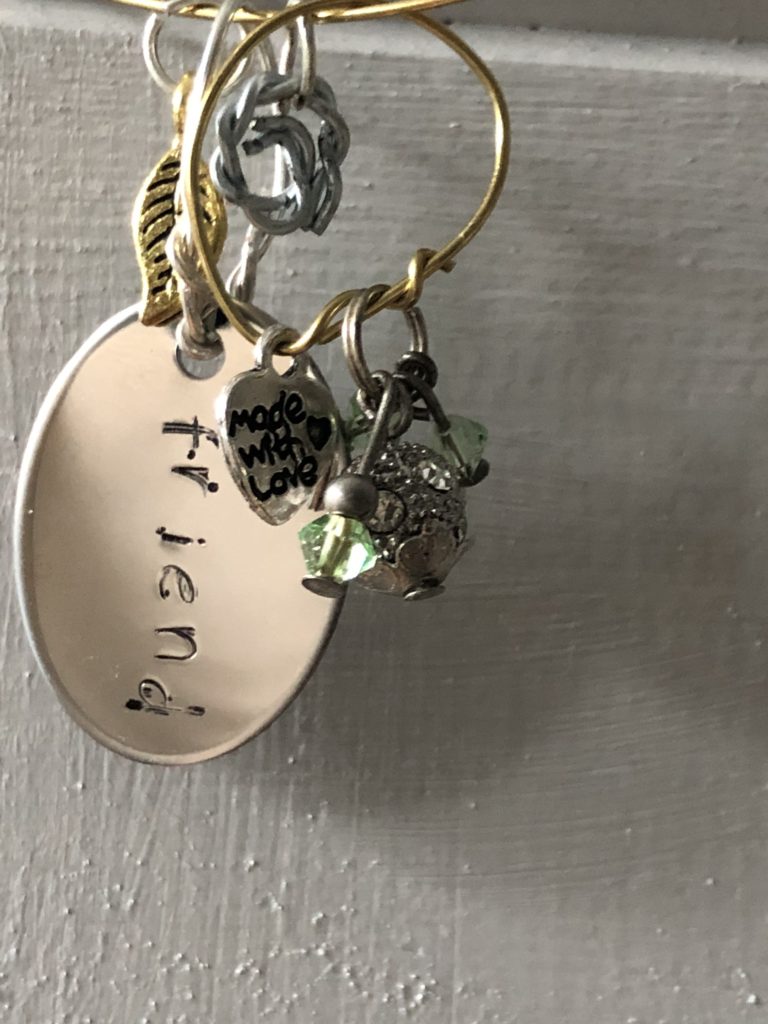
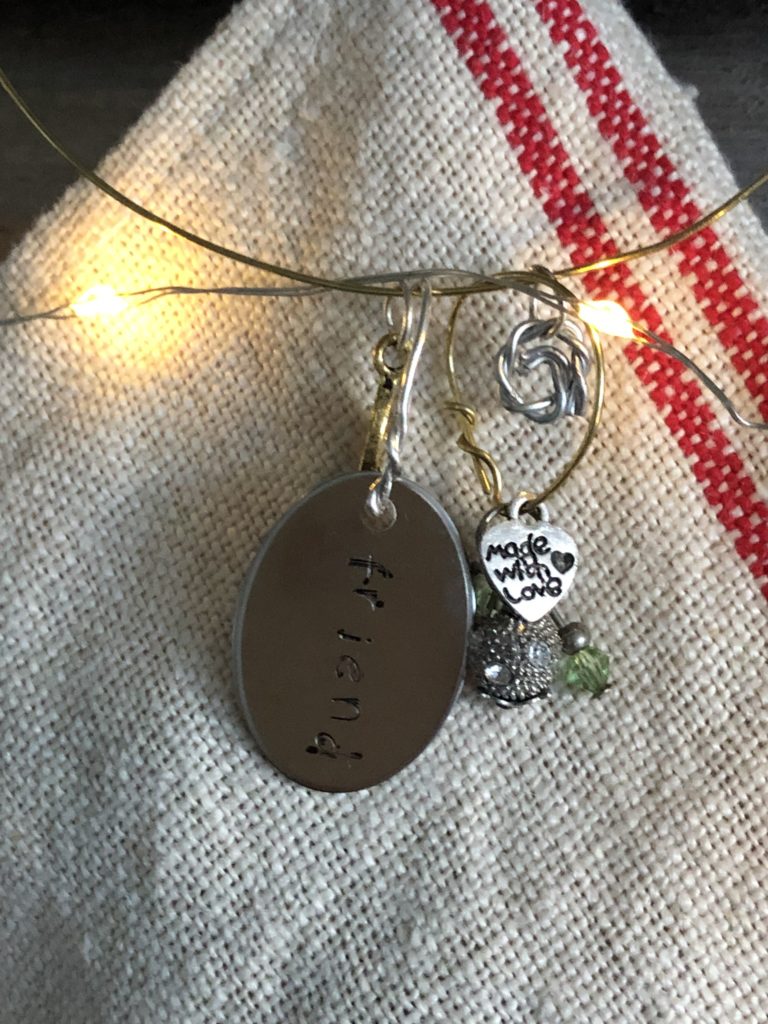
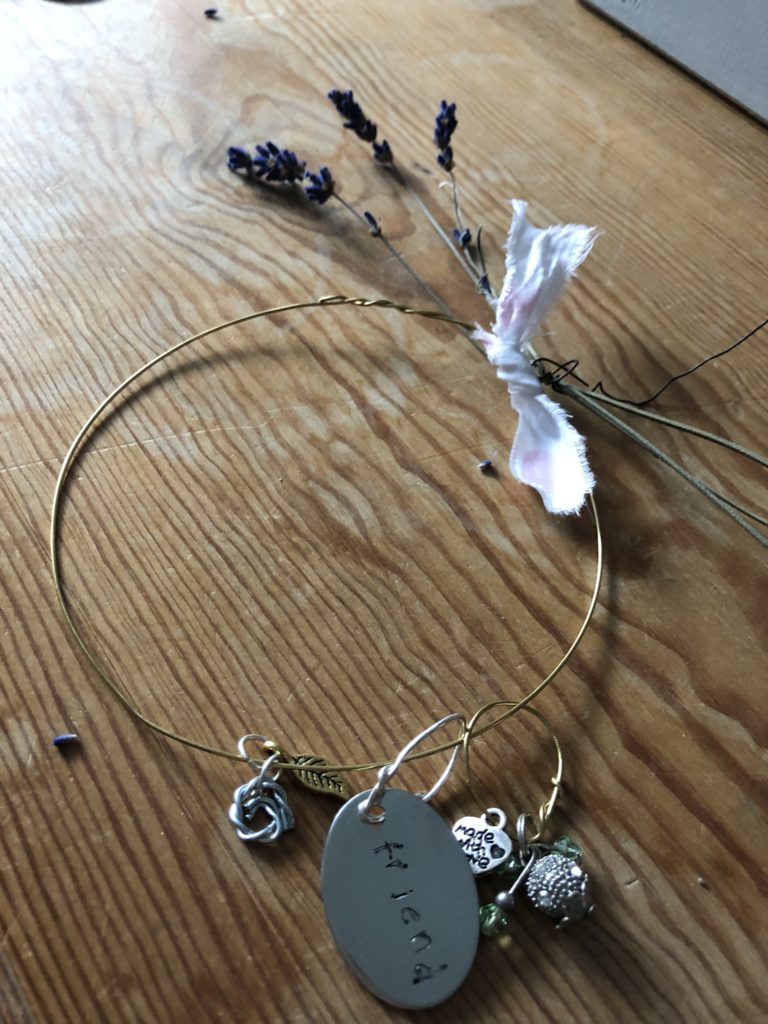
I’ll talk you through the friend metal tag I made first. A tutorial on Pinterest suggested taping the metal disc to the stamping block with low tack masking tape and then pencilling on the word you will stamp. How hard you hit the stamp with the hammer, is entirely dependent on the type and thickness of your metal. This tag was fairly thick therefore I struck fairly hard. A rather enjoyable exercise I thought. The Spotty One was a little disgruntled and left the room to join Mr M in the garden. I hit each letter three times being careful not to move the stamp off the metal tag, although I did ‘lean’ the stamp this way and that to make sure the entire letter left its mark. This method worked well although there was a little too much glue from the masking tape left on the disc which I wiped off with this.
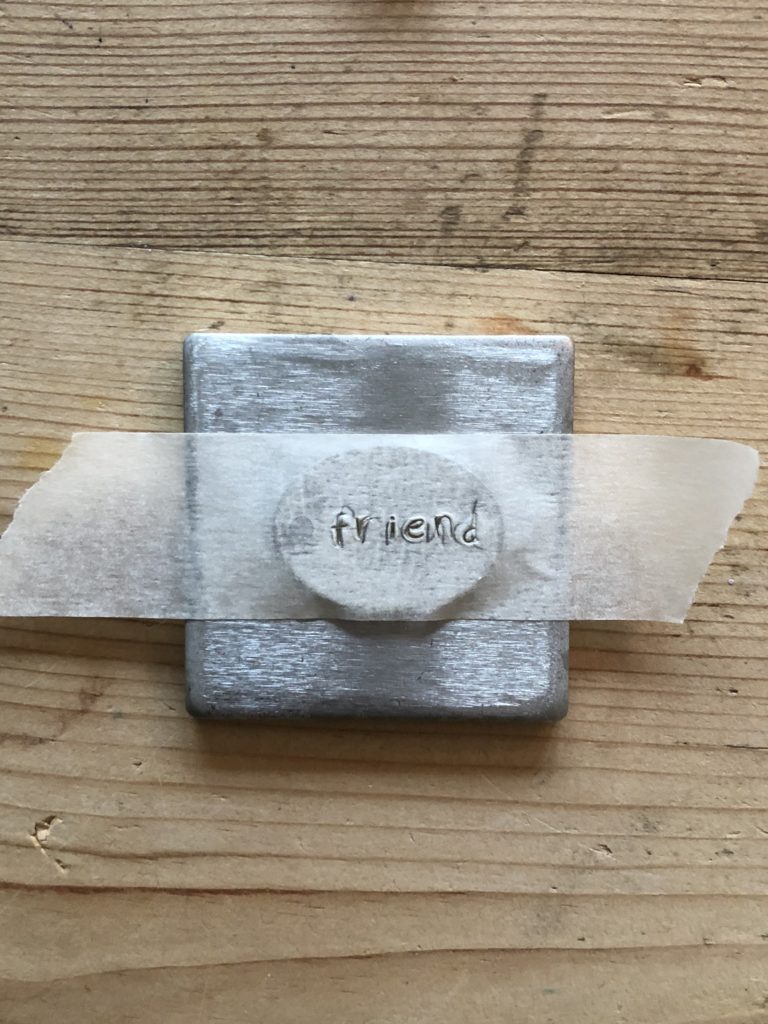
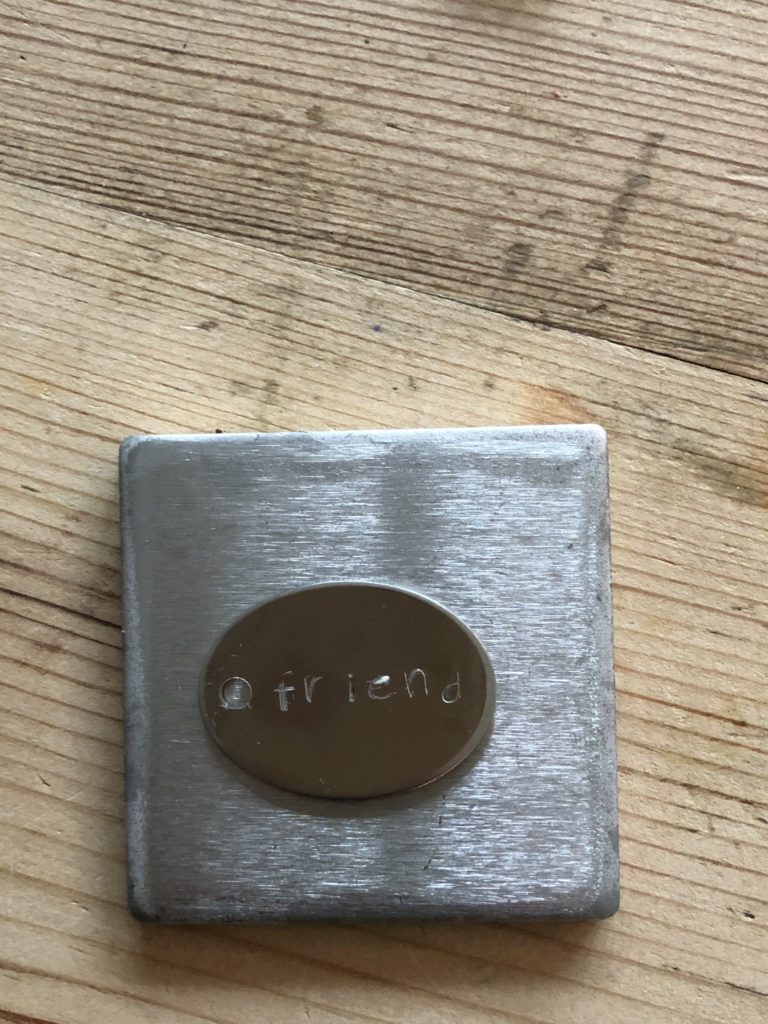
You can leave the tag at that or if you wish for your word to stand out more, you should cover the entire word in a permanent marker pen. Top Tip Two: don’t choose now to make that cuppa. Wipe the pen off straight away and if there still remains too much pen for your liking, wipe with the rubbing alcohol until you get to the look you are after. You’ll see how it turned out further down the story.

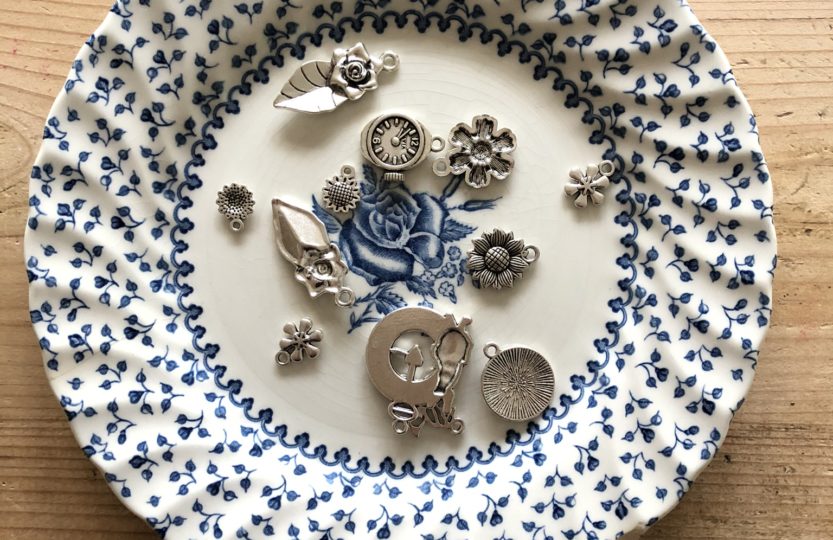
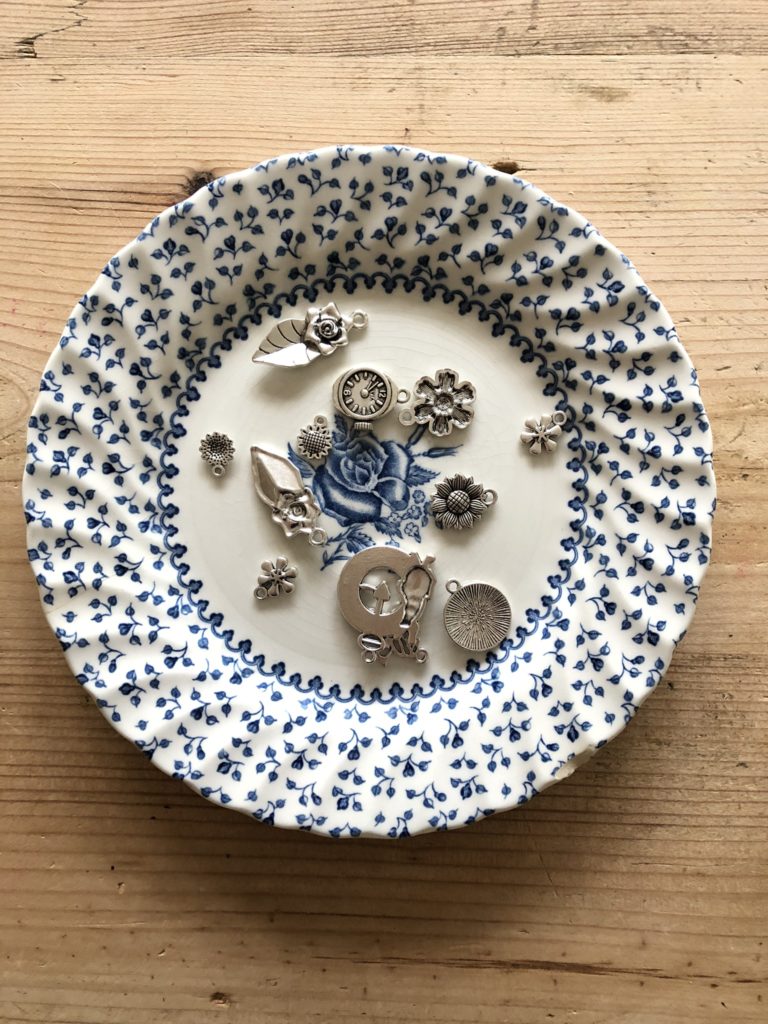
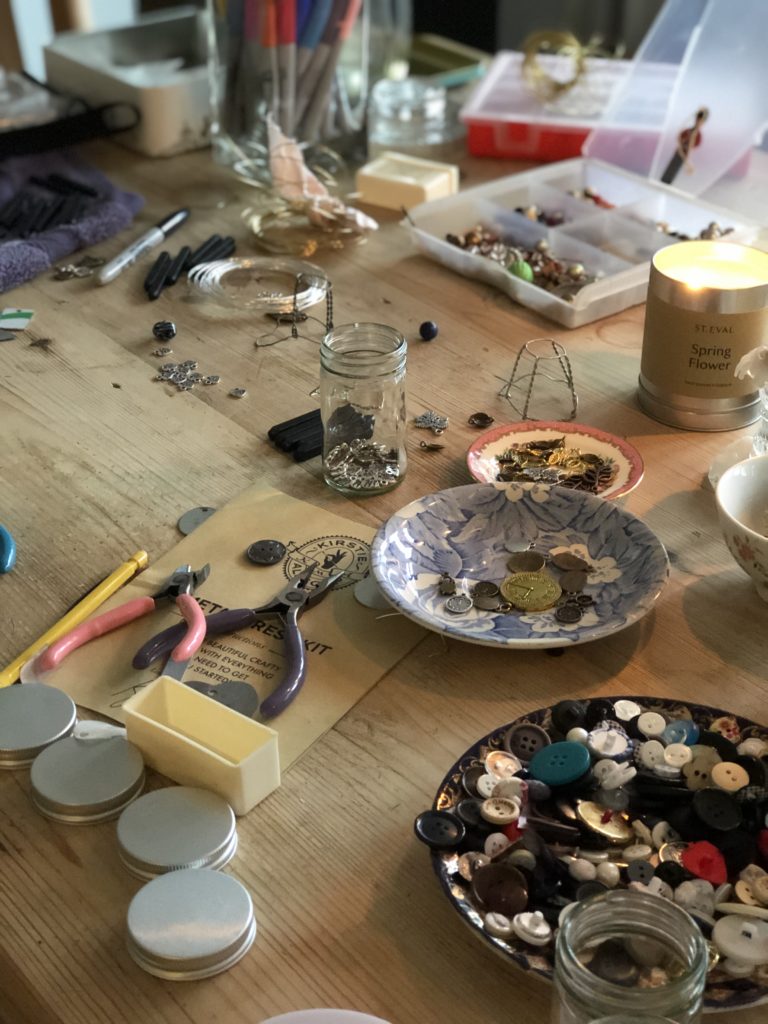
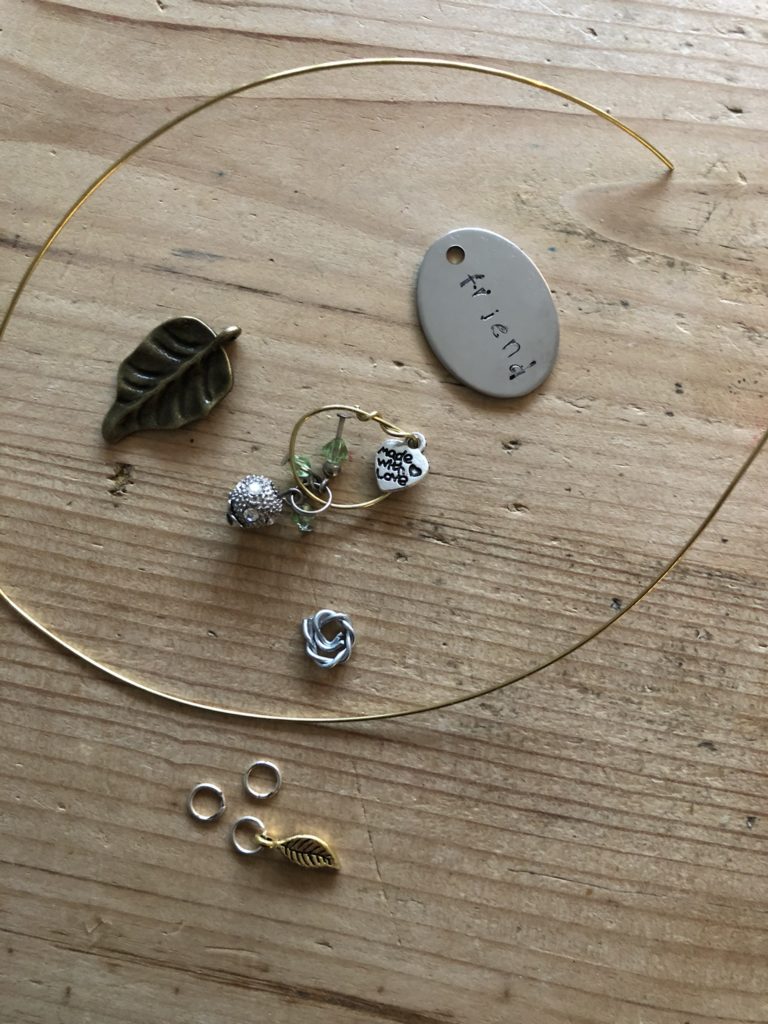
Now gather together everything you might like to add to your hanging decoration. I may have said this before now, for this next stage you are limited only by your own imagination. You could maybe buy some very inexpensive leaves and clocks as I did. Or you could choose to use jewels and trinkets from broken necklaces in your stash. You might raid the button box or maybe add a ribbon or piece of pretty string. In my desire to keep it real, I didn’t tidy up the craft table for its photo shoot.
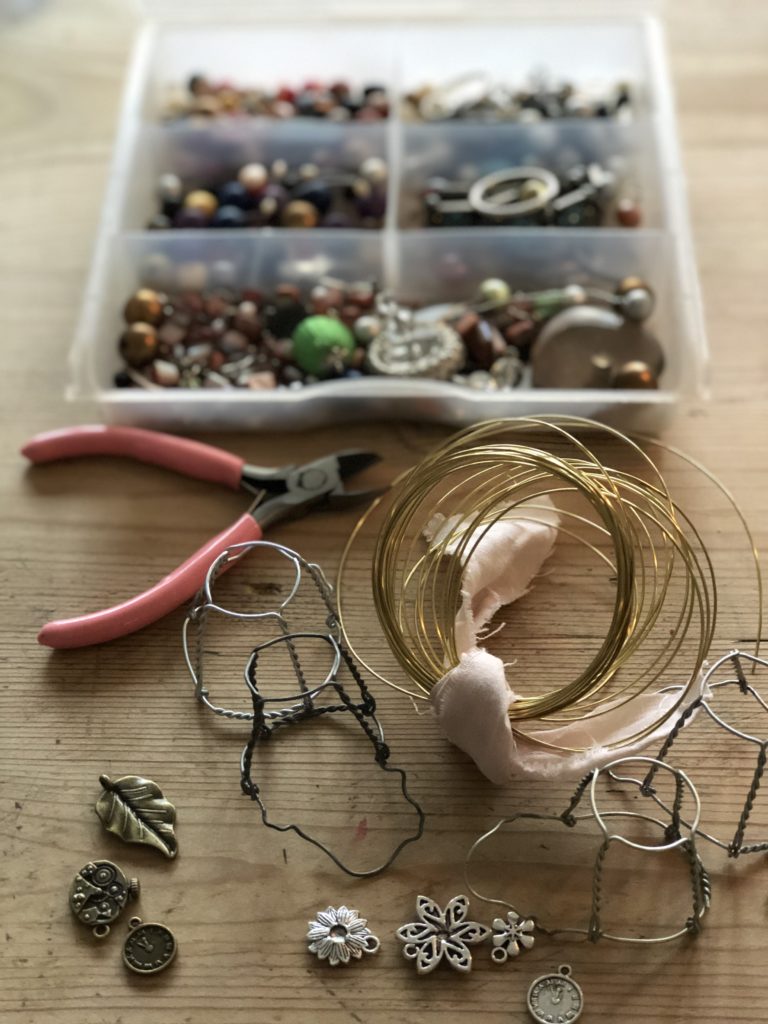
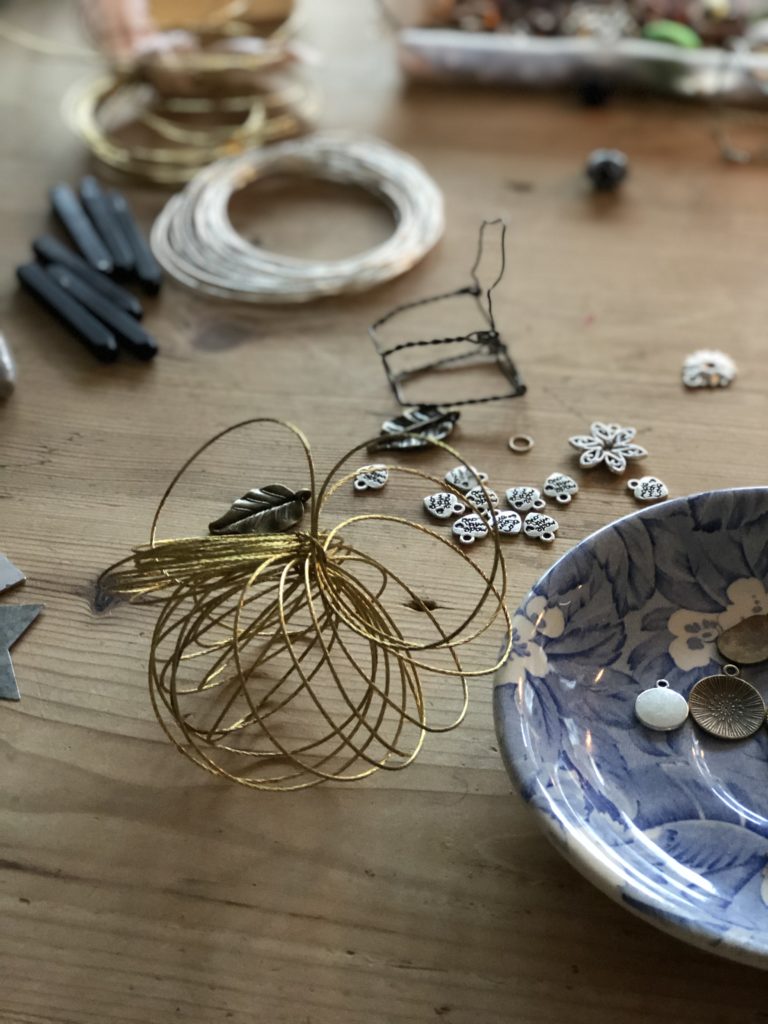
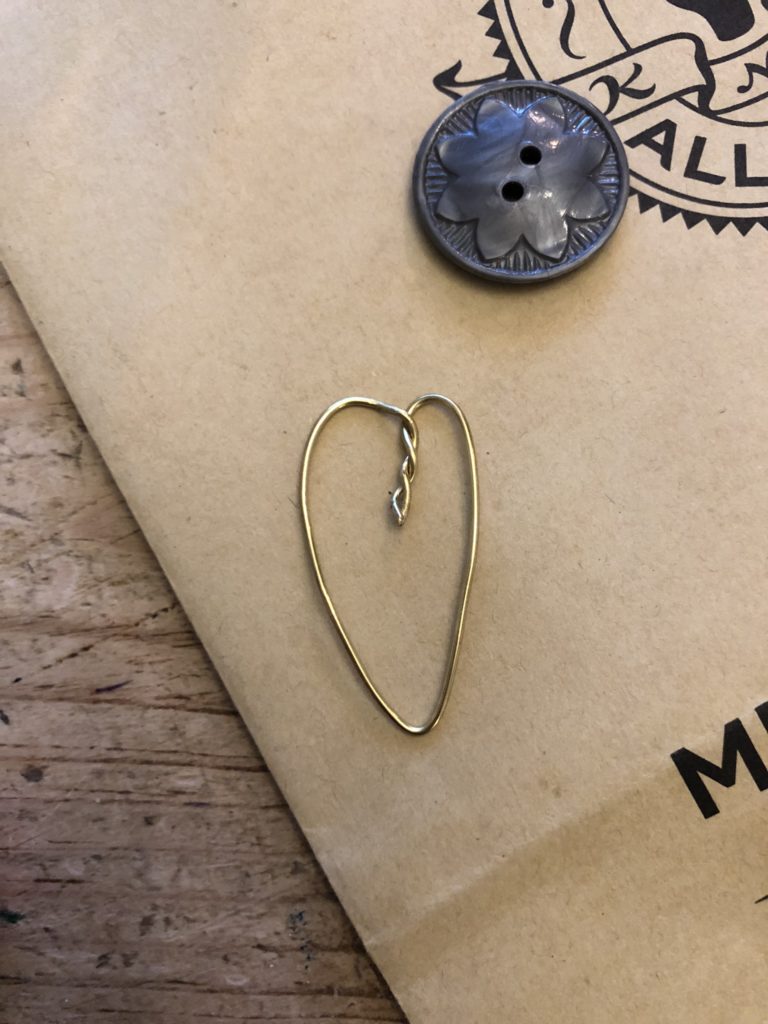
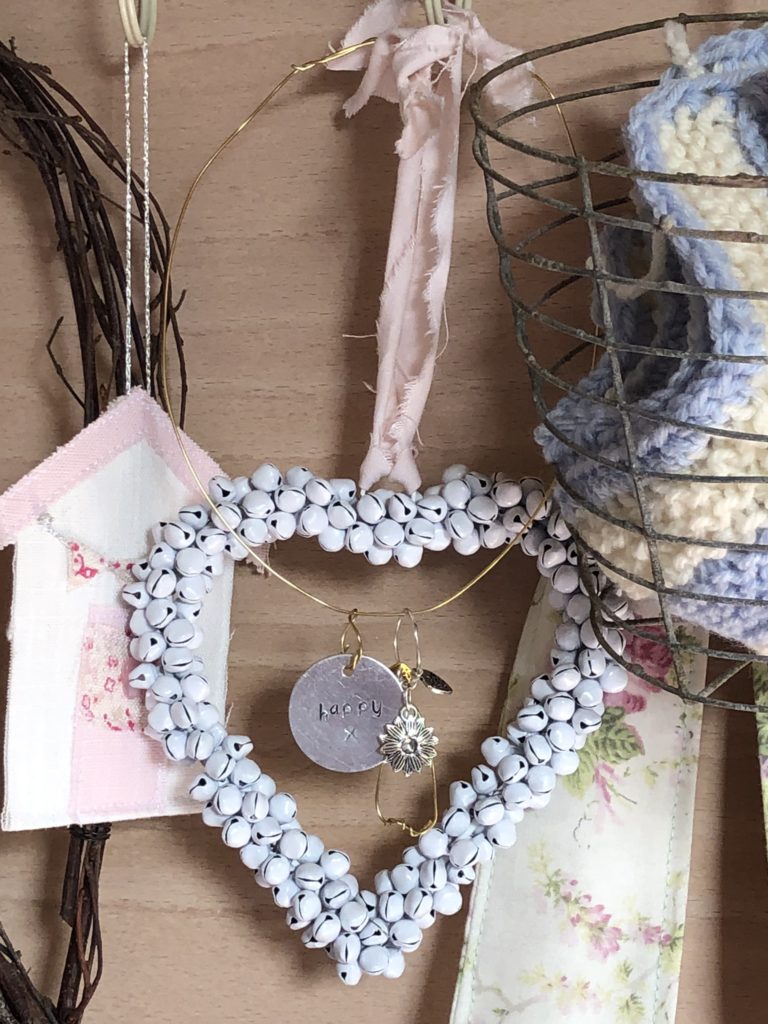
I put to good use these pastel pliers and snippers (another thoughtful gift, I shall keep him) by twisting and cutting a selection of wires for embellishments. No need to splash out on new wires if picture wire or something similar is plentiful in your garage. Mixing gold and silver wires and embellishments added to the design for me. You could always choose one or another if you prefer. I made the heart inspired by the lovely Julie @homeandvintageliving who makes beautiful wire art. And the tiny silver coil you see in the second photo below, is simply made by twisting a section of nothing more than a champagne cork casing. I save the oddest things.
Cut a piece of wire depending on the size you would like your decoration to be and simply add as many of your chosen pretties as you like in whatever manner you’d like them to dangle. I also used a few extra tiny ‘O’ rings, the sort you get in jewellery making kits, to offer variations in the lengths of my danglies.

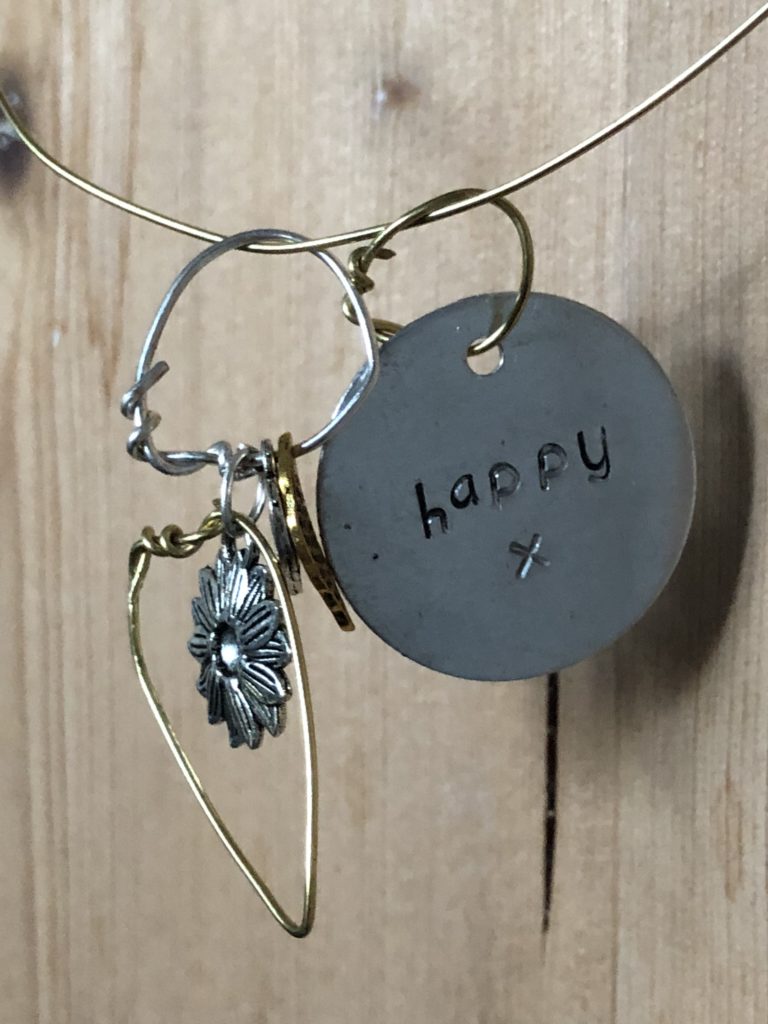
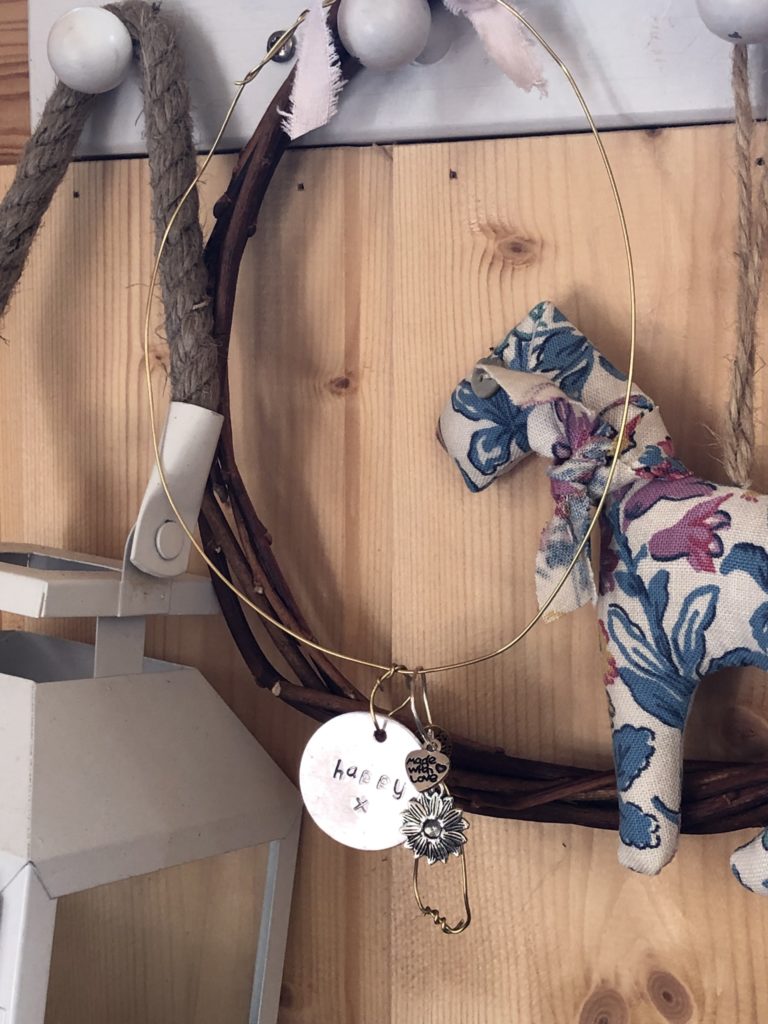
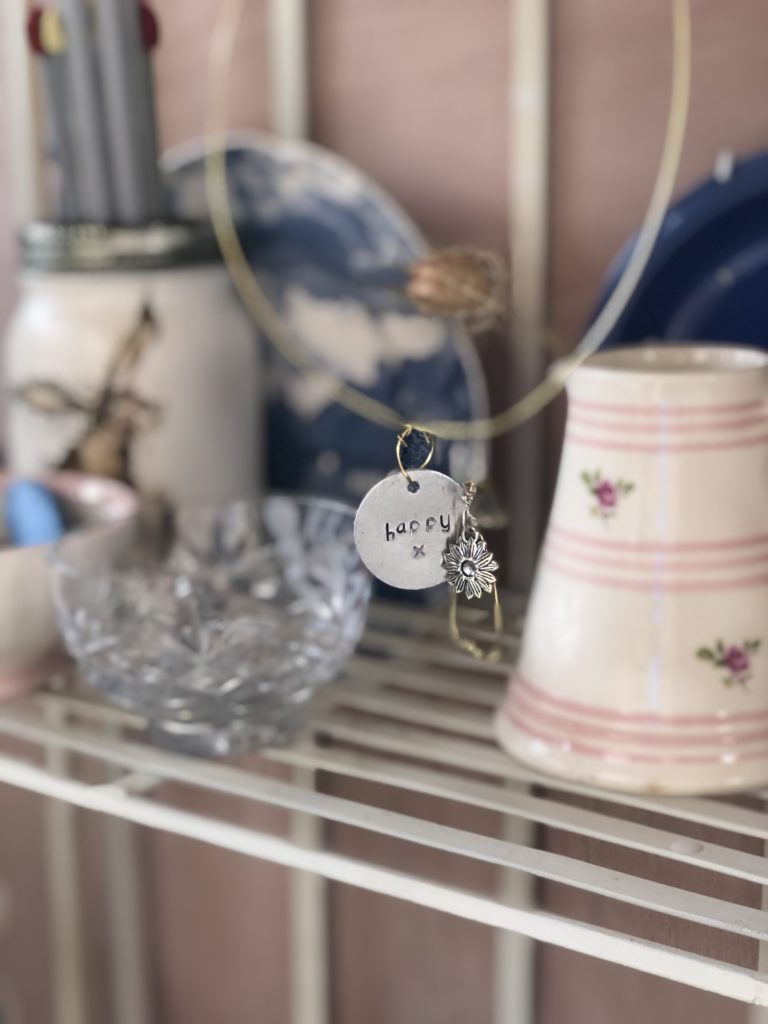
The happy stamp I did without writing on masking tape first, to see if there was much difference. And I was a little less exuberant with the pen this time.
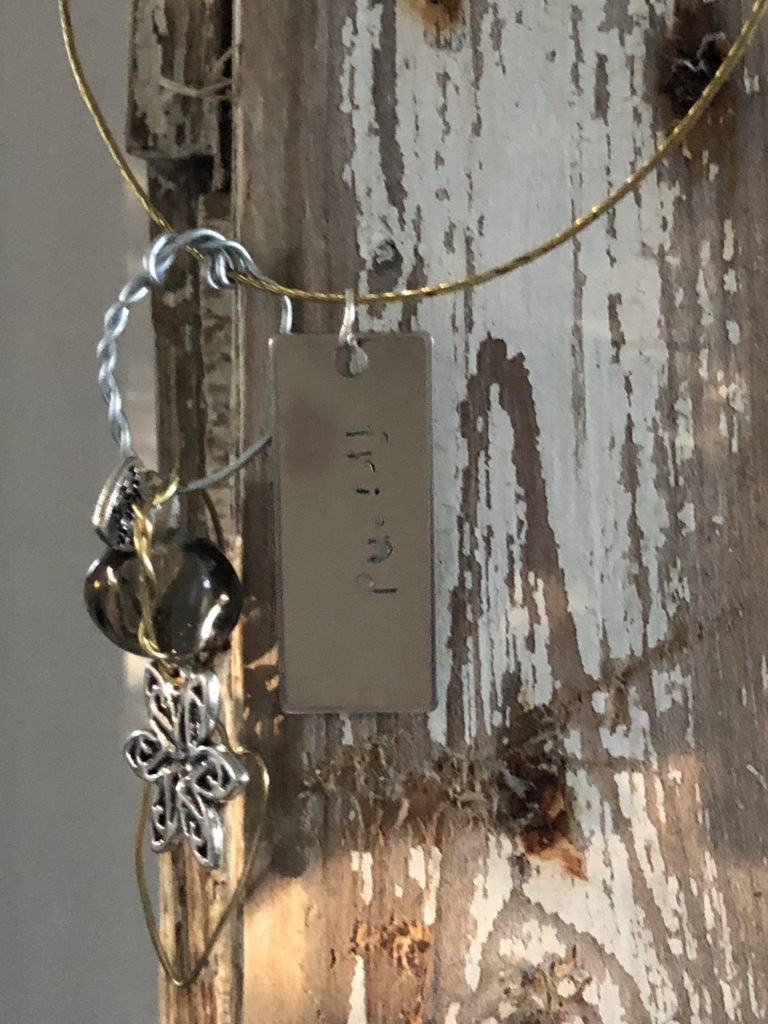
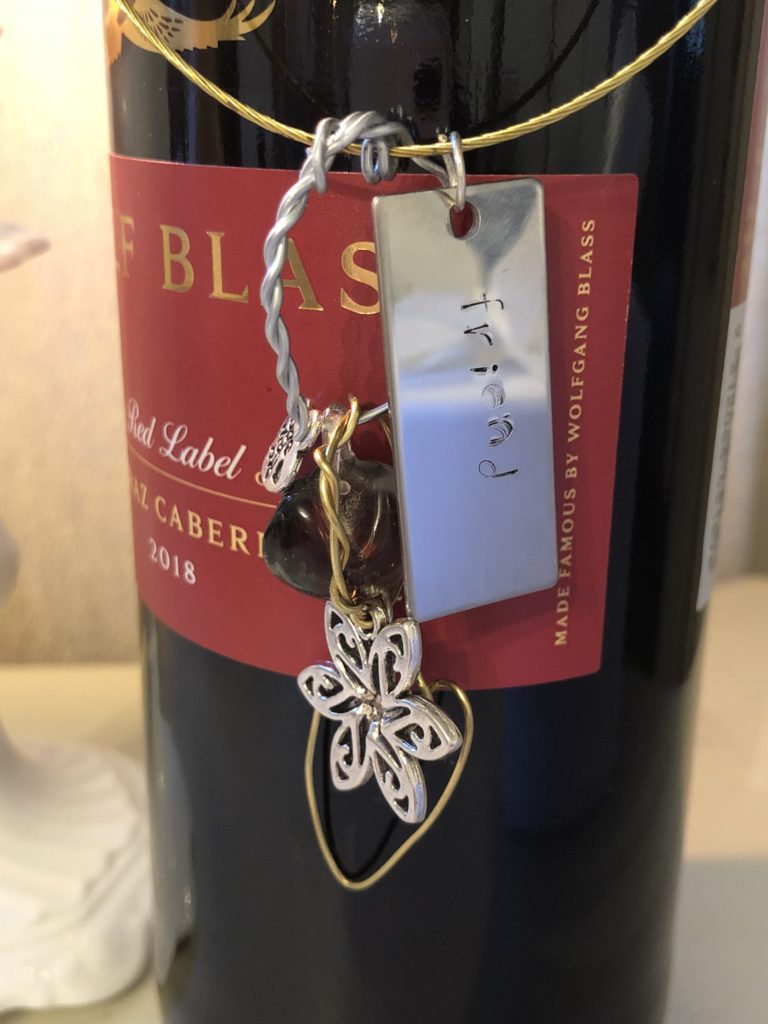
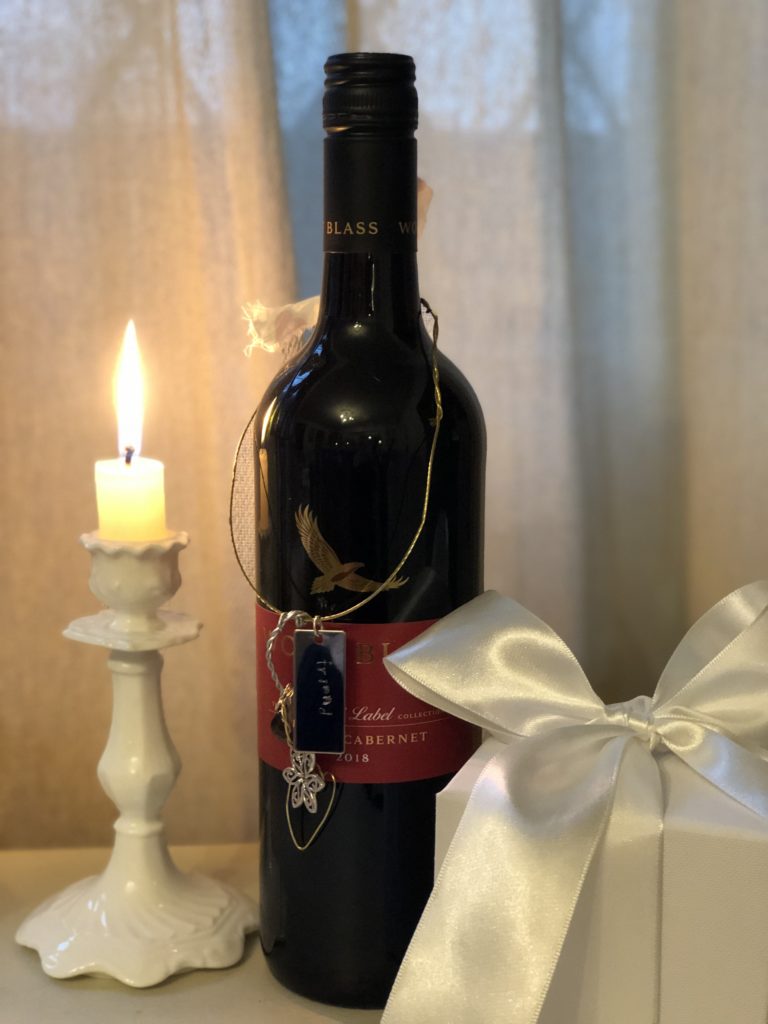
I chose a large decoration to hang around the neck of this gifted bottle of red. My hope is the decoration will find a place in my friend’s home long after the wine has been consumed.
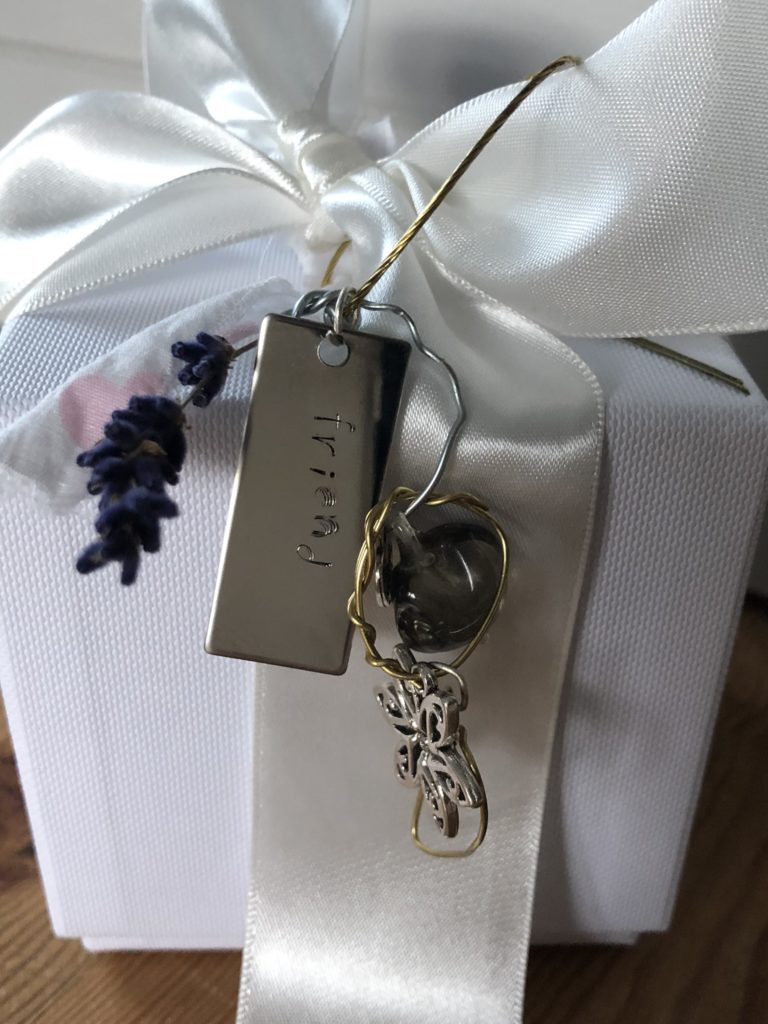
And here’s the smaller decoration finished and sitting beautifully on this candle box together with its oversized bow and another version of friend in the bigger size.
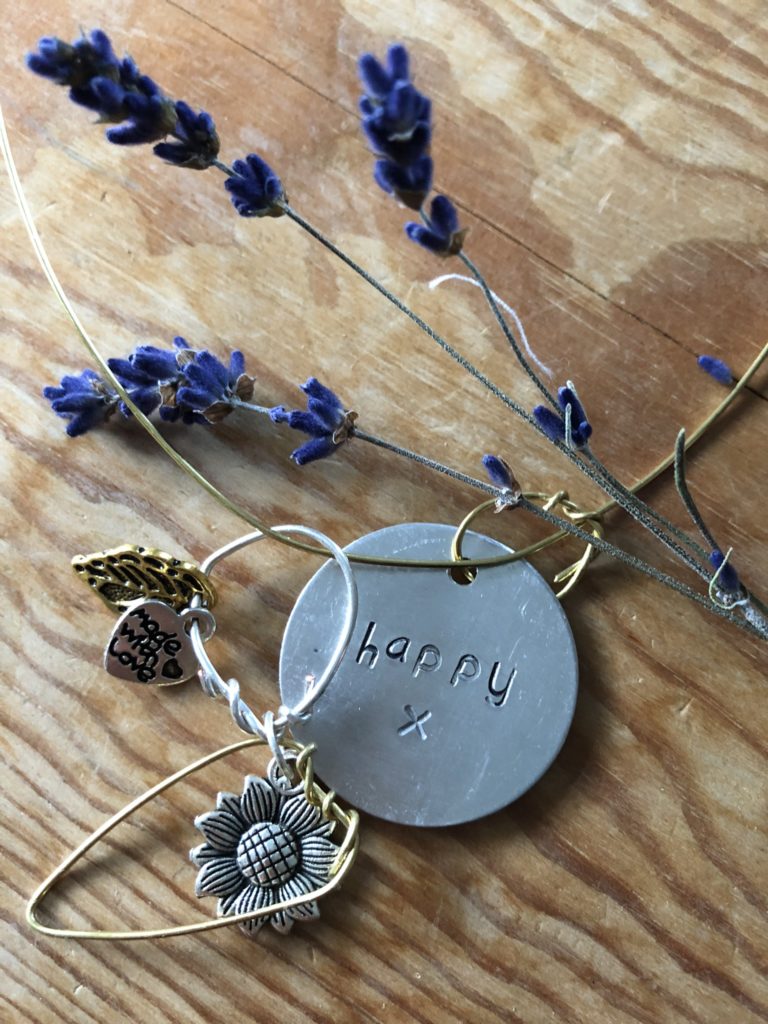
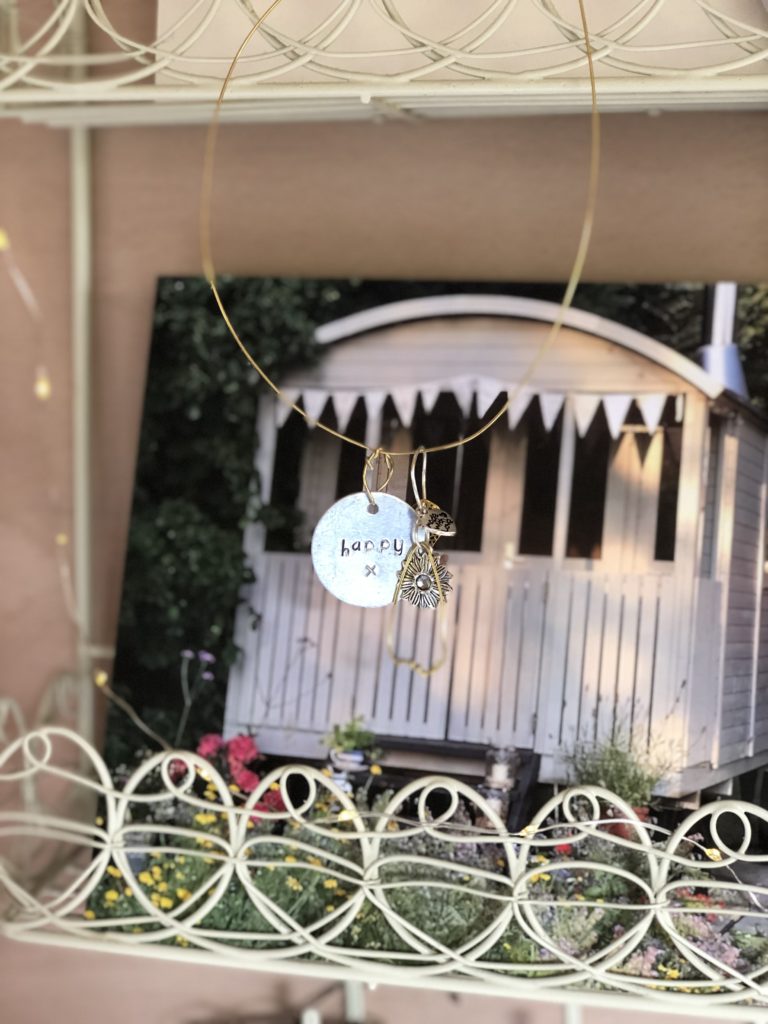
I haven’t parted with the happy decoration. It’s doing what it’s supposed to do and hanging decoratively and appropriately in my happy place at the moment. Next week we take a break from crafts as I bring you an up-cycle with a difference. Whatever you do this week, be happy… x


Dear Claire, I have had such a busy week and neglected to check my comments box as I would ordinarily do. Thank you for not one but three kind messages. I am so happy to hear you enjoy reading my stories. I do like to share a little of our family happiness. In real life friends are lucky enough to share a little of one anothers lives. My friends who join me each week on the blog know little of that side of me and I hope to update them on the nice bits and share a little of my past if they are happy to read it x
A lovely read again Helen – sorry it has taken me soooo long to leave a comment about how much I love your writing. How gorgeous it is to hear about your family Christmas present exchange and explore metal stamping with you … it does look very addictive. I love also how you celebrate the saved and gathered items you “rescue” from recycling or other throwaway places (apparently I do not need any encouragement in this regard!)
Happy new week
xx
Claire
Thank you lovely and no I would not!!! I feel sure we must have polished that off!x
A lovely post Hels, love the main photo – very pretty! And I love my decoration would you beleive me if I told you it is still wrapped around that bottle of full wine !! Xxx
That feeling when you check your comments box and your mate from down under has left a message…thank you lovely one and I am so pleased you now have a gift idea for you friend. The ‘old boy’ continues to have his uses and yes, we are all good thanks, will email this weekend and update you on all the boring stuff. Huge hugs from windy and not very warm at all Blighty x
Hello hello 🙃
From down under
That’s charming, useful and good looking
– not just the beautiful ‘objets’ you have created but also the old boy himself .
I know a crafty friend who would appreciate a stamp starter kit as a pressie . Thanks for the idea for her 60th
Hope all good with the family as you start Spring warming
Xx Sue B
Oh yes, you and me around the craft table would be a perfect day again… I wonder if we could rope your brother in too… that would take me back! So glad you like the read darling, thanks for being here x
Hello Dee, welcome and thank you for your lovely comments. The bottle of red went down a treat and I think this is a craft I may be tinkering around with for a while to come x
Thank you Sally for your kind words and birthday wishes! And many congratulations to you to, I hope you’re enjoying every minute!x
Once again Helen, brilliant ,I love it.
A very happy birthday for tomorrow, A little bird whispered .x
I have never heard of this craft either, but how fascinating and what a very thoughtful gift! I can definitely understand your reaction as well.
I love the dressed-up bottle of red.. What a great way to add meaning to a simple gift.
Ah wow I love these, you’re so clever!!
Dad really is so thoughtful and keeps his surprises very quiet and far away from little miss big mouth!!! :0
Loved this very nostalgic and I think I’d really enjoy stamping maybe I can have a go?! X
So glad you enjoyed the read Karen. Yesterday saw me saving a floral tissue box from the recycling preferring instead to save it for a rainy day craft… call for help! Have a lovely week x
Very amusing as ever with some really good tips! The trouble is, now I’m going to save wire cork casings which I’ve never thought to do before. Inspired! xx