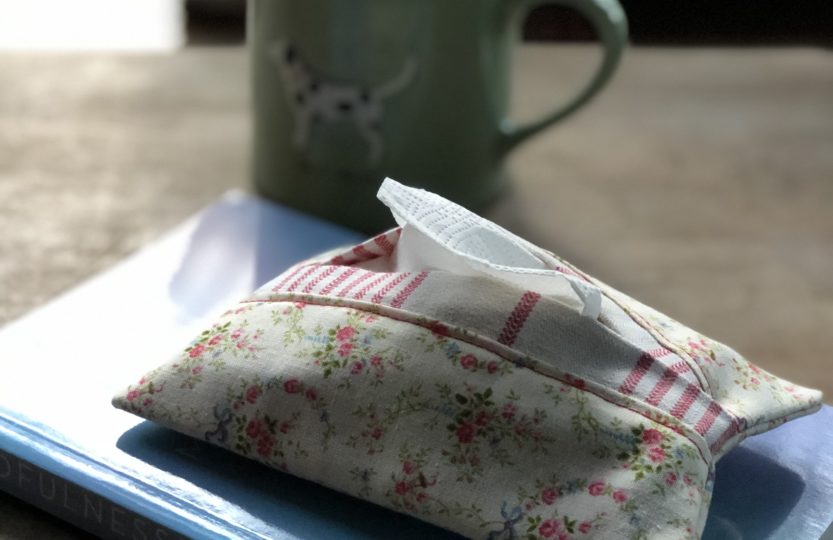
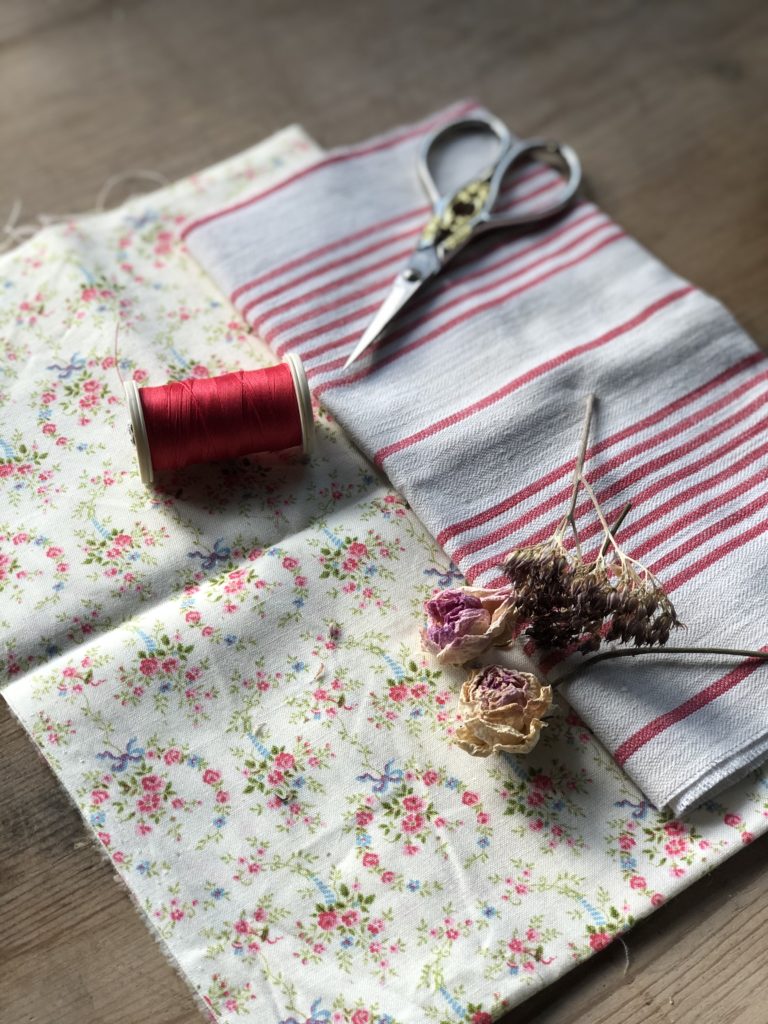
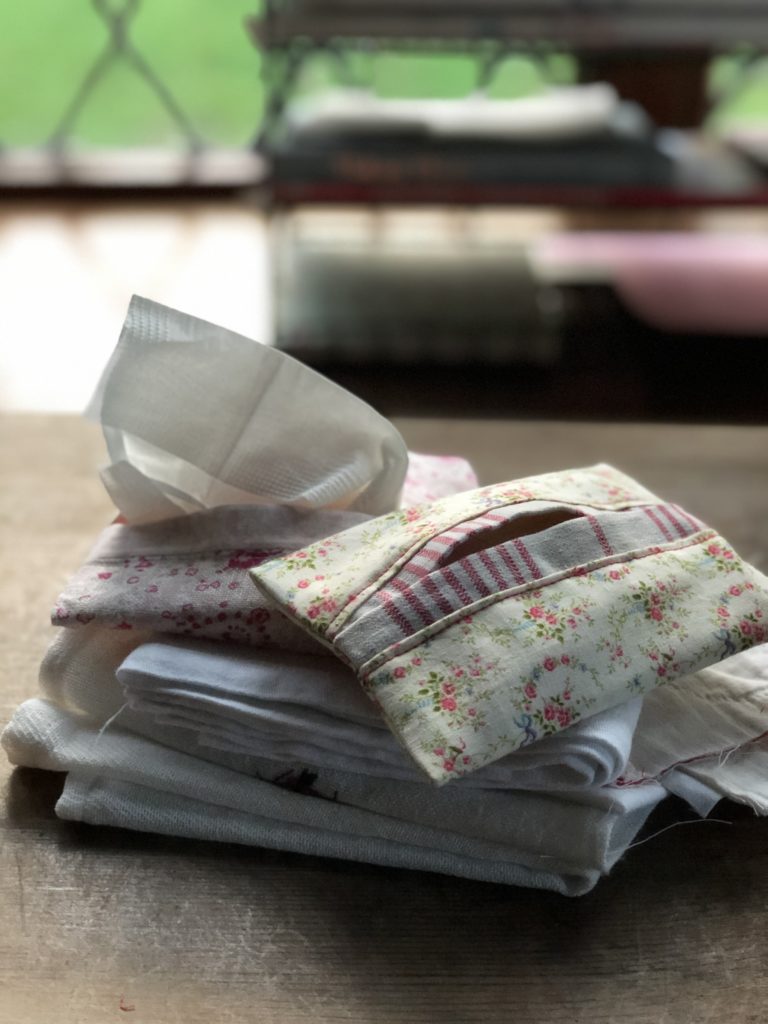
I recently met with my wonderful friend Helen, who you may know from the beautiful home and garden Instagram account @home_to_roost. We enjoyed a delicious lunch and a good old natter. “Before I forget” she started “I wondered if you could use these.” Knowing me well, Helen offered several beautiful scraps from her fabric collection. And indeed, I knew I could use them well. Here in my weekly blog, I aim for a little escapism for us all and rarely do I enter into much controversy or discuss what’s in the news. However, the all too familiar Coronavirus headlines cannot have escaped any of us in recent days and government and health officials continue to urge us all, to up our hygiene game and bin those tissues once used. Join me today as I offer up a pretty and functional solution for carrying those disposable tissues around in our pockets and handbags. This week I have a surprisingly simple tutorial for you as I show how to sew a fabric pocket tissue holder…
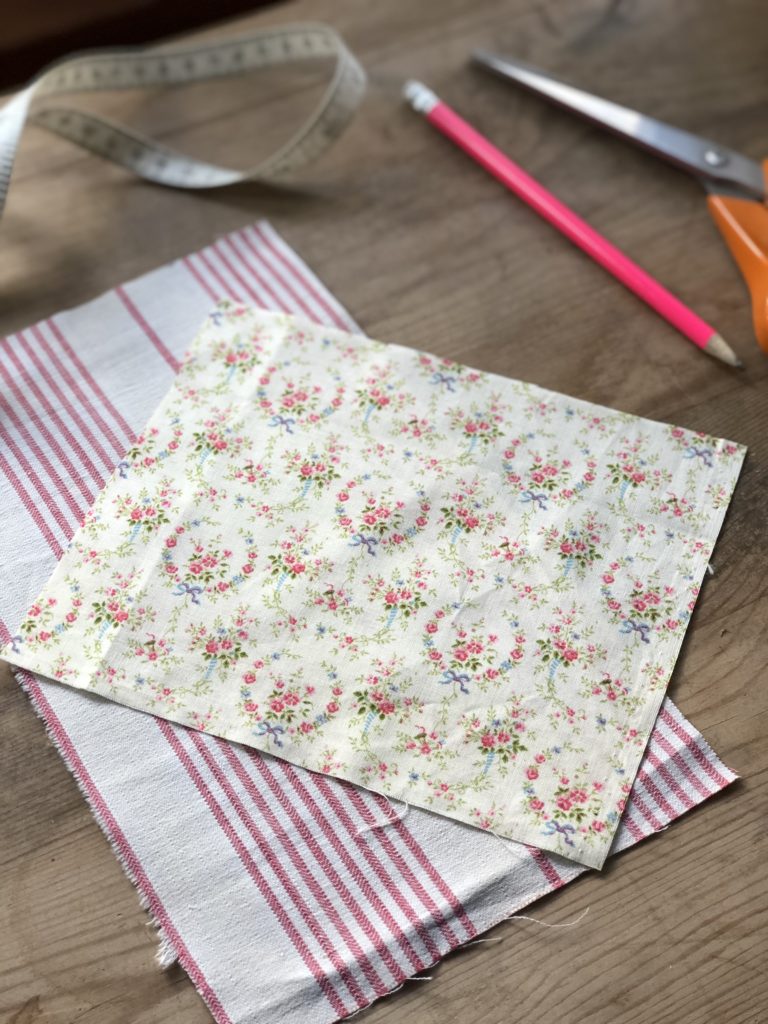
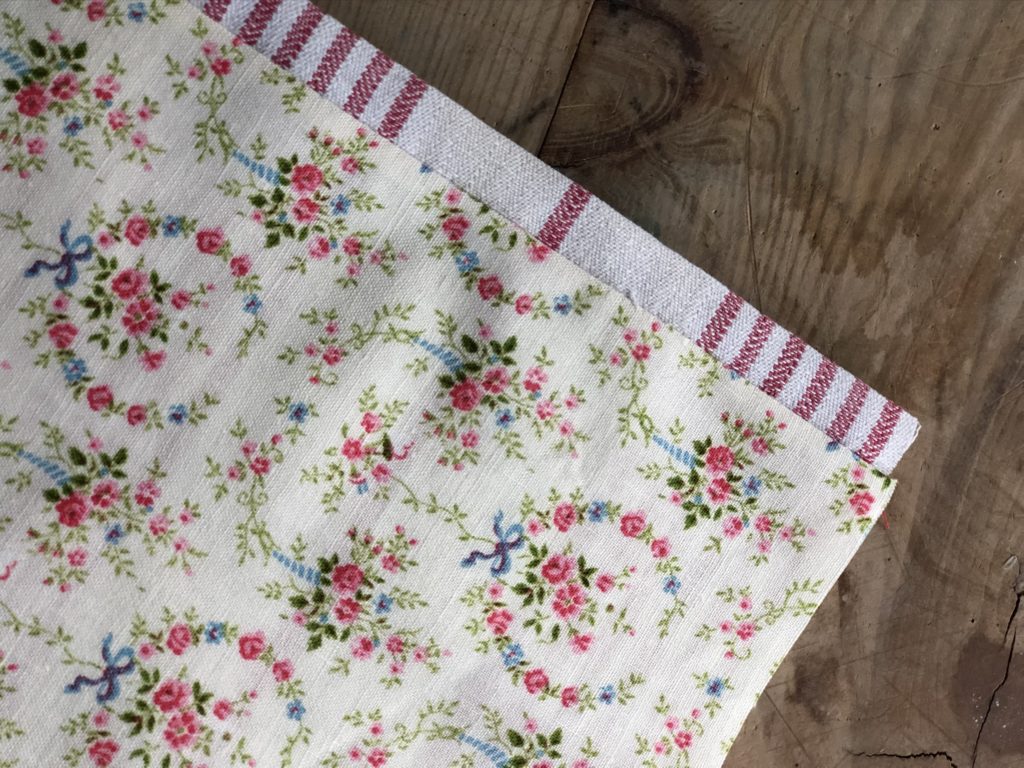
Begin by selecting two pieces of complimentary fabric for your fabric tissue holder: One piece will be the liner, the other is the outer fabric. I tried a couple of sizes and settled on, nineteen by sixteen centimetres and twenty-three by sixteen centimetres. Your tissue holder may be whatever size you like or whatever size best suits your disposable tissue pack. Here is a Pinterest search where you will find a great many ideas on how to make a travel tissue holder and in the interest of transparency, here are a few tutorials on my page which I found useful.
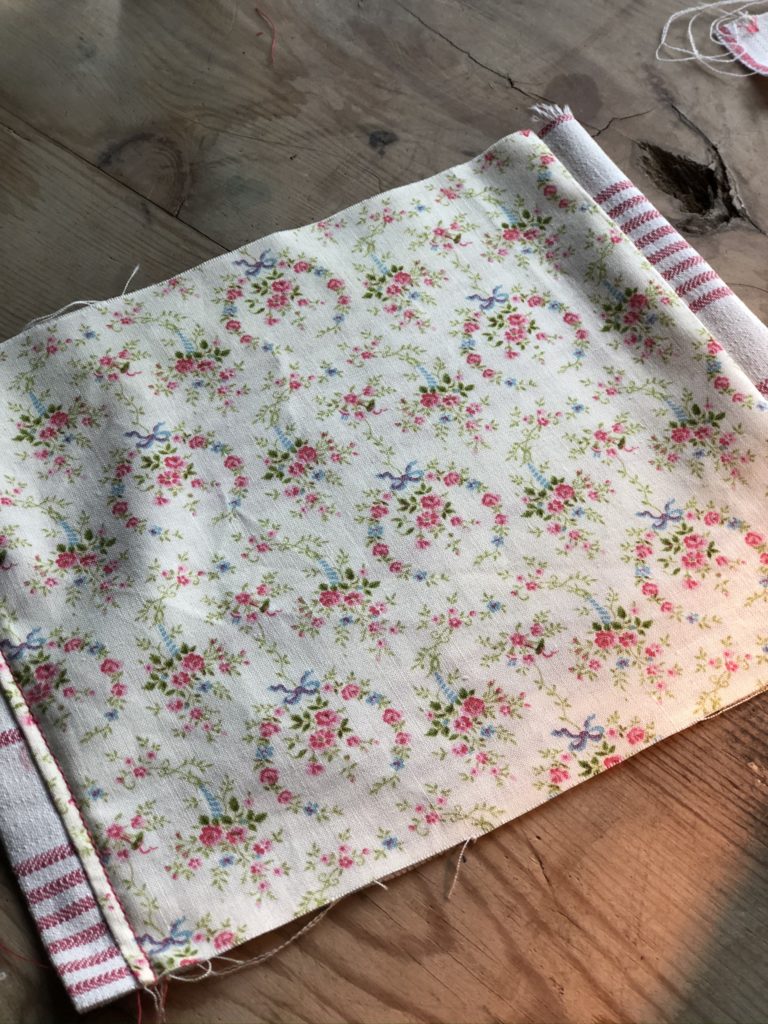
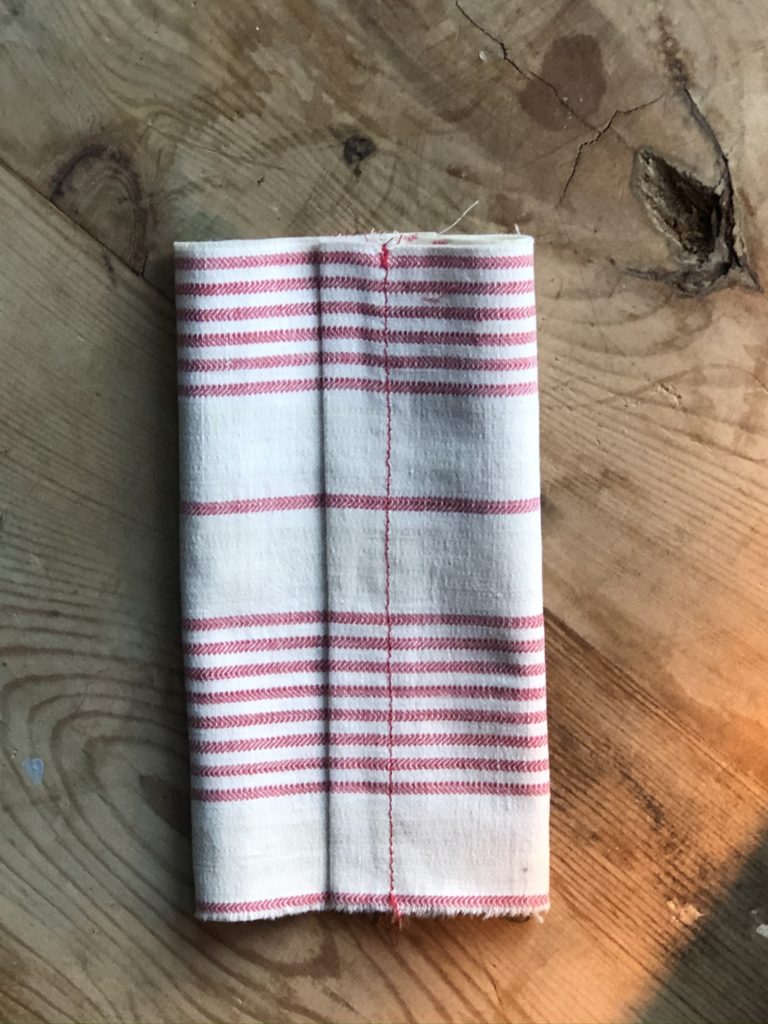
With the right sides of the fabrics facing, stitch approximately a half centimetre seam allowance along both short edges. Once joined, it will appear you have way too much lining fabric. Don’t worry, once both edges are stitched turn the fabric inside out, so the right sides of each fabric are showing and press flat with your iron. This will give you approximately one centimetre of lining fabric now showing on each short side. These edges will eventually form the opening for your tissue holder.
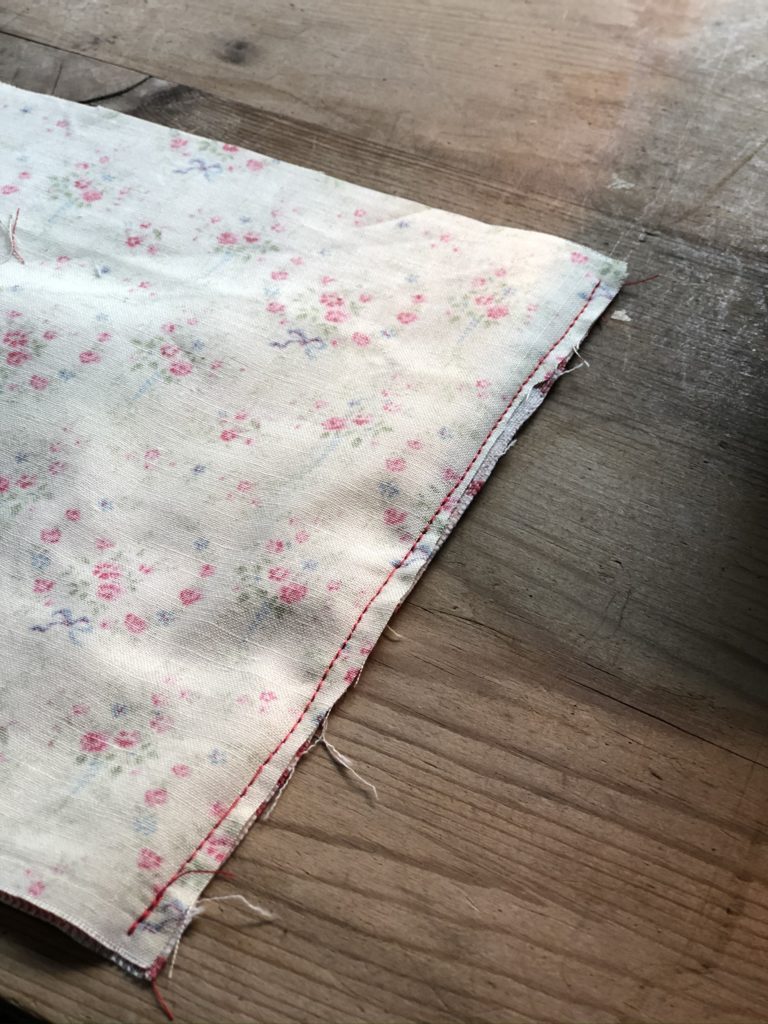
Then stitch approximately half a centimetre in, on the right side of the top fabric of both edges like this….
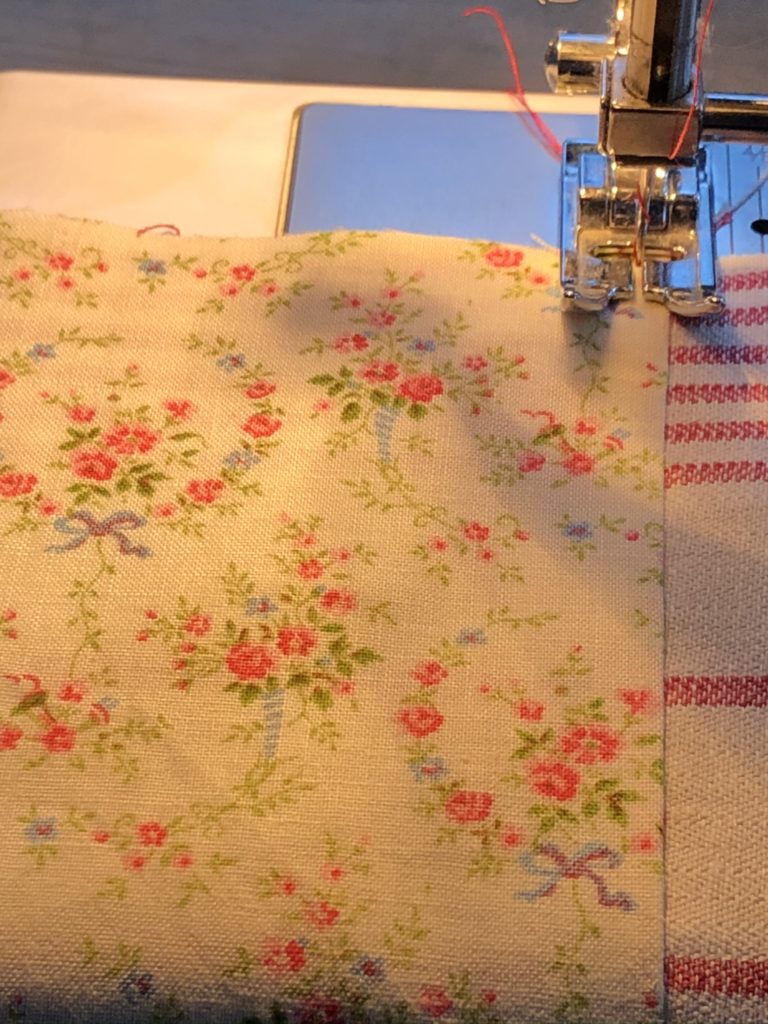
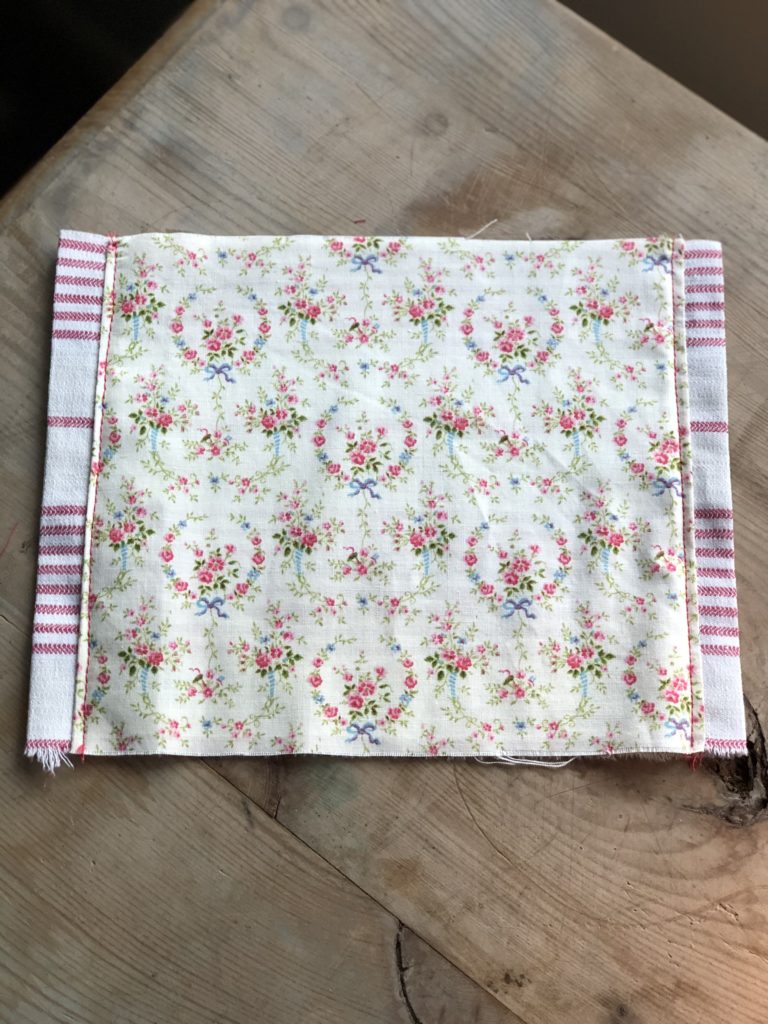
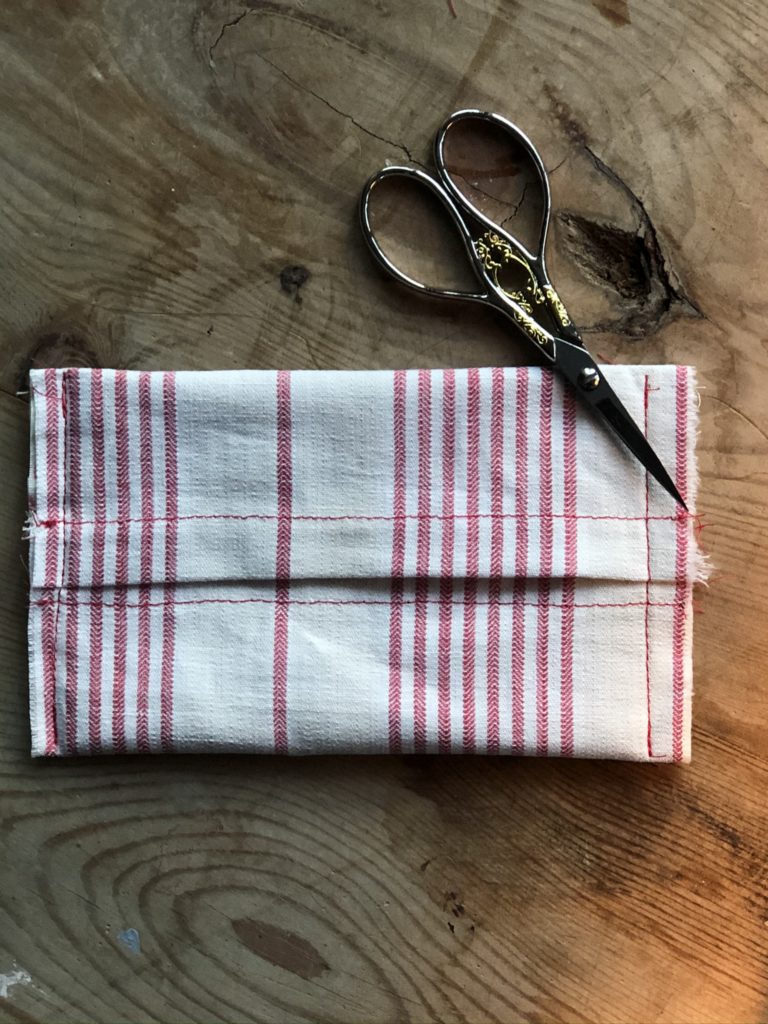
Keeping the outer fabric upturned on your work table as in the last photo above, loosely fold both short edges into the middle and if you’d like your tissue opening to overlap (when finished) lay one ‘edge’ on top of the other as shown below. Alternatively, for no overlap, simply fold the short edges to meet in the centre. Remember to take your initial measurements into consideration when deciding this step. Then stitch together each short side allowing approximately a one-centimetre seam allowance as shown in the second photo below.
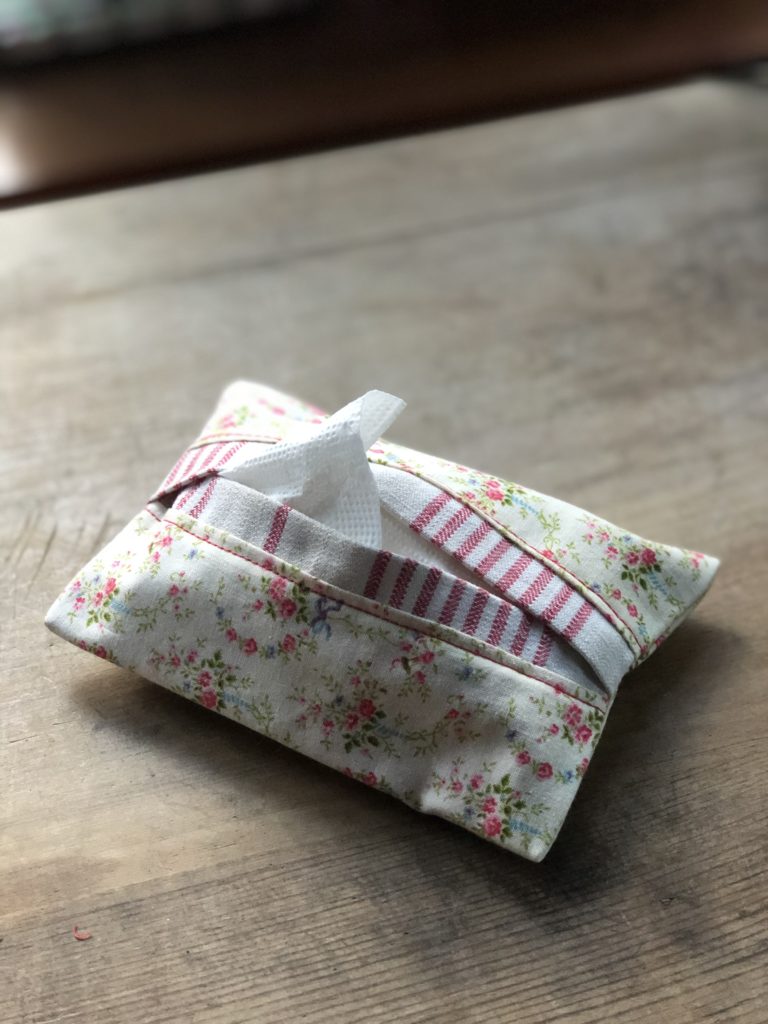
That’s it. Turn the fabric through the opening, poke the four corners neatly through and press flat with your iron et voila…

So how many friends and family do you know who’d appreciate a fabric pocket tissue holder? Or what about children and grandchildren for their school bags, dog walker friends for their coat pockets and even one or two for yourself? I know you to have more than one handbag. Not surprisingly, neither Mr nor Master M were hugely impressed when I suggested they might like one each in my blue fabric.
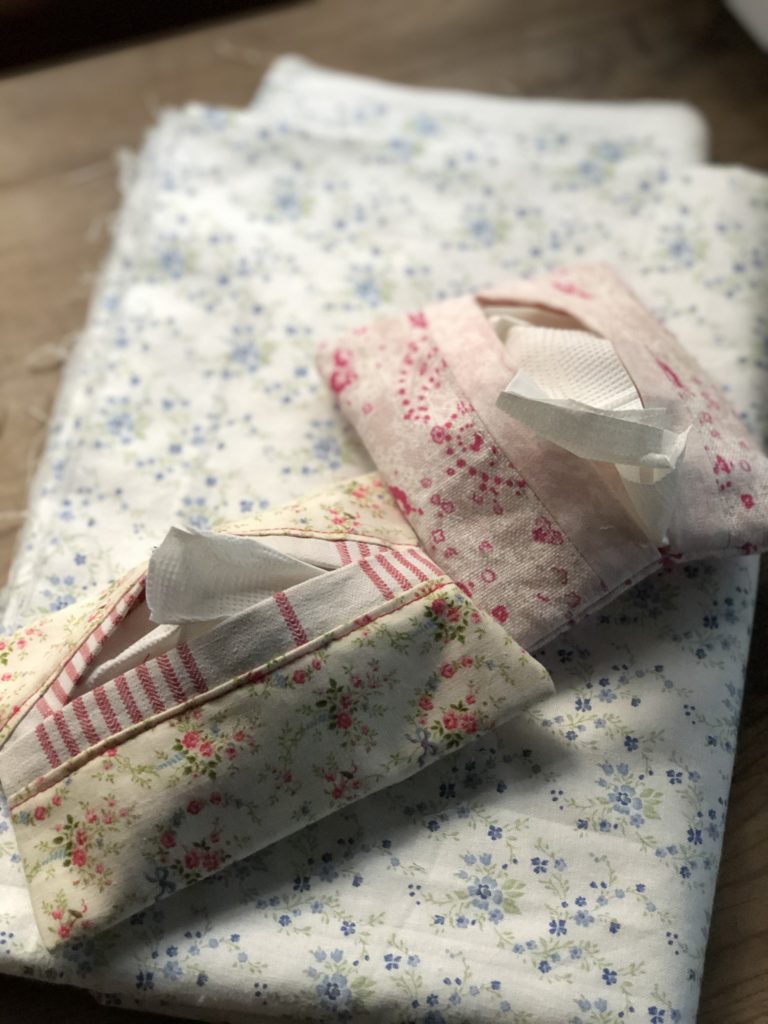
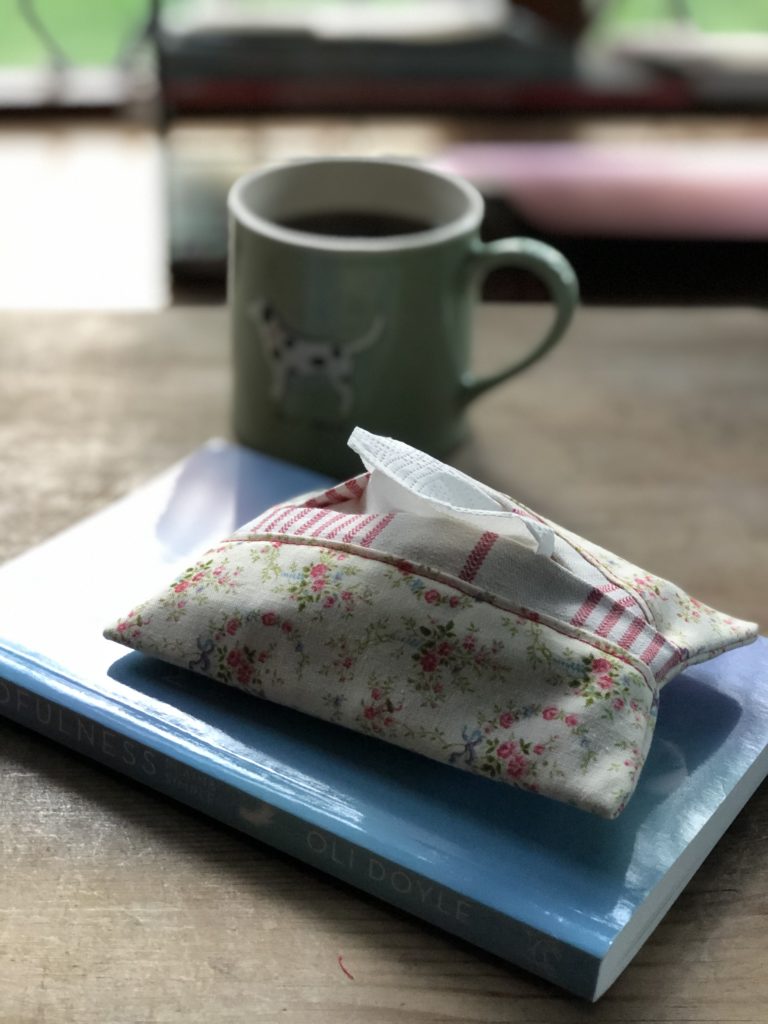
You could even team up your pretty tissue holder with a matching teeny drawstring bag to hold safe that elusive hand sanitiser if you so desired. Wouldn’t they make a wonderful and useful pair to gift? I shall certainly include a tissue holder in my giveaway over on Instagram, details of which, I shall be offering in next week’s story. So for now, that’s me organised. I’m off to enjoy a delicious coffee and my latest new book, do share if you make your own fabric pocket tissue holder. Until next week…
And if you are looking for more craft projects, you may like to look here, here and here for inspiration!


And sooooo easy to make! I’m so glad you like them, thank you for joining in and I hope you are well Wendy x
Aah thank you! This really is so easy and would make a lovely birthday gift don’t you think… would you like one?!x
Is there no end to your talents. X
They’re soooo pretty!!!
Ha ha I’m so happy you like them Little Miss. I might use your “Fight the virus….” as a new tag line, what do you think?x
YES!!! Fight the virus the WW&L way! Absolutely love this – especially as there’s no mini packets of tissues left in the shops no one wants them floating around in their bags and pockets!! This is FANTASTIC mum as always xxxxx
I am so pleased you like the make this week Elizabeth. It really is so quick to make too and as you say, so much nicer than the plastic. Not sure there will be too many more tissues left on the shelf the way our shops are at the moment though!x
As I anticipated on your Instagram account another great creative make for my must do list although this may have to be squeezed in at the top. It’s cute, useful and much nicer to pull out of your bag than a plastic wrapper. Another inspiring project Helen 😊
And thank you for the lovely fabric! They are quite addictive to make… I have three now! And you’re quite right, not a sanitiser to be seen, nor loo roll or paracetamol or pasta, rice, beans… crazy times for us. Have a lovely week my friend x
Aww Thankyou for the mention Helen. I knew you’d find a use for it. I think I shall be making one for each handbag now. Such a simple but useful idea and I love the idea of the bag for the hand sanitizer too ( that’s if you can find any on the shelves). Xx