“Is that for kindling?” I asked eyeing up a growing pile of wooden pallets. “I suppose some of it might end up as kindling” he replied “I haven’t really decided what their main purpose will be.” I imagine it took precisely ten seconds before I shoved my computer under his nose and said “I’ve been meaning to show you this Pinterest board for quite a while now, shall we have a coffee?” For the next half an hour I rattled on about the many inspiring ways one can use a discarded wooden pallet pretending to ignore his look of mild disdain. “I rather like this clock someone’s made, that looks quite simple doesn’t it? And what about this sweet dog bed, wouldn’t The Spotty One just love his own bed on the terrace and this side table only has about five pieces in total, that must be very simple to create and what about this sofa, you could make one of those in a weekend for sure,” I finished in a flurry disguising quite cleverly my plan I thought. “A what? A sofa? Of course I can’t make a sofa” he admonished “and what about the cushions? What would we do about cushions? We’ve spent far too much on Belle and the rest of the gardens to be thinking about new furniture now.” “Don’t you worry yourself about the cushions” I said “you just get your tape measure and your thing-a-me-jig and we’ll see what we come up with shall we?” I finished. And that begins the story of how we furnished our small garden terrace with a diy wooden pallet sofa…
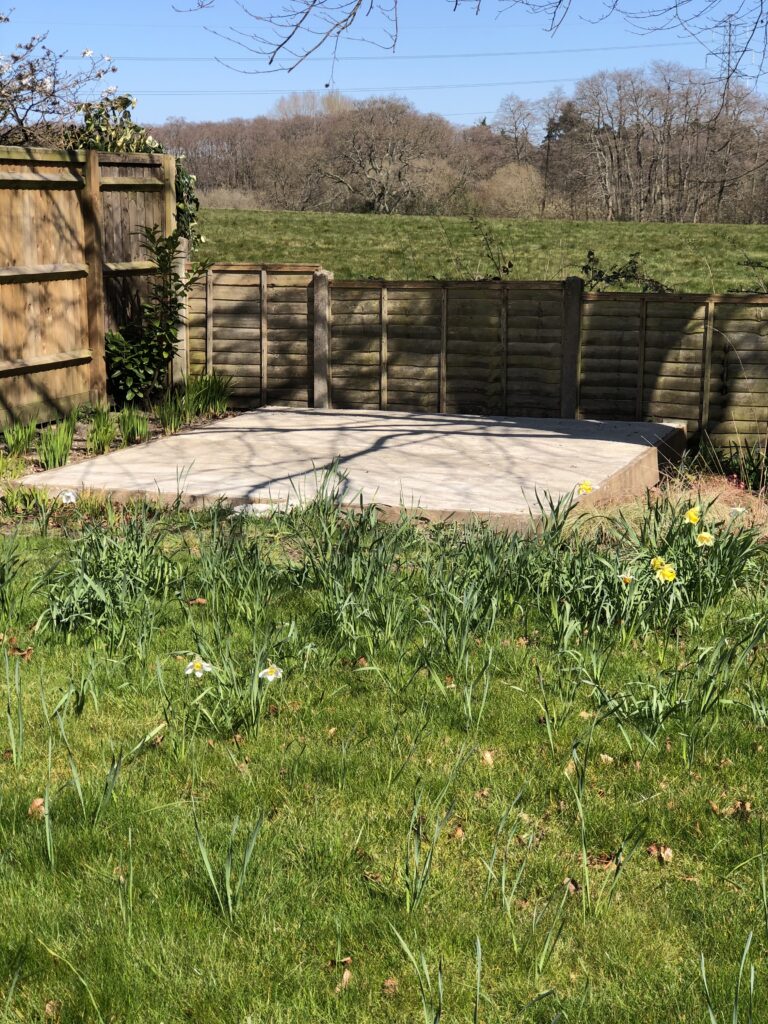
You’ll recall from last week’s post, a non-descript concrete base and the dilemma of how to furnish it with no budget and opposing decorating styles. Our aim was to transform the block into a small garden terrace to enjoy the last of a summers evening.
Whilst I would much prefer to scribe the whimsical version of this tale, I imagine you would appreciate a more accurate account of building a diy wooden pallet sofa complete with pallet cushions. You may wish to learn from my mistakes if nothing else, should you try a similar project yourself. This story is best told in two halves. Successful and less so. I’ll begin with Mr M’s half, the more successful of the two.
Once his heart rate had returned to normal at my seemingly ridiculous request, Mr M did indeed set to and with only a minor amount of huffing and puffing, he began producing work he was jolly pleased with. I know you read regularly and so, as you have come to expect, his attention to detail helped him create a plan, ensuring he measured twice and cut just the once and kept calm and focused whilst creating his master piece. He checked and rechecked his work, mitred corners and all that jazz and soon created his very own diy wooden pallet sofa to be proud of.


It would appear he is getting the hang of this diy lark and so I entertained the appropriate smug look on his face, cooing and offering generous words of praise and adulation.


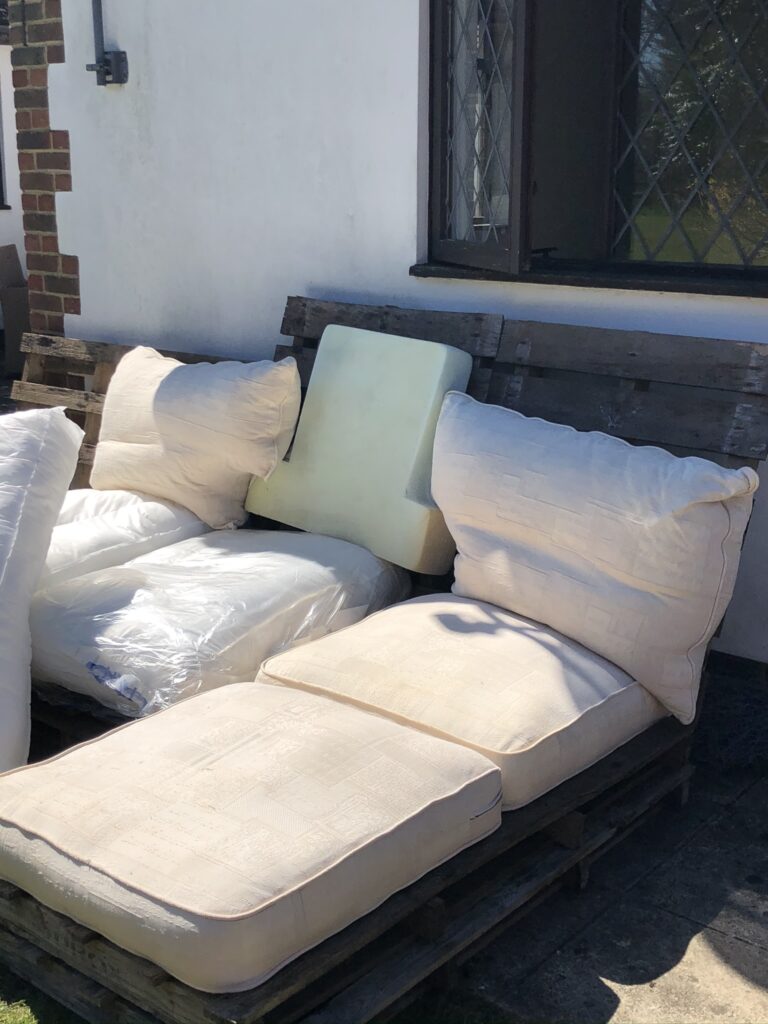
Cue part two of the tale which is not quite so successful. Here it might be prudent to illustrate what I should have done yet did not do. Firstly, when dealing with sofa cushions you may have inherited or saved and squirrelled away for such a project, you should be sure to…
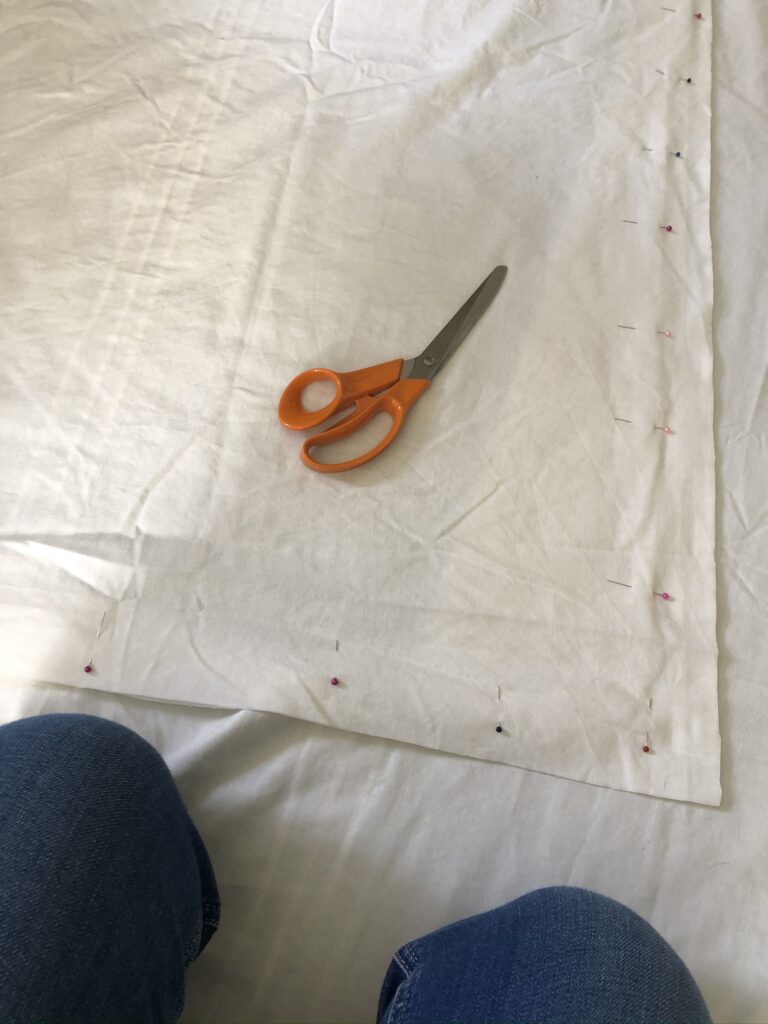
Accurately measure your DIY wooden pallet cushions
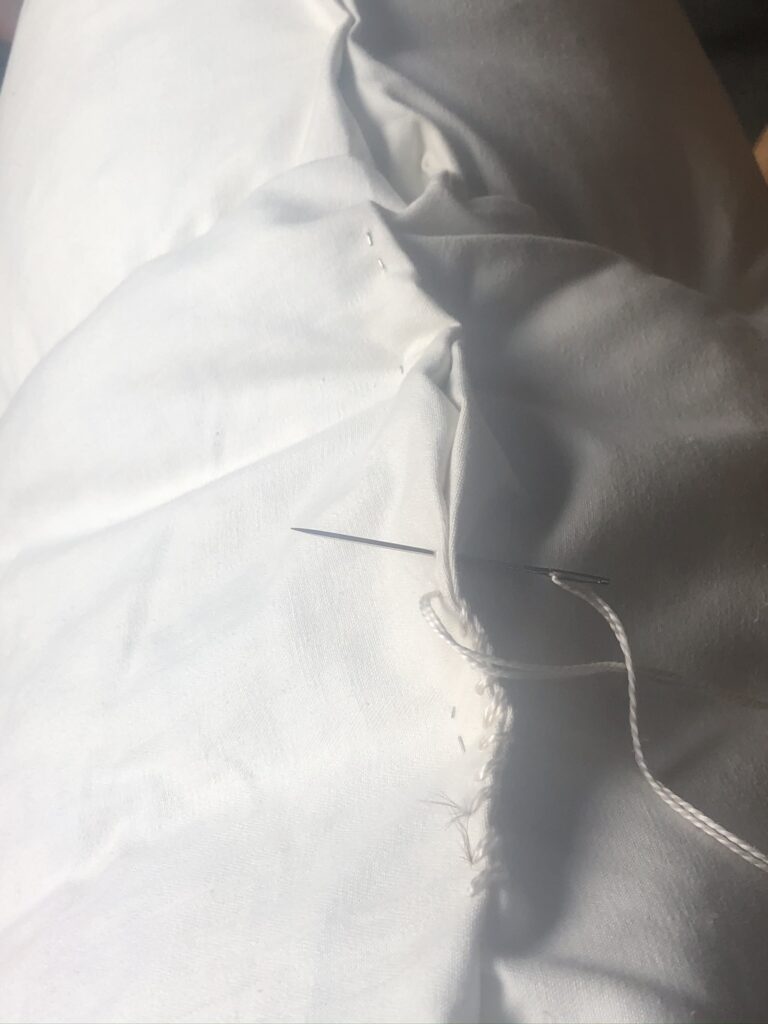
Because unless you wish to spend a great deal of time and effort unpicking heavy duty stitching, removing excess stuffing and restitching your pallet cushions, your diy wooden pallet sofa is best built to your cushion specifications.
Choose fabric for your pallet cushion covers wisely
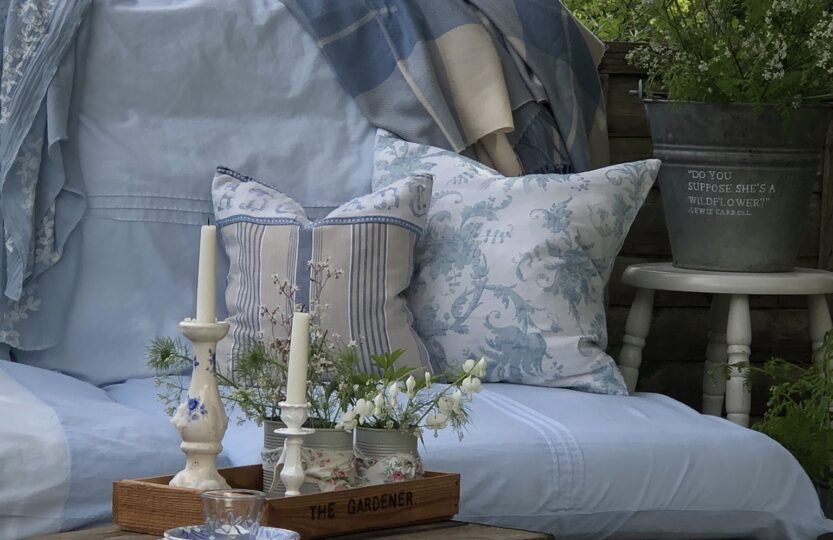
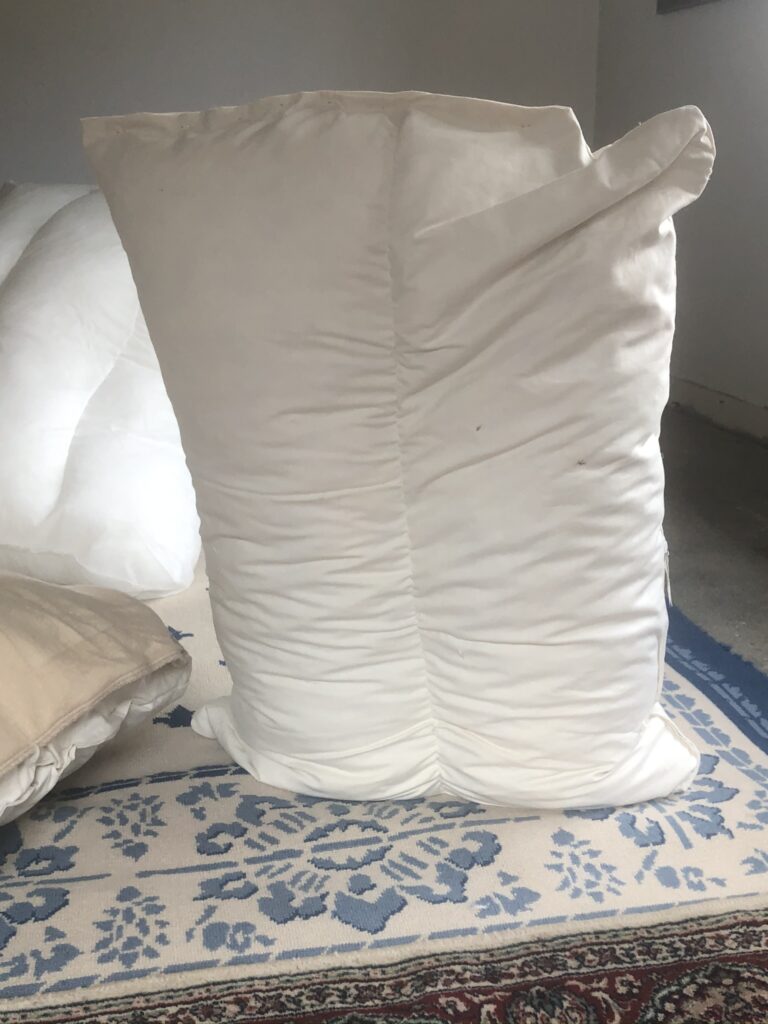
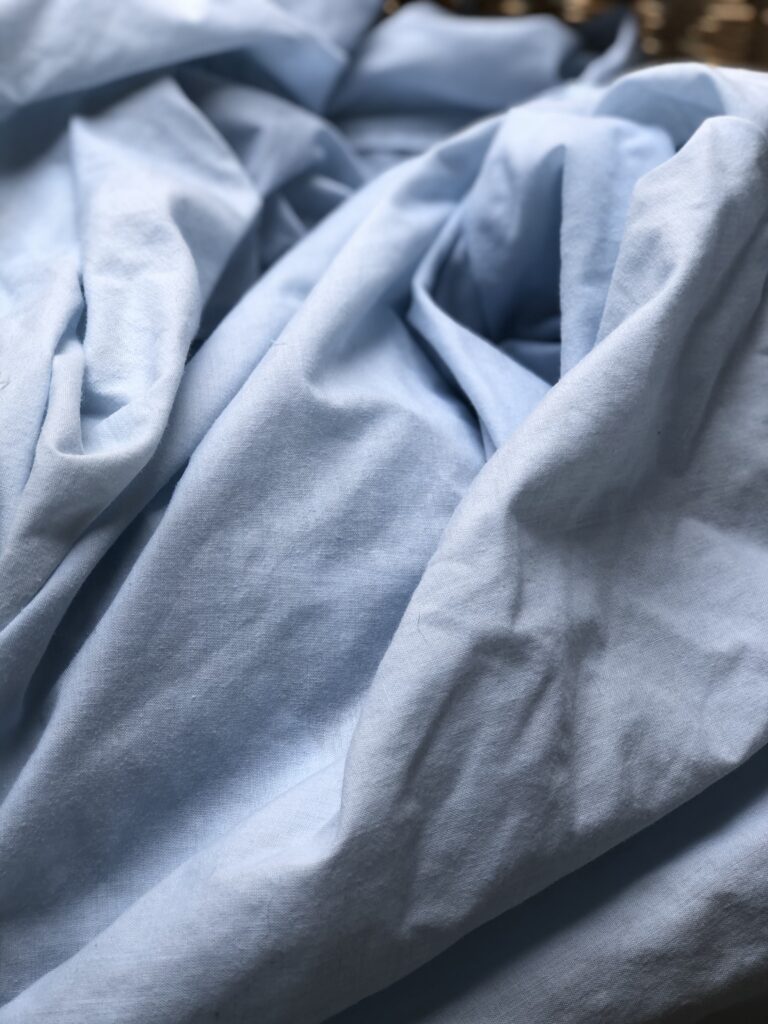
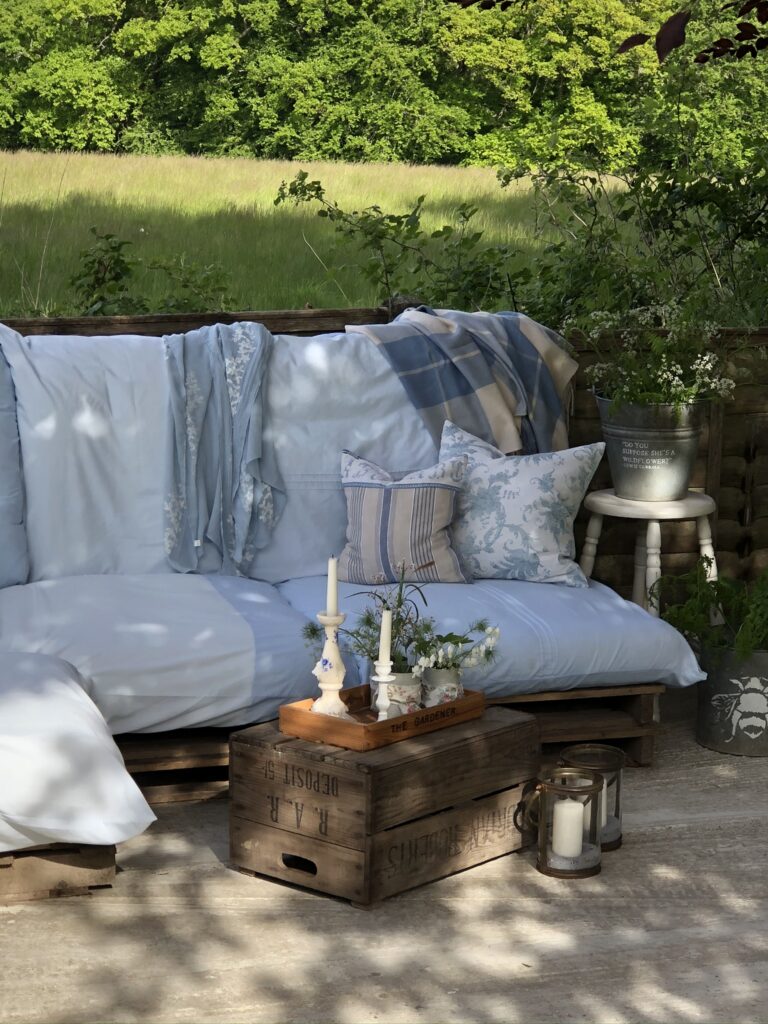
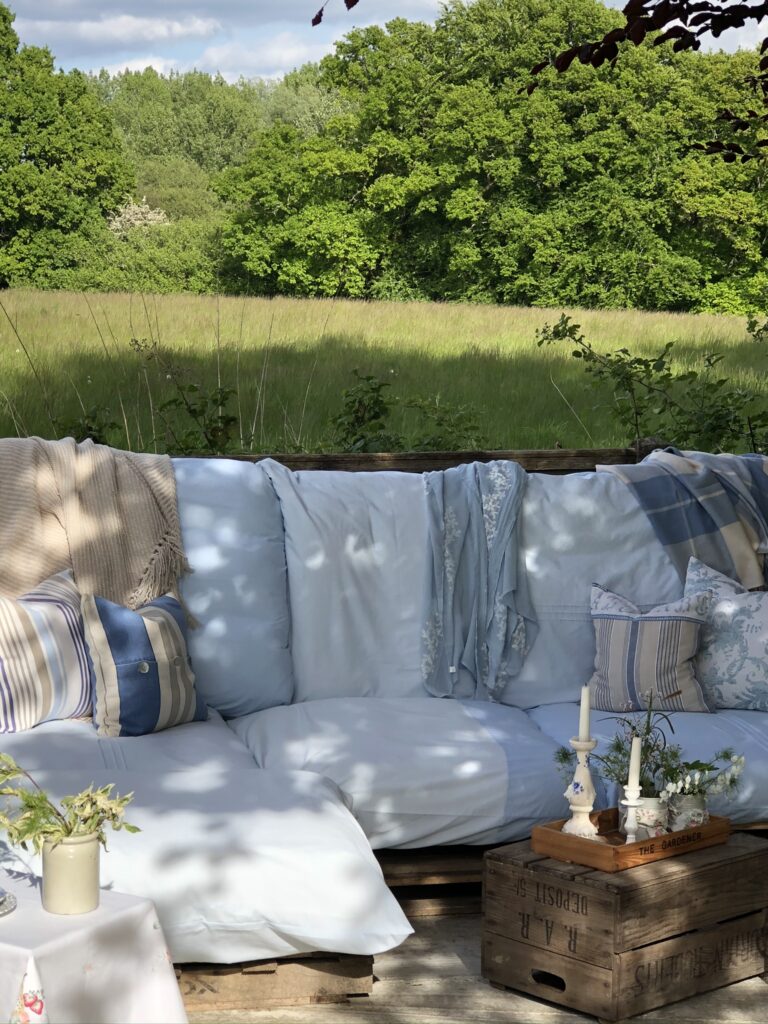
A few of the cushions were complete with covers from the original cream sofa; the remainder had no covers at all. And so it was to be a mismatch of cushion coverings for us, which of course will only work if you follow some sort of cohesive flow. That might be textures, colours or perhaps the design of the fabric. Convincing yourself the original heavy cream damask style sofa cushion covers will work juxtaposed an old and forgotten, different shade of cream and cotton duvet cover, is at best naïve. The next photos were taken as I attempted to cut out as many pallet cushion covers from the duvet cover as I could, using the original buttons as fastenings. I had yet to discover my errors and was feeling rather resourceful and more than a little smug myself at this point.
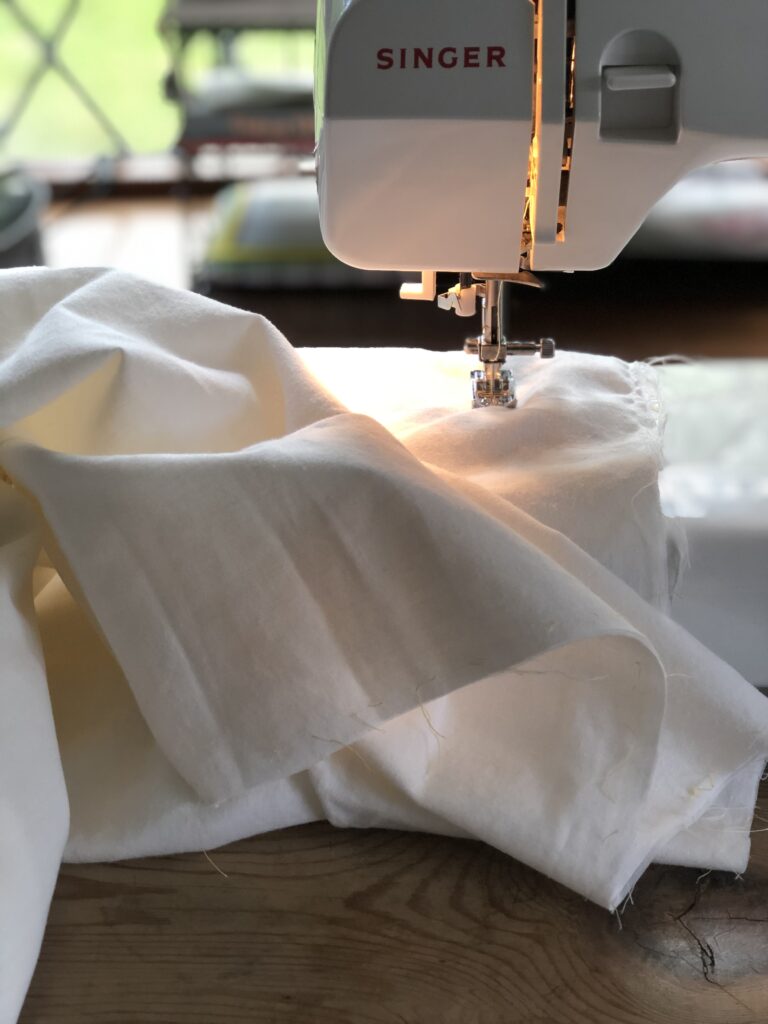
There are no photos and few words to convey my disappointment as I positioned my diy pallet cushions on their fabulous pallet sofa. It was a scene somewhat reminiscent of a sad pile of tat waiting at the local dump for its next stop, land fill. After a few deep breathing exercises (I kid you not) and a serious look at my options, there appeared nothing else for it. I would have to dye the cream another colour and hope and indeed pray for such cohesion.
Dyeing DIY pallet sofa cushion covers
In a similar vein to your material choices, dyeing your pallet cushions to solve your first problem will only work if your materials are the same which of course, you already knew. Different fabrics and weights will simply return contrasting hues resulting in Vintage Blue Dylon dye, colouring your old cream duvet and your original sofa cushion covers two entirely different shades. The final colour for the sofa cushion covers would be more accurately described as extremely dirty, wishy-washy duck egg blue/green. Here is the proof…
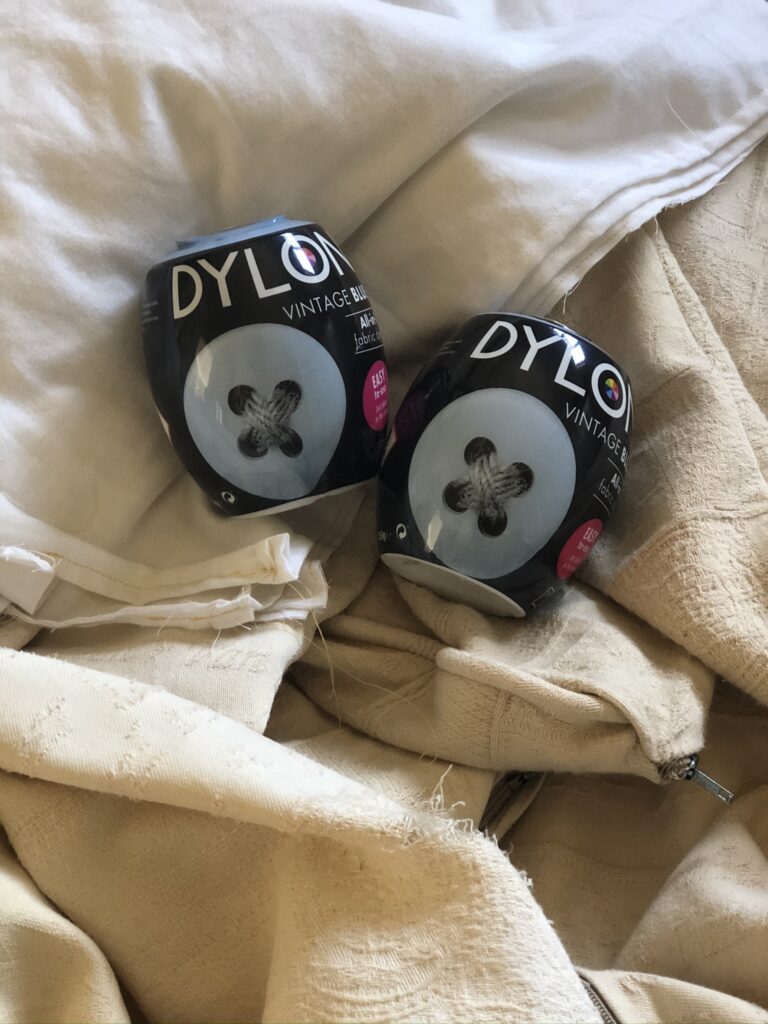
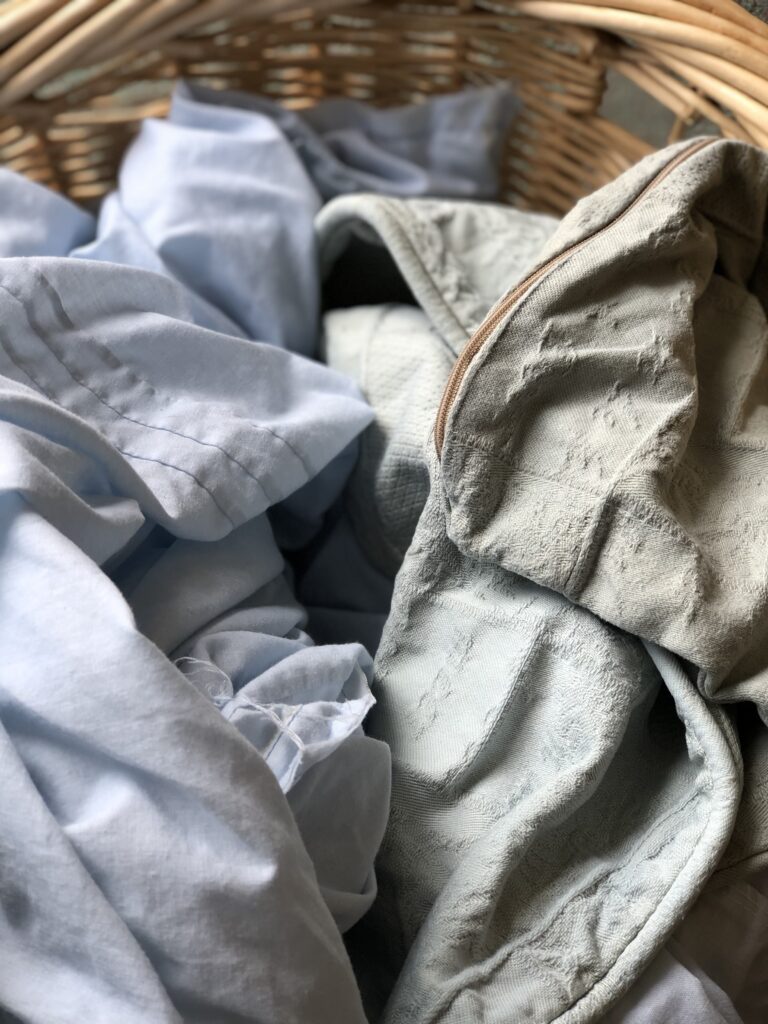
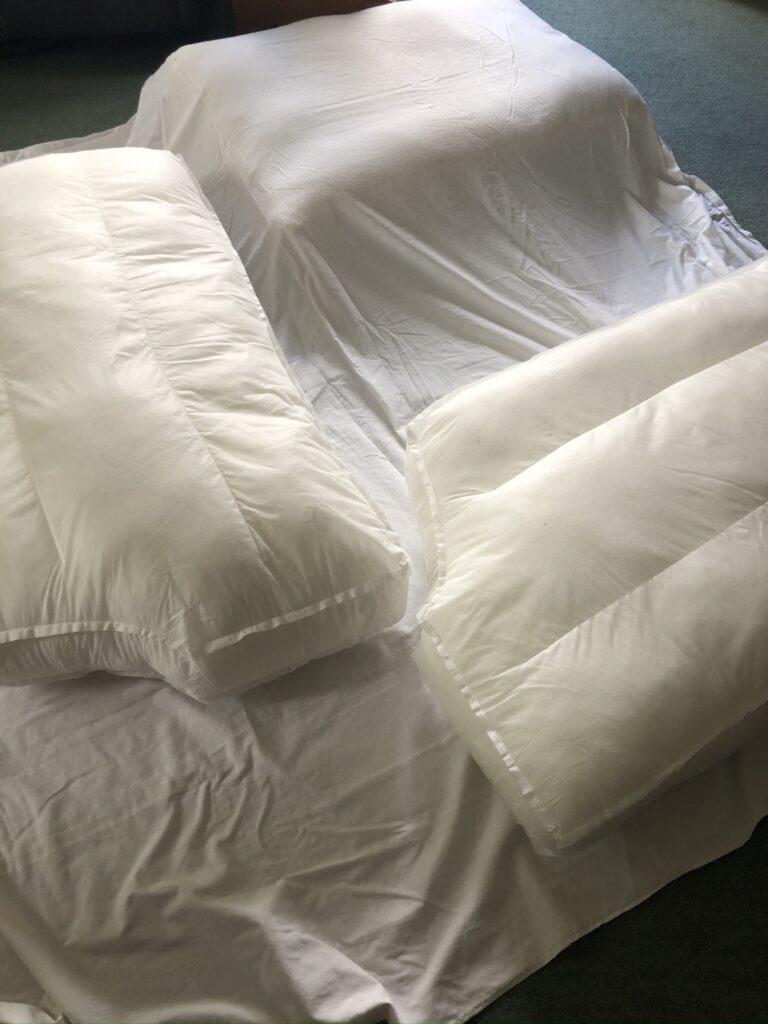
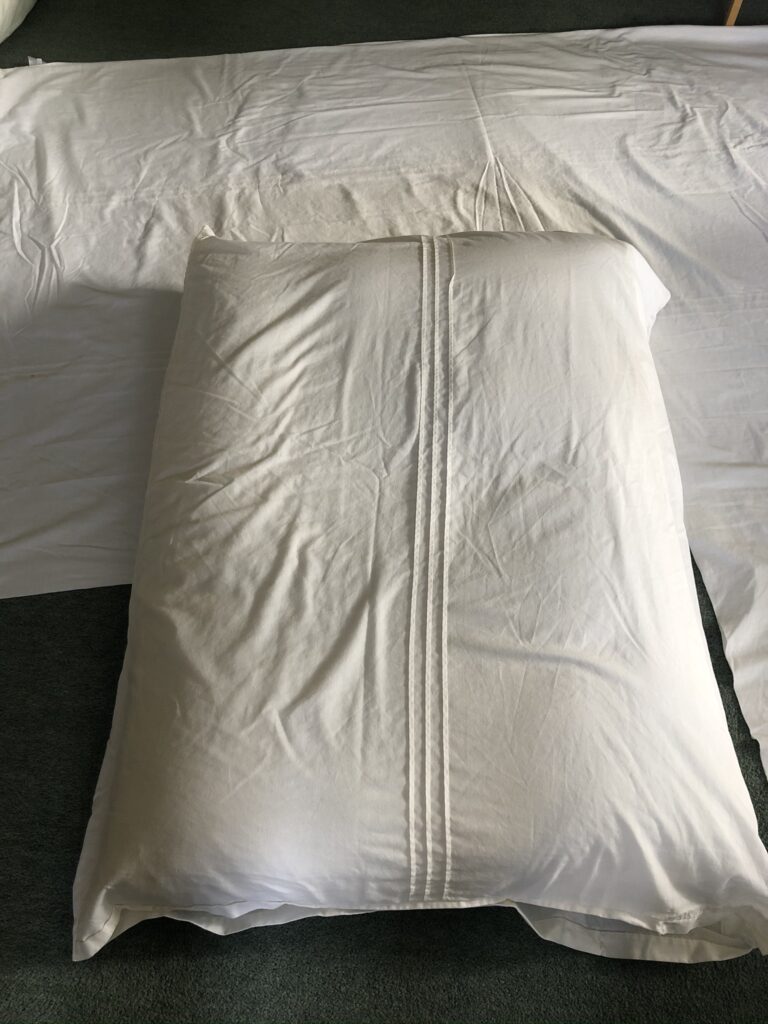
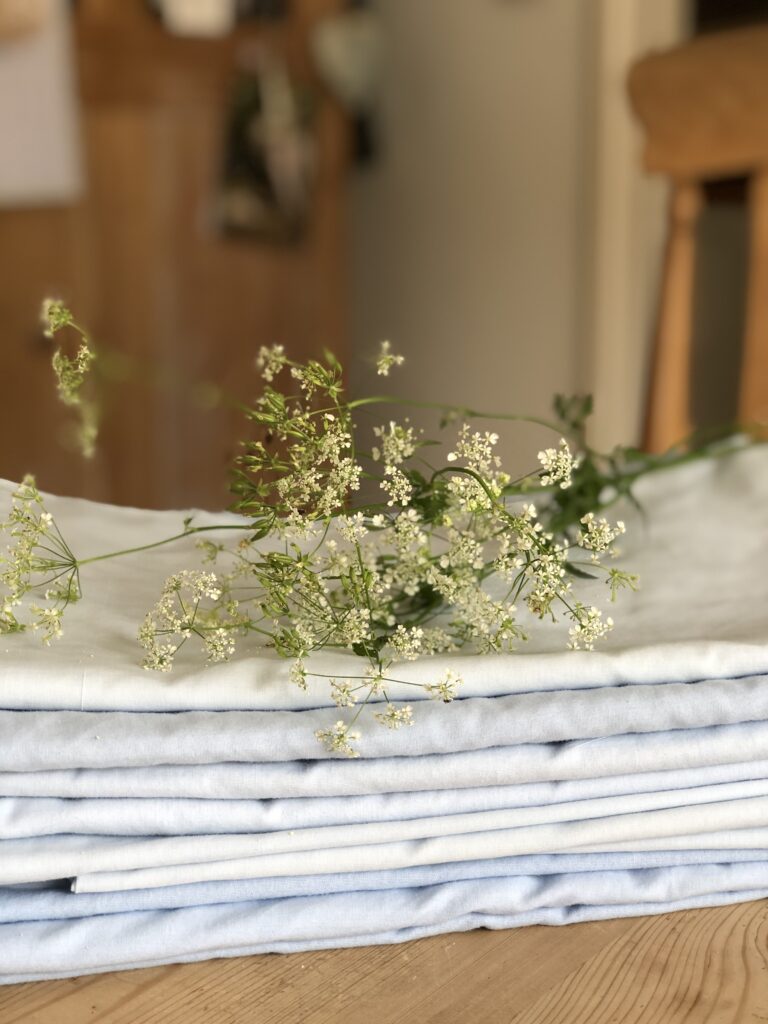
By now I was suffering from an extreme sense of humour failure. I had always known these diy wooden pallet sofa cushion covers would be a challenge. This time though, I was surely beaten. I tried the “I’m so out of my depth” card. The “I’ve really bitten of more than I can chew” card was hopeless and the tantrumoneous “I’m chucking it all in the bin!” card was largely ignored. There was nothing else for it. I had to rethink my plan again. I located a cream king size flat sheet rarely used from the bottom of the linen box and cut out, stitched and dyed four new slip covers, to replace the original sofa cushion covers. I performed this part of the project in total silence, angry with just about anyone and everything including the sun, which as far as I was concerned, taunted me terribly since I was inside and it shone gloriously outside. Several sorry hours later, with no sense of humour whatsoever left, I was rewarded with this pile of vintage blue slip covers for my repurposed pallet cushions. Granted different hues and shades once again yet this time, more of a blend I hoped.
“How do they fasten?” asked Mr M looking closely for buttons and ties and zips as I painstakingly filled up each cover. “They don’t” I replied flatly, “they fold and tuck closed.” He wisely said no more.
Last Sunday after an energising dog walk and a delicious brunch fit for a queen, I set to faffing. I was transported back to this day, by chance exactly one year to the day, when the professionals came to play. I spent a glorious afternoon humming a happy tune or two as I scooped together basket fulls of treasures from around the home and at Belle’s and I had a simply wondrous time creating this…
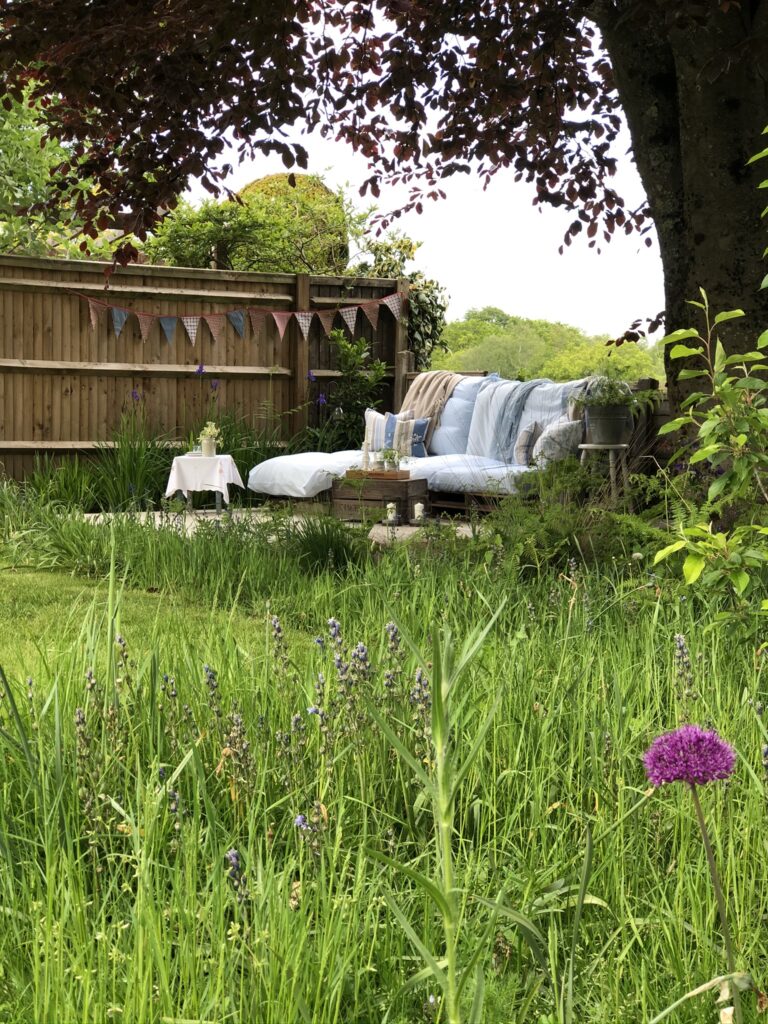
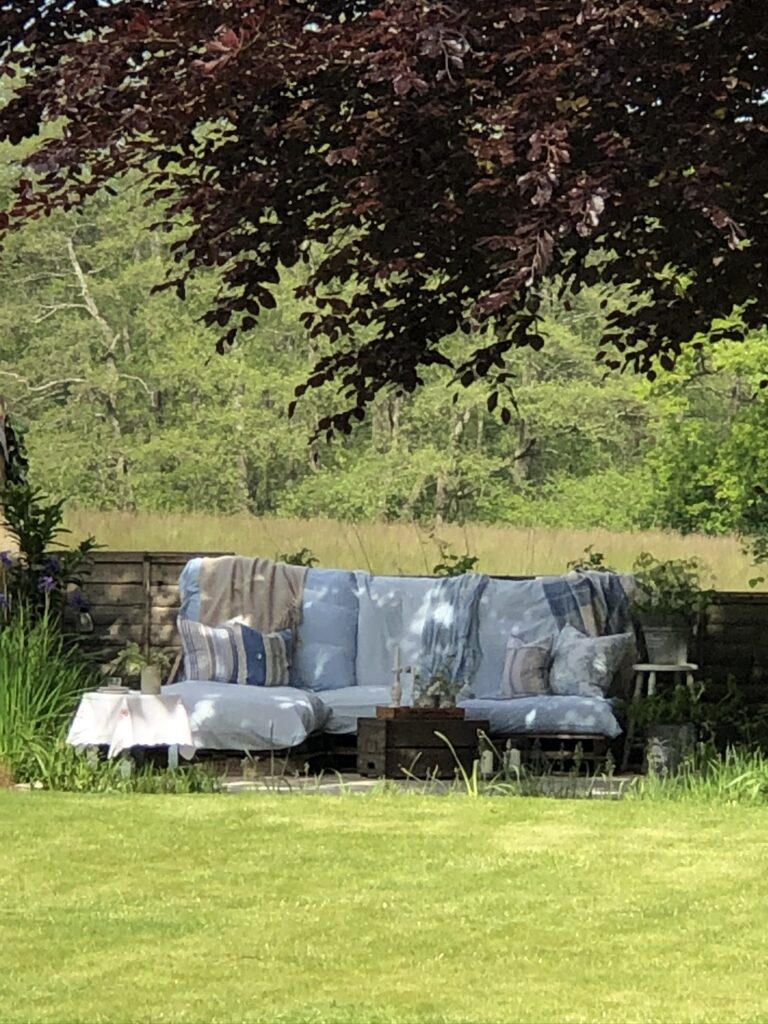
I excitedly took way too many photos to show you. For just £14, the cost of two pots of fabric dye, and an awful lot of sweat and tears, we now have our very own Gin Pallet as this spot has been christened.

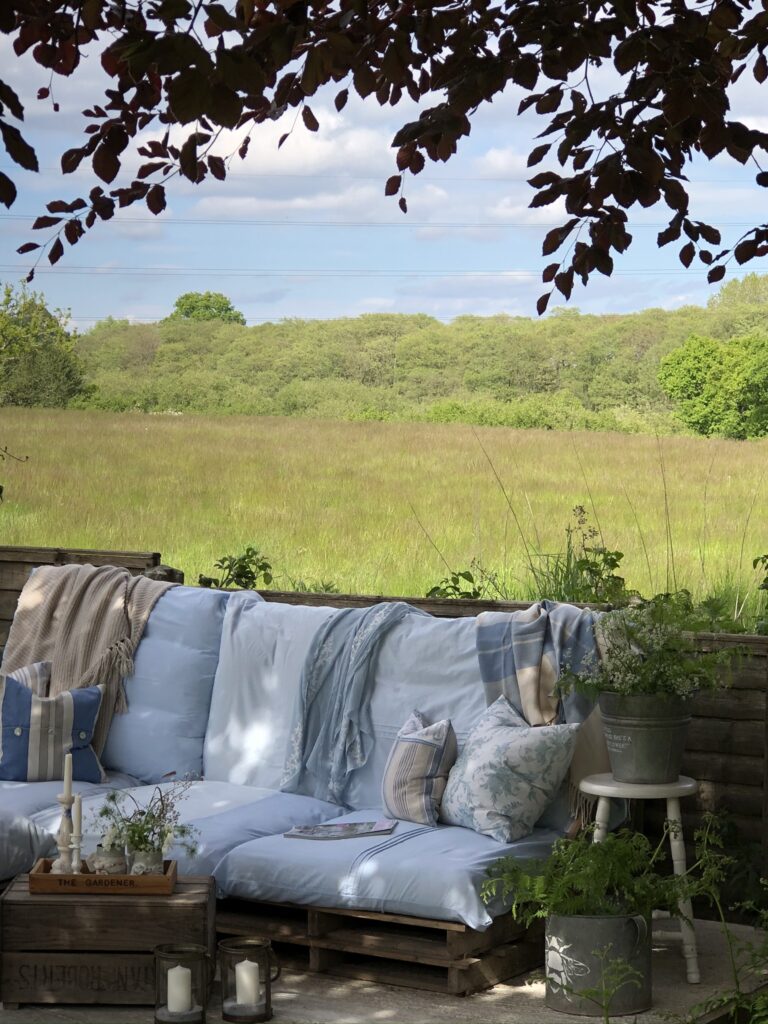
There are more challenges to overcome of course. The cushions are heavy and cumbersome and not at all weatherproof. Leaving the sofa uncovered for the neighbour’s cat and visiting foxes to curl up on at night, is not an option and the birds quite like the overhanging copper beech, so you know what that means. I’ve delegated a suitable cover search to Mr M; I’m far too busy styling my small garden terrace and addressing another challenge. Shall I stencil the concrete floor or will Mr M tile it for me? If anyone needs me I’ll be sipping ‘something cool’ and devouring Pinterest for more ideas. Until next week x

My blog has a great many garden styling ideas if you’re looking for inspiration. Here and here and here are good places to start looking. And see here for another fabric dyeing story with pretty results!


I am so pleased you enjoyed the post Jane and thank you for your lovely comment. We couldn’t be happier with how it turned out and we are certainly using it a great deal! Let’s hope June mimics May for weather and then you’ll know where to find me!x
Helen,
Wow! I really enjoyed reading all about how you made this and well done to you both! I am sure that this will be a favourite spot of the whole family. Wishing you lots of warm, sunny evenings outside. xx
Aah so pleased I have you chuckling from far away darling. Looking forward so much to spending hours in this new area with you and your sister! Lots of love x
Looks fantastic hels! This blog really made me laugh !
So glad you like it too lovely! So, the coffee table is the box! It’s an old crate which I just turn the other way and store candles and bits in… great minds and all that! Thanks for leaving me a comment and I shall look forward to sharing that fizz with you once we get moving again, lots of love x
Thank you so much! I did wonder if from a distance the blue would look a little garish in the garden and should I have gone for green if I couldn’t have cream. And I did have a lot of unused blue cushions and throws gathering dust. I’m so pleased you like it too and thanks for the comment; comments mean the world!x
Spot on Helen! Even think that in the end the blue was the better option! It looks fresh and bright👌💞
it looks amazing but quite frankly I wouldn’t expect anything less. lovely place for a glass of fizz!
you need Mr M to make you a lovely storage box now to put everything away! He has surpassed himself now!
You are as always way too kind to me, thank you. I am counting down the days till we can sip our G&T’s together there! Much love as always x
Arguably the sofa is the best but I’ll take that, thank you muchly!x
I think the cushions are best, you did a great job, love it and enjoy using it! xx
love love love this blog helen…. mr M has of course done a perfect job but your cushions and your dressing of the area is done like a pro! ! You are a very clever lady! ….and I’m looking forward to that G&T very soon…xxxxx
Ahh thank you darling, I’m so pleased you like it too, I cannot wait to cosy up there with you later in the summer! And what on earth do you mean, you are such a creative… what about those tiles? Mmmm… it occurs to me you might be able to sort the flooring out for me actually!x
Oh mum! You are funny…you learned ALOT but look at what you’ve created!!
A BEAUTIFUL snuggly G&T area which couldn’t look any more inviting!
I truly love it and you should be SO proud of yourself I so wish I could do things like this!! Xxxxx
This project certainly tested my patience Helen and a G&T has never tasted so good as it does right there! I hope all your hard work is paying off too x
Oh Helen, I read this and felt your pain regarding the dyeing of the fabric. Your perseverance has paid off though as it looks so pretty and inviting. Such a perfect spot to sit and have a gin. It sounds like you need a large one after that . Chin chin my friend. Xx