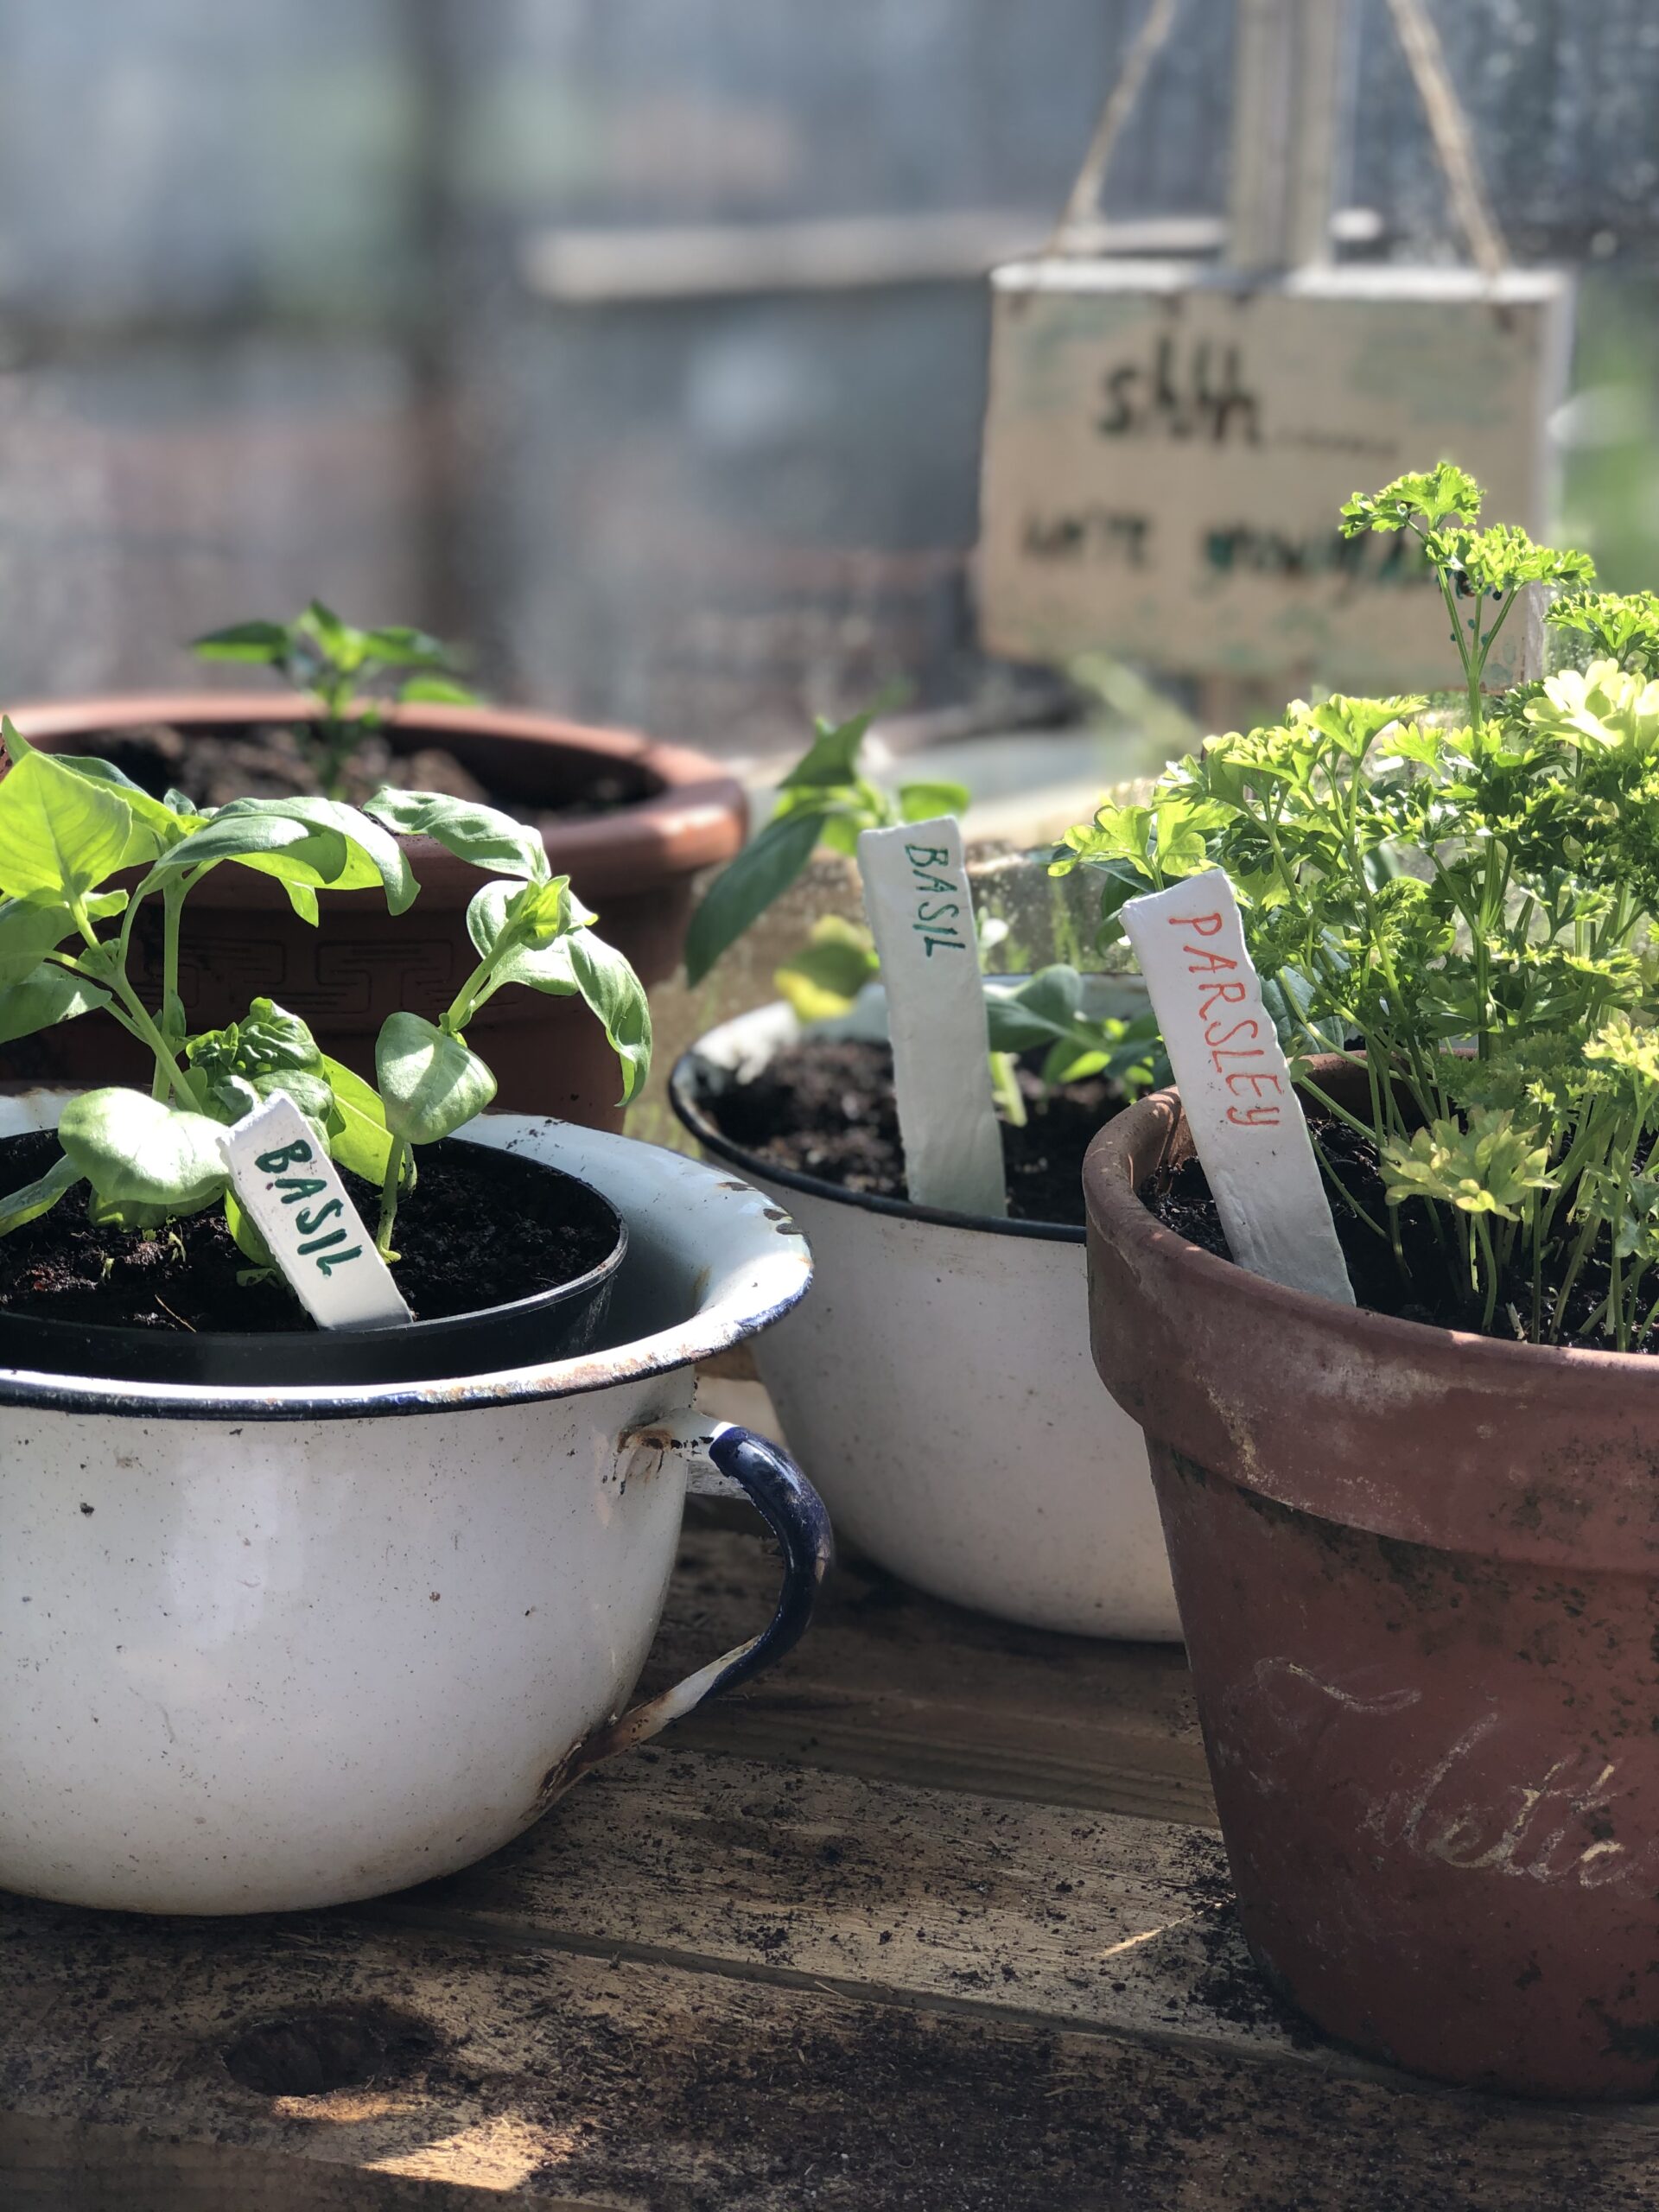
My love for a sign never fades. I have often wondered why I feel the need to signpost a great many parts of our family’s life. Often, I am not content with labelling the room alone frequently singling out a particular corner in that room with a message or a quote. The garden has been appropriately zoned over time with a label or two and rarely are you left to wonder the name of a plant in a pot. I have pondered a great many ideas for this obsession of mine over the years. Is it perhaps a desire for neat and tidy order amidst general family chaos, or is it simply the control freak in me laying down rules to obey? I prefer to hope it is my more whimsical side which saw me naming our guest bedroom in a previous home Spare ‘oom straight from The Chronicles of Narnia or better still, could it simply be just another creative way to make the plain and ordinary seem less so. Without a doubt the homespun charm of a handmade sign never passes me by and recently I have turned my hand to attempting rustic diy clay herb markers, come see how…
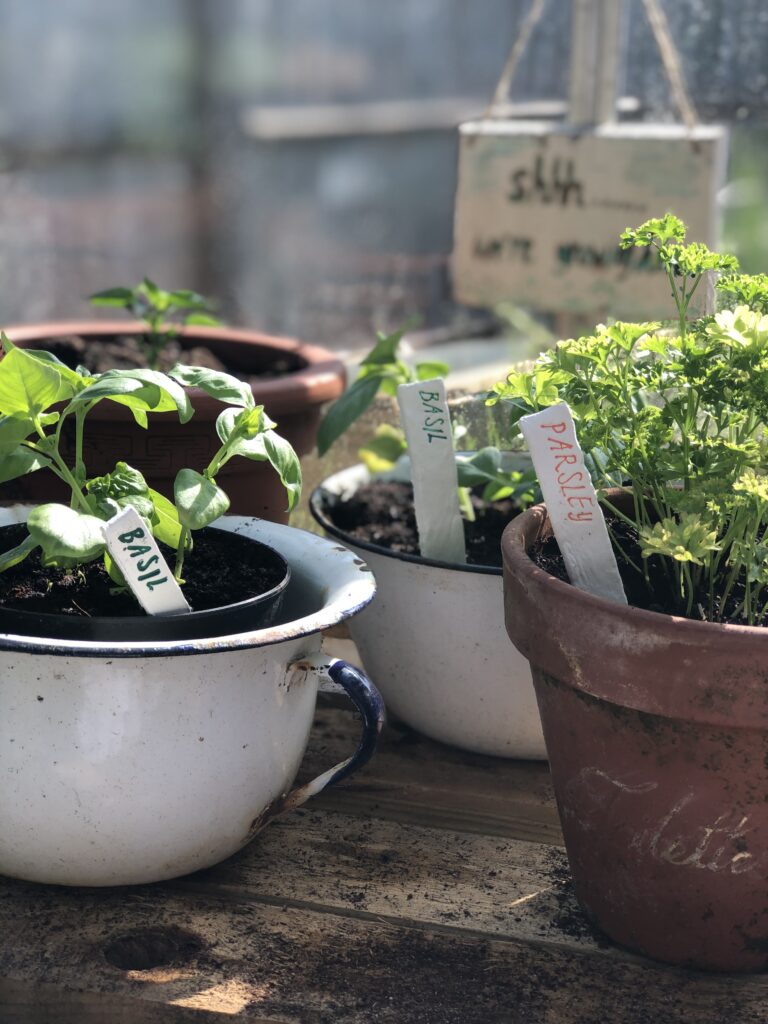
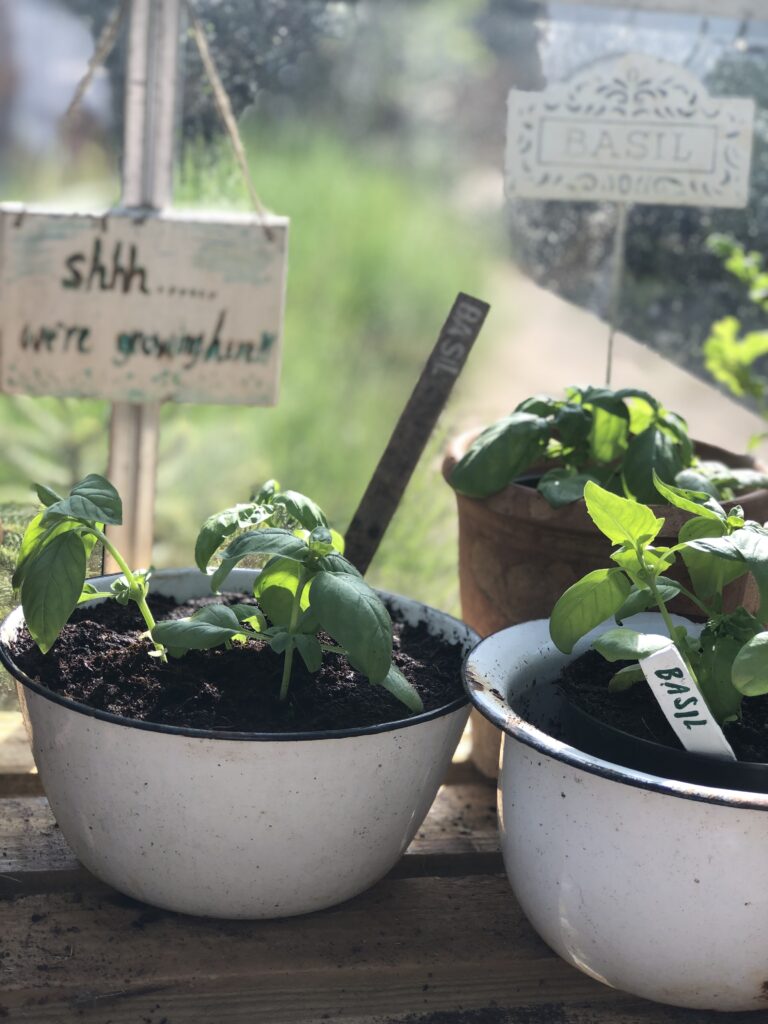
It was during an early summer Sunday lunchtime many moons ago, I found myself feeling entirely at home as I wandered a quaint pub’s garden, reading thoughtfully placed notes hand-painted onto scraps of wood. “We’ll bloom soon” “come back and see us later” and “where the wildflowers grow” were amongst the playful selection. I remember smiling happily at a dull piece of grey soil, cheered by my new found knowledge of what would surely come. Each year I paint a few more to add to my own chippy collection; here is this year’s wooden and slate selection, letting you know what to expect in the growing season.


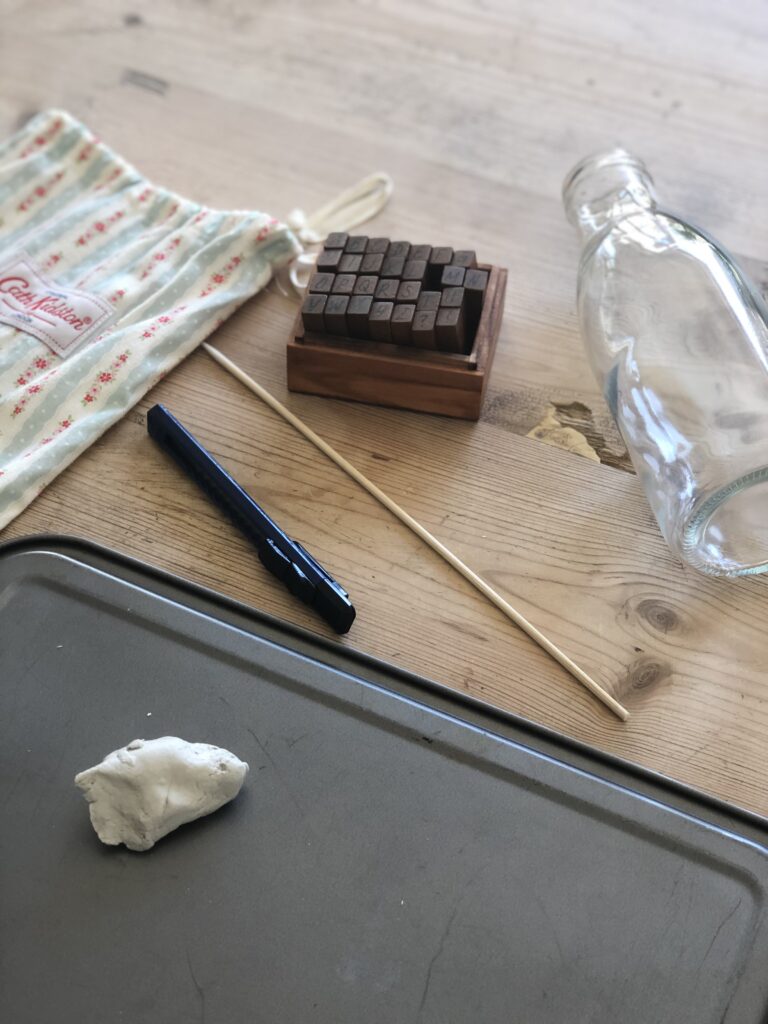
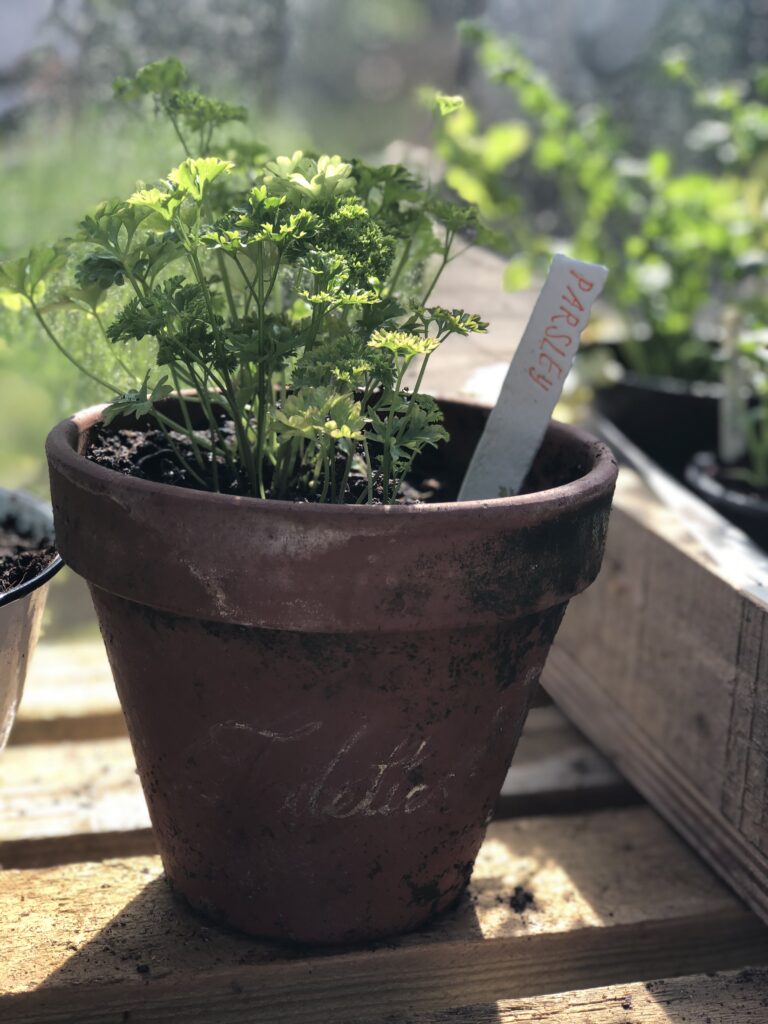
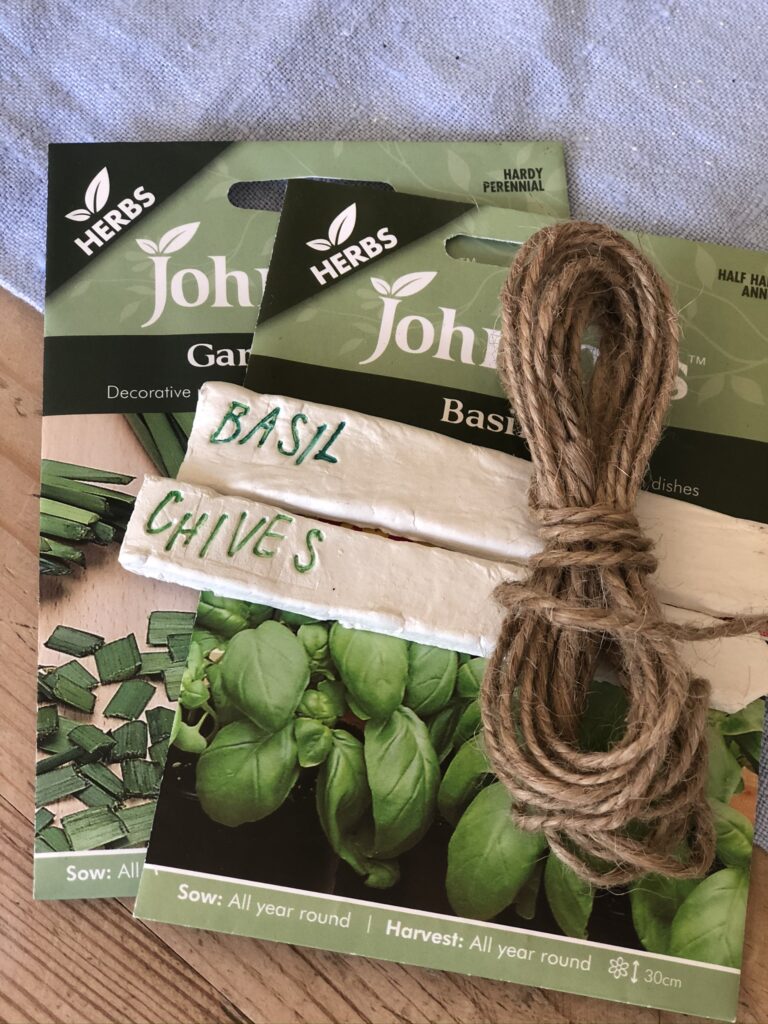
The pub boasted a charming and rickety old hen house with an equally shabby greenhouse situated alongside. And on a wonky shelf in the greenhouse were lovingly labelled herbs. Theirs were weathered lollipop labels, also a method I tend to favour time and again. I also enjoy seeing the clay tags which clever and talented potters’ create. I decided I would have a try myself with some air dry clay I had left over from this project. If you try this craft yourself, you will need…
- Air dry clay
- Craft rolling pin or glass bottle
- Scalpel or old kitchen knife
- Wooden skewer or cocktail stick
- Teeny alphabetical rubber stamps
- Ruler/set square/straight edge
You will also need a suitable flat surface to roll the clay on. I use the back of a large cookie tray. Should you ever visit and are offered cookies, please don’t concern yourself, I use the back only and thoroughly wash after use.
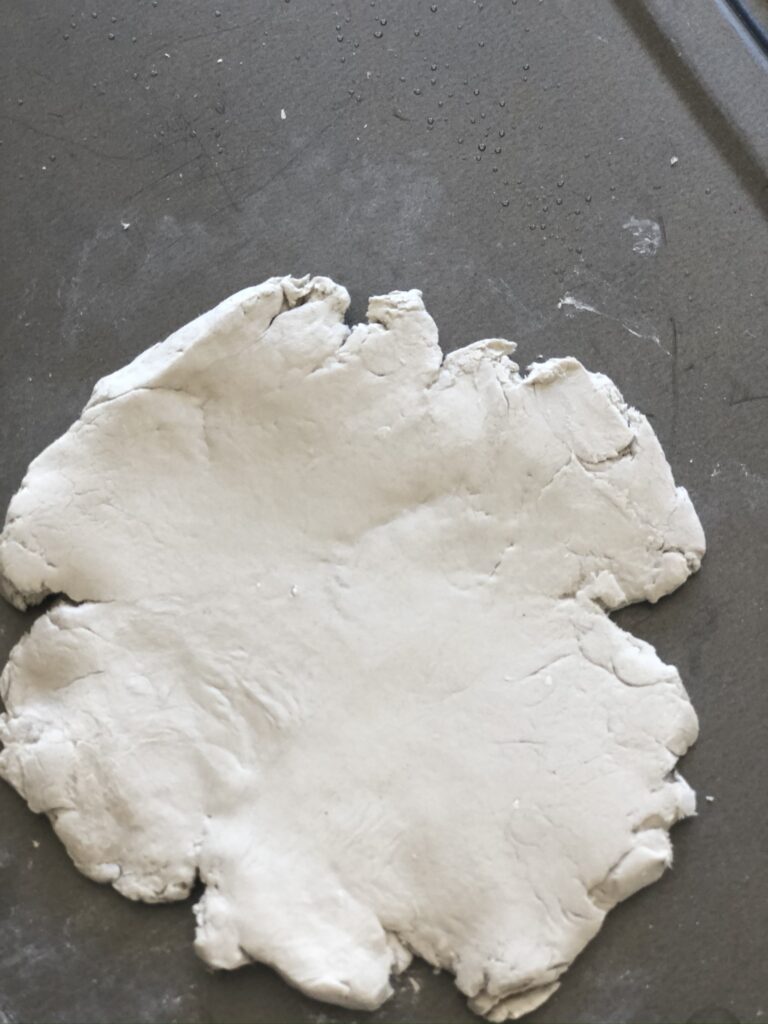
Gather your bits and pieces and using your glass bottle or rolling pin, roll out your air dry clay. Top Tip: if your clay has dried out a little, place in a plastic bag, spritz with water and leave for ten to fifteen minutes to moisten. Mine revived a treat although the research I carried out suggested not too much water or else the clay will become sticky and not workable.
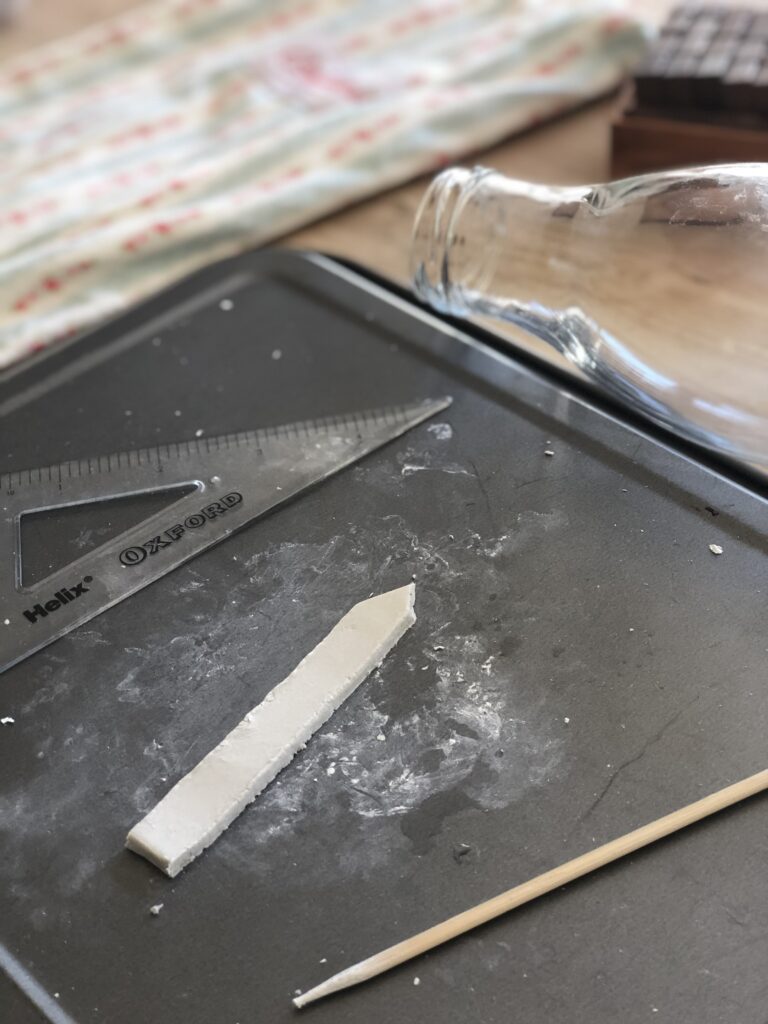
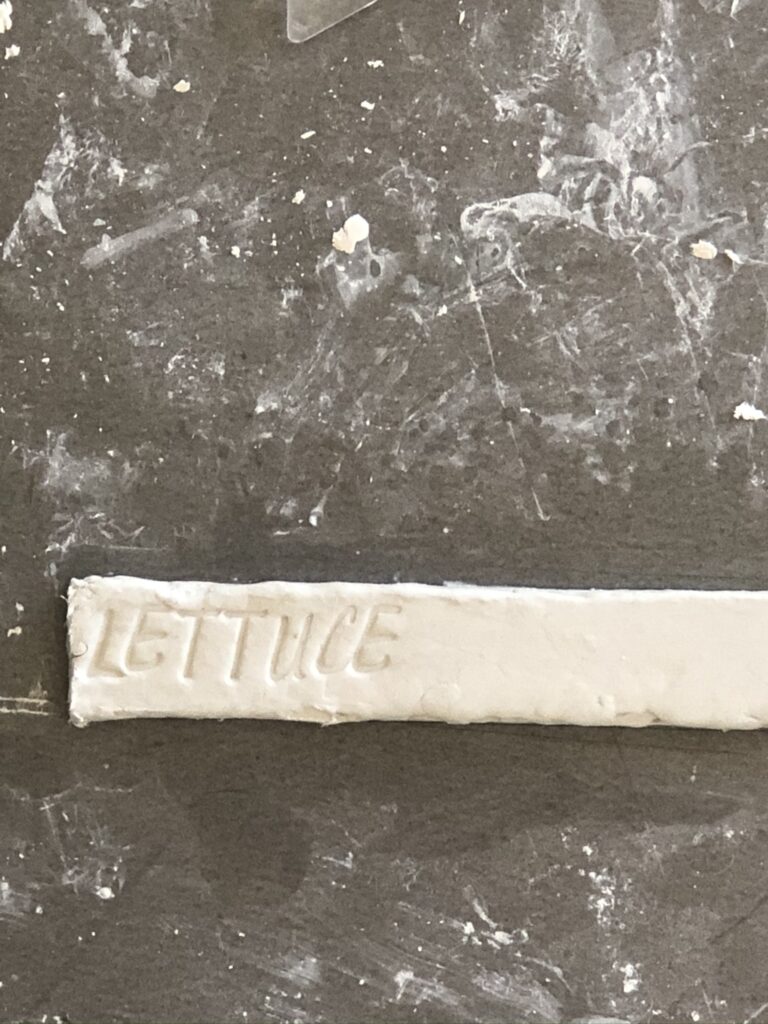
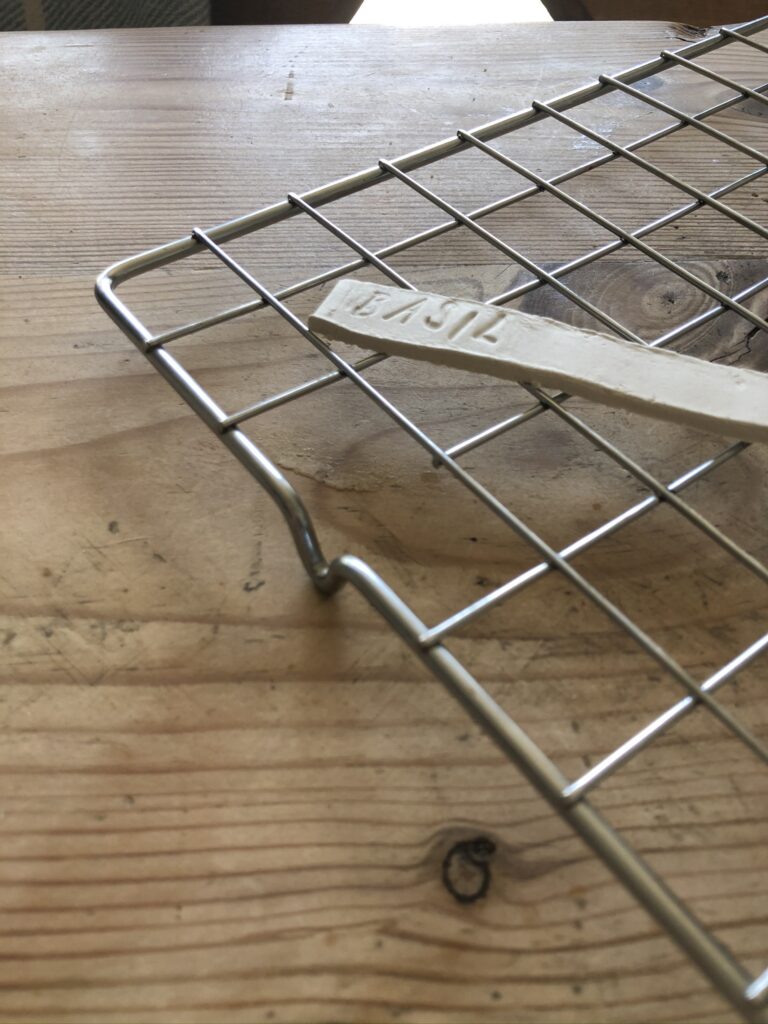
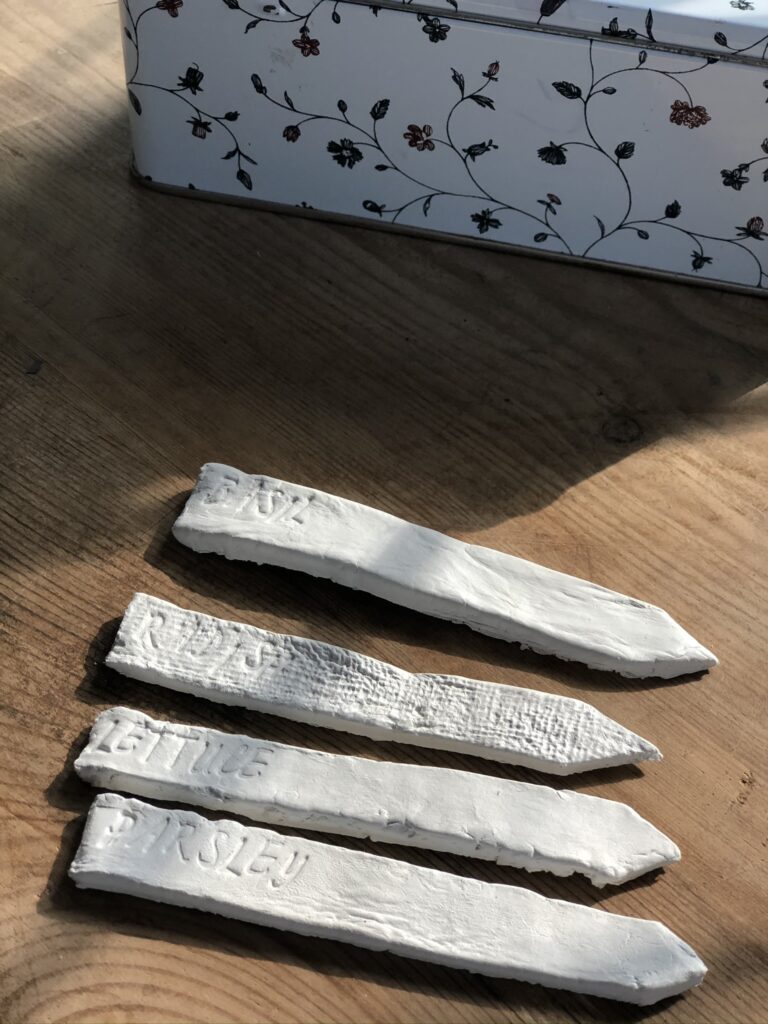
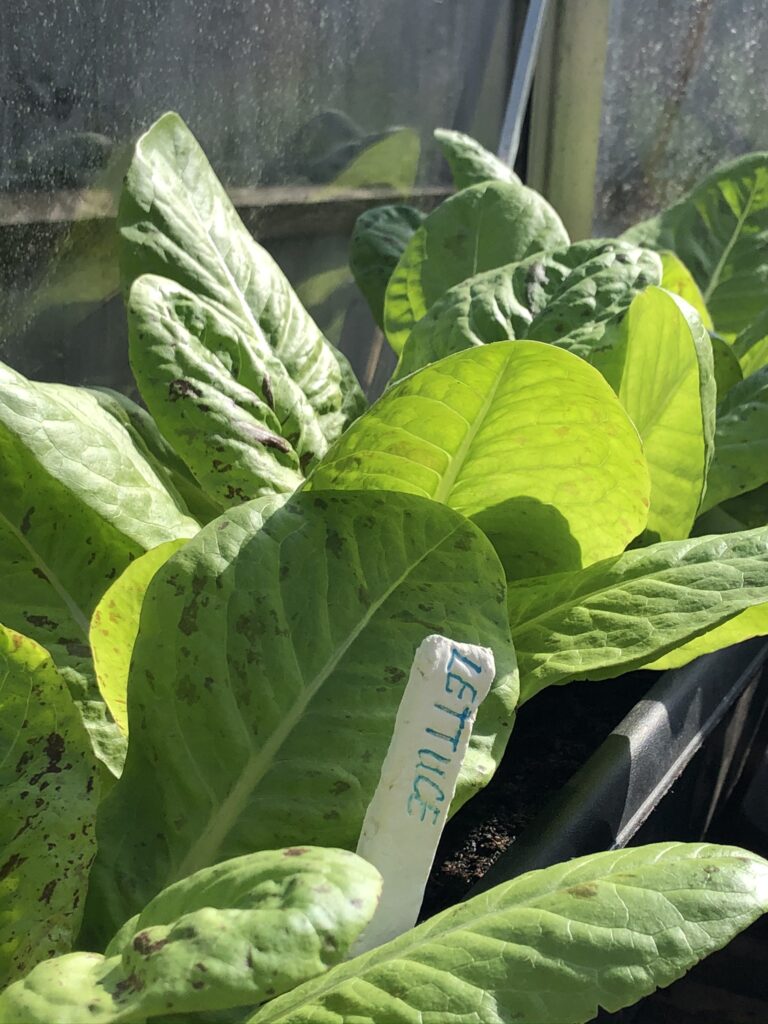
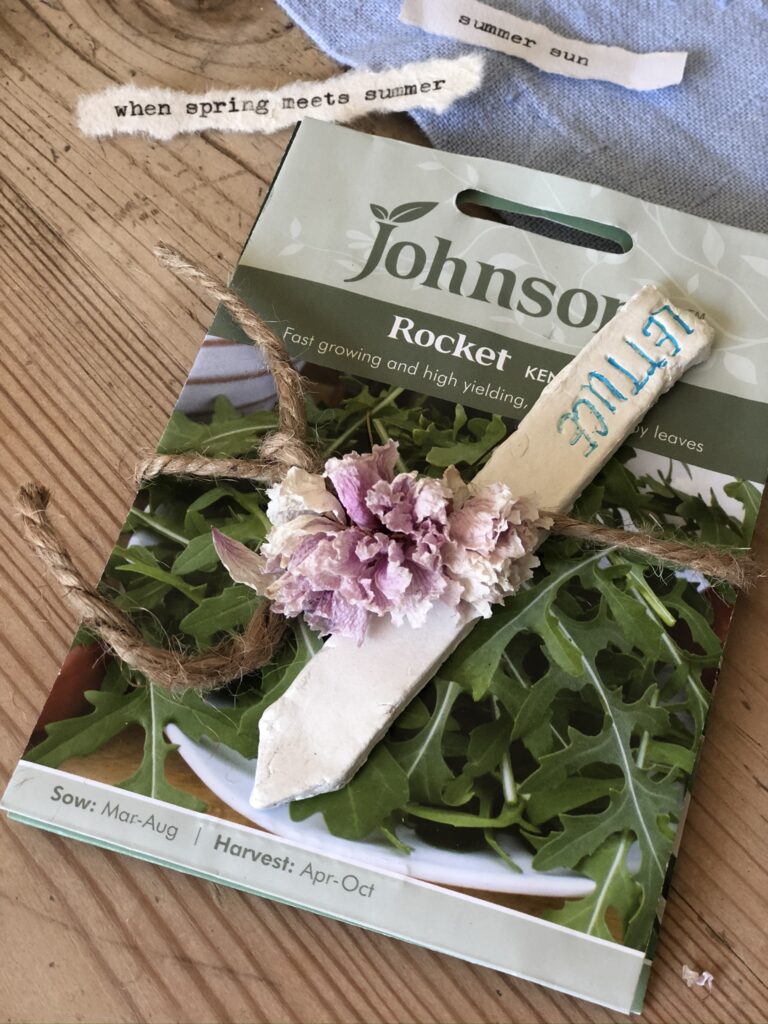
The dimensions I used are not prescriptive, choose what works best for your pot or gift. Mine are just under half a centimetre in thickness and ten centimetres in length. I feel any thinner and they may not be strong enough for their purpose. I used an old set square to measure and keep a straight line which I cut with the scalpel and then I fashioned a point at one end of each herb clay marker which will poke in the soil. I selected letters to spell out the names of common garden herbs and scooted around the edges of the diy clay herb markers with a damp skewer which works a treat at wiping off stray bits of clay. And then it was out in the sunshine to dry for a few hours or overnight in a warm spot in the home if you are not yet enjoying warm summer days.

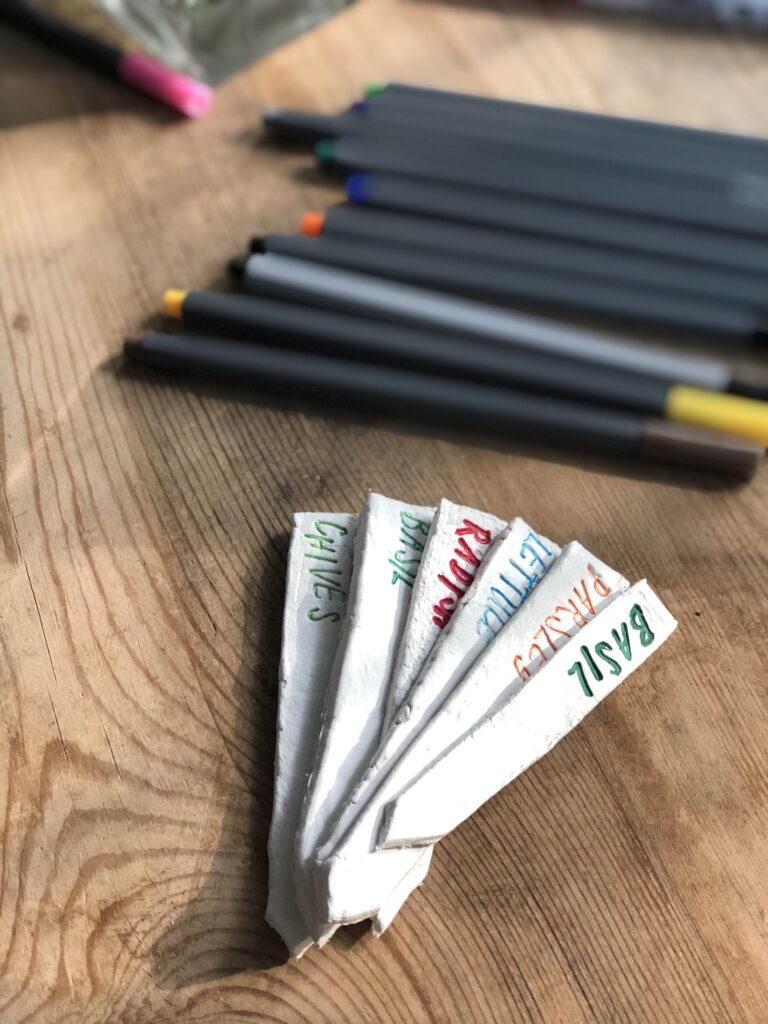
They look delightful as is, or you can set to with a fine felt tip or water colour paint to fill in each stamped letter. I’m not too fussed about the radish result. I used a thicker nibbed Sharpie on that herb marker. Once you are happy with your design and let’s face it this is yet another craft open to various interpretations, a quick spray with this will protect and seal should the clay herb markers stray outside.
And that my friend is it. A simple quick craft resulting in ever so rustic diy herb clay markers.
And if you are looking for even more ways to jazz up your clay garden signs, a Pinterest search will offer them in every colour of the rainbow, encourage you to stamp herb names in a great many ways and those with beautiful handwriting will be further encouraged to go freestyle. I expect calligraphy would look delightful too. A perfect afternoon craft with the grandies or young children or on your own.
A couple of these diy clay herb markers are a gift to me and my rickety greenhouse of course and a few will make it as presents, perhaps teamed up with these or maybe this and definitely there will be a few with these. Don’t forget to share here or over on my Instagram account if you do make them. I love to see your own spin on the crafts in these pages.
Next week it’s the return of my end of the month, subscriber only In Real Life newsletter. So, if you’ve not yet signed up and you’d like to read a roundup of the month coupled with a few recommendations, there’s a form you can fill out directly under this post. Until then…x
Update: My diy herb clay tags have suffered soggy bottom syndrome! Further research suggested several coats of acrylic spray to harden off substantially. I only applied two thin coats so please beware if you make these, you’ll need to truly seal the clay so the damp and water doesn’t soak through!x
And if you are looking for more ideas for pretty signs for the home and garden you might like this craft


So pleased you like them and such a quick and rewarding win!x
This craft is absolutely perfect for making to the shape and size you like best. So glad you enjoyed the craft Sonja do share if you make them, we’d love to see
So glad you like these and yes you could and they would look just perfect in your garden or on your windowsill!x
Ooh I think I could make those!!
Always a good inspiration Mrs M xx
So very crafty and rustic, I think I would make the top like a lot wider , perfect for my big garden and flower garden,
Love this craft
Just lovely Mrs M… an inspiration as always! Xxx
And you are so supportive and kind to your old mum! I love these and think they would make excellent Christmas gifts too signalling to friends what the summer ahead will bring!x
Thank you darling! I’m not sure mine will actually make it to the gift cupboard so pleased with them am I!x
What perfect little gift ideas! Love them hels!x
YES love these! I totally agree…a little sign in a “bald patch” makes it beautiful with anticipation of what’s to grow!
You’re so clever, so creative and write so beautifully….so proud of you xxxxx
Thank you Chris, so much for letting me know you enjoyed the read and many many congratulations on the birth of little Cecily. She is one lucky granddaughter for sure!x
lovely as always Helen…sending you lots of love …Chris xx