I once again have eyes like saucers. During this current phase in our home renovations, the amount of excess packaging and plastic wrapped around many of our new purchases has been quite extraordinary. And whilst we’ve gifted and sold a great deal of what we already had, I continue to try to find ways to address the constant push and pull of minimising the M’s impact on the environment and ease my conscience where I can. One area where I like to think we are doing our bit and winning however is in the garden. I recycle just about anything and everything in our garden spaces and get a huge amount of enjoyment from doing so. Today’s craft is not a new one; people have been doing this for years. I haven’t though and if just one of you were thinking of ways to save your pennies and add to your own planet preserving journey, you might enjoy these recycled paper seedling pots. The perfect seed growing solution for your flower and vegetable garden…
Gather together all you will need:
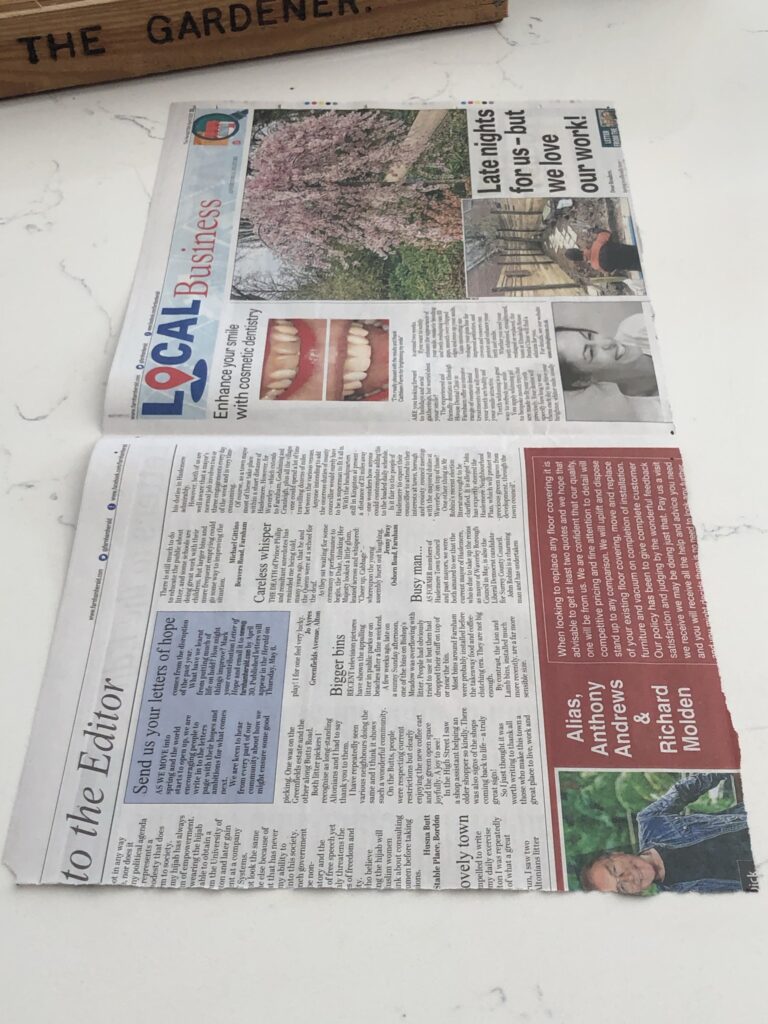
- Old newspapers or recycled paper
- Ruler
- Pen
- Scissors – optional
- Patience – absolutely necessary
You do need patience to learn this craft and then once you’ve got the hang of it you can mindfully pass away a happy half hour with the company of your radio creating a wonderful craft for yours or a loved one’s garden.
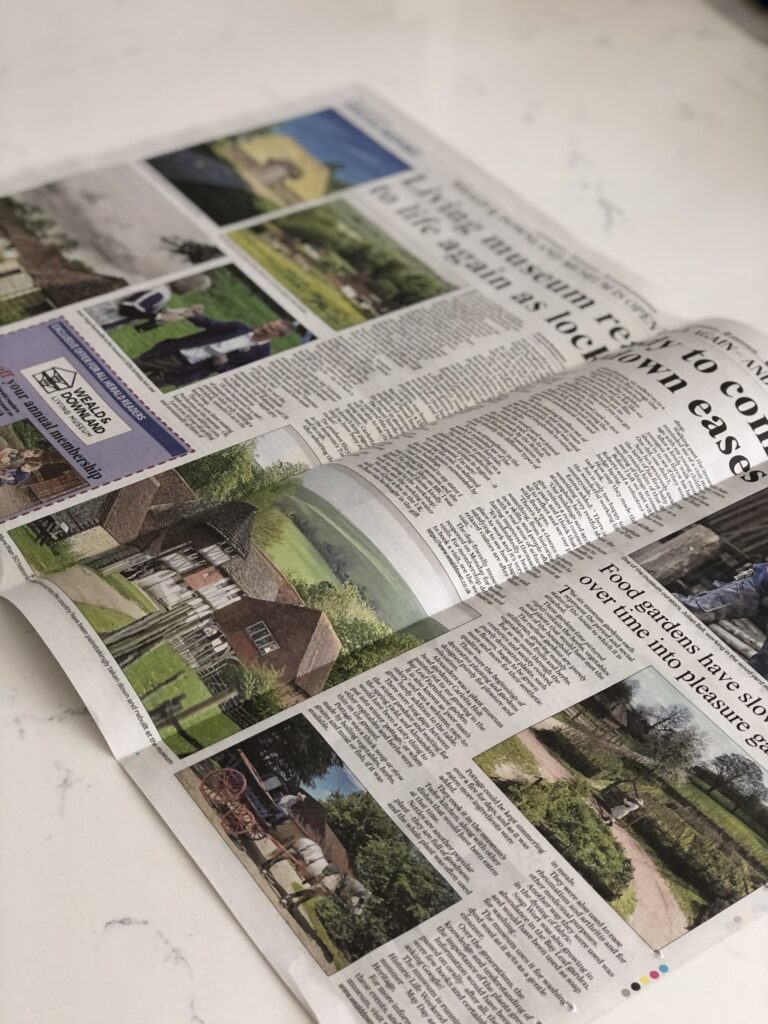
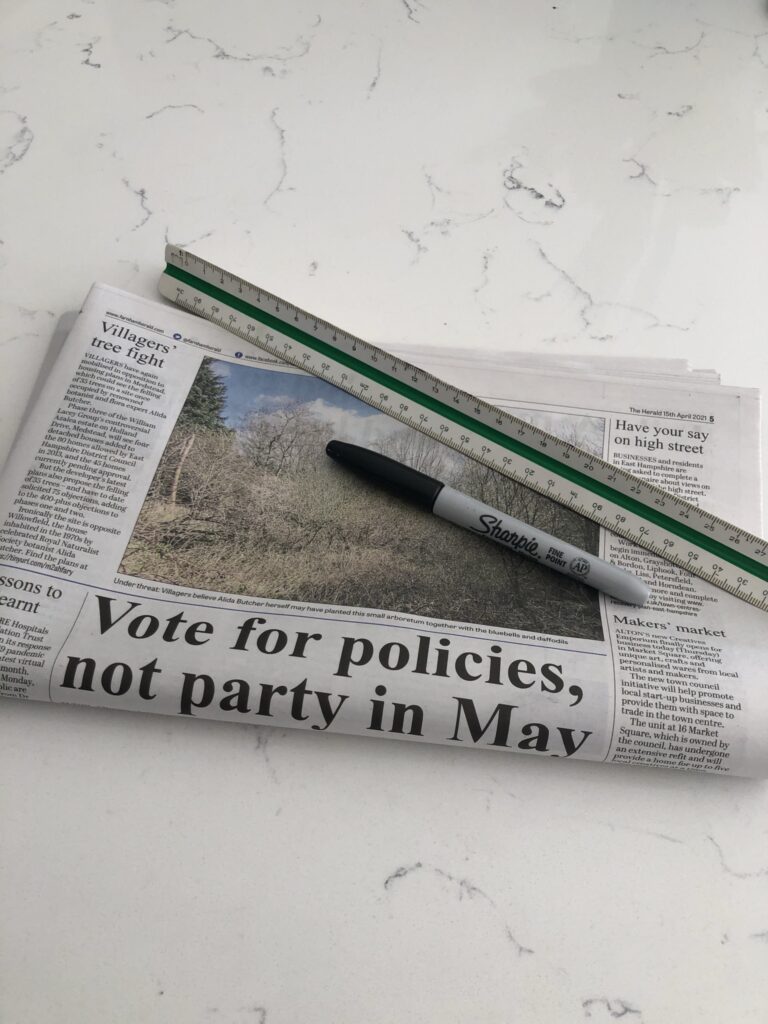
Regular readers to my blog will know I am a little slap-happy when it comes to following rules and instructions and a great many of my crafts end up being my interpretation of a theme. This one is a little different though since you do need to be quite precise and neat so as this is my first extremely detailed tutorial, do let me know if any of my instructions need tweaking. You should pay attention to your crisp folded edges for best results and don’t be put off if your first one isn’t quite perfect. Once you’ve got it, you won’t look back anytime soon. I mean, plastic pots versus recycled paper seedling pots? No contest.
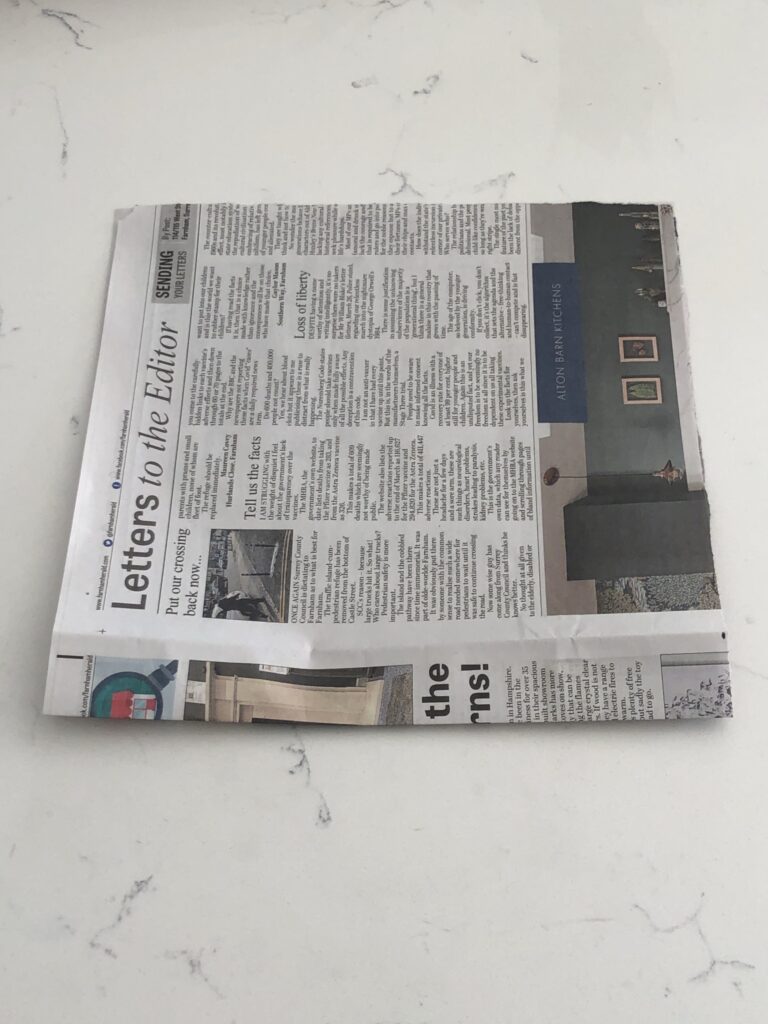
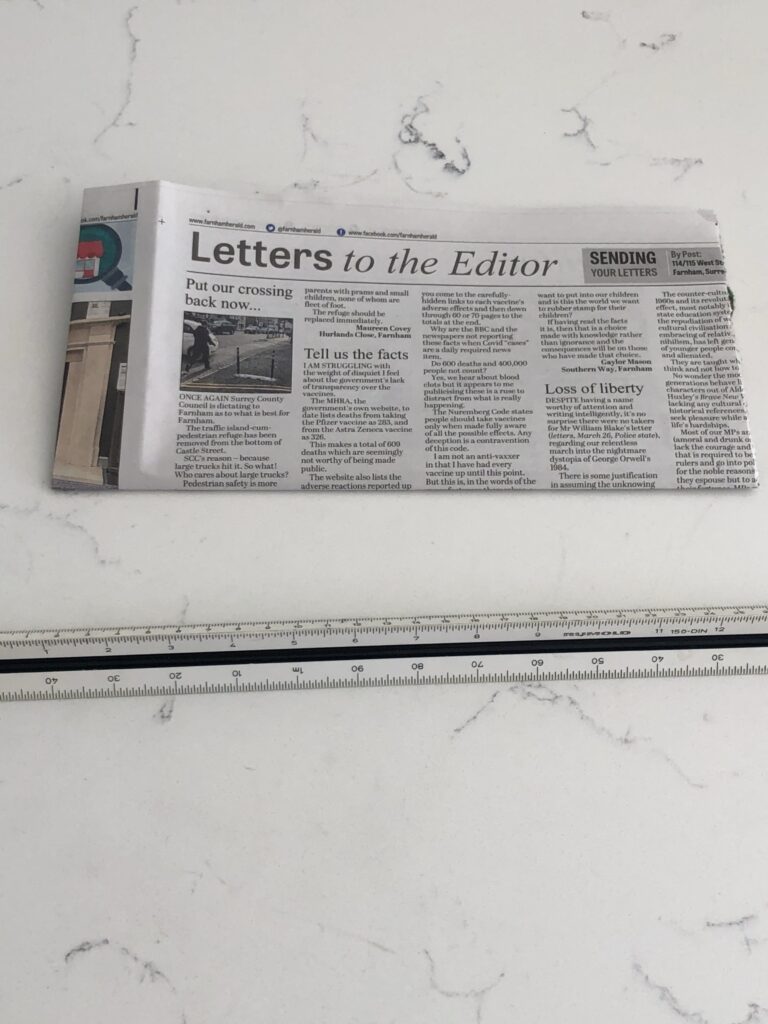
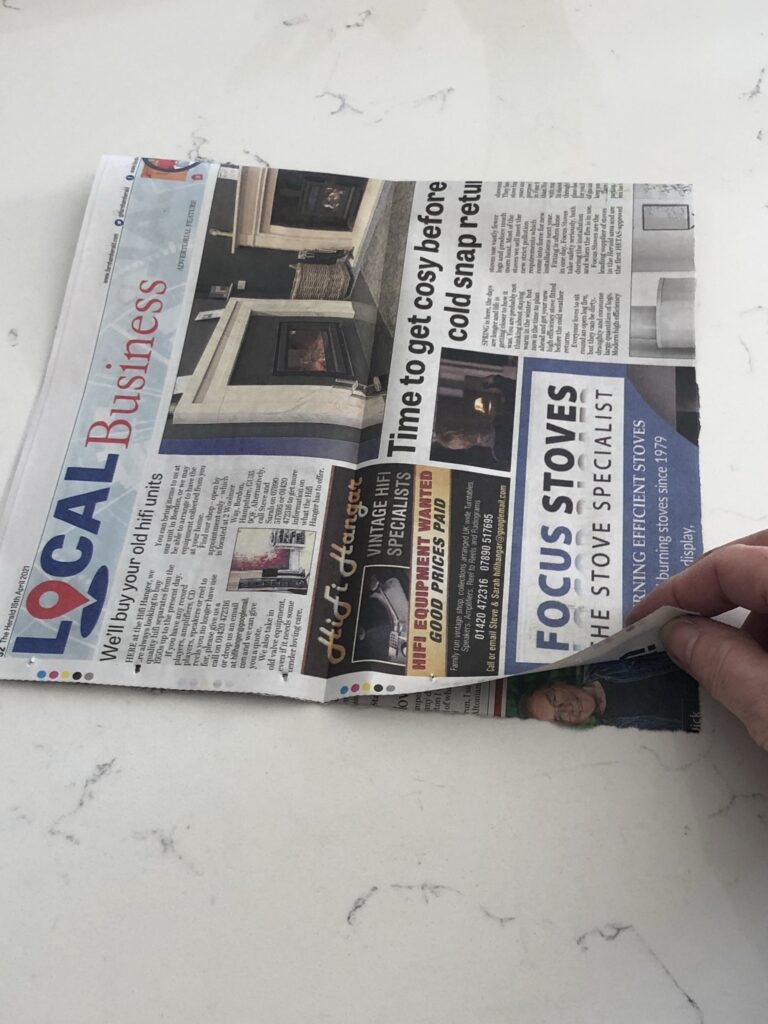
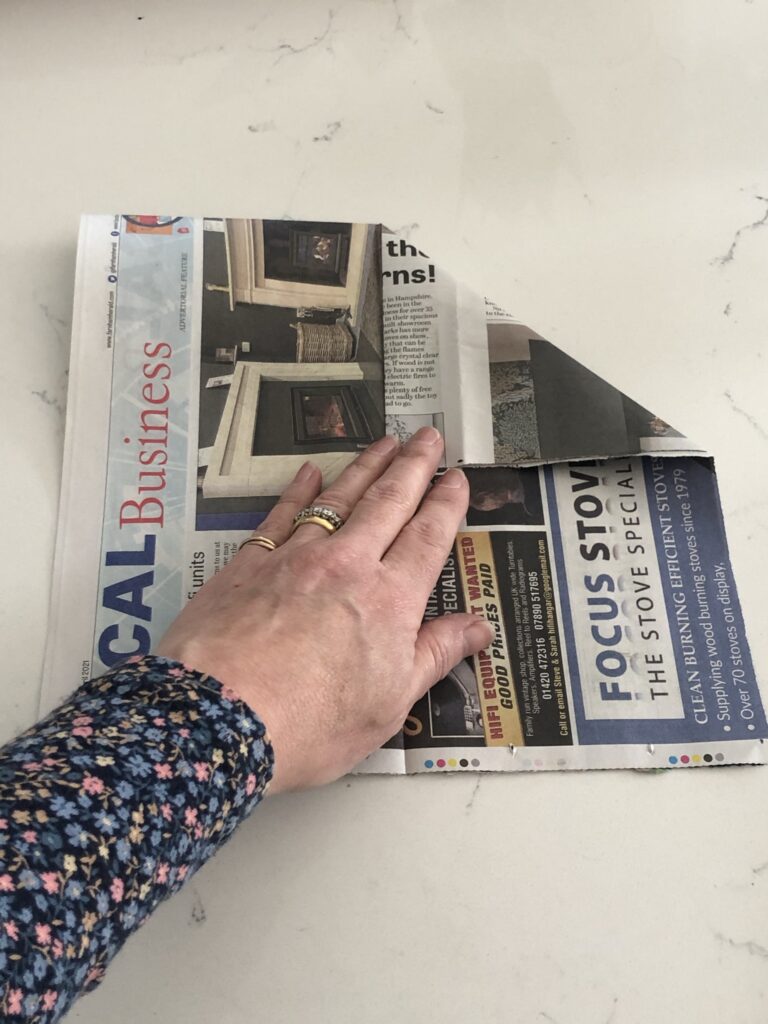
I watched a great many YouTube videos for my research – simply search newspaper seed pots, recycled paper seed pots or something similar – I tried a few variations on the theme too and this was my favourite. This tutorial will make you a six centimetre square seed pot which is perfect to sit snugly with others in a seed tray. Begin by measuring 25 centimetres by 50 centimetres with your pen and ruler and neatly tear or cut the newspaper with scissors to create your shape. Then fold your paper in half as you can see in the second photo and then in half again, photo three.
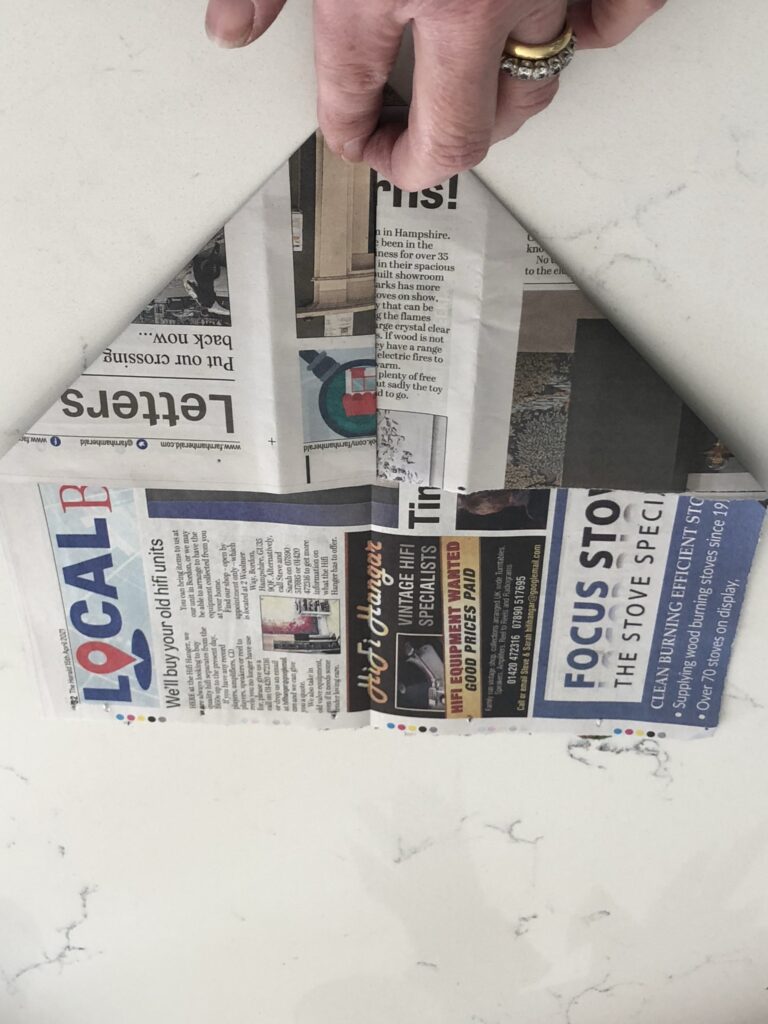
Now open up the second fold and continue to work with the original fold at the top and the flappy bits of paper at the bottom of your station – first photo. Fold the creased end in towards the centre crease you made earlier, to create half a point, second photo. Repeat on the other side, photo three, to create something akin to the little paper aeroplanes you used to make.
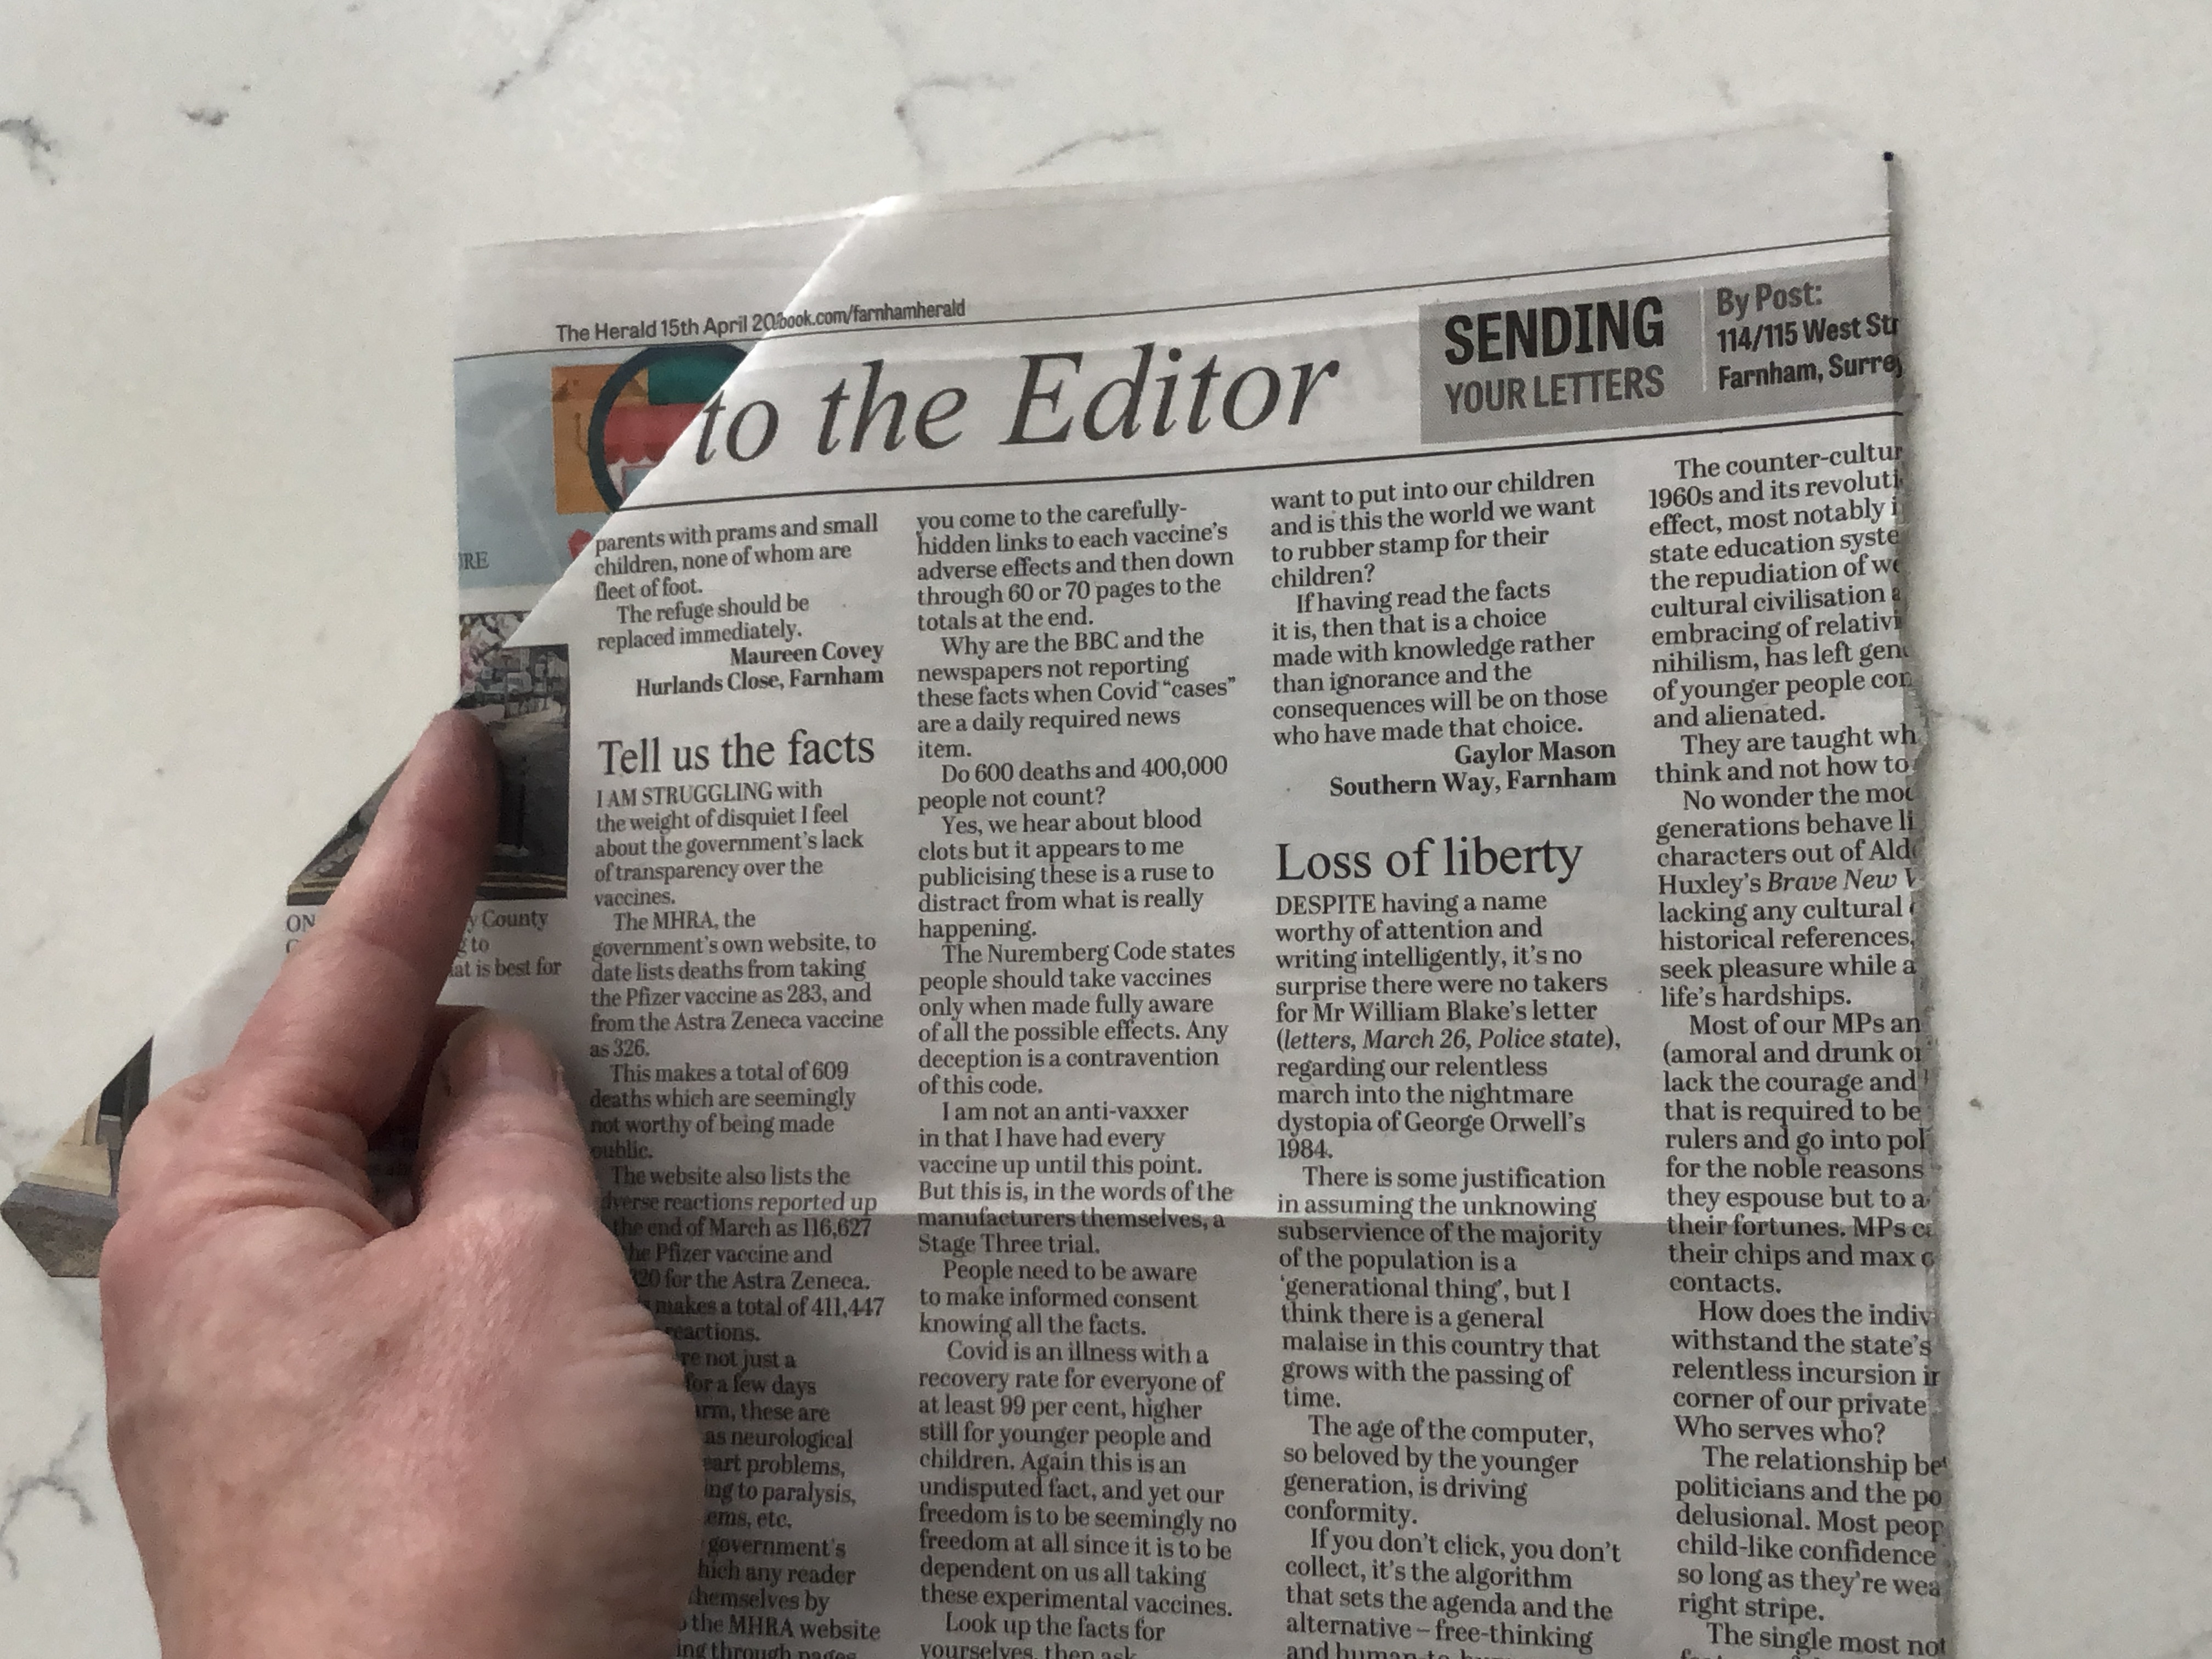
Take the top flappy piece of paper under the point shown in photo one and fold in half horizontally to meet the points, photo two. Then fold over again, photo three and now you have something which resembles half the paper hats you made once upon a time. I know you made them too
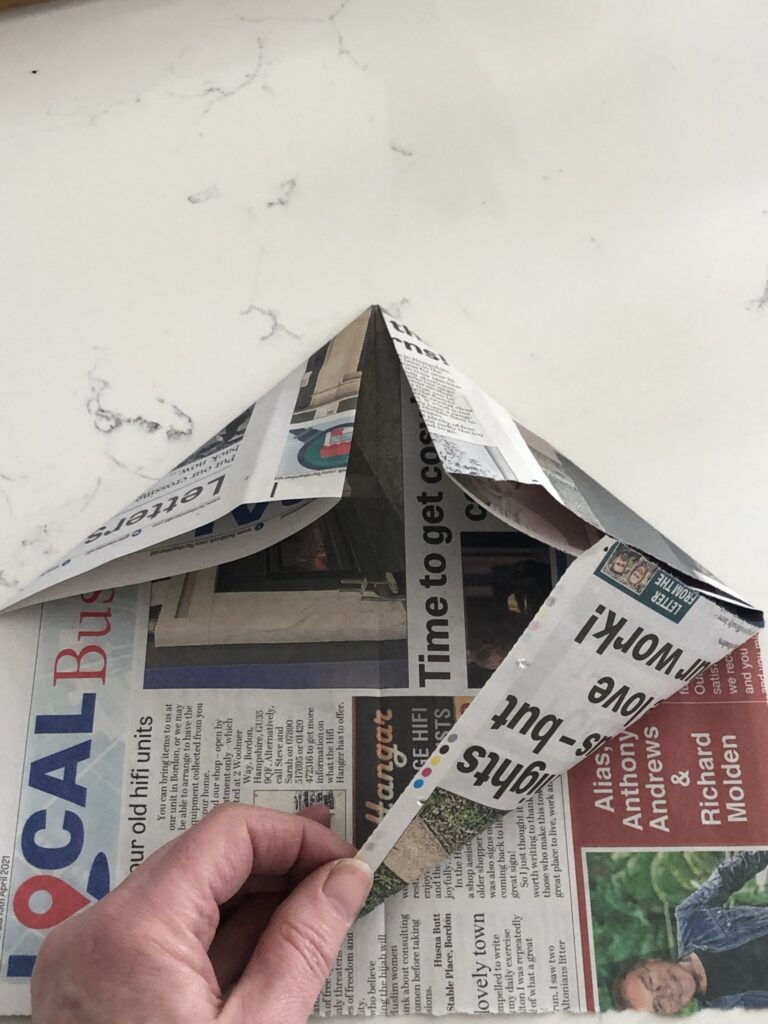
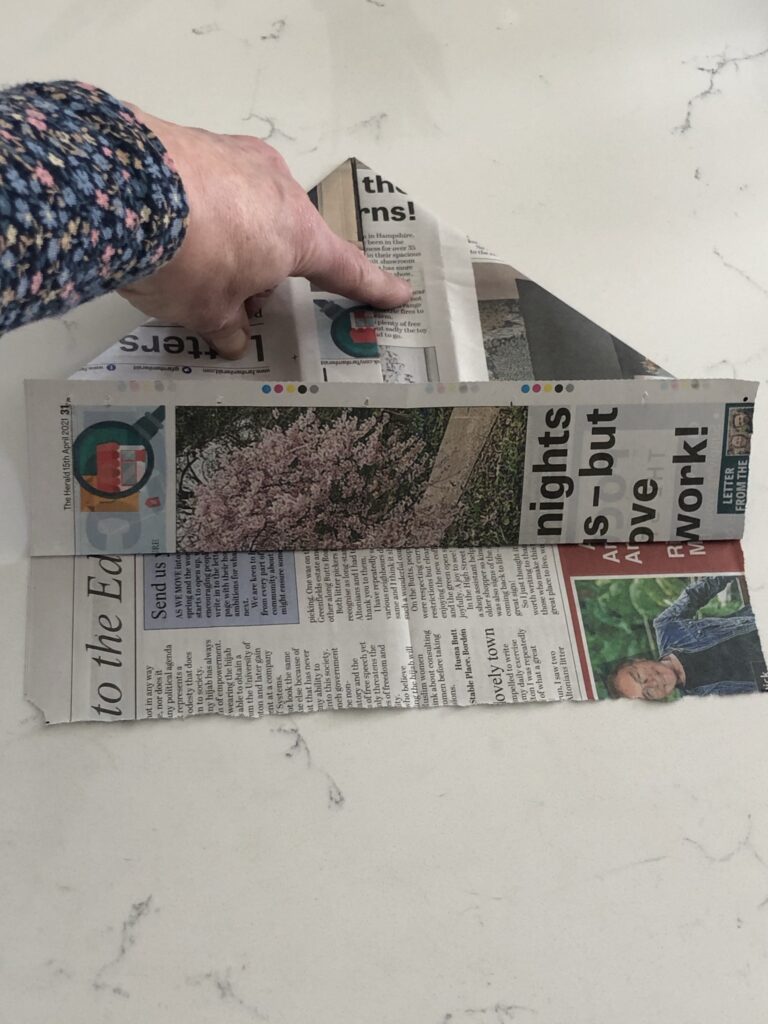
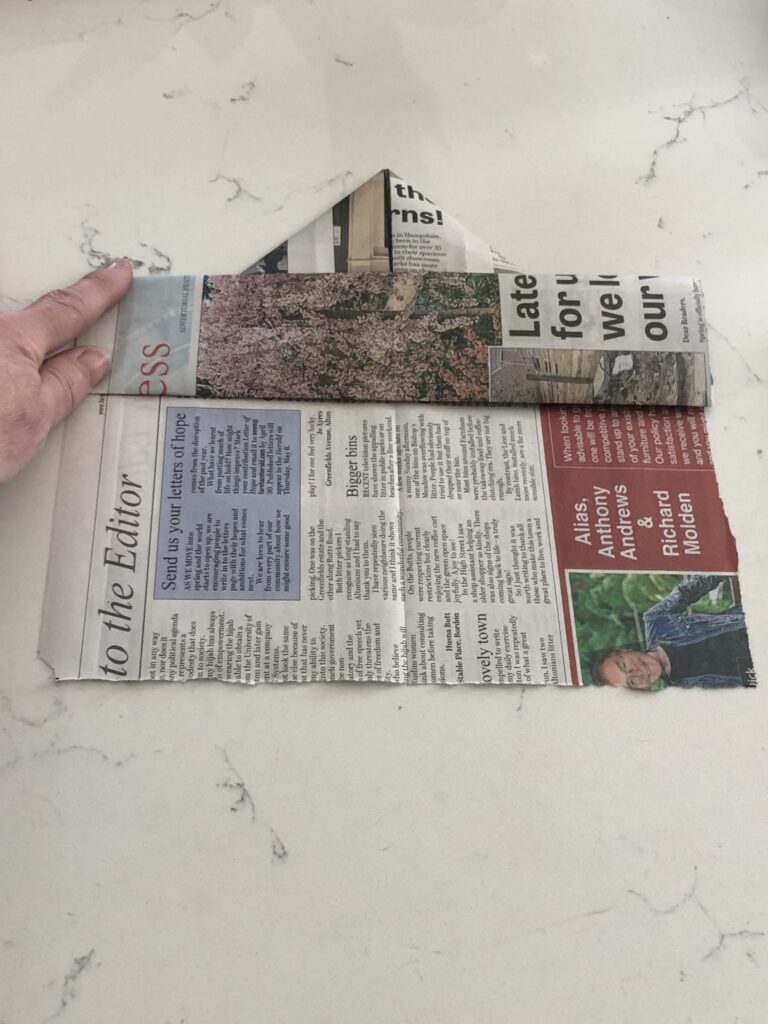
Next flip over. The craft not you; you haven’t finished yet. Your flipping time will come. You should now have something like the first photo. Look where I am pointing in the second photo. You want to now fold the long edge on the right of this first photo over to meet your centre fold like the third photo shows and then do the same to the other side, as in the photo four.
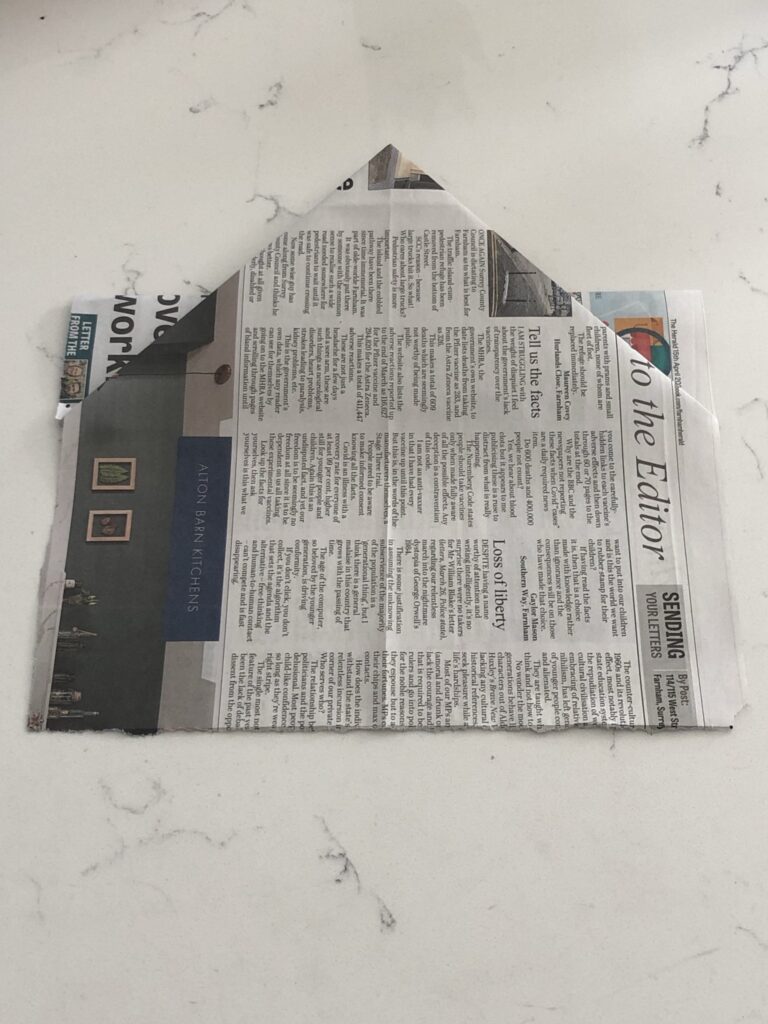
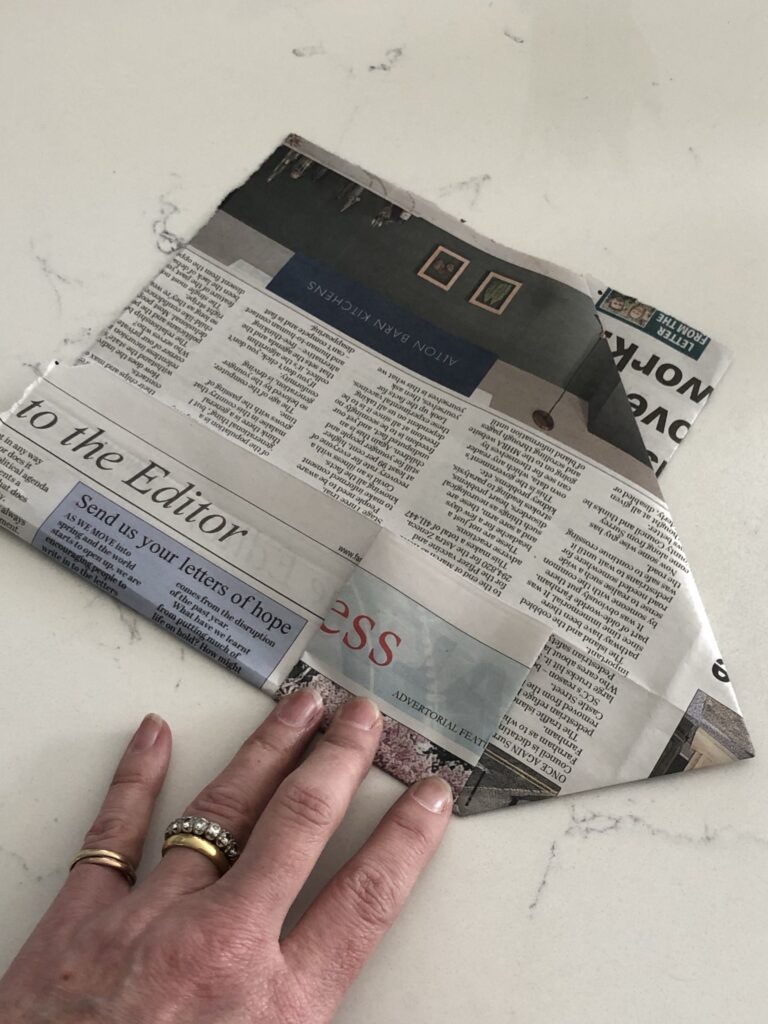
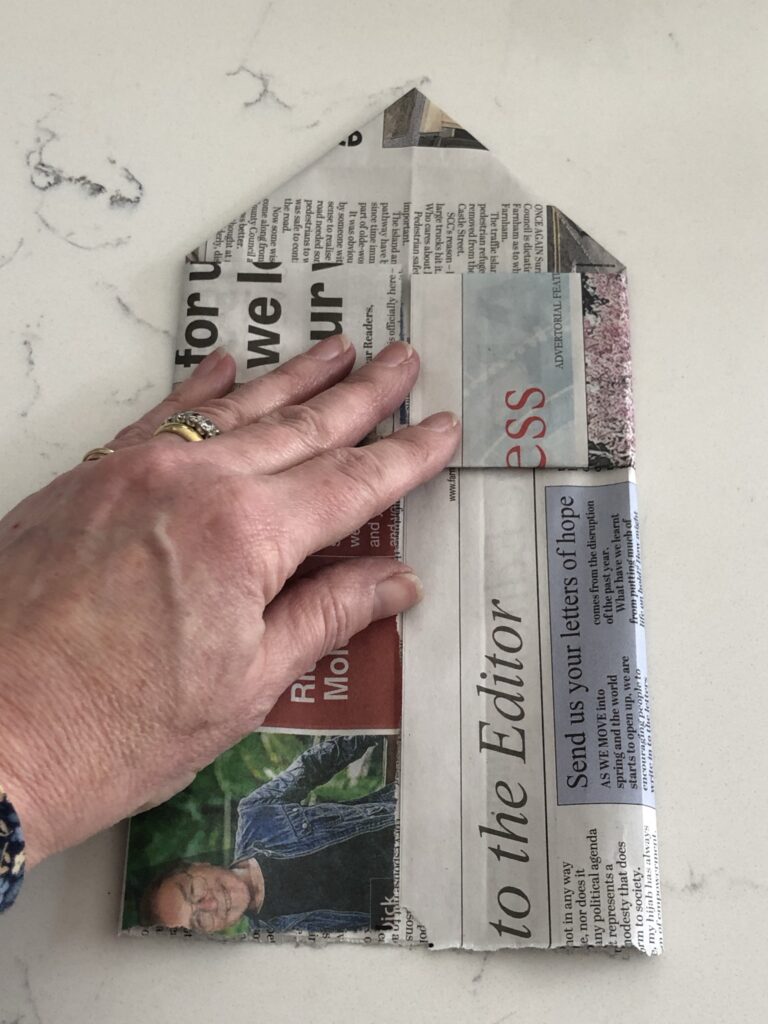
Keeping your point uppermost, fold the bottom end up once, first photo and crease crisply and then fold again, second photo.
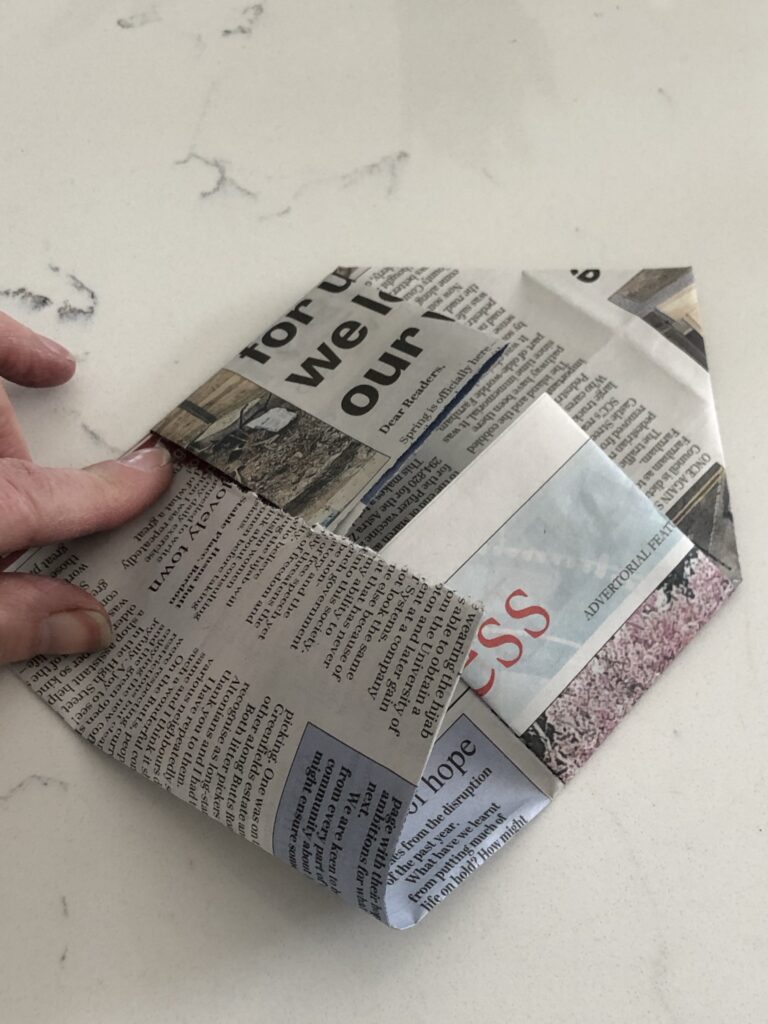
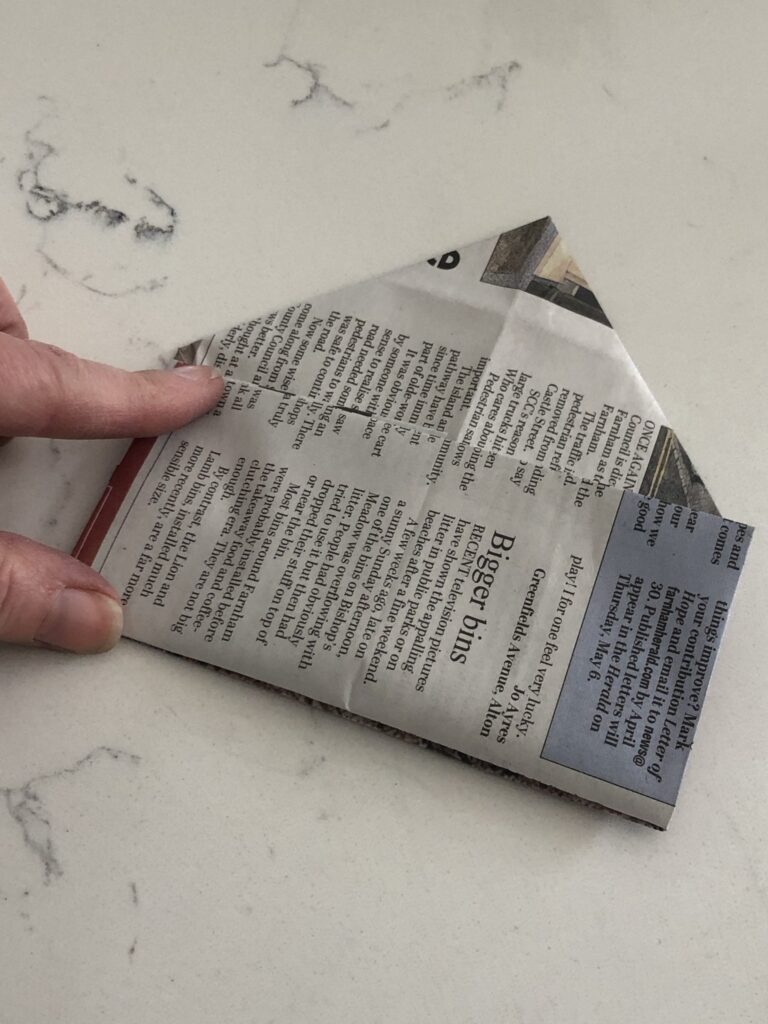
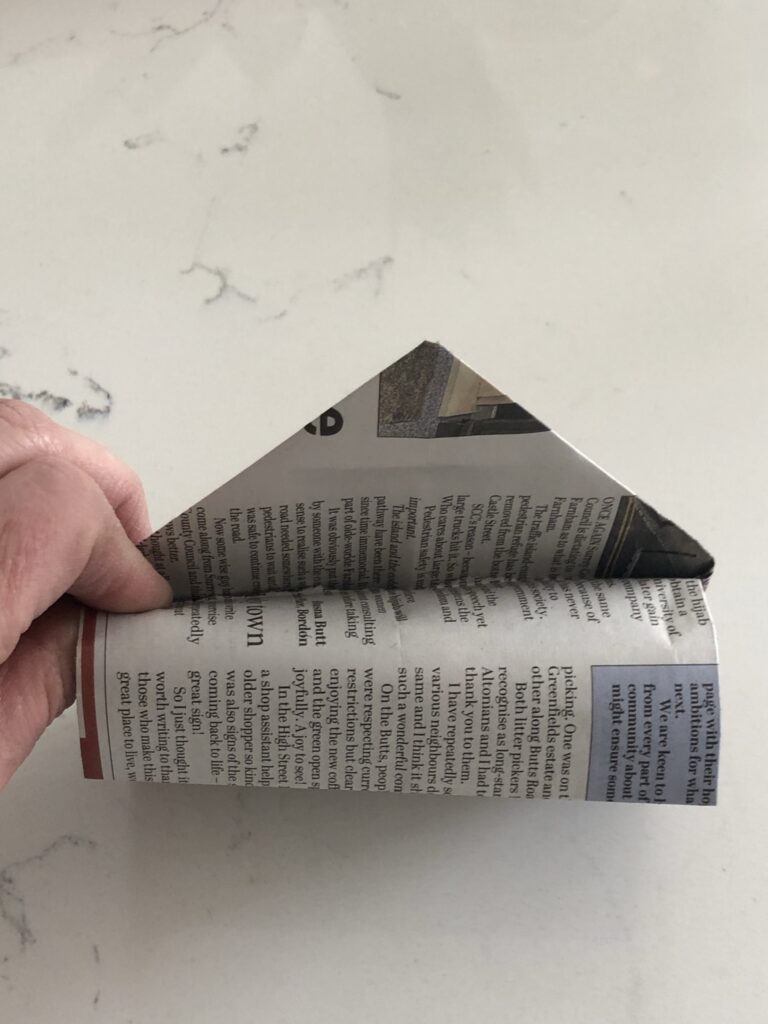
Here comes the only tricky part and you can’t give up now so here we go. You need to roll and tuck the second small fold you have just made, behind your two small flaps – first photo. Be careful now, there is a tiny hidden flap behind the obvious one on each side – second photo. You need to go behind both flaps– third photo. And when you’ve worked it out you will have something which resembles a pointed pocket, as in my fourth photo.
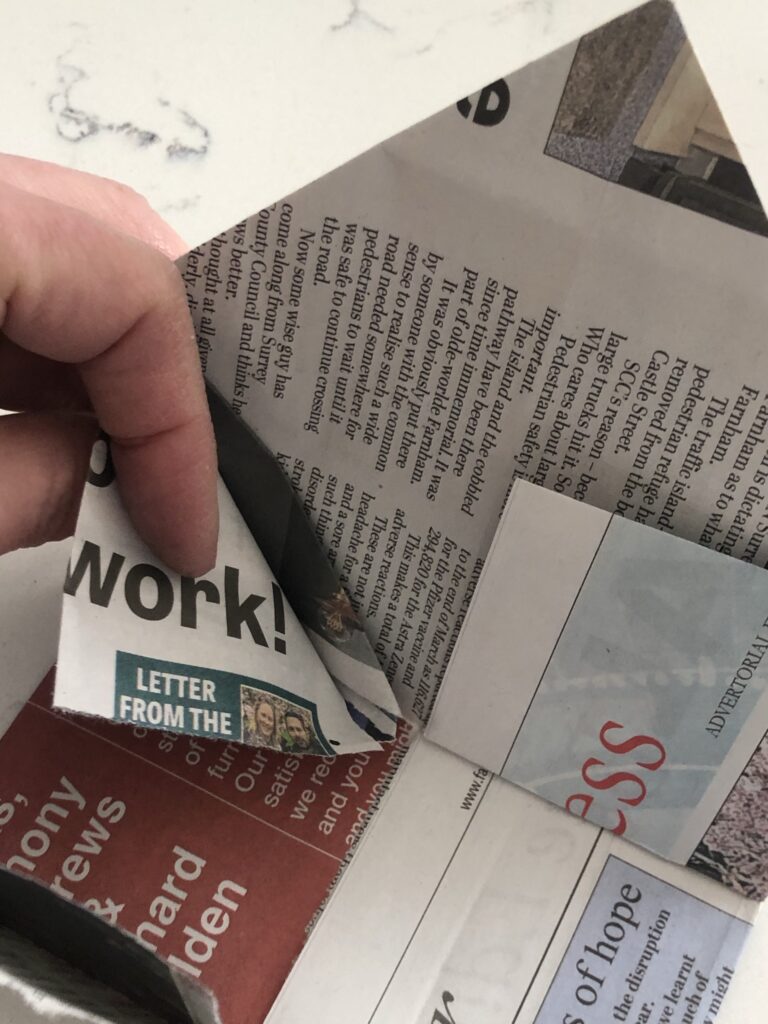
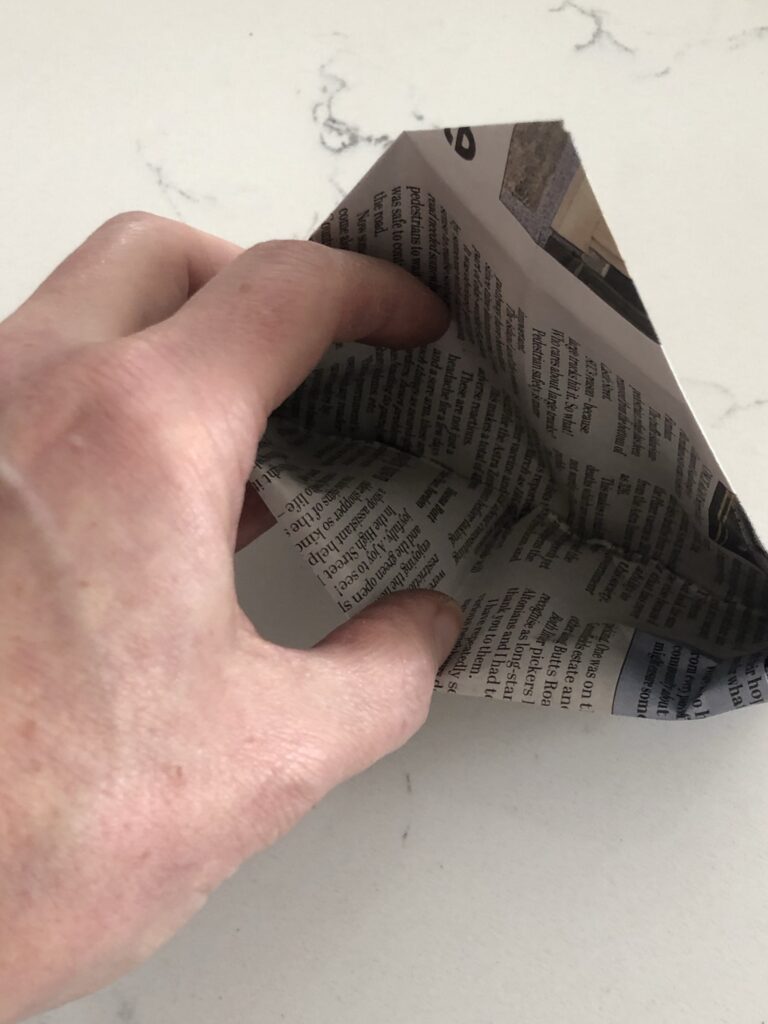
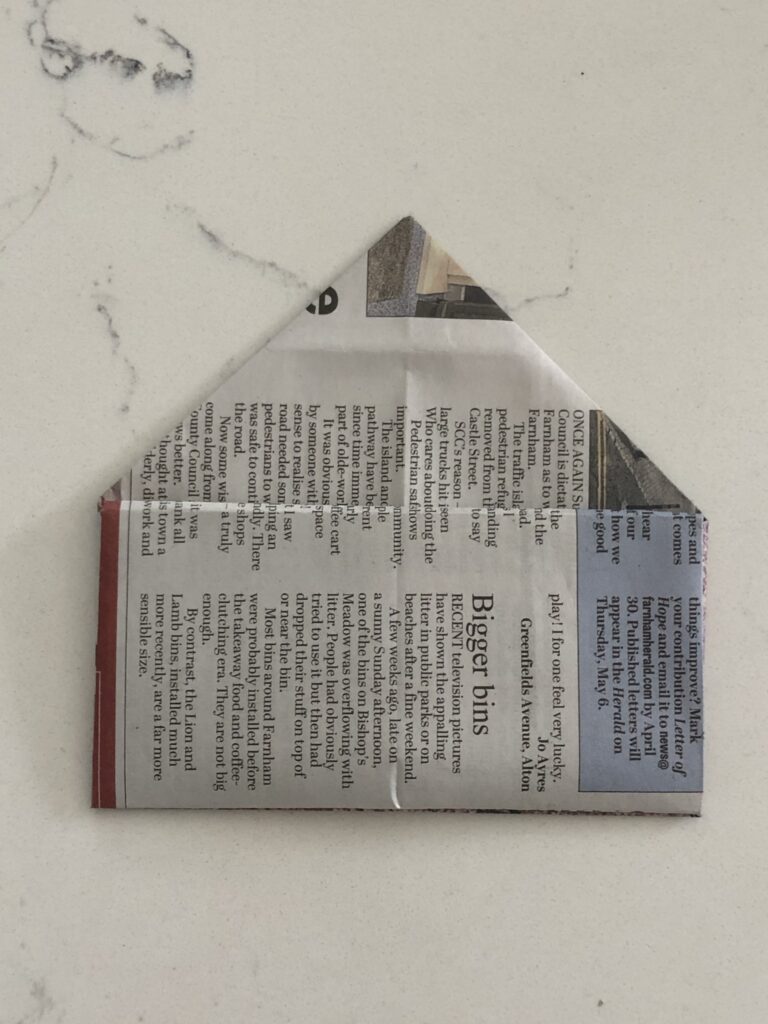
If you have no patience left, grab a cuppa because you’ll need to find a little more to turn your pointed pocket into a cube and once you do, you will have created the first of many neat and tidy recycled paper seedling pots. Flip over your pointed pocket again and do you see where I am pointing in the first photo? You are going to take this point, over to where I am pointing in the second photo and you are then going to crease the paper only where I am creasing with my right index finger in the final photo.
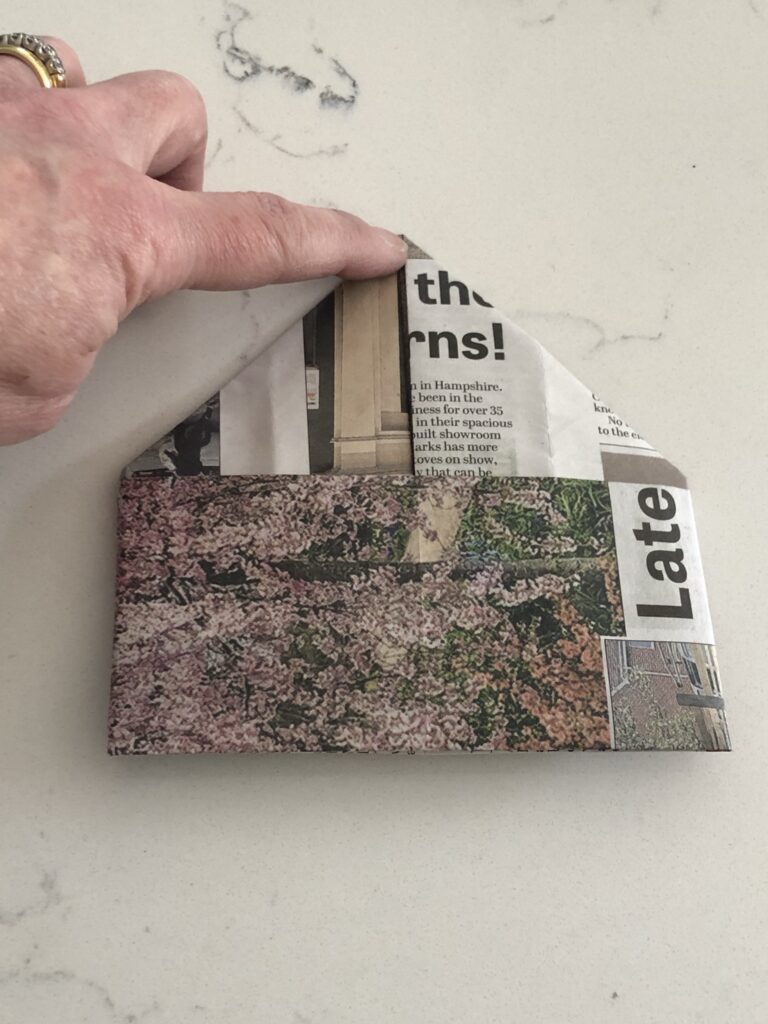
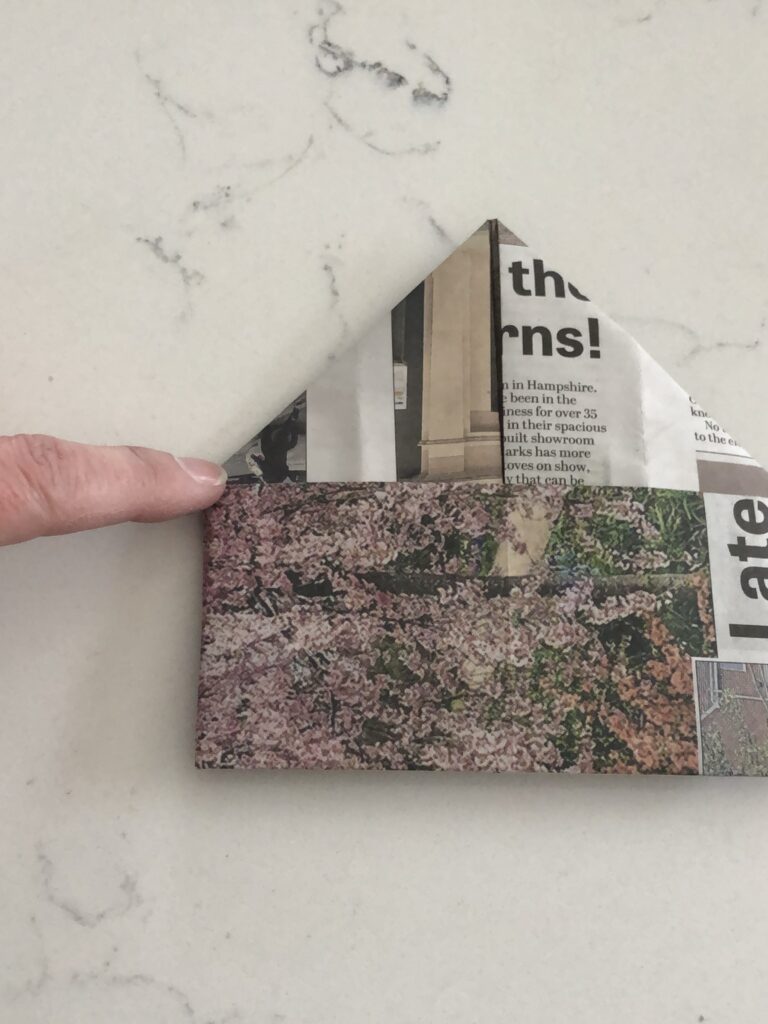
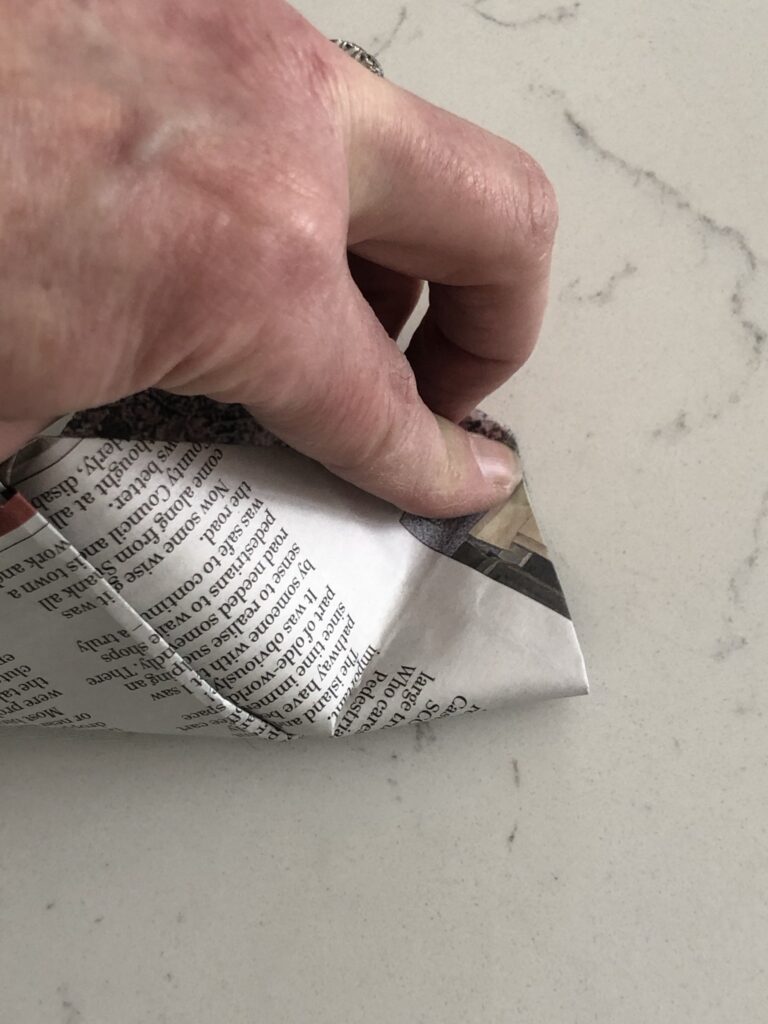
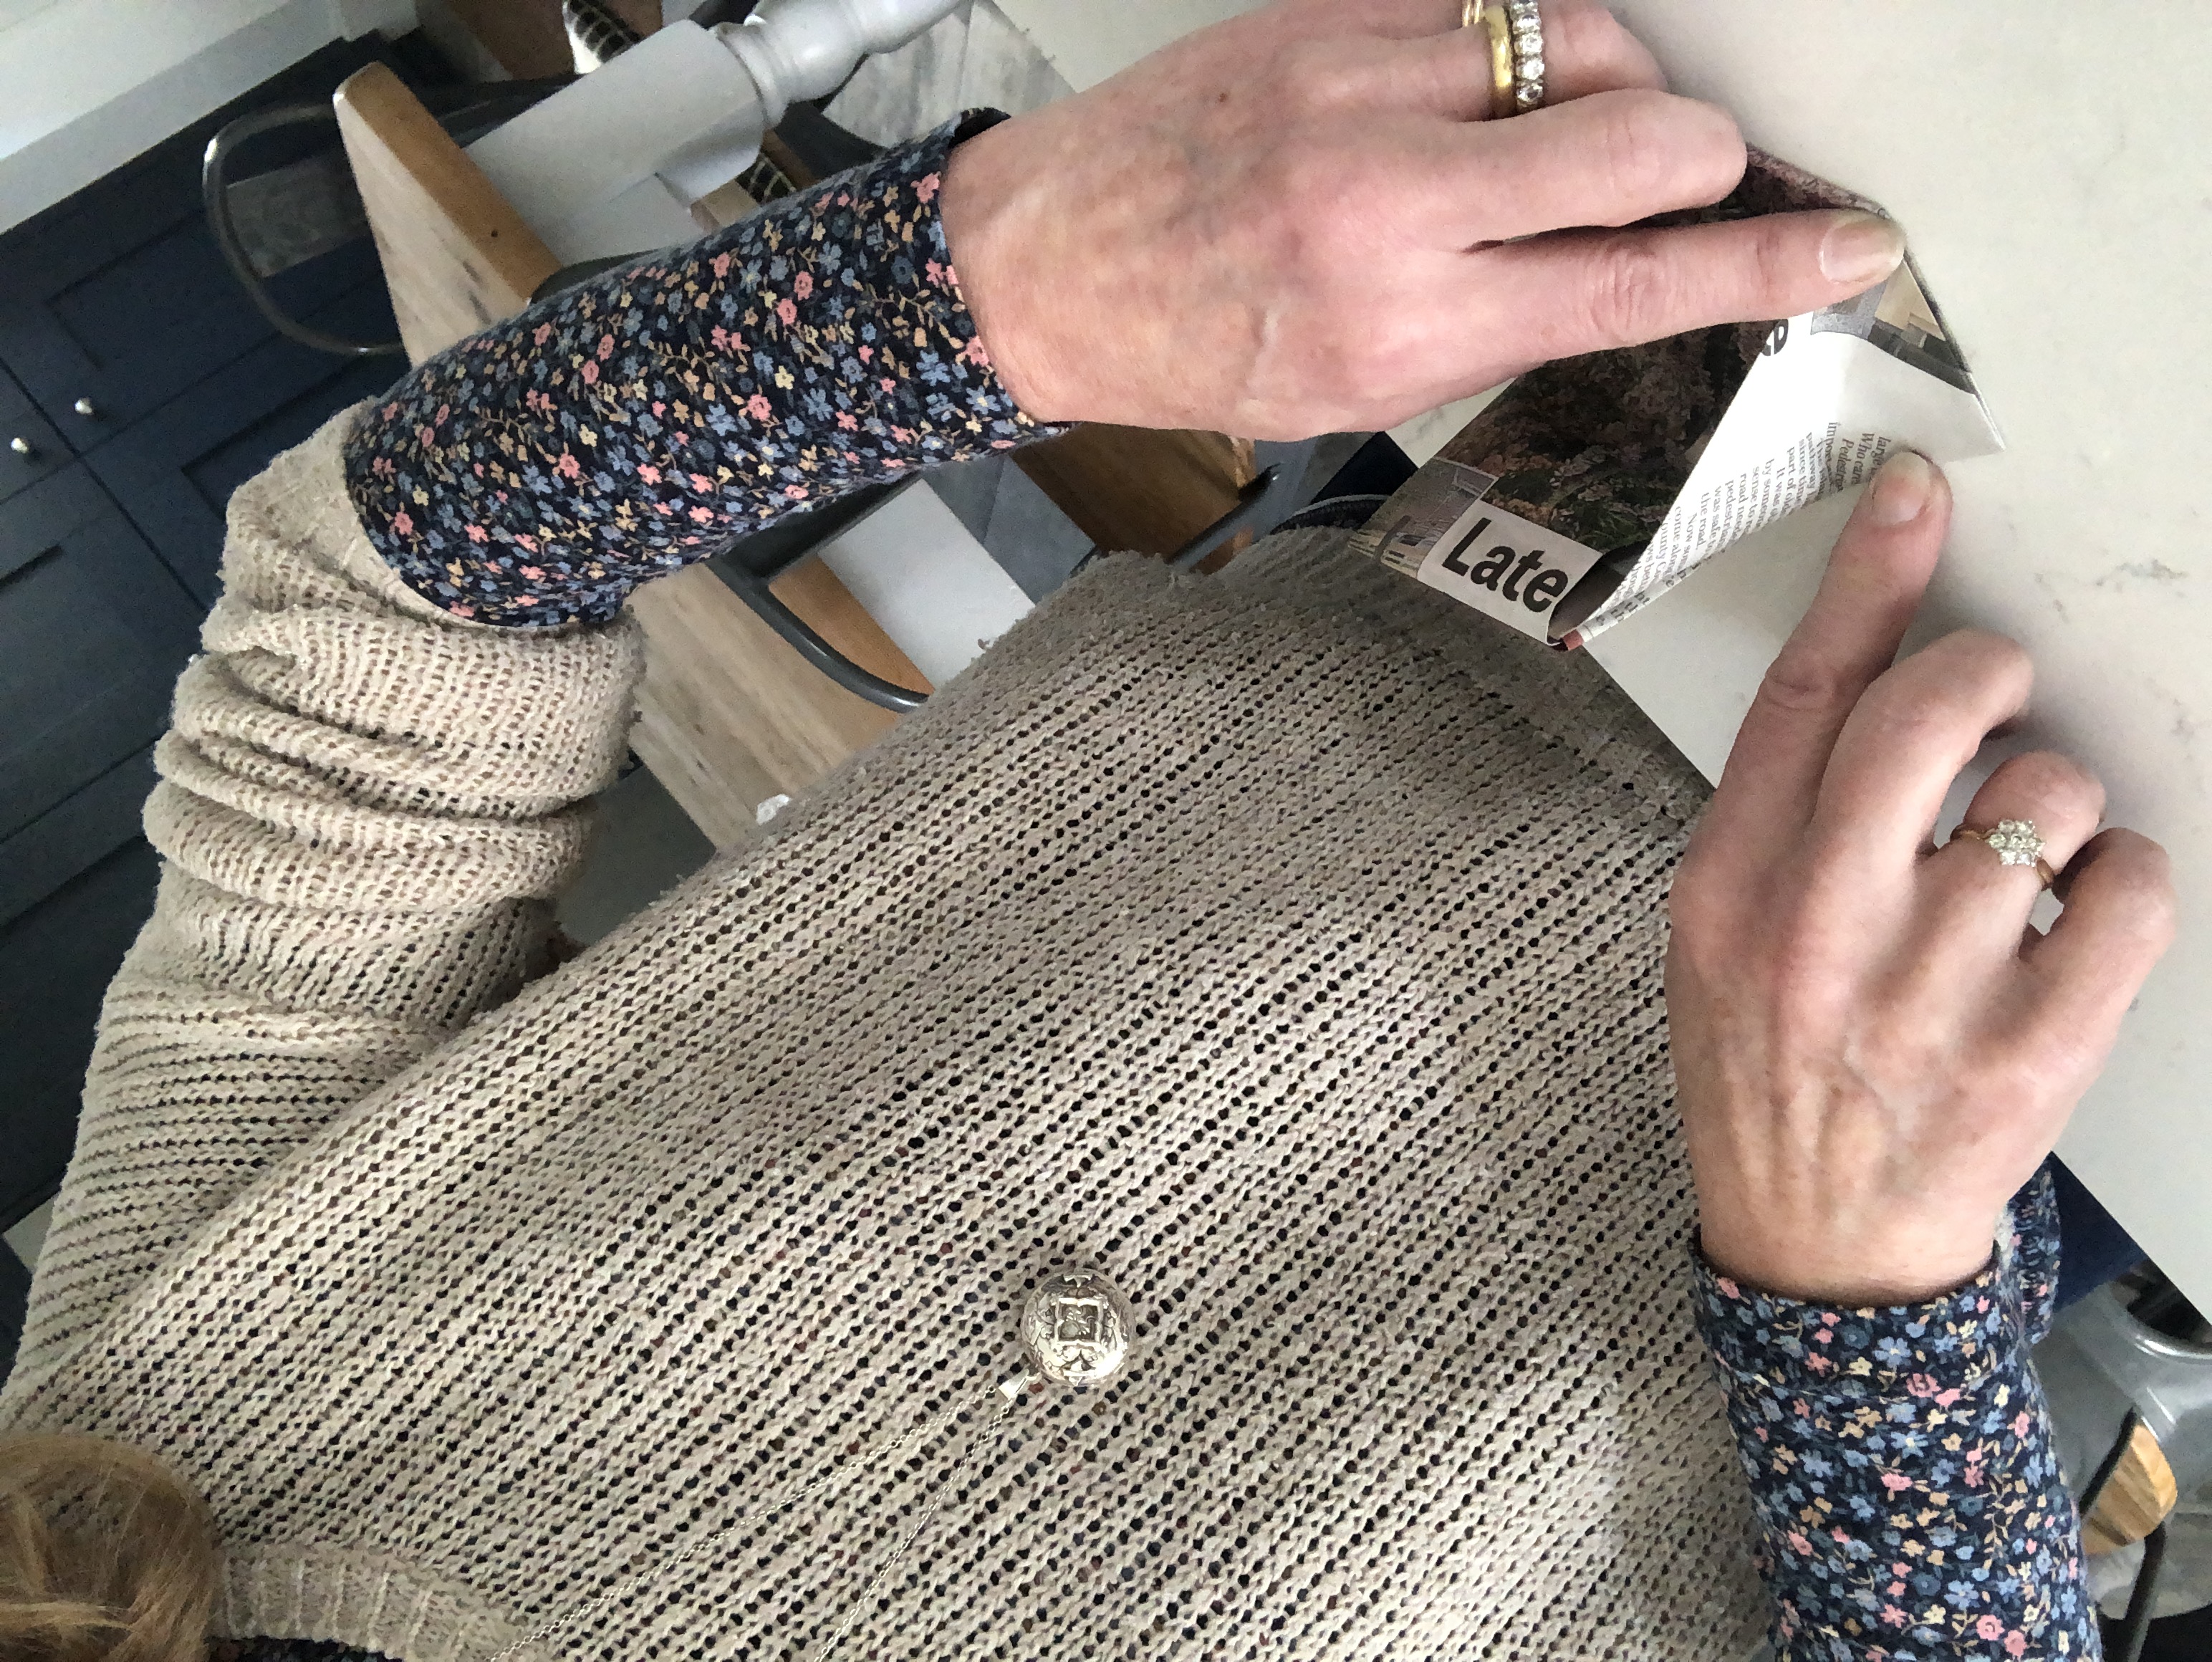
Then open up your pointed pocket, wiggle your fingers around inside until a cube starts to form in front of your very eyes. And right where you made your last crease will naturally help create the bottom of your recycled paper seedling pot.
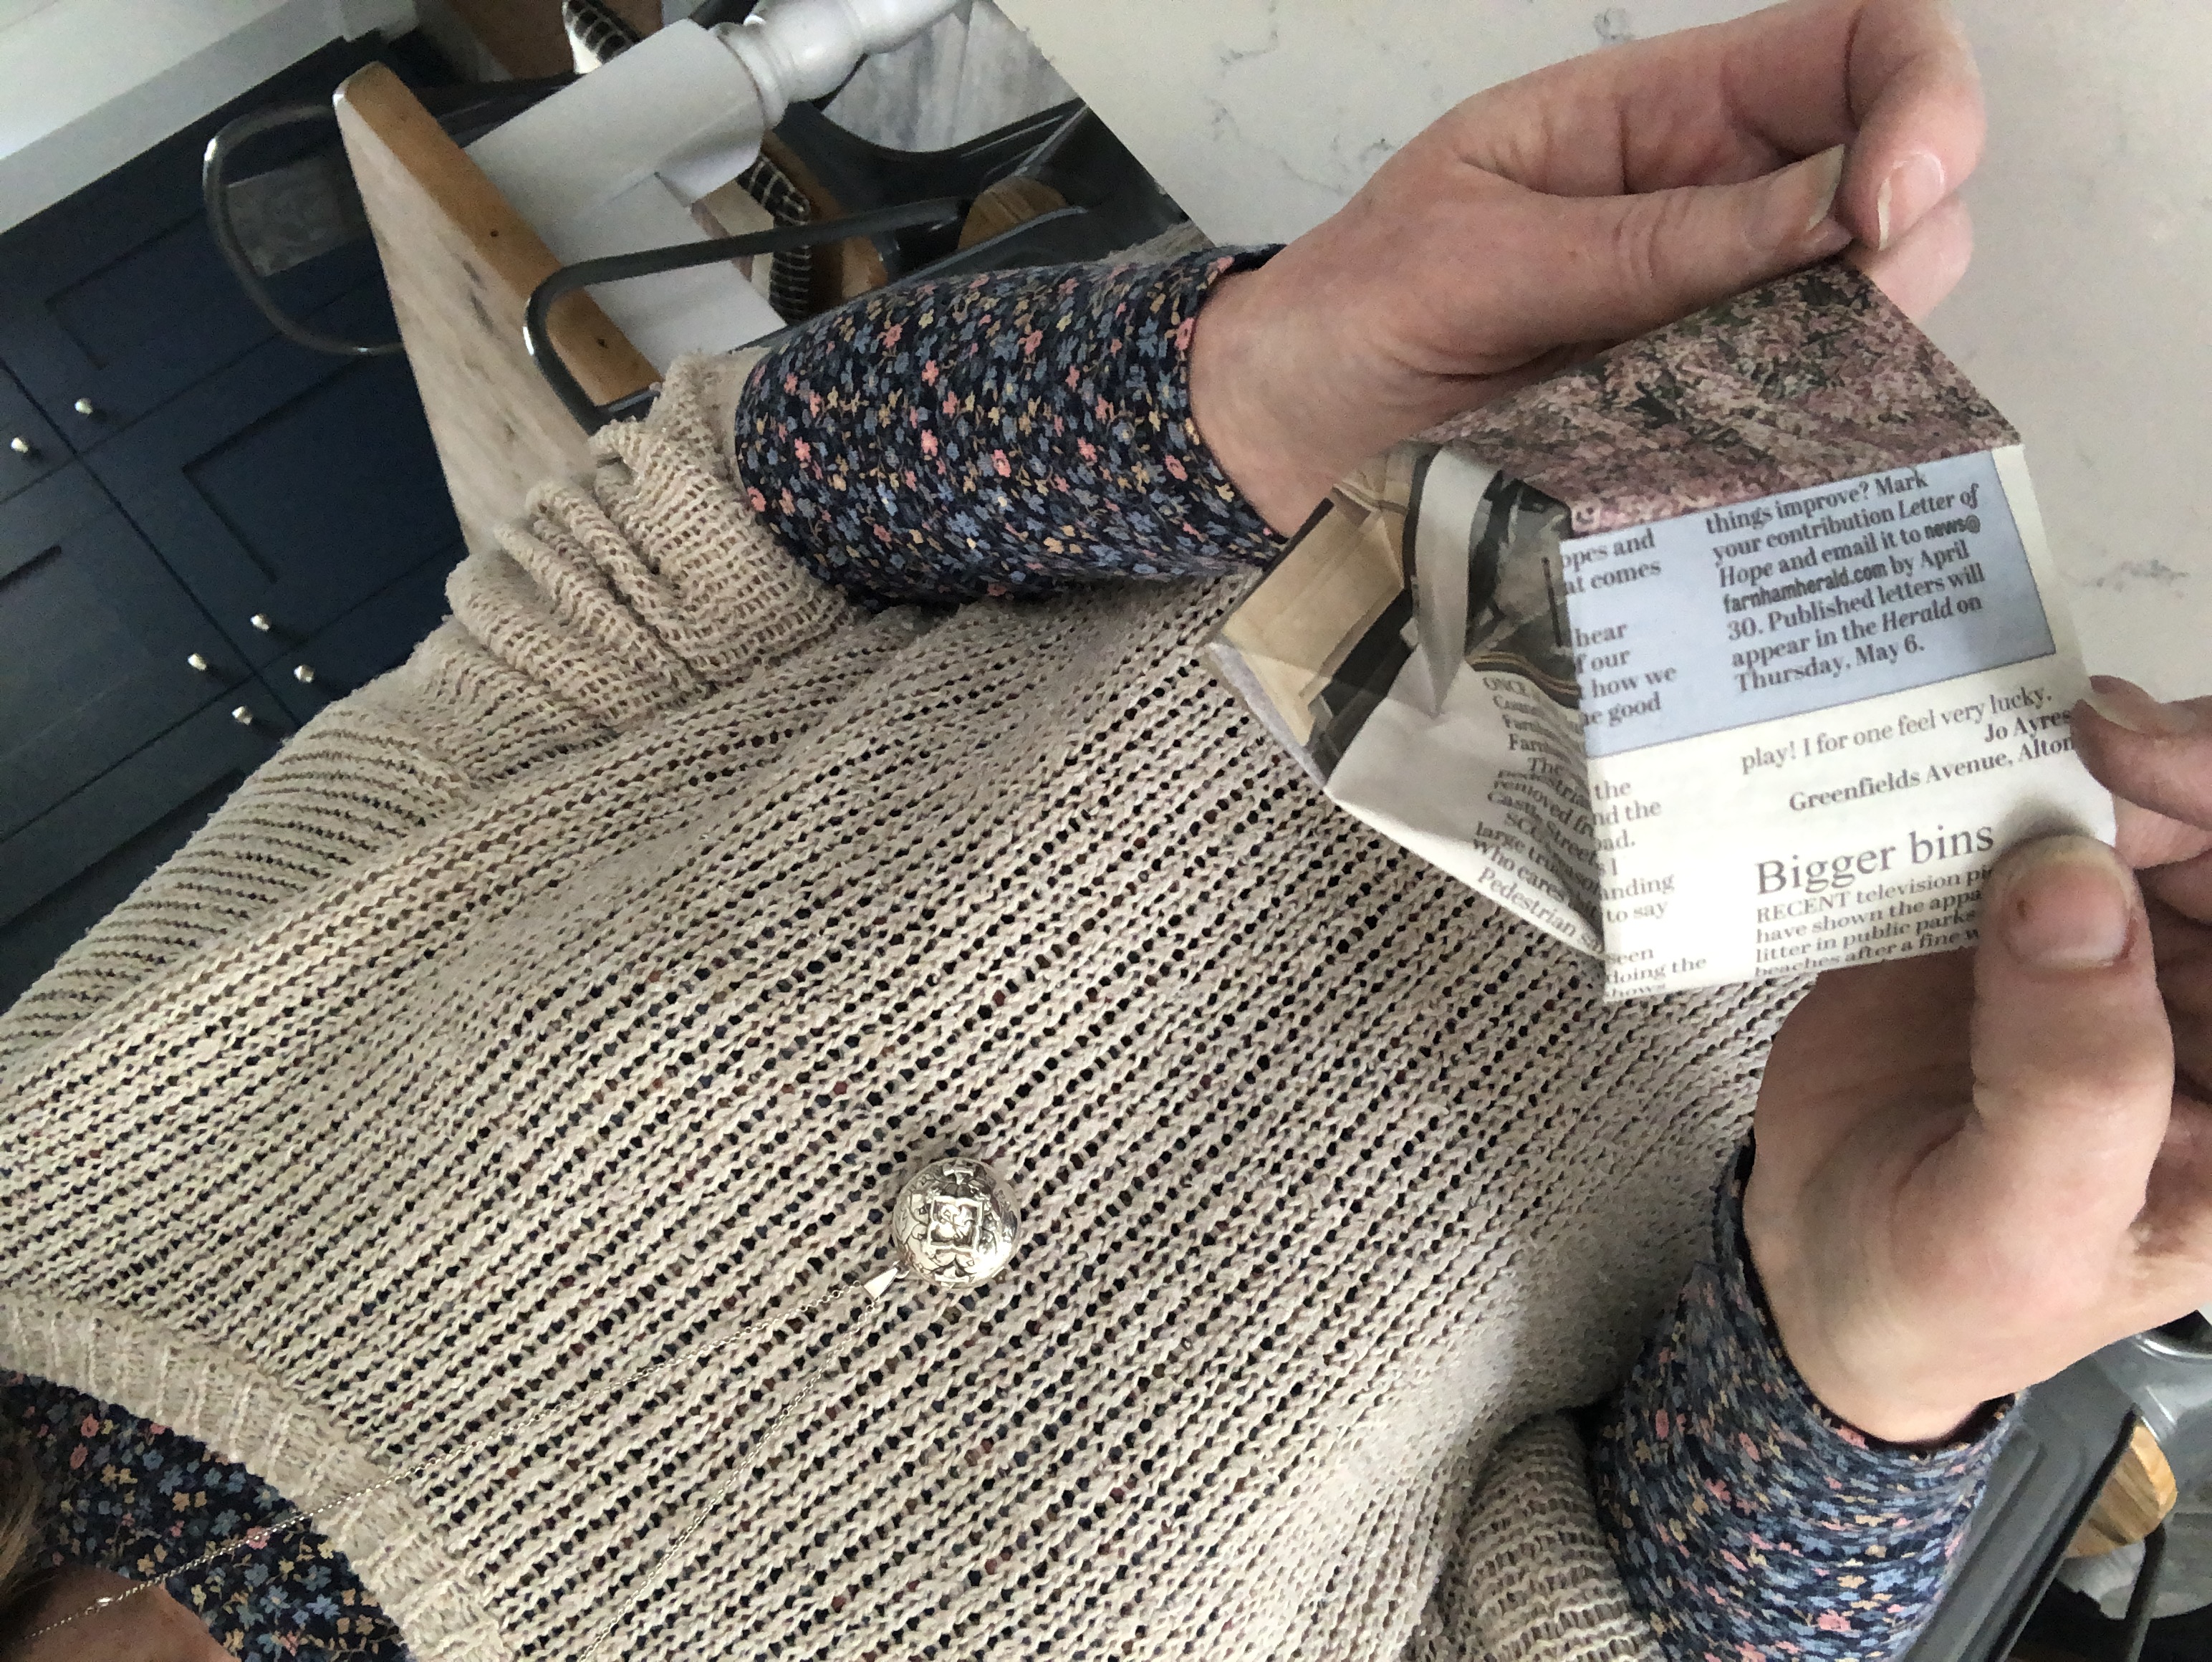
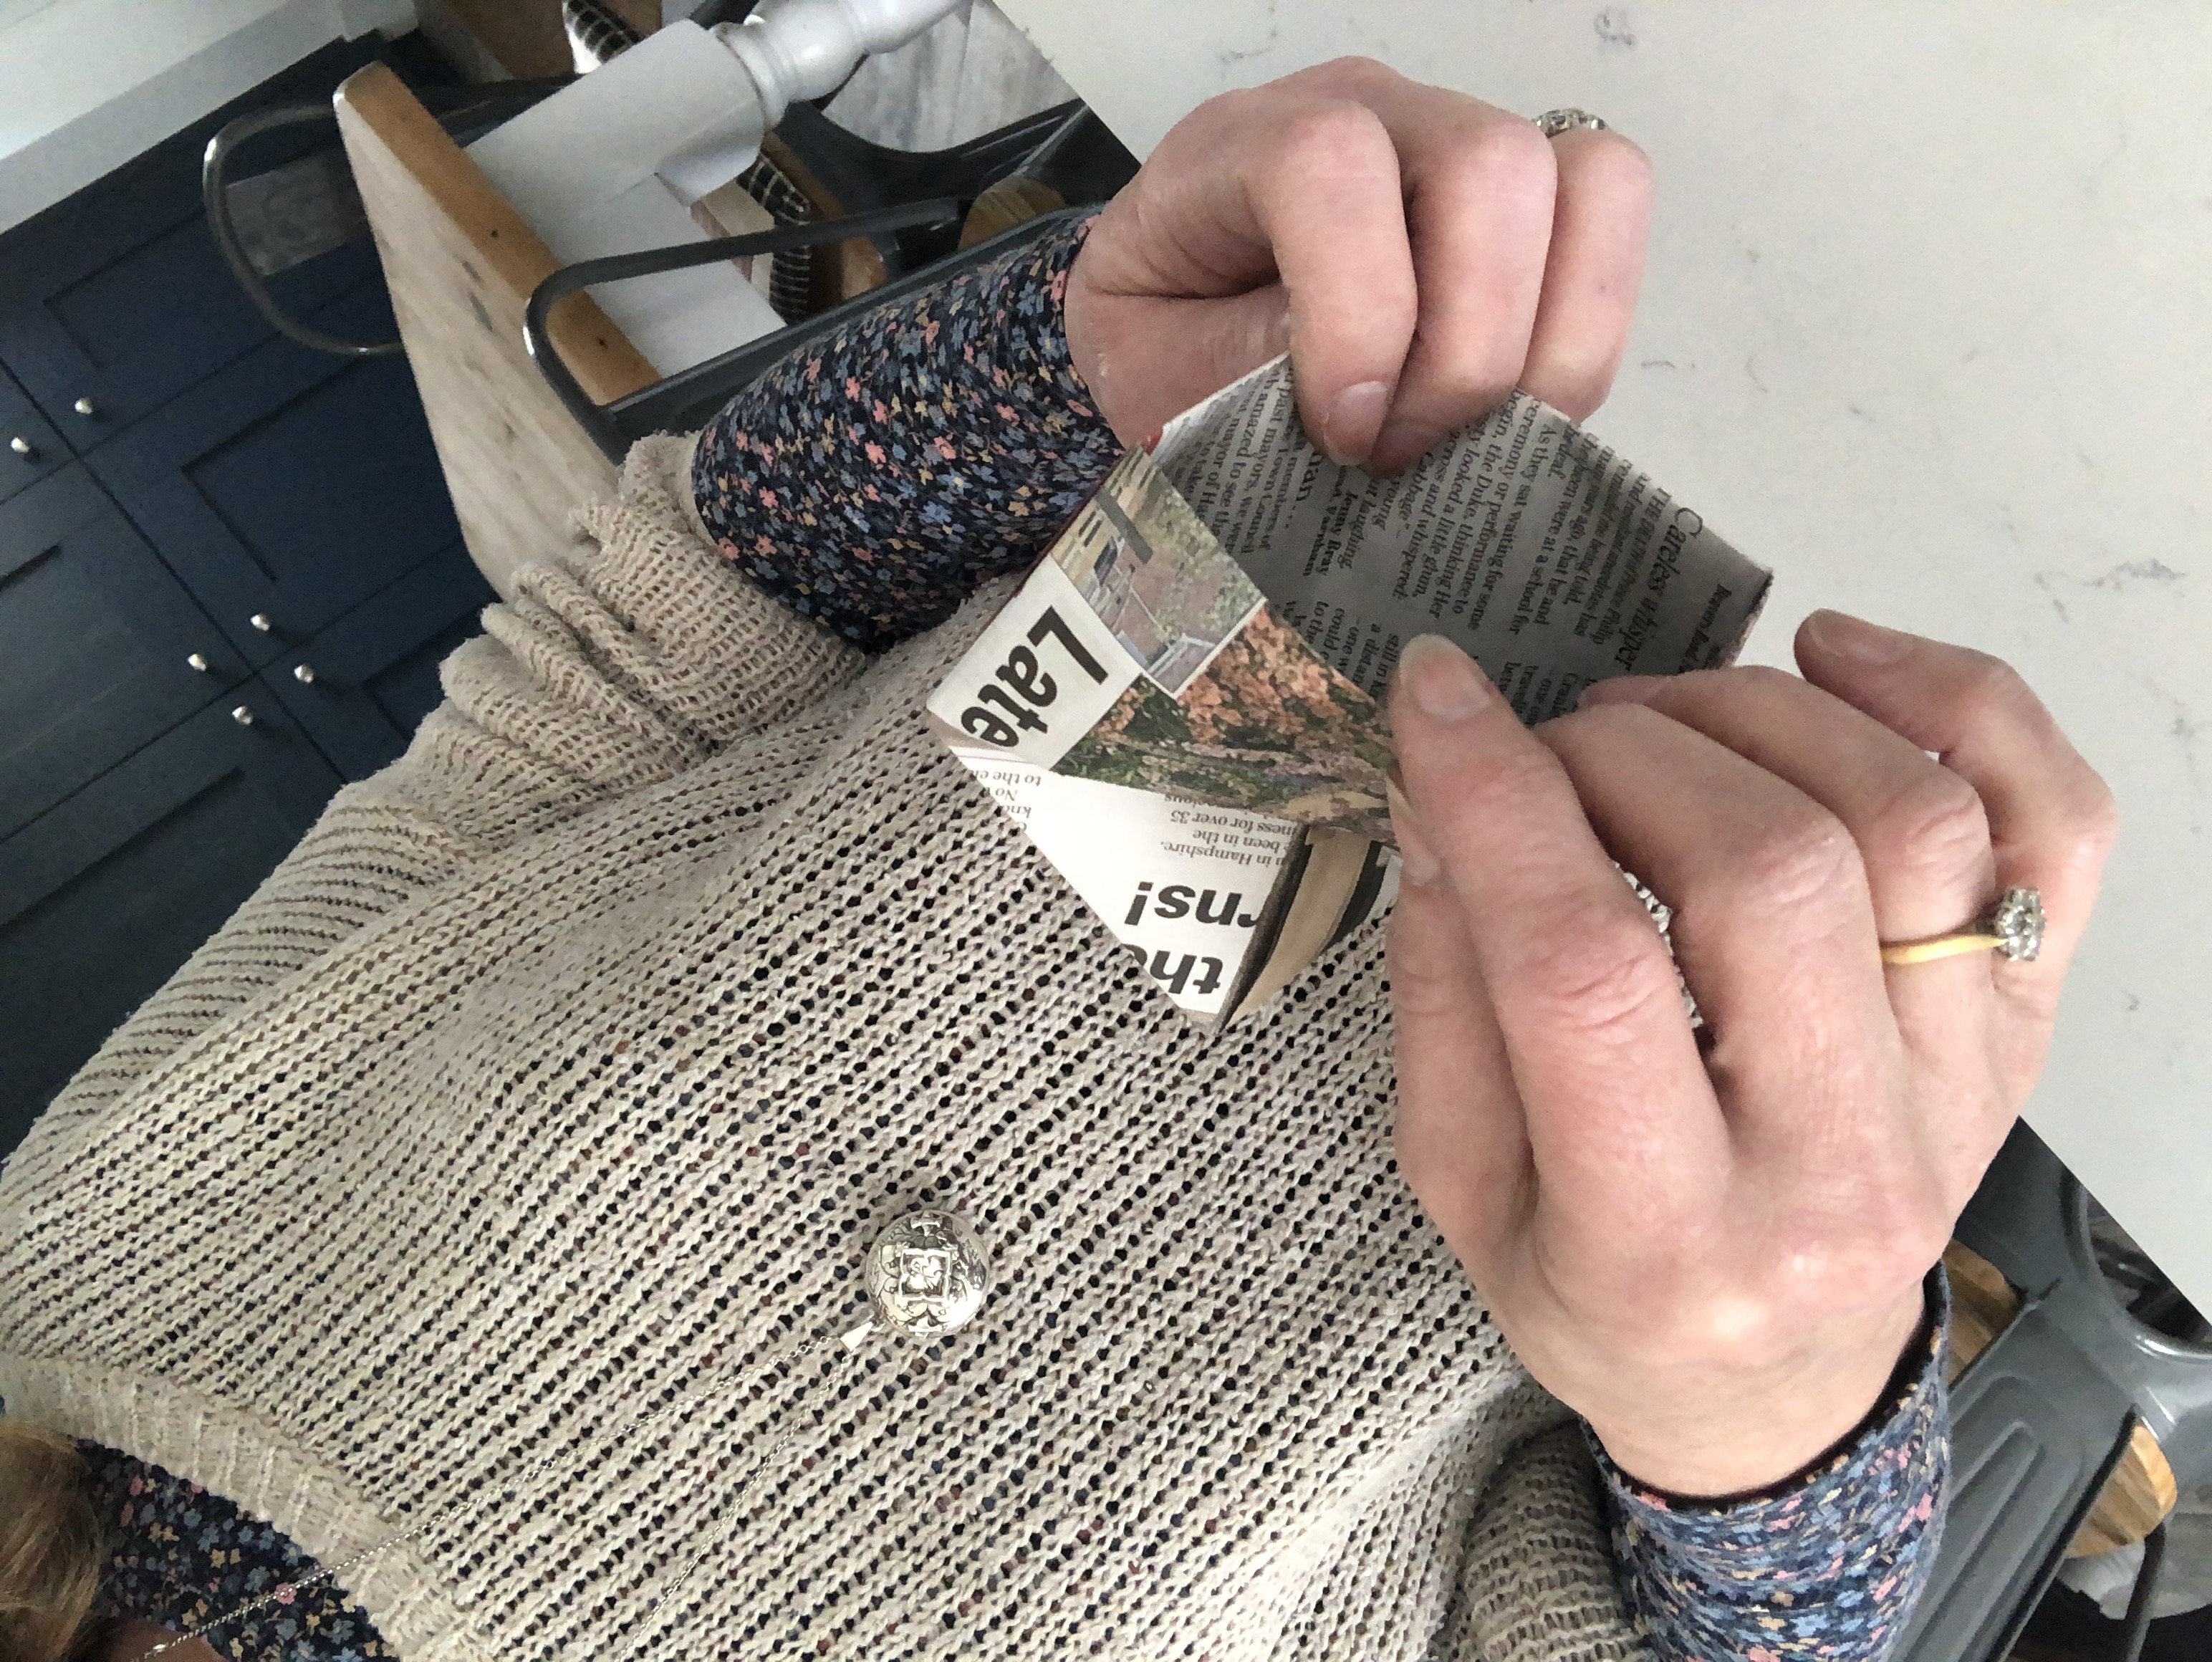
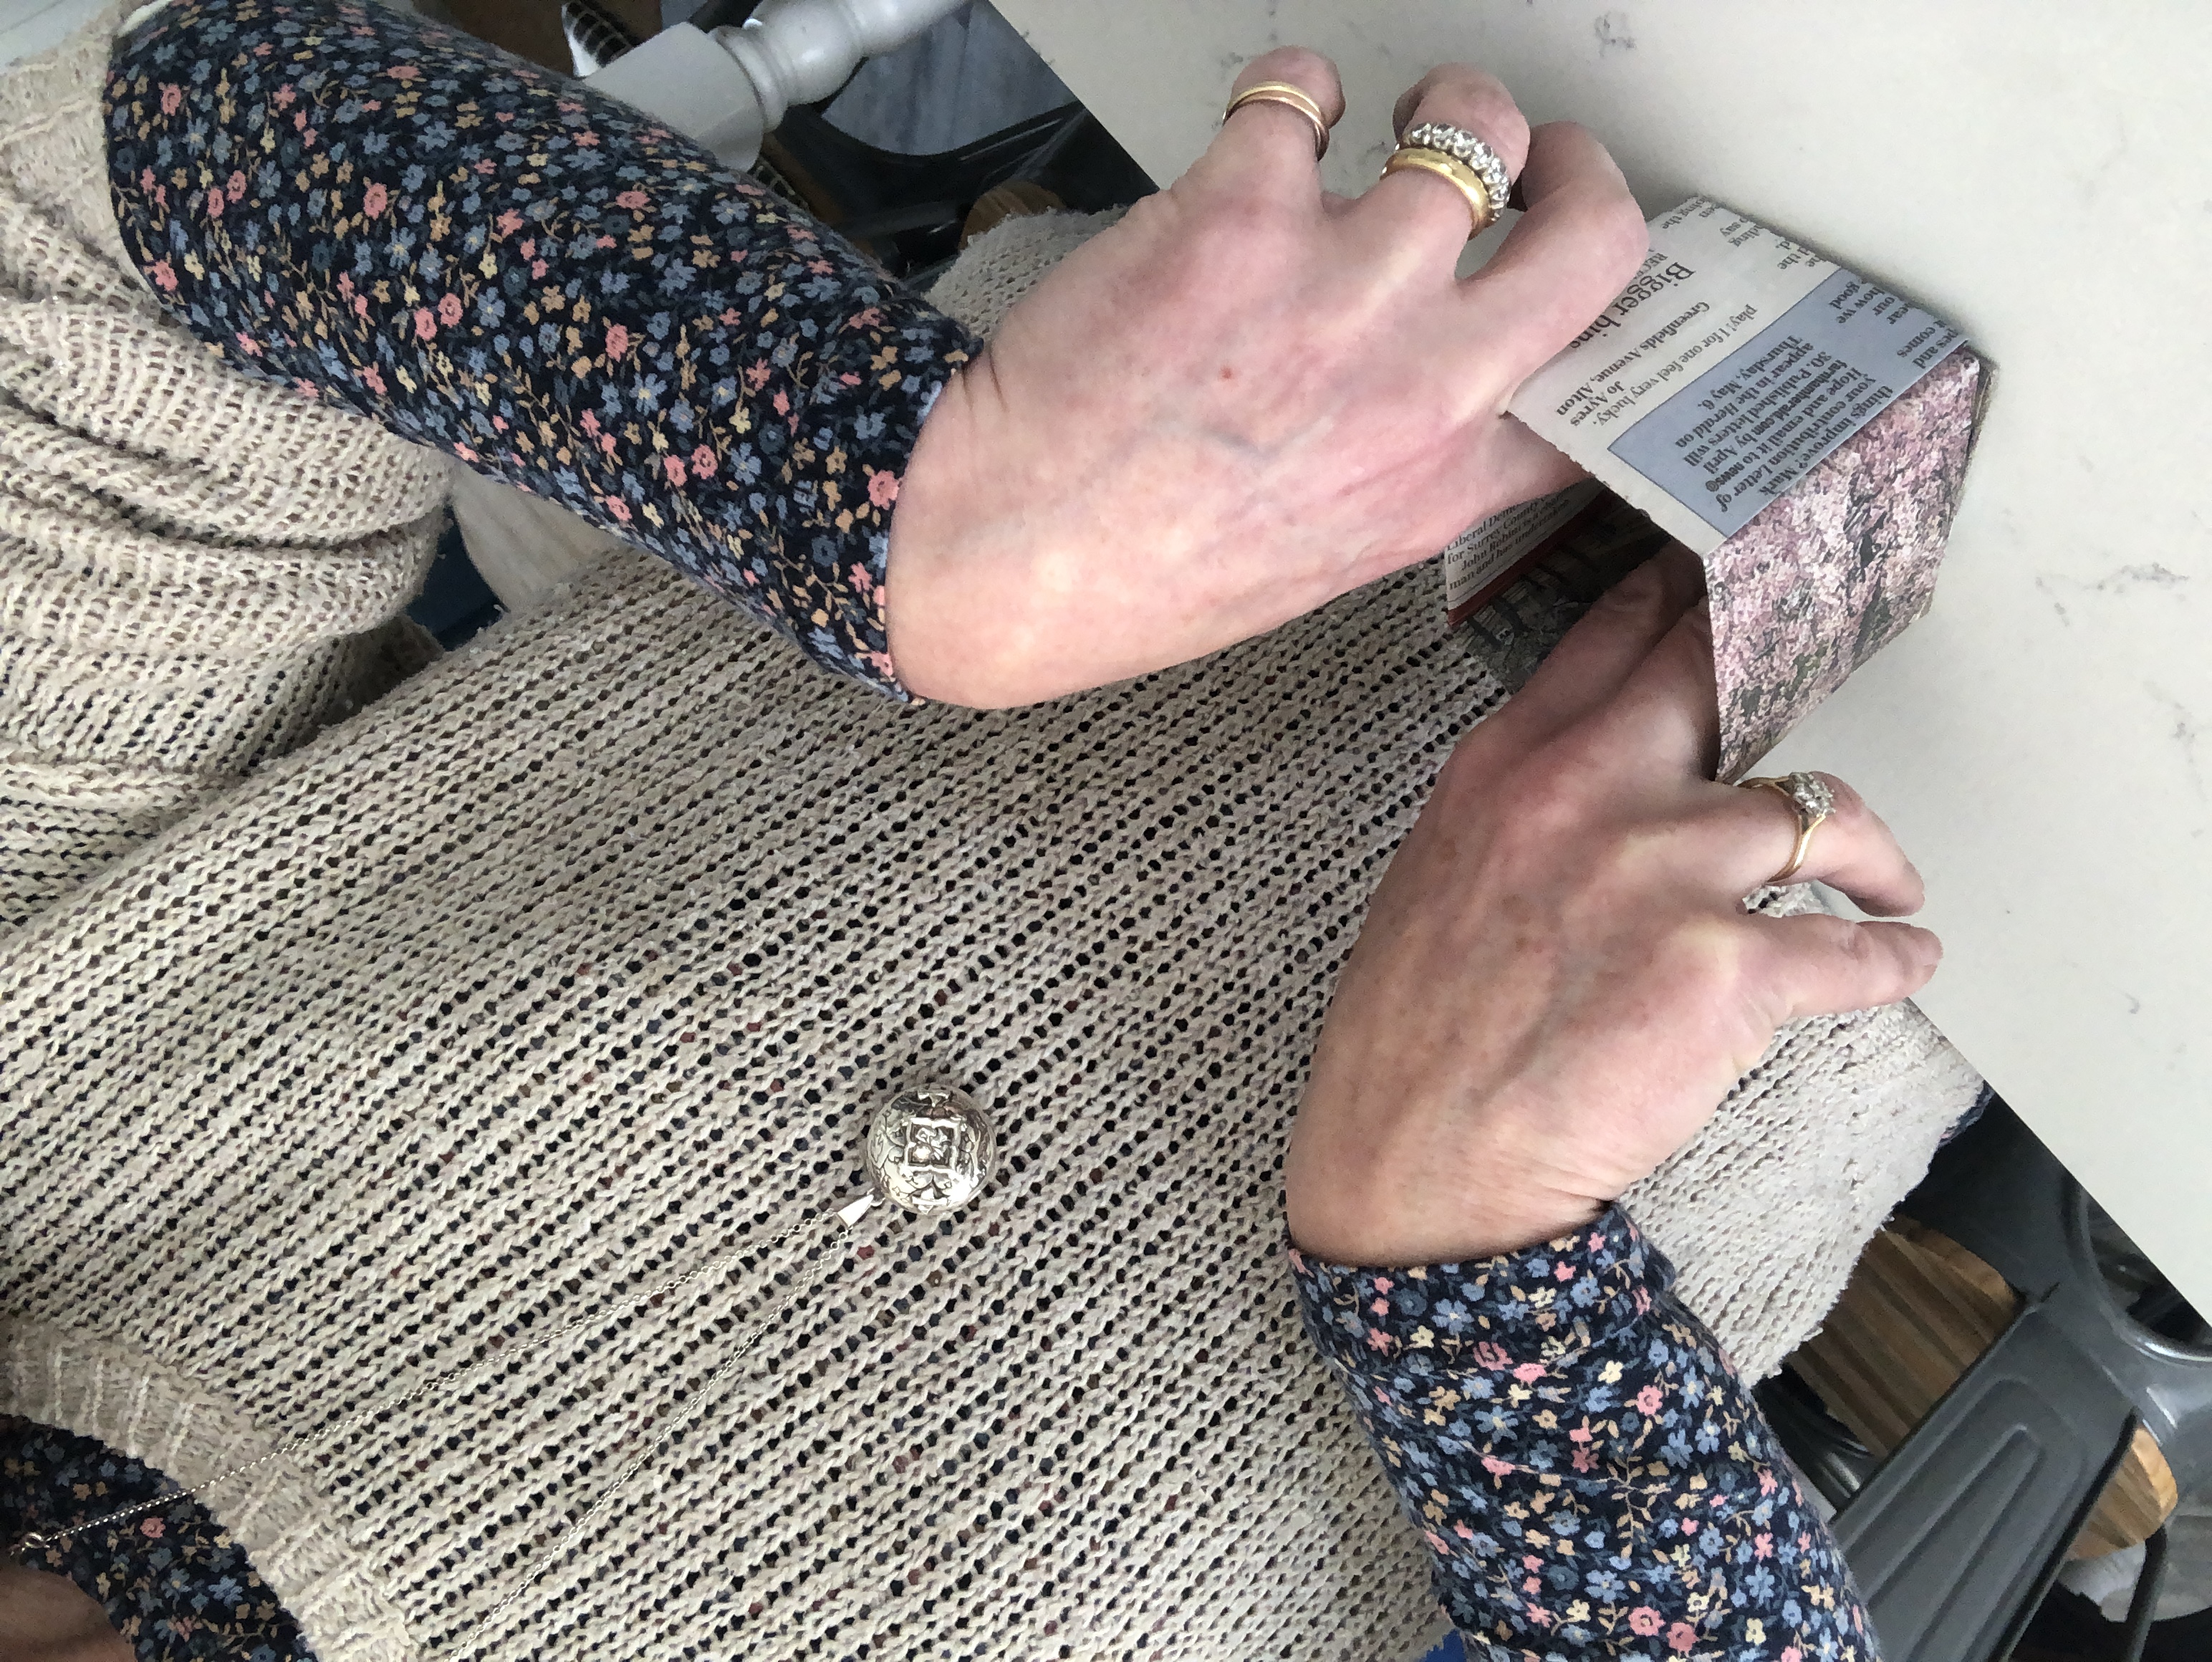
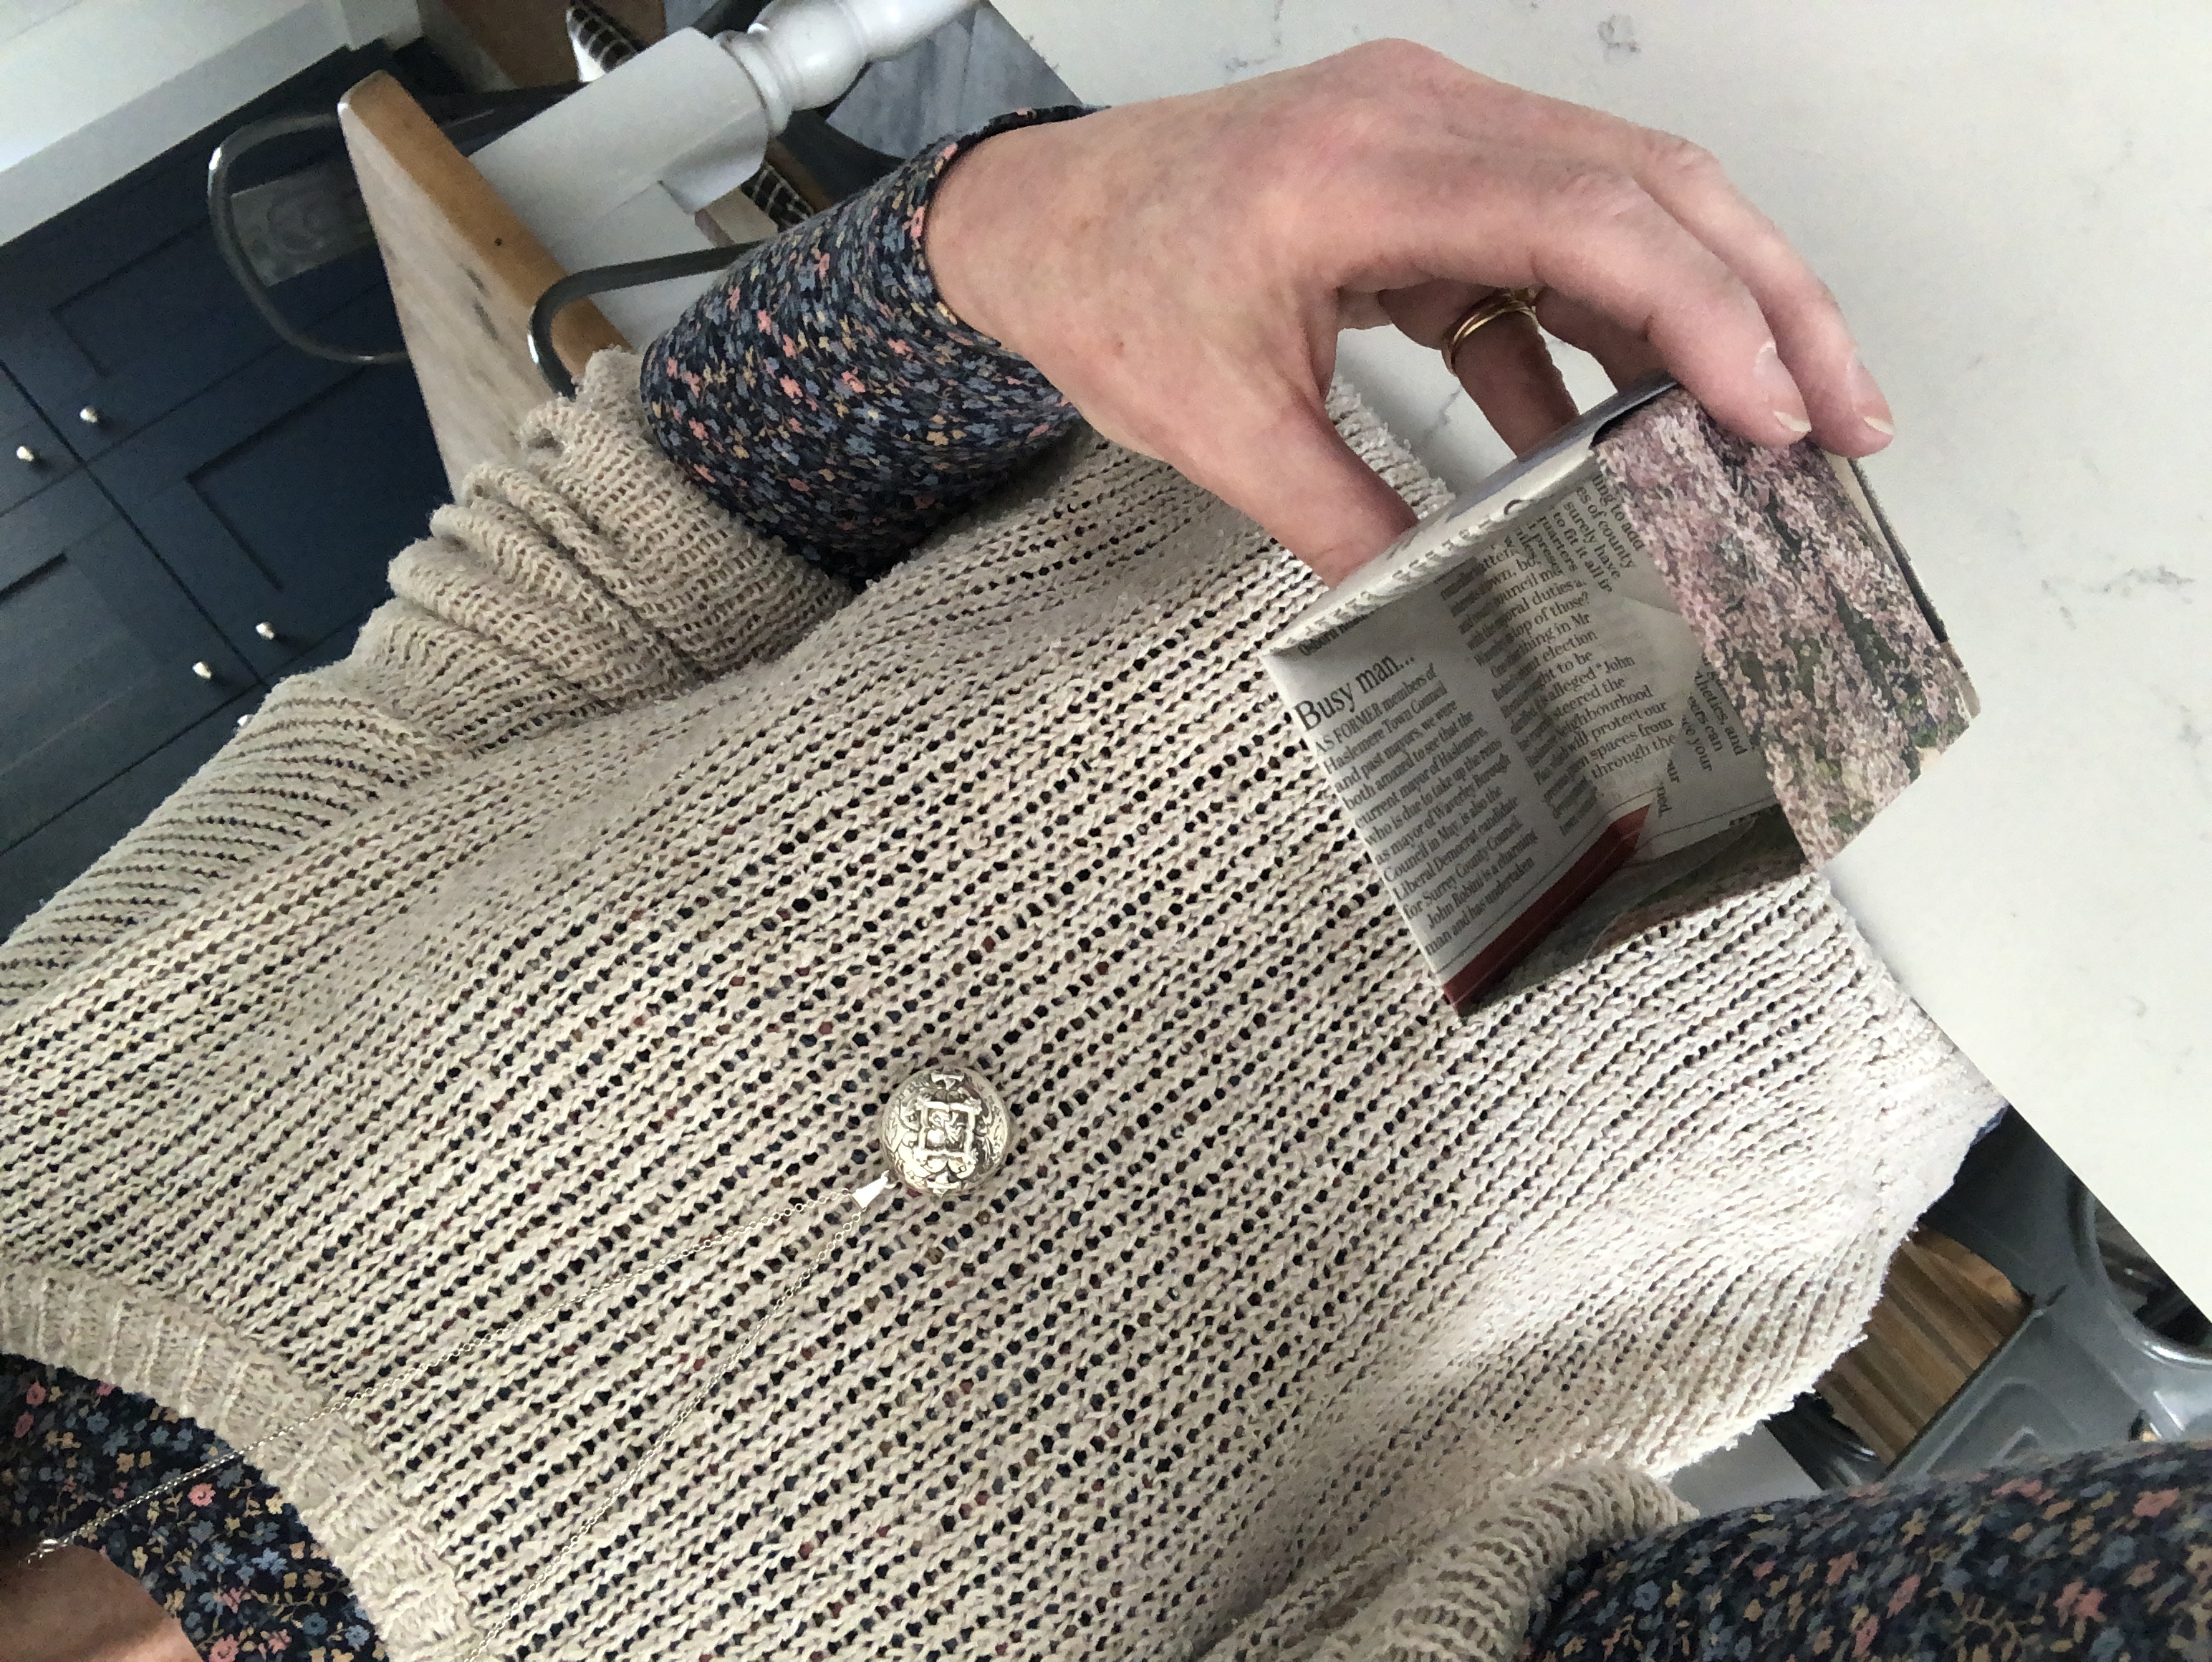
Neaten up your sides and crisp your creases a little more if you need to and you should end up with a perfect recycled paper seedling pot. Furthermore, you should be so over excited to create a great many more, you will fill your seed tray in no time. Your turn to flip.
If your first attempt does not yield the best result, try and if needs be try again. It took me three attempts to get it spot on and after that I had soon put together a tiny gift for Little Miss to add to her spring garden. I used a chippy plate from her great grandmother’s tea service to present my seed pots together with seed markers and a little bit of twine. And not a dot of plastic in sight.
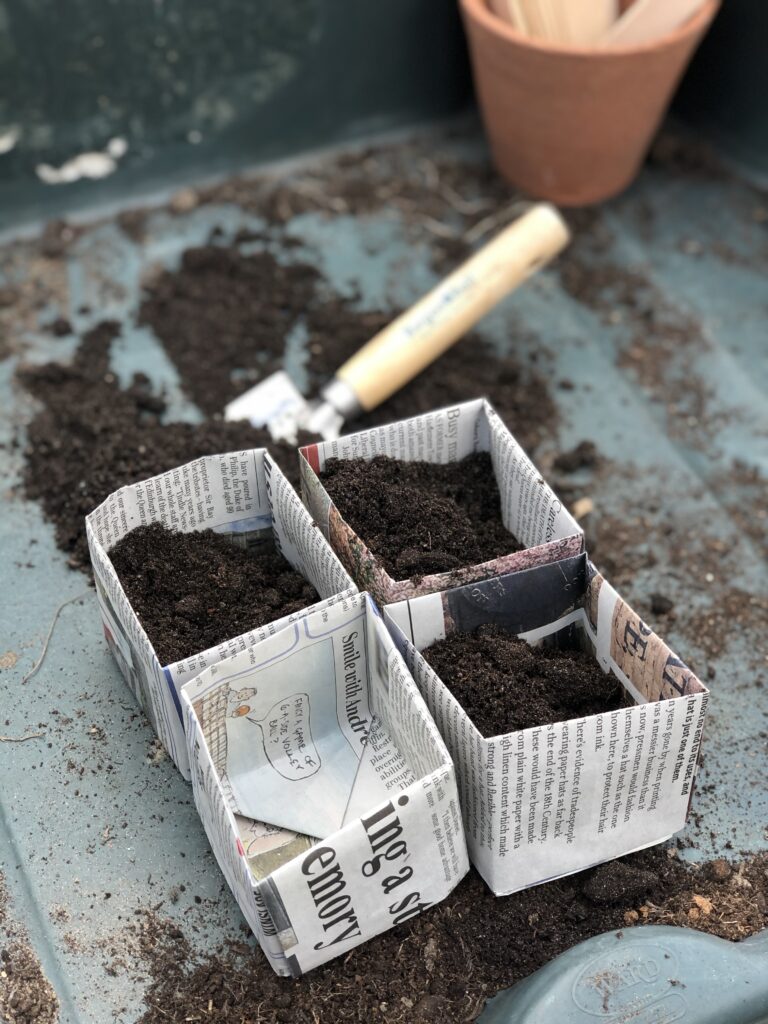
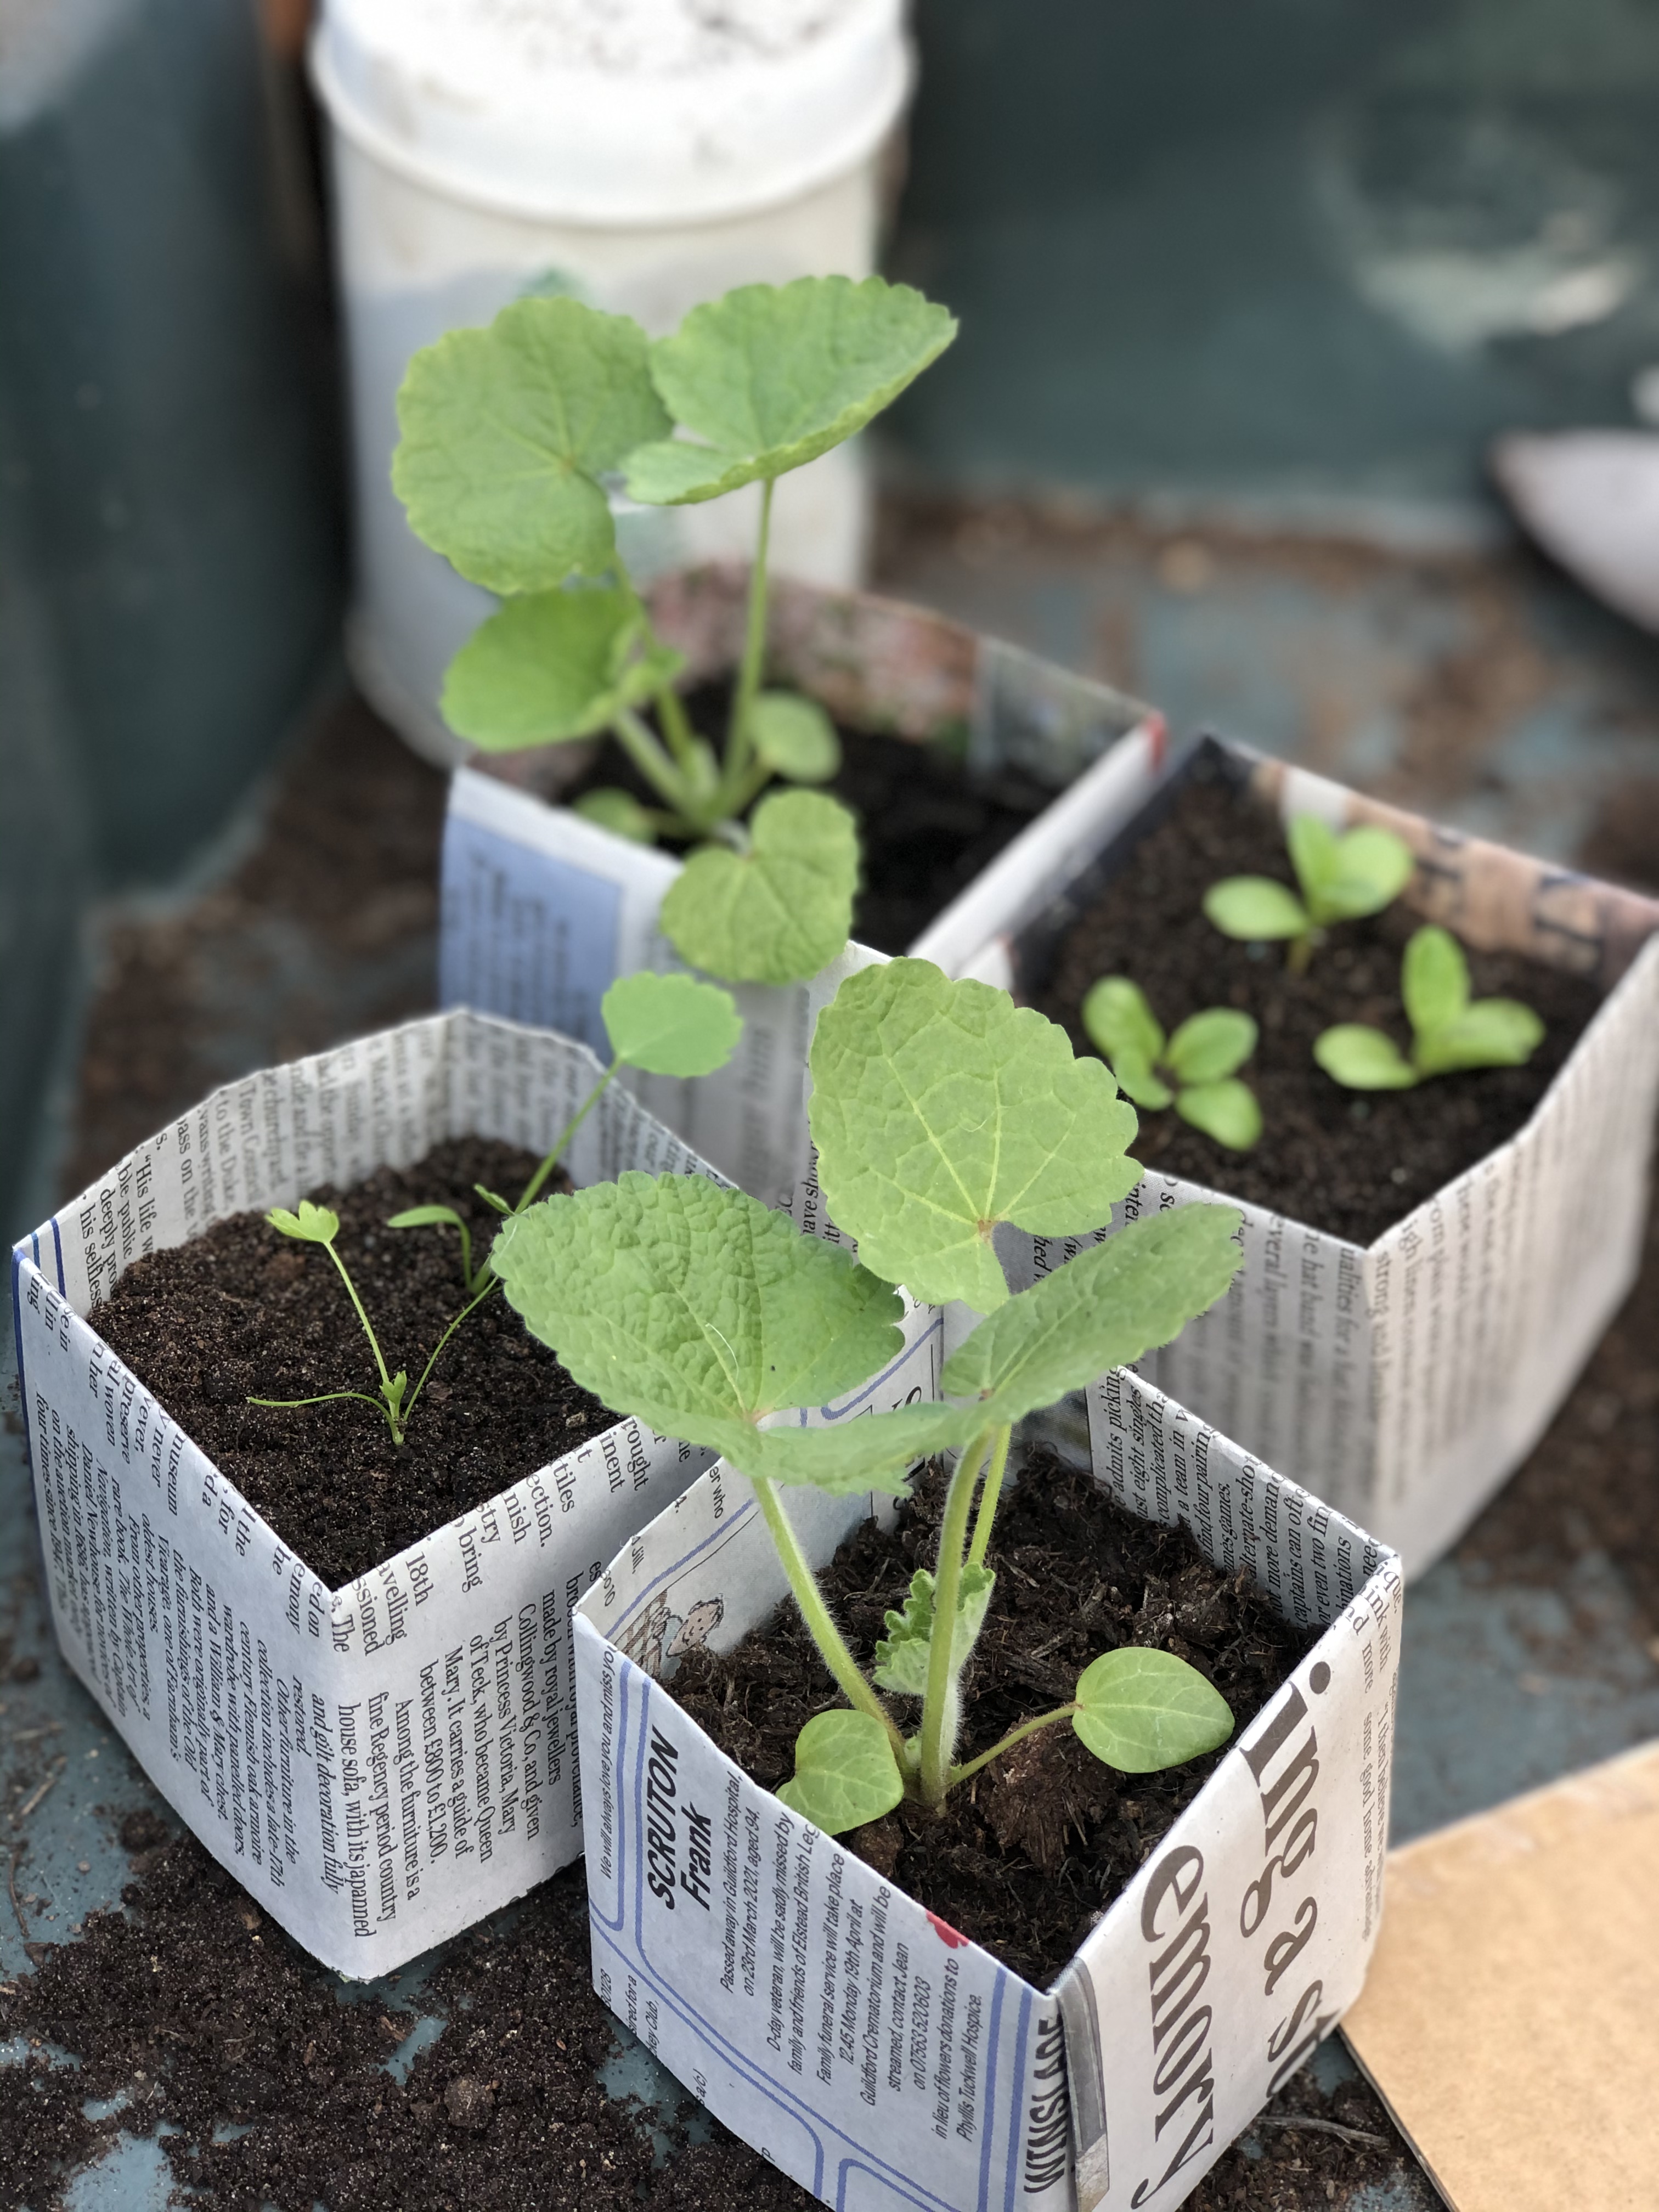
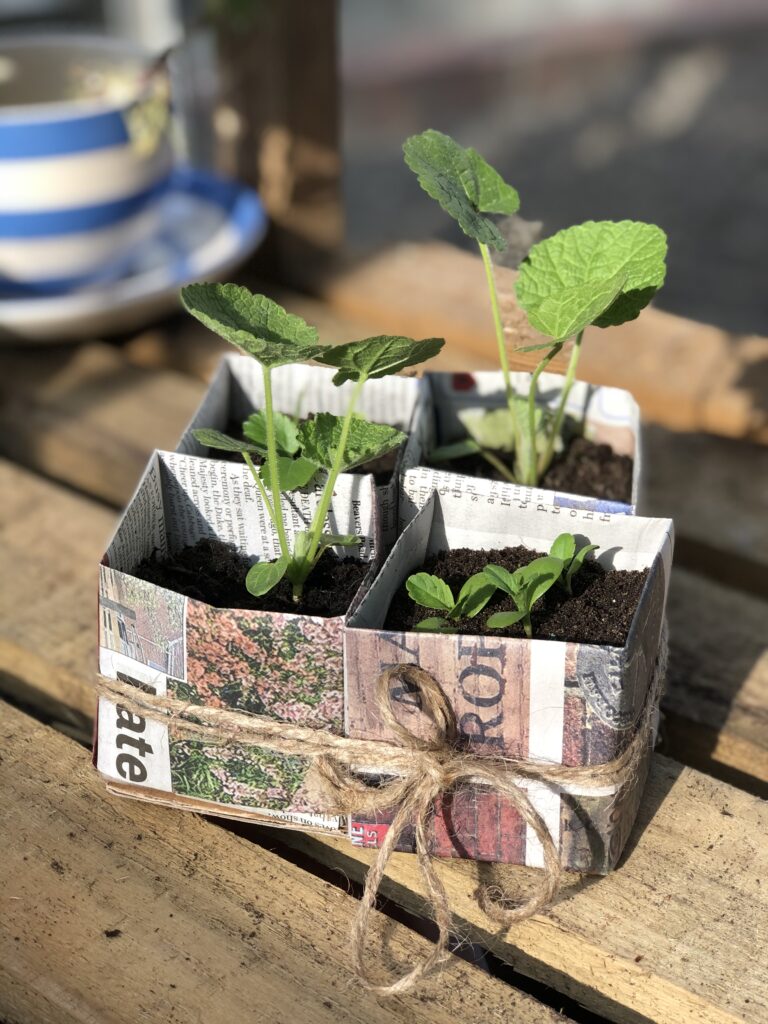
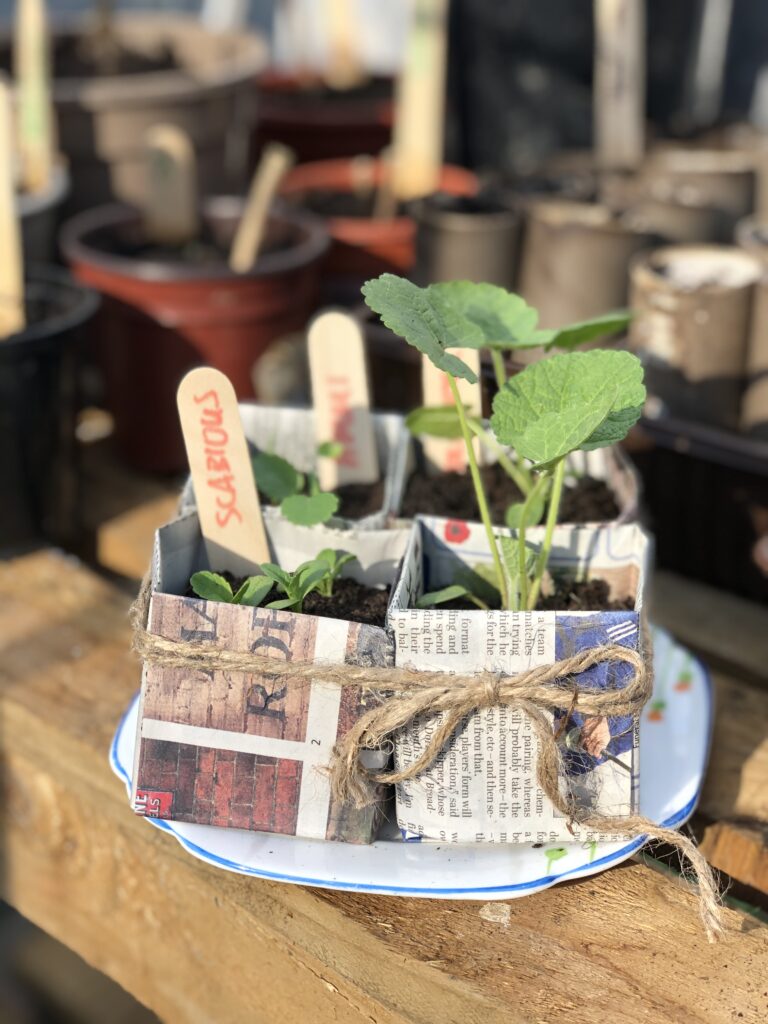
Imagine the variations on the gifting theme for recycled paper seedling pots. Although mine had the gift of mini seedlings added, you could plant any salad, herb or flower seed of your choice or even gift the seedling pots unfilled together with a selection of your own seeds for a friend’s garden. Or maybe one of these or these or these or these would marry up with your seedling pots quite sweetly for a green-fingered friend’s gift. Endless possibilities for your own or your friends’ gardens.
My research tells me these biodegradable seedling pots can be planted straight into the ground although if you didn’t wish for newspaper to be in your soil, you could always treat as you would a plastic pot and remove the young plant once its established and plant directly in your garden. And my new skill means there’ll be no more adding to the plastic seed pots I already have in my greenhouse and since I don’t buy seed trays anymore, it’s a step in the right direction.
Next week it’s the return of Whitewood and Linen’s In Real Life monthly newsletter and I shall be inviting you to join me and see improvements and updates in our home and garden together with offering a few recommendations you might enjoy too. You’ll need to be subscribed though, so do complete the box below and then you won’t miss out. Until then…x
Do you follow my Instagram page? I am starting to add photos of our home and garden here as well as my usual craft and home design inspiration





Thank you Beth. I hadn’t realised when I wrote this it should coincide so well with Earth Day, I’m happy you did and that you enjoyed the craft too!x
This is such a lovely and timely craft. Love it!
I cannot imagine why you would think me impatient Molly?! Yes, yes THE perfect craft if you enjoy origami and I would love to see Dylan’s version should he try! Enjoy this unexpected and glorious sunshine my friend x
Oh my goodness I should challenge Dylan to make these for me he has a talent for origami!
I haven’t got the patience Helen.
How adapt for ‘Earth Day’ the gardening world does need to cut down on plastics.
I smiled….you impatient?!
Hope you enjoy the rest of your week my lovely xx
I’m so pleased you do Wendy! Thank you for reading and supporting always!x
How sweet, I love this idea, thank you!!
I usually pass a written instruction to Mr M who oddly enjoys them Geri! I am pleased you enjoyed these and what a fabulous craft to do with your daughter, enjoy and thank you for your lovely message x
I love these little pots and had to giggle at your remark about being slap-happy with instructions. I usually only take a cursery glance too, there’s too much fun to be had from experiments and interpretations – well maybe apart from doing Origami for the first few times! I did find bowls a bit tricky…..
I’ll definitely have a go at making these pots, I see a lovely Mummy/daughter activity happening this weekend!!!
Thank you again for the inspiration x
Ha ha origami cereal bowls, now there’s an idea for a craft and blog!! So glad you enjoyed the story poppet, lots of love xx
WOW how clever and satisfying!! You’ll be eating your cereal out of origami bowls next!!!! Absolutely brilliant and eco friendly it’s so lovely to read your special stories again xxxxxxx