
To my utter delight Autumn is here again in my part of our world. The time for all things cosy and calm. Blankets and throws make their way to the backs of soft sofas ready to snuggle under on more chillier nights and candles and fairy lights become the backdrop for all things hygge. And as our summer gardens begin to take their seasonal rest, I know a great many of you will be seeking out your craft and sewing projects once again. This week I have for you a gloriously simple and timely craft for right now. Today, we are making easy fabric pumpkins to grace your homes or maybe that of your friends. Before though, there is someone I’d like you to meet…
Disclaimer: today’s seasonal craft is not my idea at all. I made several of these delightful and super easy fabric pumpkins last year following an Instagram story my lovely friend Penny @rosablue added to her account. An Instagram highlight is still on her account if you would like to follow Penny’s simple instructions or you can grab yourself a well-deserved cuppa and stay awhile here, whilst I show you my take on fabric pumpkins. And if you don’t already follow Penny, you simply must; you will love everything about Rosablue’s gorgeous handmade clothes, beautiful and lovingly created dolls and fairies plus Penny has so many tips to offer in her Instagram highlights to help novices like me with all manner of sewing and fabric projects. Oh, and did I mention she’s just lovely herself? Well, she is.
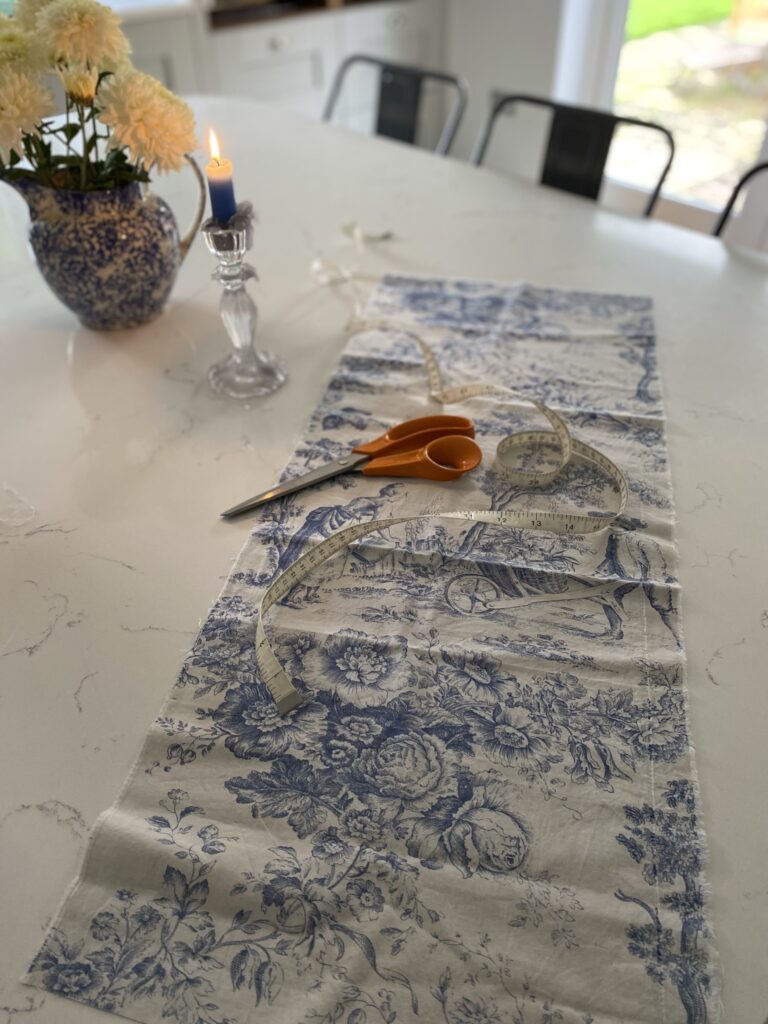
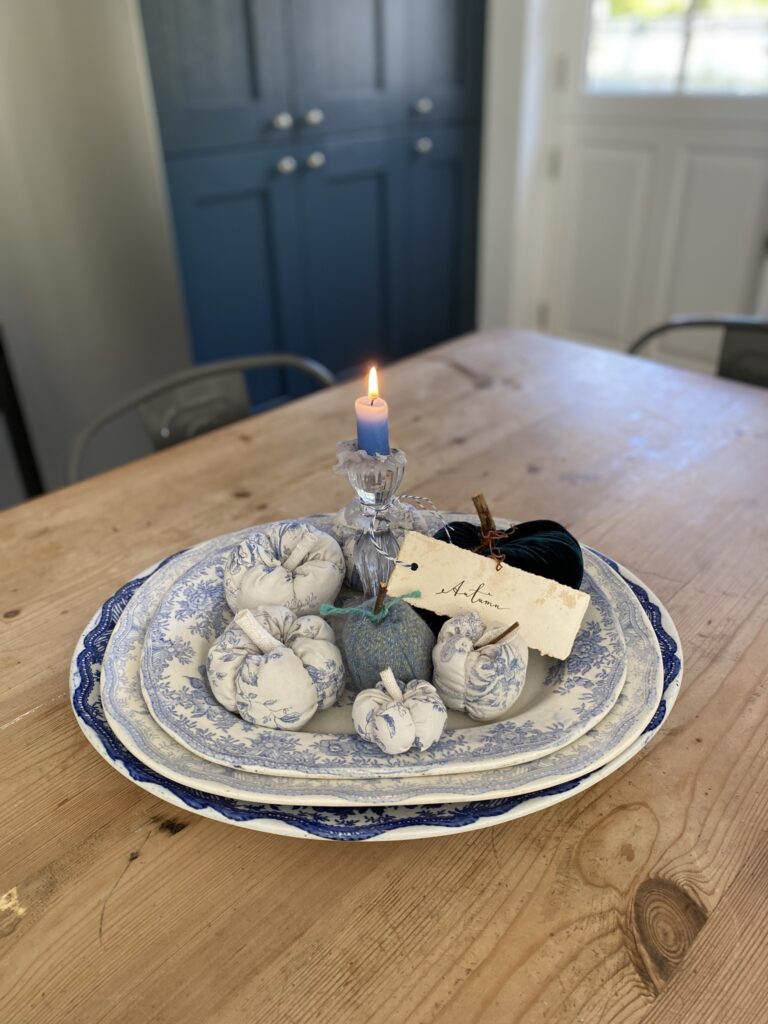
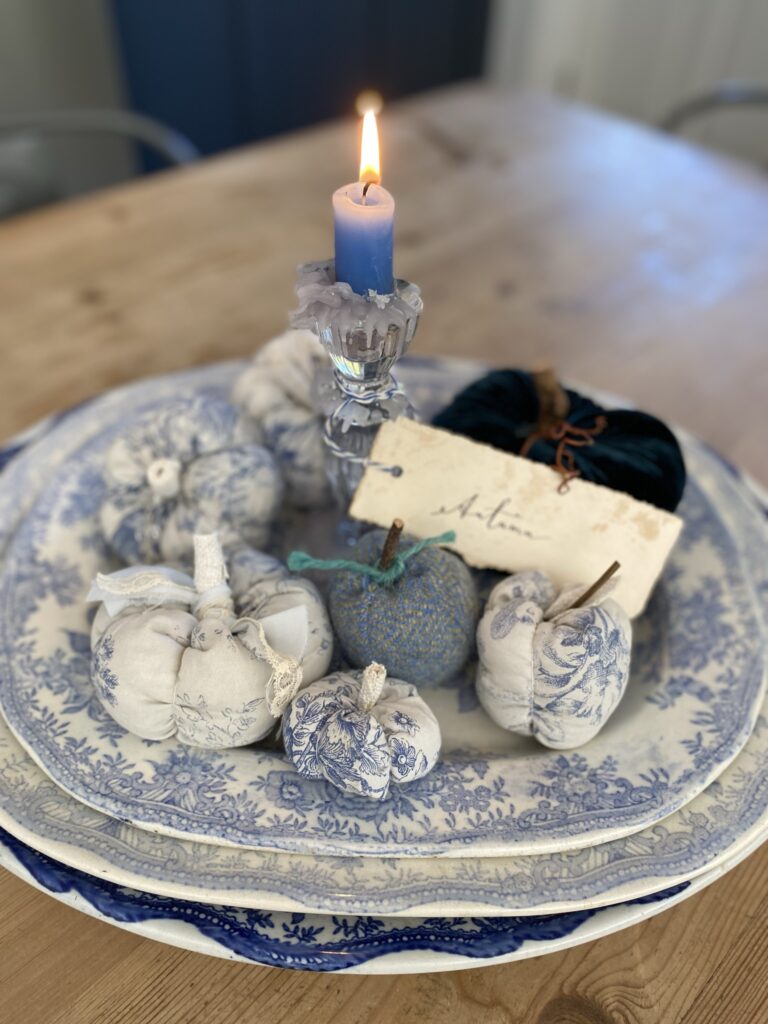
This year I decided on a blue autumnal theme and concentrated my efforts on creating a centrepiece for the dining table in our new kitchen full of fabric pumpkin delight. I selected a delicate blue toile from my stash which had been earmarked to make lavender goodies like this one at the end of last summer and then as usual another project grabbed my attention. I’m rather glad it did now of course since this thin blue cotton is just perfect for my pumpkins and my new kitchen.
Once you’ve decided on your colours and scheme, gather together all you will need.
This is what I used:
- Vintage cotton toile fabric
- Needle and strong white thread
- Toy stuffing
- Scrap of thicker linen
- Vintage buttons
- Glue gun (or strong fabric glue)
- Mixed spices; cinnamon sticks, juniper berries, star anais or similar (optional)
- Essential oils; this set has all the seasonal oils I use at home (optional)
These are the cut fabric sizes I used for all the fabric pumpkins shown at the end of this post in inches. You can easily convert and round up or down; these sizes will simply help with pumpkin proportions.
9 x 4, 10 x 5, 11 x 6, 12 x 7, 13 x 8
And this particular tutorial is for the 12 x 7inch size.
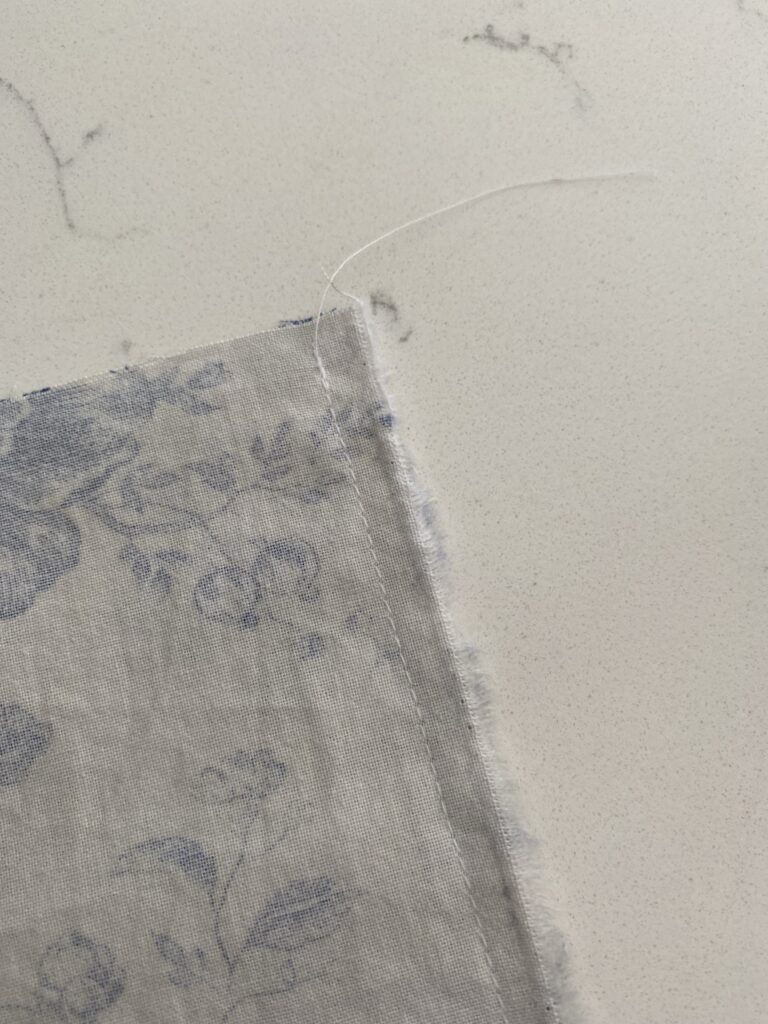
Begin by cutting out the size you have opted for and with right sides facing, stitch the two shorter sides together to form a tube. I used my machine for this although you could do this stage by hand, just be sure to keep your stitches close together, you are creating a secure seam.
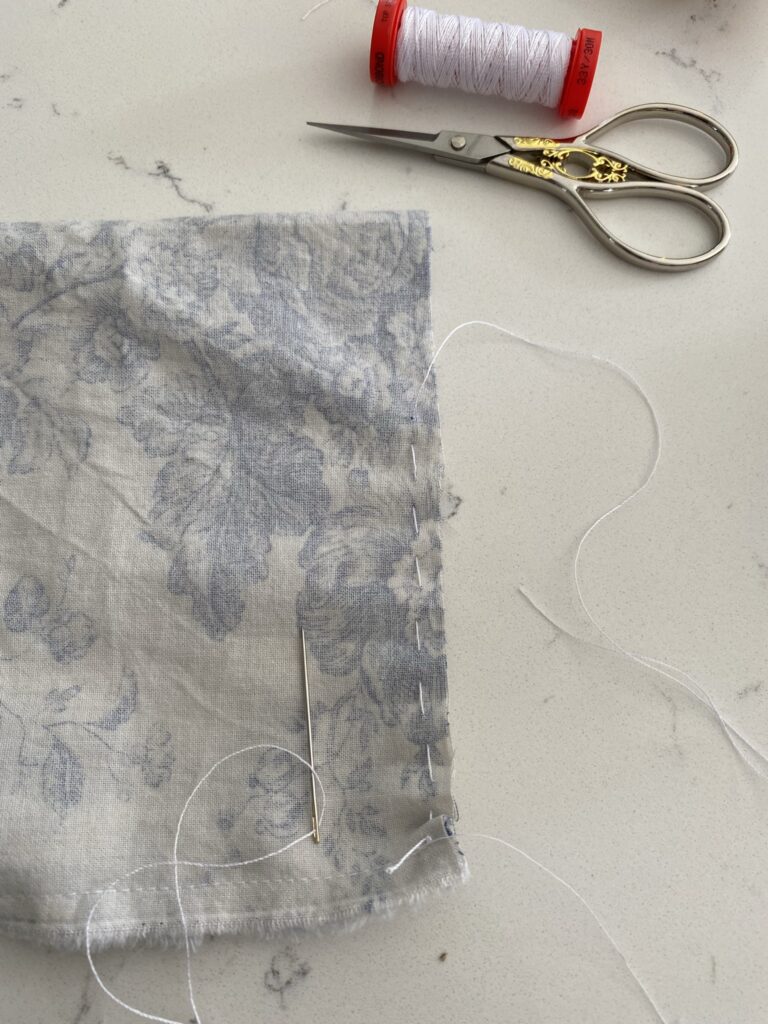
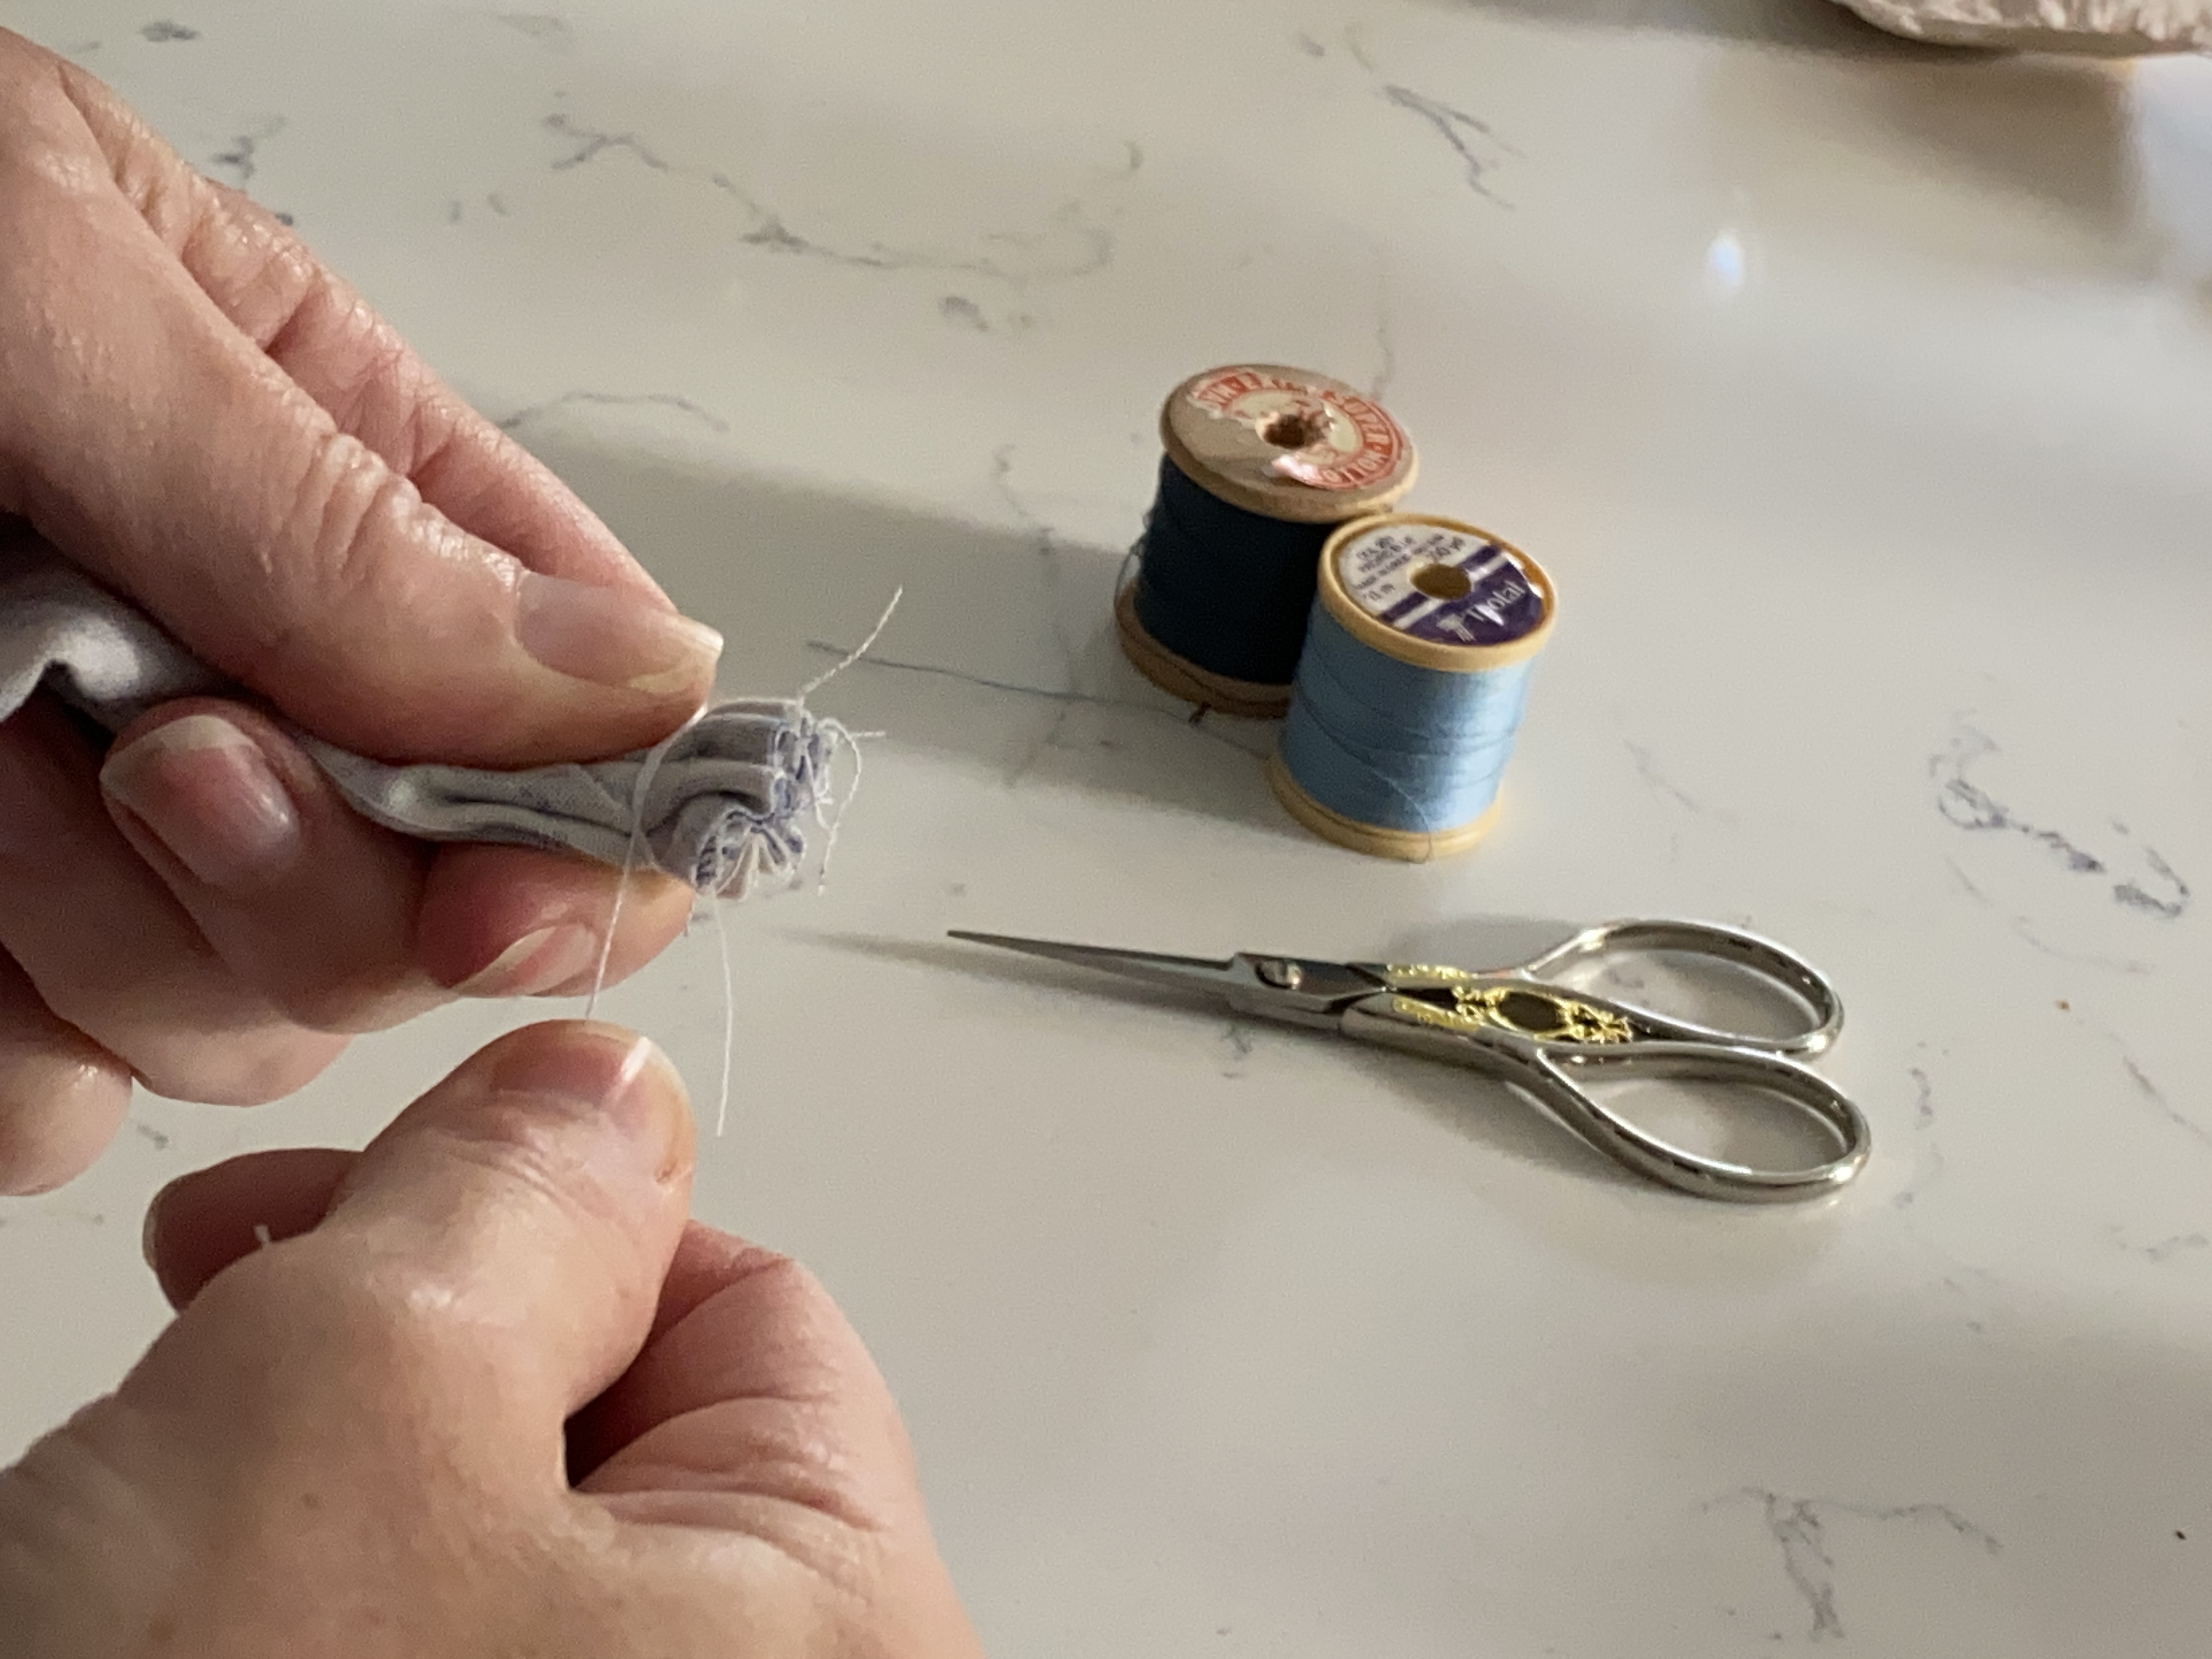
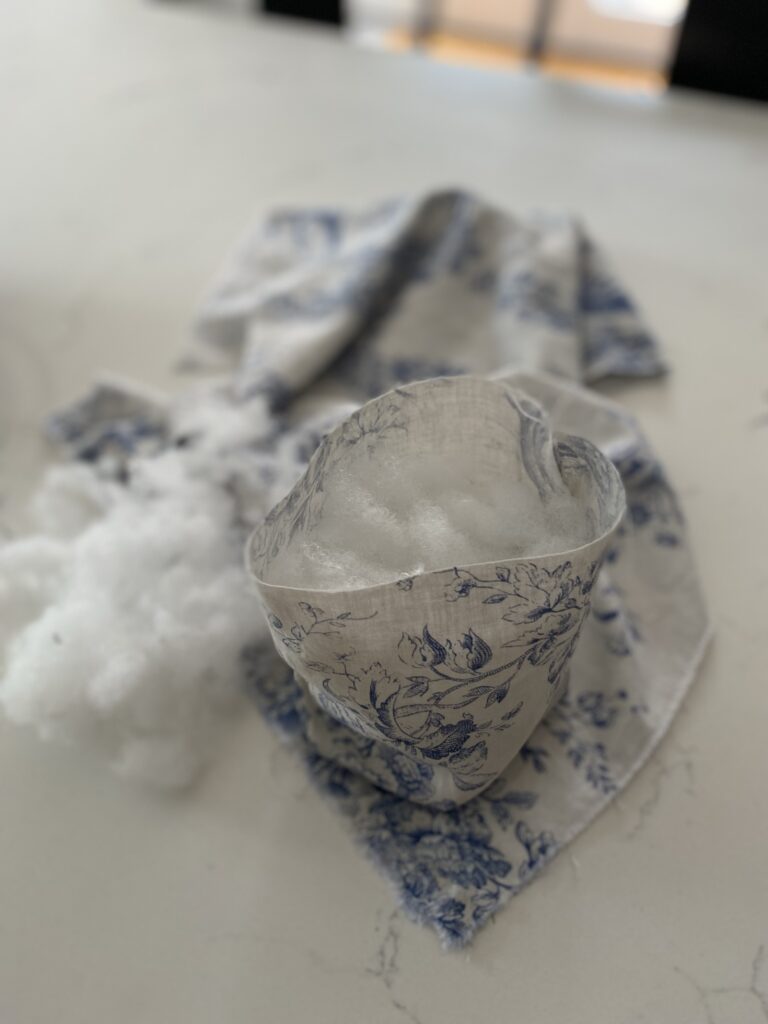
Next, using a strong thread, create a running stitch all the way along one opening leaving a small seam again. Keep your needle and thread attached – first photo below. And then pull your thread to gather and bunch the fabric up and wrap your thread tightly around the bunched-up seam and secure with a few stitches and snip your thread. This will form the base of your finished pumpkin.
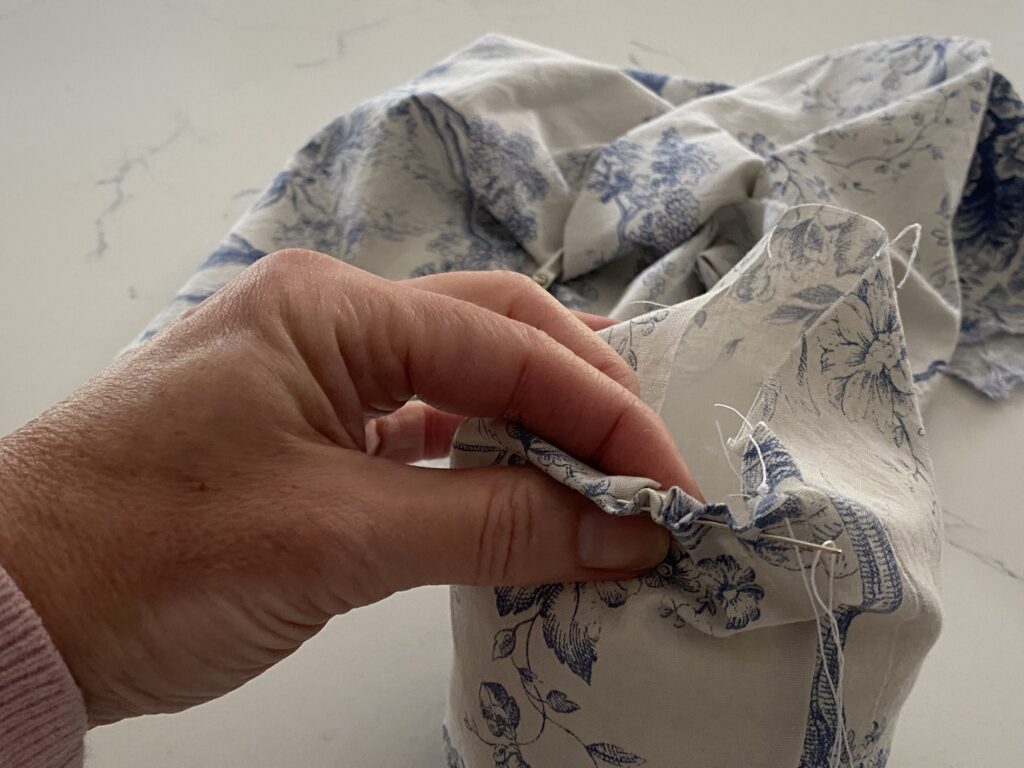
Turn your fabric the right way around so your pattern is showing on the outside and go ahead and fill your pouch with toy stuffing. Penny cleverly adds fragrant spices at this stage, cinnamon sticks, berries, so do that now if you have some to hand. Create another hem by turning a small amount of the top of your fabric over inside the opening and use a running stitch again to work your way around the perimeter of the opening and when you get to the end keep your thread attached and carefully pull the thread to gather the fabric like before only don’t close the hole entirely as this is where you will add your ‘stalk.’ Secure with a couple of stitches so your hole stays as a hole.

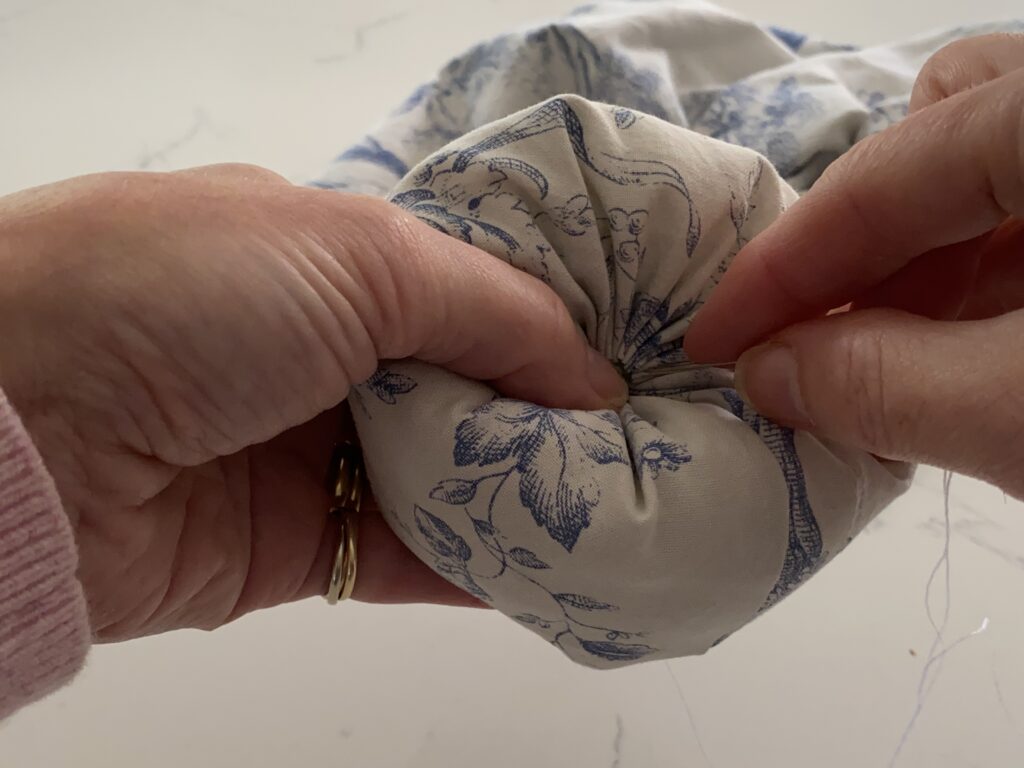
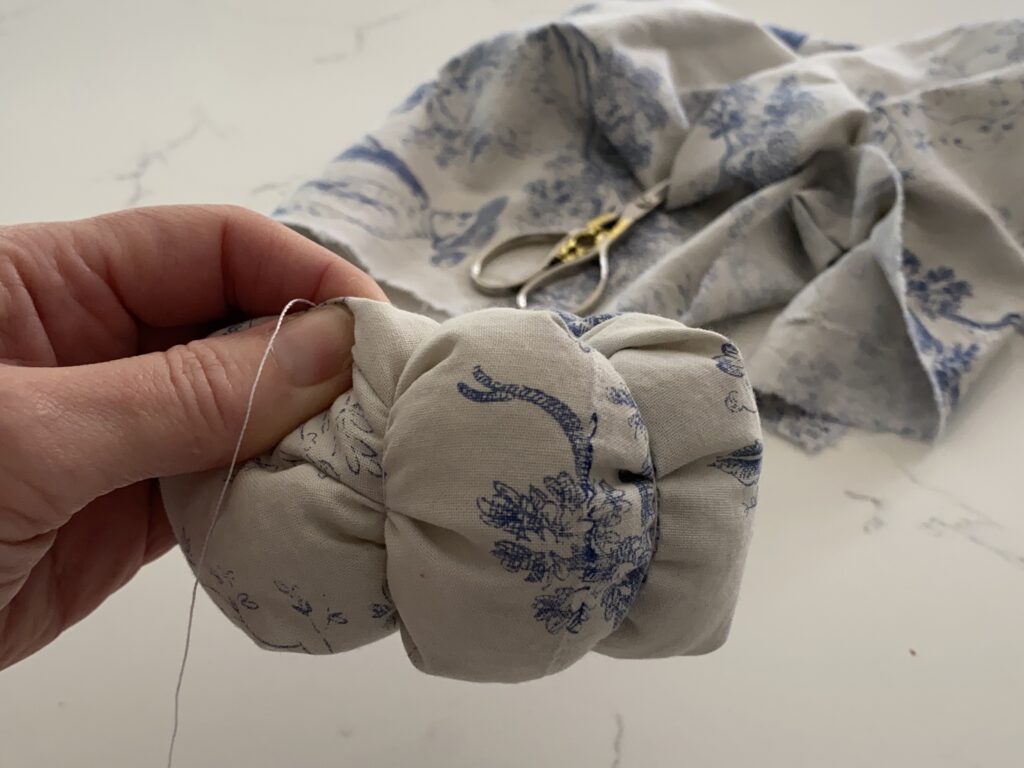
Now squeeze your pumpkin together as you pass the needle through the hole, right the way through the fabric pumpkin until you come out the bottom and do be careful as the needle might not be where you think it is and believe me, any surprises hurt. Once you are through, bring your thread over the pumpkin and pass through the hole again, pulling to create your first segment and continue until you have as many segments as you like. Five or six usually works. Once you are through the bottom for the last time, add your button and secure your thread and snip to finish all your stitching.

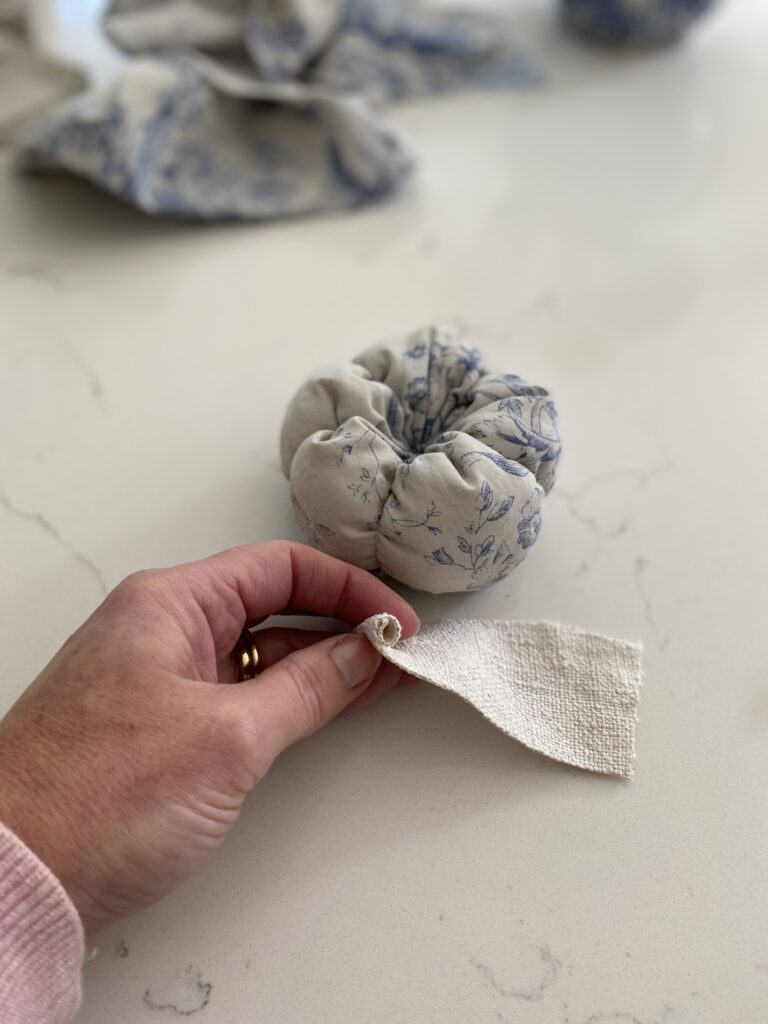
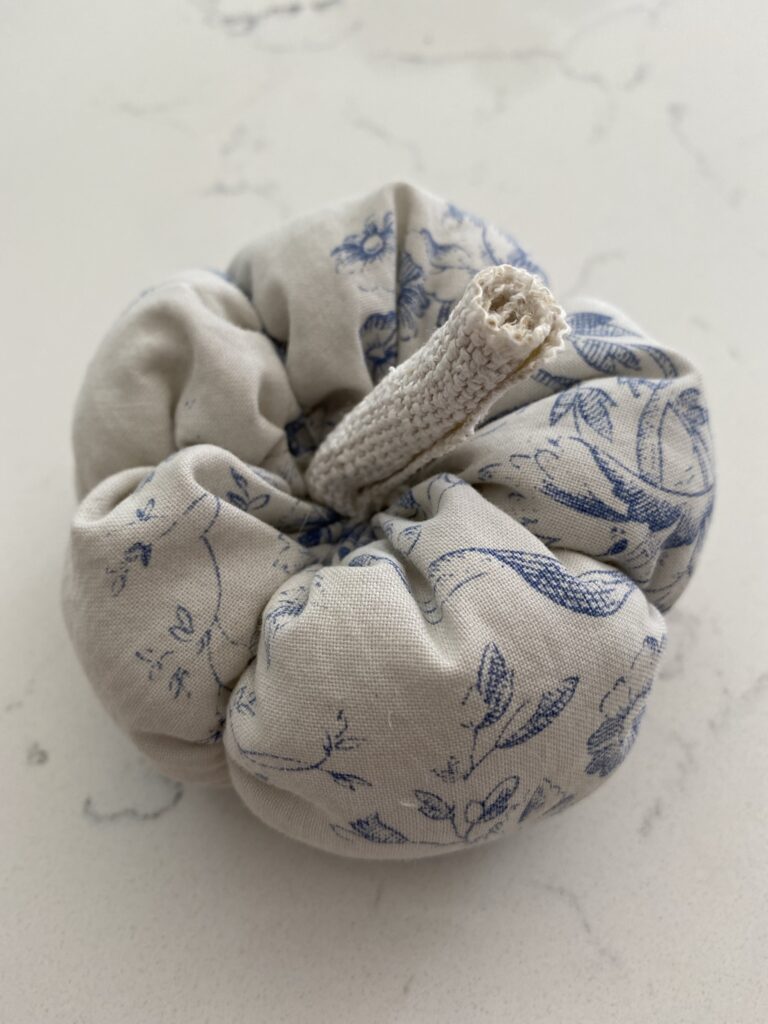
Now for your stalk. I used a scrap of heavy linen which I simply rolled to the size I liked, glued the roll together and then glued the stalk in the hole we made earlier at an authentic angle. I’ve seen others use twigs and felt for their stalks; when I made these easy fabric pumpkins last year, I used broken cinnamon sticks for mine. And then you remember Penny added spices to her pumpkins? Well, I added a few drops of my seasonal essential oils around the stalk area and when I came back from walking The Spotty One yesterday the kitchen smelled just so warm and welcoming.
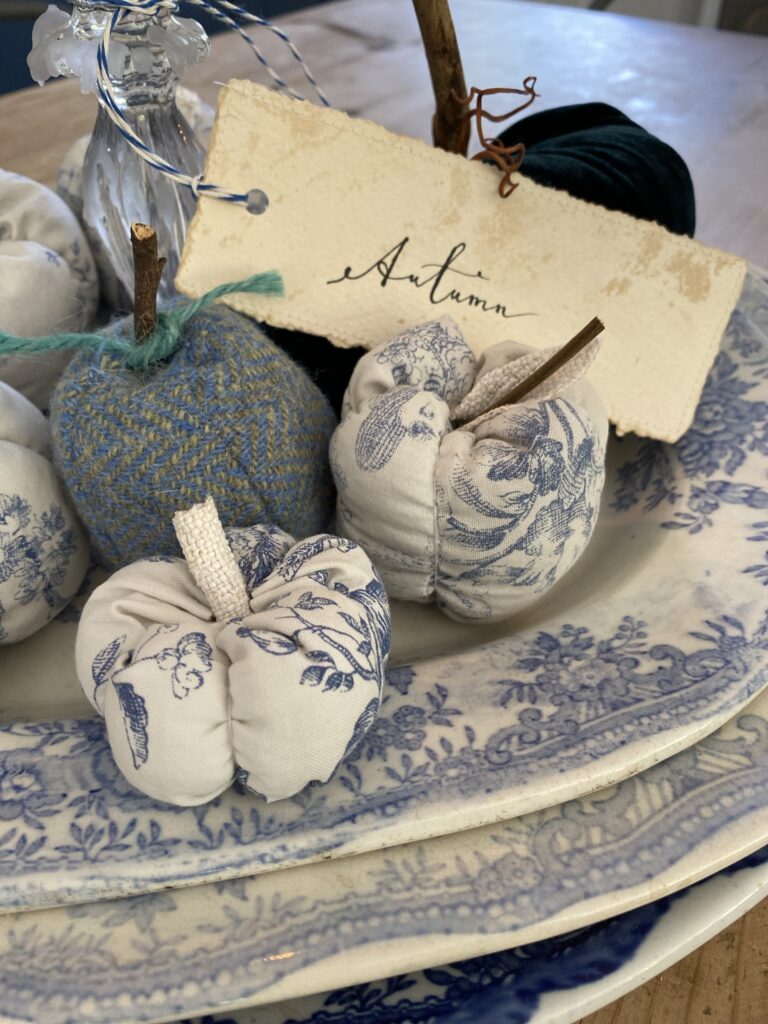
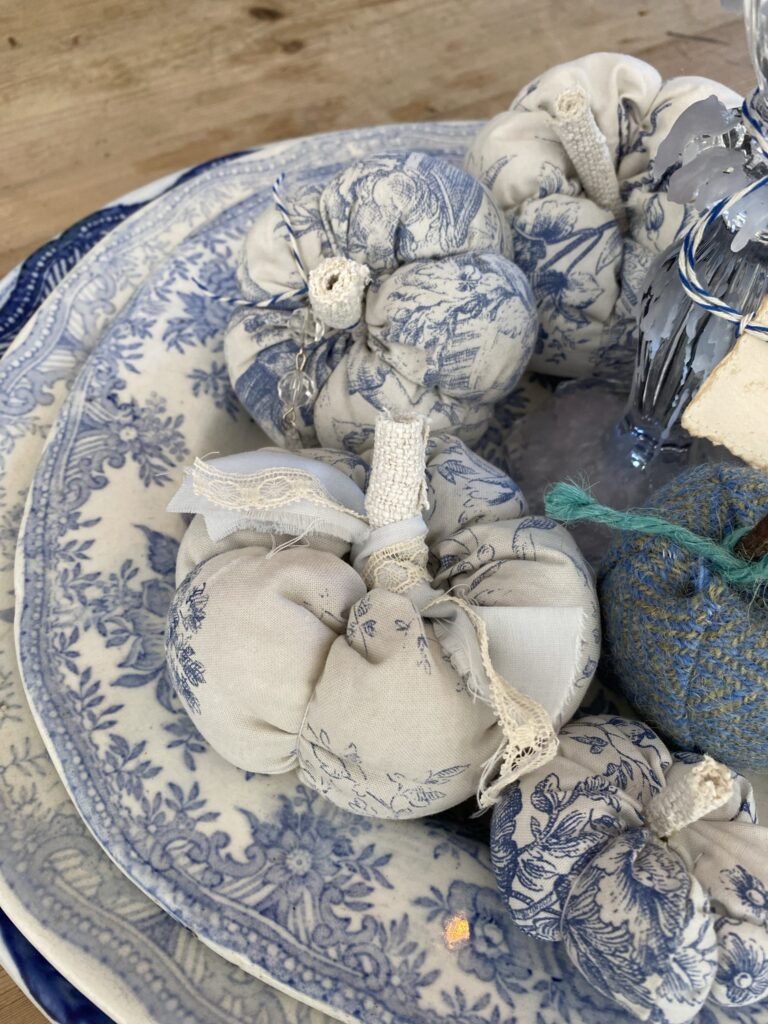
I made a few fabric pumpkins using the sizes I gave you at the start of the tutorial and I also made an apple. By mistake. Sweet though don’t you think? I’m not entirely sure how I did it. I think I stitched one of the pieces of fabric longer and thinner rather than fatter and wider. I might play around with that idea again in time for next autumn so do stick around. And then the fall-faffing commenced as I layered the chippy blue platters, gathered the pumpkins, adding a little lace and sparkles along the way.
Will you have a go? Do share if you do, they are much easier than the written instruction makes them look. I think a plain or patched variety would look marvellous and they take so little time, truly you could have a plate of pumpkins ready this evening if the mood takes you.
Can you believe this is my fifth autumn of writing my stories and offering my take on crafts and up-cycles to you? You can find more simple DIY autumnal décor here which is inexpensive and great fun to put together with or without little ones and if you are inundated with dried flowers following this summers end, you might like this beautiful craft. Oh and by the way, keep checking back too for another new post coming soon, featuring delicate dried flowers so simply put together with some gorgeous vintage fabric I found during the summer break.
Next week I have another wonderful craft for you using two materials we’ve used before and which proved extremely popular, I have a feeling you will enjoy that post. For now though, thank you for joining me and have a wonderful week ahead making easy fabric pumpkins I hope. Until next time… x


I’m so pleased you like them and I think a little pumpkin crafting session might be on the cards don’t you?!x
Sorry for late comment!… they are so pretty Helen. And I was hoping to have had a go to show you my effort but not managed to have a go yet! Xxx
I’m so pleased you like the pumpkins Wendy they are a joy to make and extremely addictive!x
They are so easy to make you know. I think I’m going to try a huge one next… watch this space!x
Sooo incredibly lovely, thank you!!!!
I LOVE these pumpkins almost as much as I love autumn itself and you know that’s my favourite!!!
They look so cute and I love how you can make them so individual- you’re a clever one!!
Xxxxxxx